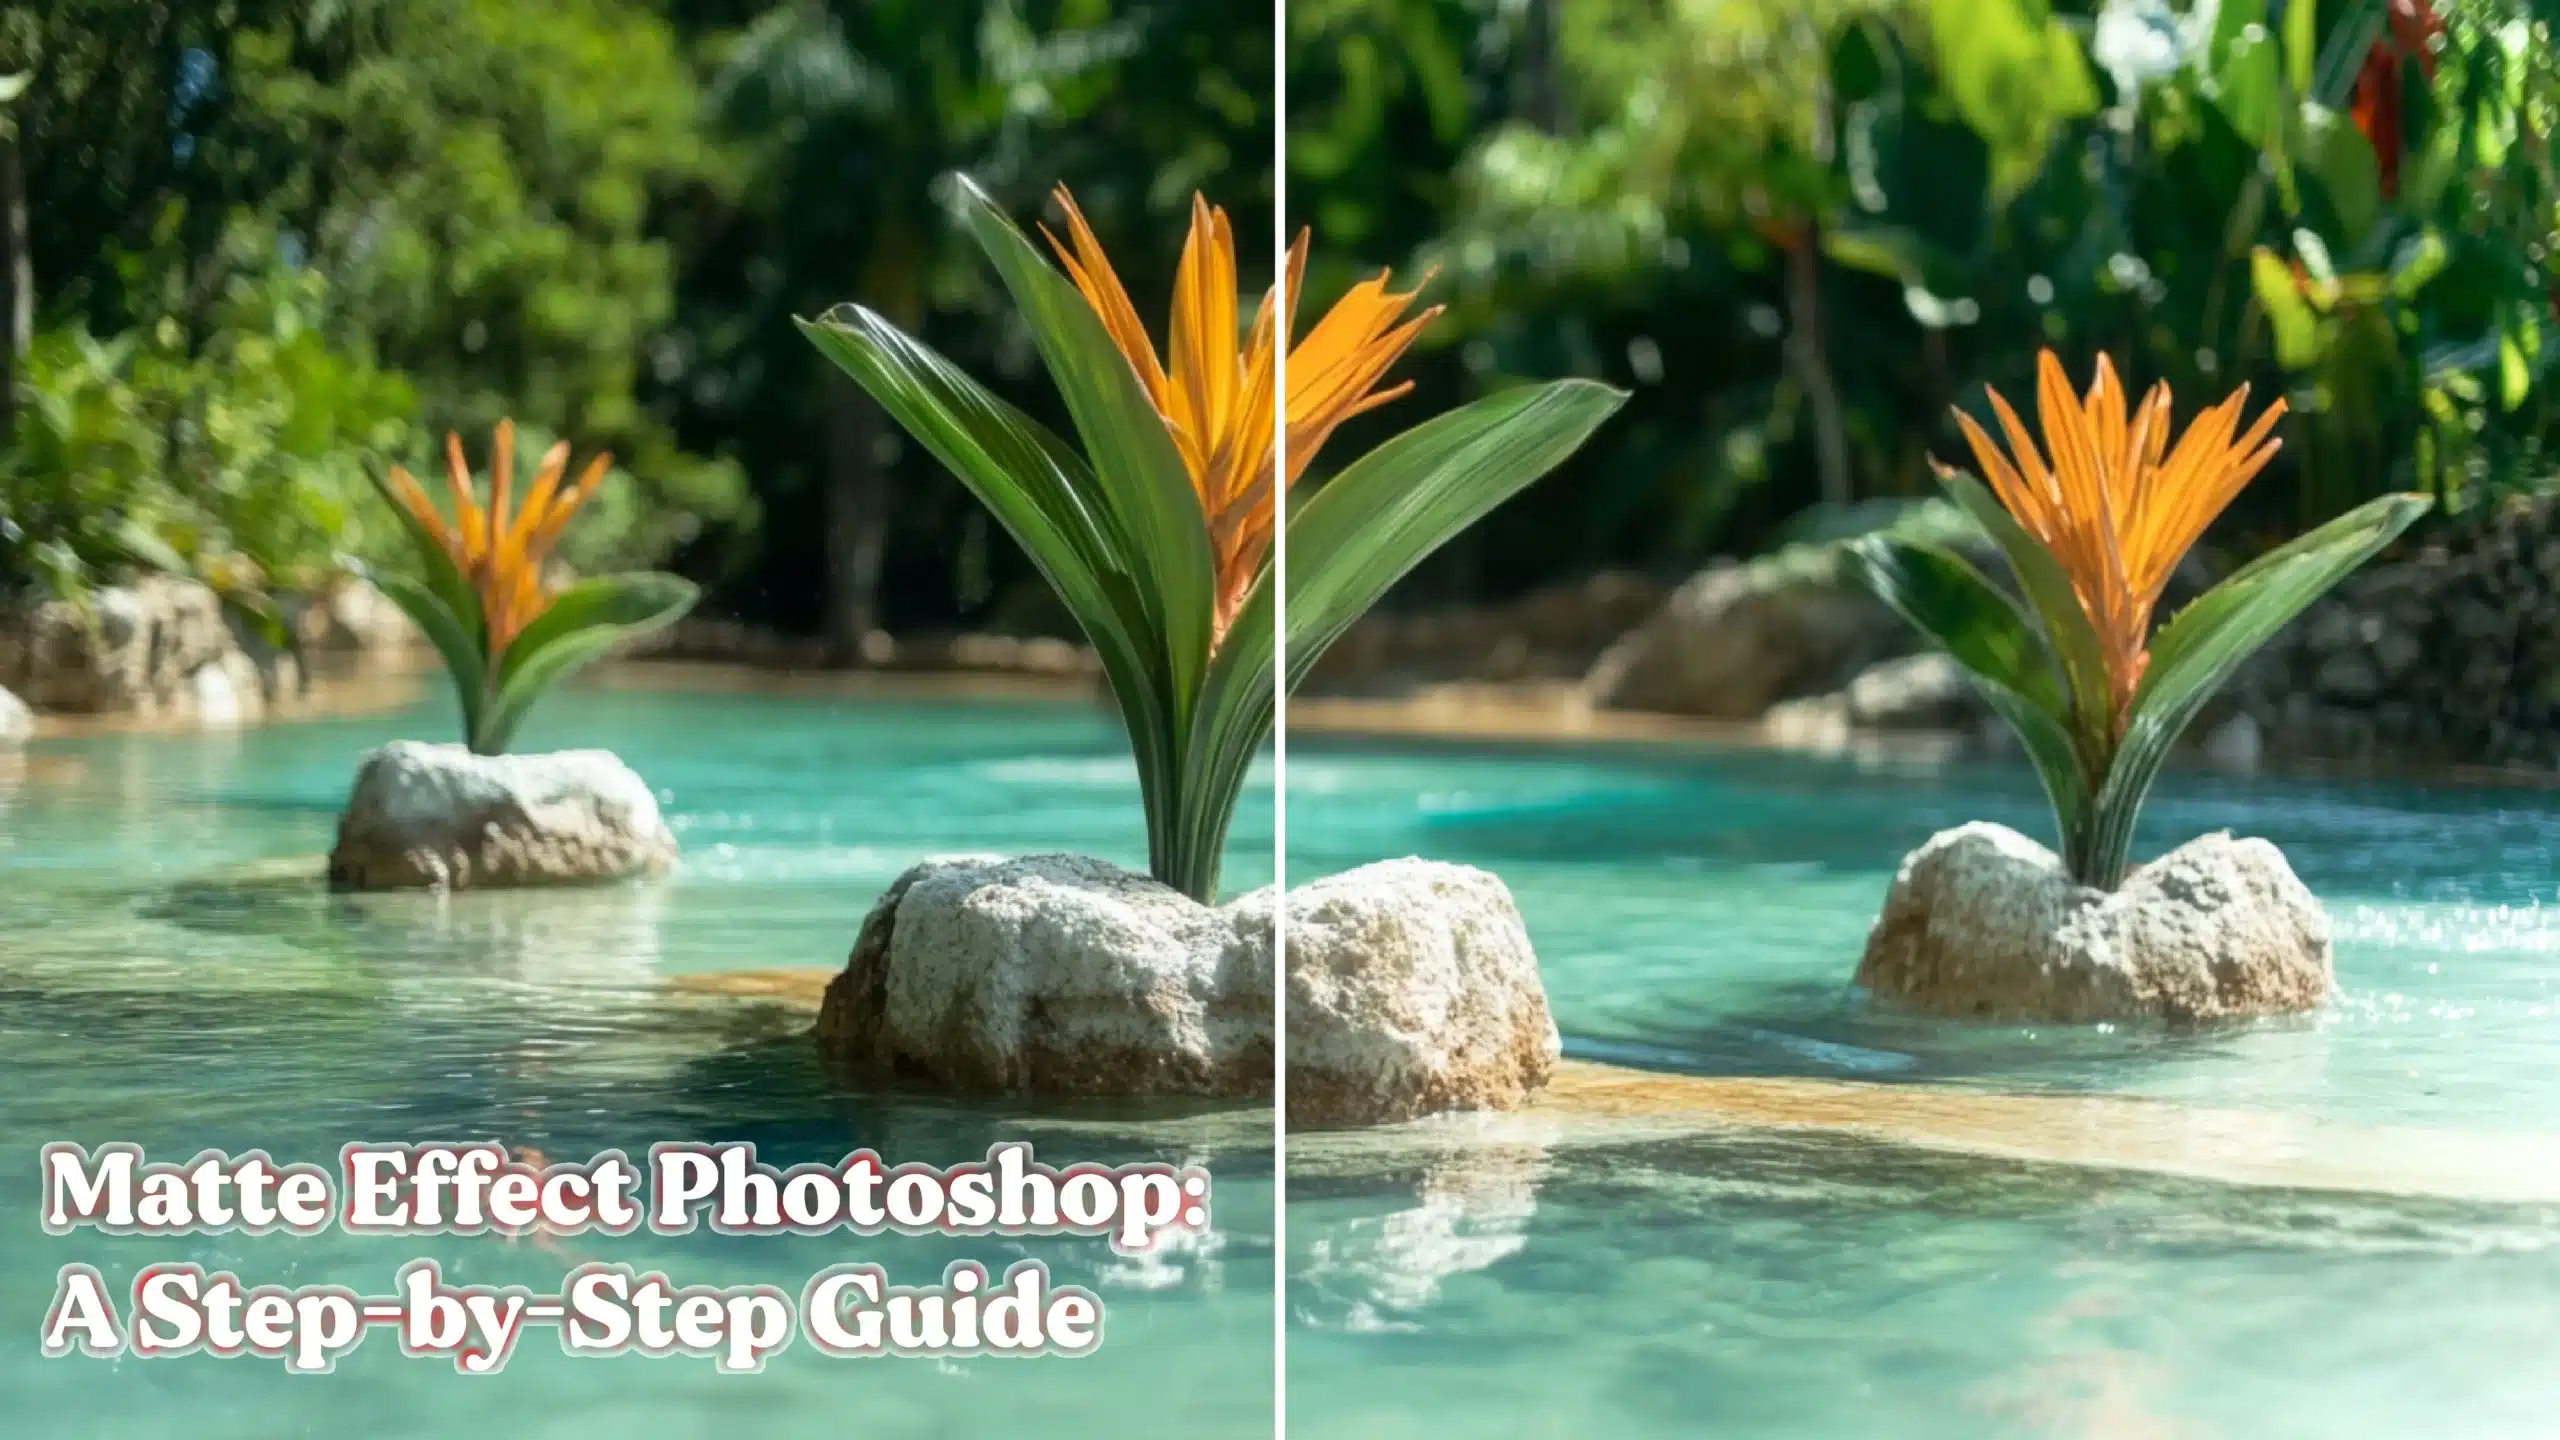
Ever wondered how to create a “matte effect Photoshop” look that makes your pictures feel high-end?
You’re in the right place!
In this article, I’ll show you how to create this popular, eye-catching effect with a few simple tweaks.
Ready to transform your pictures with sophistication and style?
Let’s dive in and discover how this easy technique can impress your audience and enhance your work in Photoshop.
Table of Contents
Understanding Matte Effect Photoshop
The matte effect gives pictures a smooth look, reducing contrast and adding a hint of softness. With this effect you can create a subtle, pleasing finish often associated with a nostalgic or vintage feel.
By effectively applying the matte effect Photoshop, one can achieve a timeless photograph that captures attention.
Why Use Matte Effect Photoshop?
The matte effect photoshop technique helps in boosting the artistic appeal by offering a slightly faded look. This diminished contrast heightens the shadows, creating warmth and depth.
Enthusiasts use the matte effect to strike a unique balance between shadow detailing and overall tone. It redefines how light influences images.
Steps to Create Matte Effect in Photoshop
Open Photoshop and choose your sample image.
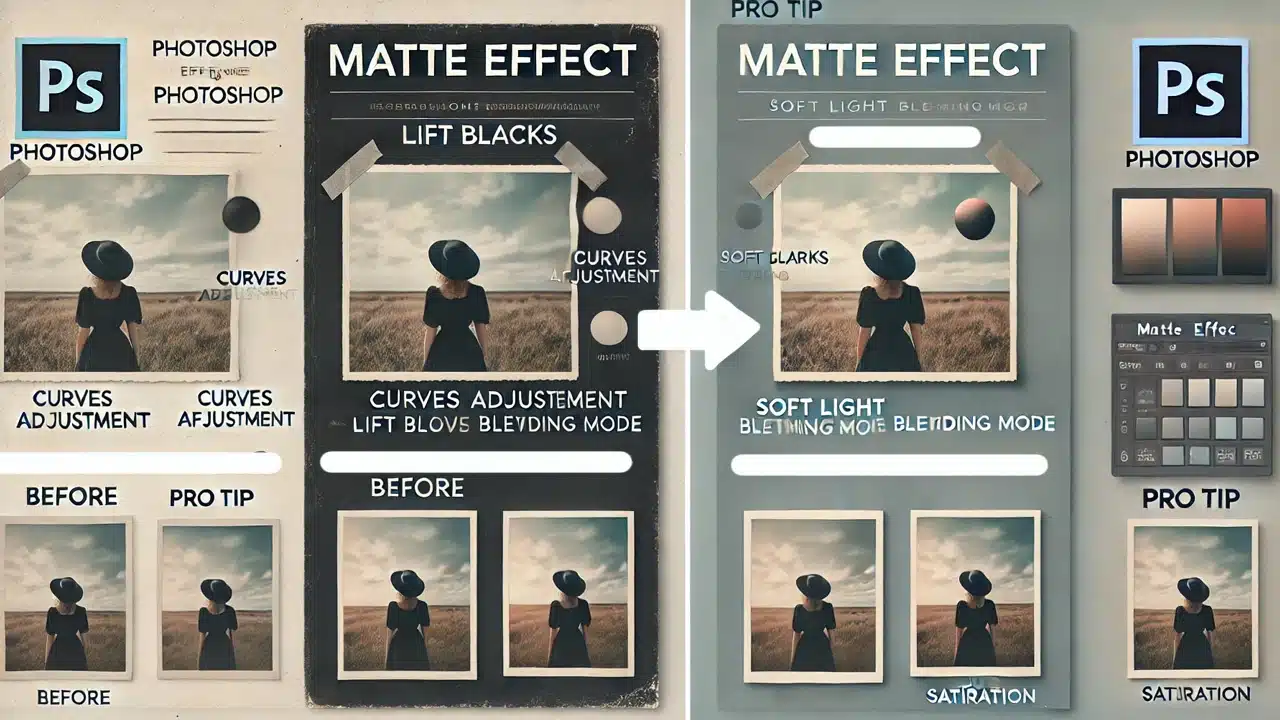
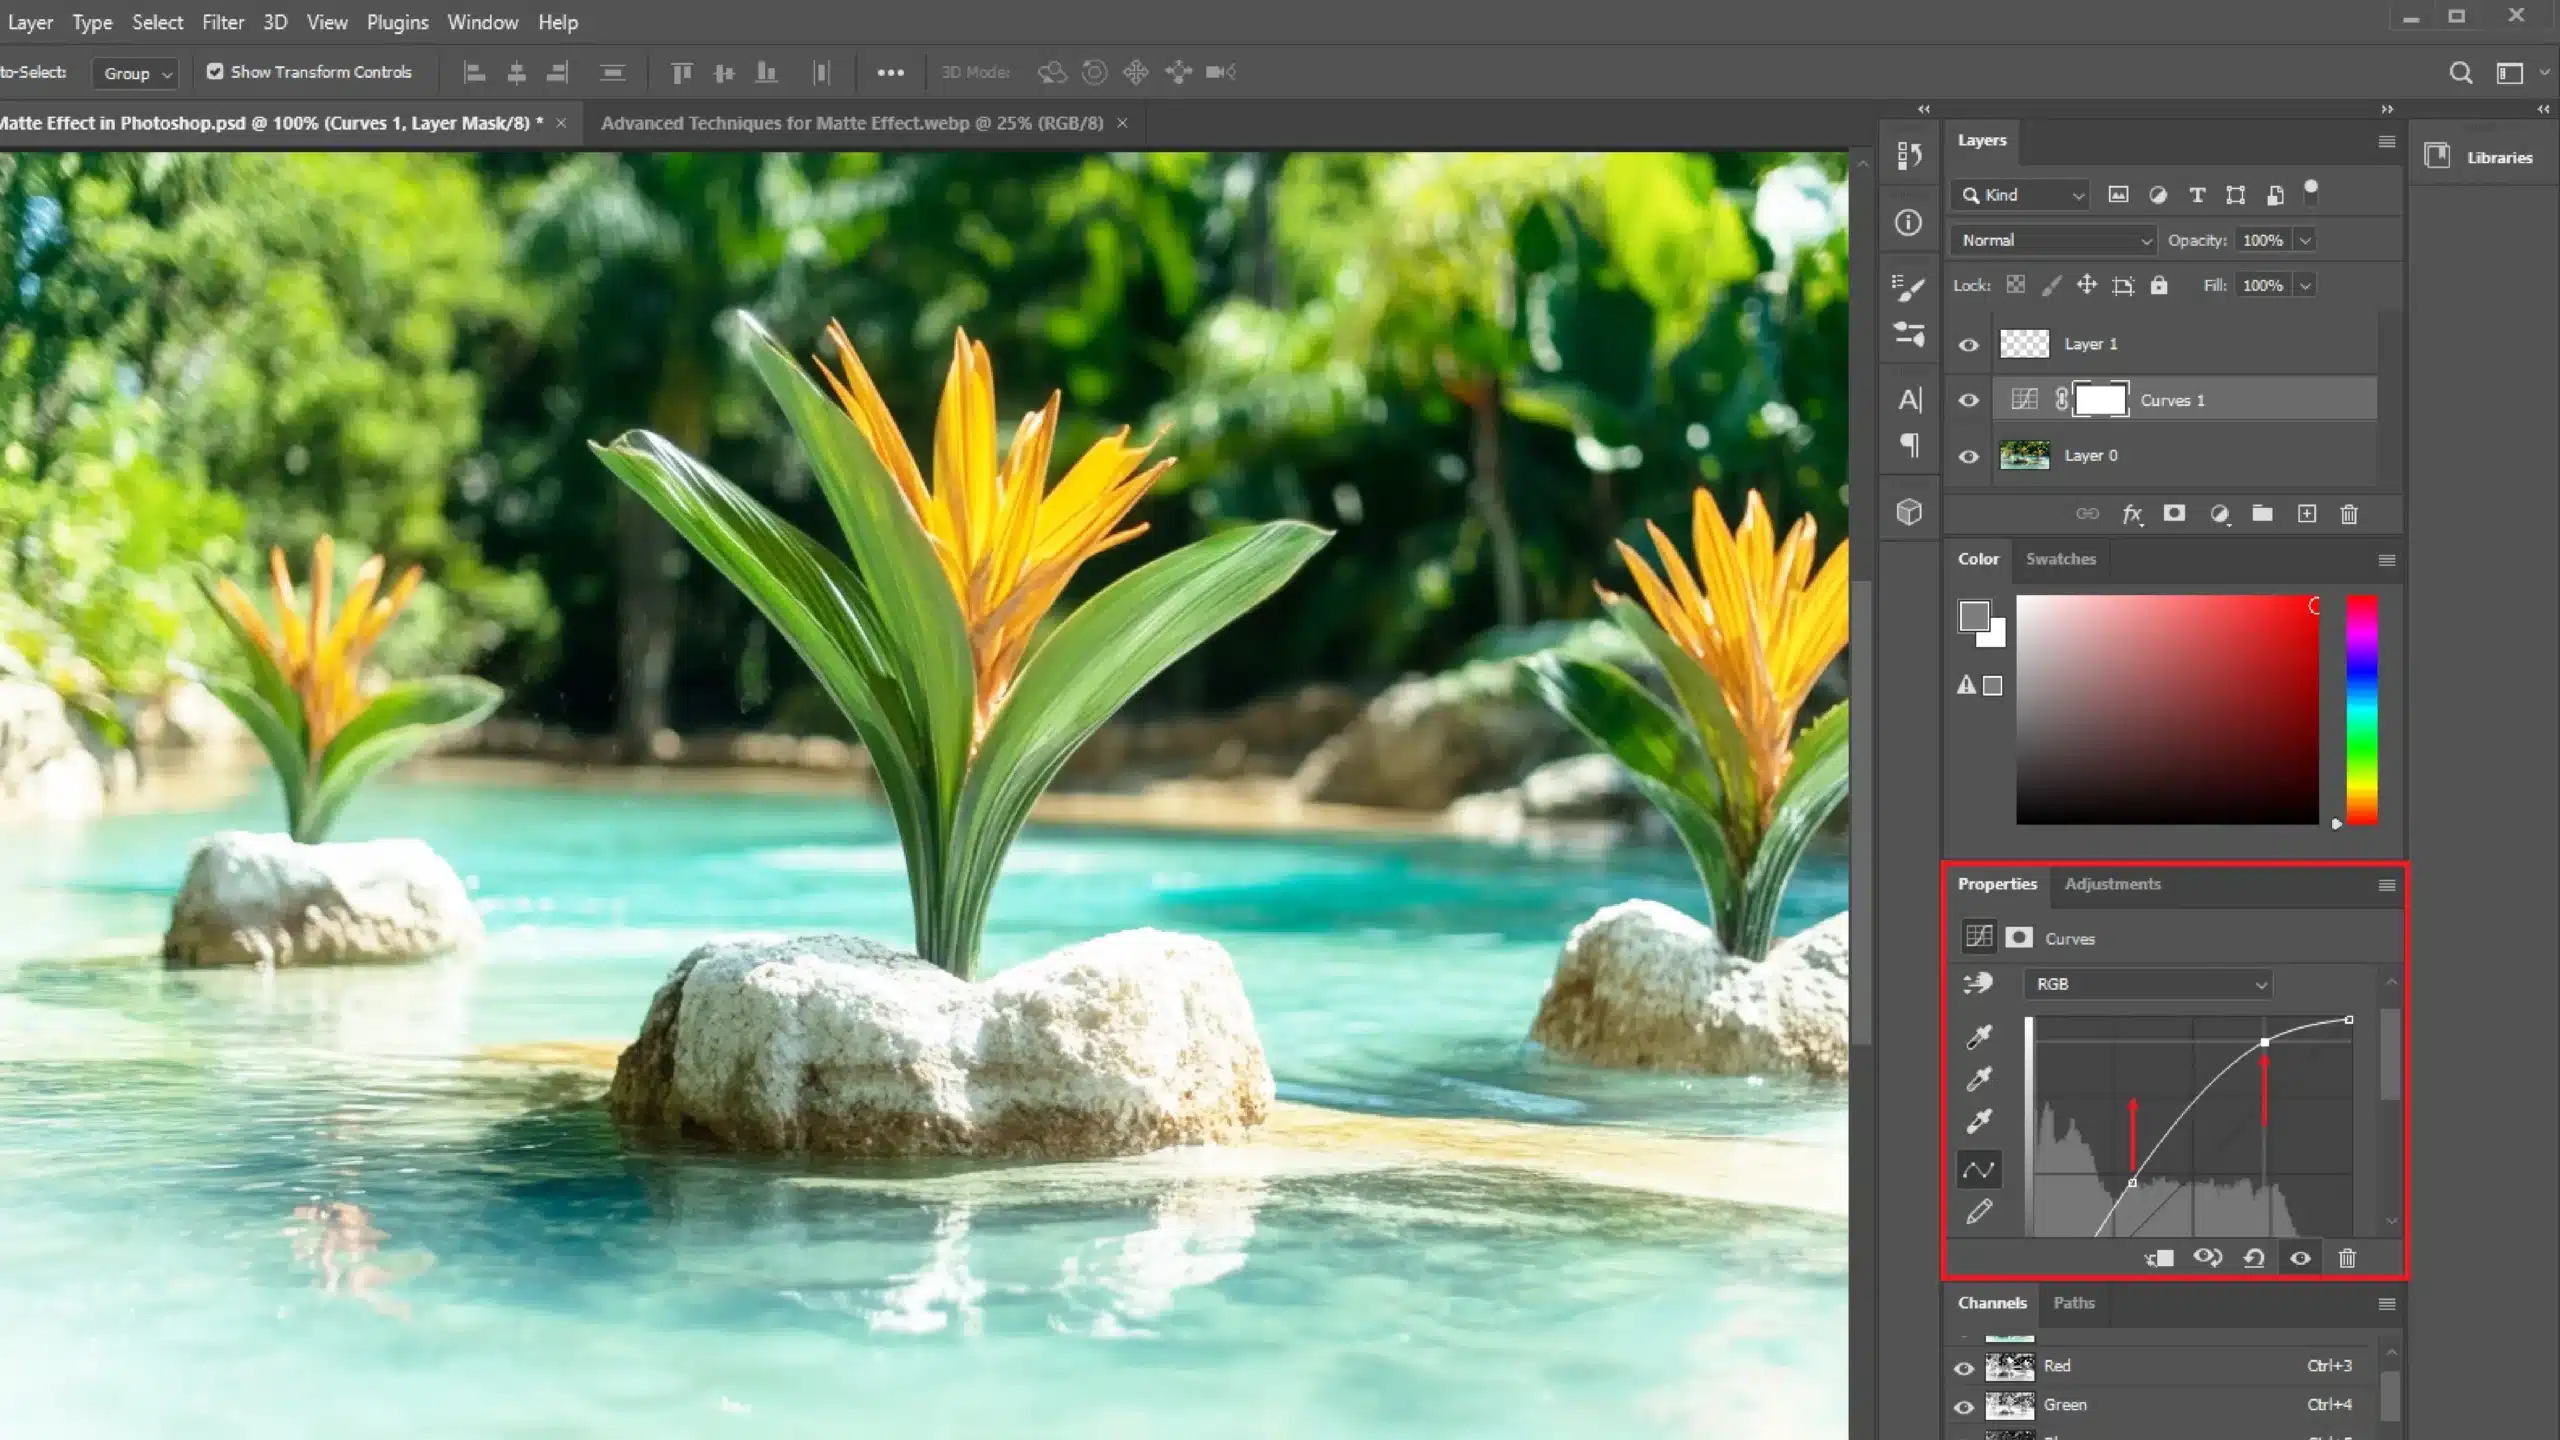
Create a new adjustment layer by selecting 'Curves' from the Layers panel.
With the curves adjustment layer, lift the blacks by moving the bottom left of the curve slightly upward.
Introduce another curve point at the bottom third and maintain the rest for balancing shadows and highlights.
Switch to the Levels adjustment layer and fine-tune for further shadow adjustments.
Select the blending mode you prefer, like 'Soft Light', for dimension.
Apply final touch-ups if needed to enhance the image's overall matte finish.
The final matte effect should depict an elegant polish as it evokes a soft vintage look. Curating such effects enhances photo storytelling, making them more visually compelling.
Pro Tip: A quick way to enhance the beautiful matte effect is by adjusting saturation slightly. This balances softness without compromising the image’s vibrance!
Additionally, mastering Photoshop shortcuts, as well as Lightroom shortcuts, can significantly speed up your workflow, allowing you to experiment with effects like the matte finish more efficiently.
Creating Matte Effect in Photoshop
I’m sure you’re eager to add the matte effect to your photos. Let’s explore how to create that beautiful vintage look using Photoshop.
With a few simple steps, you gain control over the matte effect, transforming your images with a classic touch.
Step-by-Step Guide
Start by opening your sample image in Photoshop.
Use an adjustment layer, specifically the 'Curves', to begin your journey. Remember, the curves layer is like your painter's brush here.
Gently lift the shadow end of the curve upward. You'll notice how this action softens the shadows, giving your image that coveted matte effect. Move it a bit at a time to see the incremental effect.
Using Curves Adjustment Layer
This step is where the real fun starts.
The curves adjustment in Photoshop is your best friend here. Add two points on the curve line, one near the darks and another in the mid-tones.
Lift gently to reduce contrast, and note how your picture transforms into something more artistic.
This adjustment layer is crucial for achieving the perfect balance and creating a beautiful matte effect
Experiment with points to reach the desired result.
Fine-Tuning the Matte Effect
Use additional layers if necessary.
Consider applying a blending mode to enhance depth.
Adjust brightness to achieve the right mood.
Adjust the colors slightly to make your images pop while maintaining the softness of the matte effects.
Pro Tip: Use related tutorials to expand your skills further. Explore Photoshop and Lightroom opportunities for even more creative control over your images.
Ready to dive deeper into creating the matte effect?
We have some exciting advanced techniques lined up.
From layer masks to combining effects, let’s explore how we can enhance our artistry in Photoshop.
Layer Masks
Layer masks are like magic sheets that let you hide or reveal parts of a layer. This helps in controlling which sections receive the matte effect.
By masking certain areas, you focus on essential elements while retaining detail. I often use layer masks with adjustment layers to manage shadows softly.
For those interested in more detailed editing, learning about the patch tool in Photoshop can further refine your work.
Blending Modes
Blending modes in Photoshop come into play for refining these effects.
Soft Light mode is excellent for adding depth. You can experiment a bit with different blending options until you get the right matte effect.
Each setting interacts uniquely with the tones in your picture.
Now, let’s look through other effects that go well with the matte effect.
Enhancing with Vignettes
Sometimes, adding a matte effect might not feel enough. Combining it with other effects propels your pictures toward a more distinctive look.
For instance, try layering a gentle vignette around the edges. This controls the focus more effectively within your image.
Understanding Vignette in Photoshop can help you achieve this effect seamlessly.
Mixing with Light Flares
Additionally, mix the matte effect with light flares for a retro vibe. Using such combinations, you’re not just sticking to one style but blending various themes for enhanced creativity.
These interactions result in unique compositions that hold viewers’ interest.
Let’s be honest, we’ve all been there. You try something new, hoping for jaw-dropping results, but reality hits hard when your image looks like a faded nightmare.
The magic lies in simplicity. Embrace a balanced approach to your artistic journey.
Overdoing the Matte Effect
Sure, a matte look is appealing. It offers that vintage charm everyone loves.
But there’s a catch. When you overdo the matte effect, your fleeting art becomes dull and lifeless.
To keep it engaging, slightly lift the shadows using a curves layer. A small tweak makes a world of difference.
Wanna know a secret? Professional artists do it with precision.
They ensure their images bloom without losing essence. Choose wisely when adjusting the matte effect photoshop settings.
You’ll maintain character while amplifying allure.
Ignoring Image Composition
A spectacular matte effect won’t save an inherently weak image. Composition is king.
An excellent arrangement catches viewers’ breaths and holds their gaze. Next time you select a sample image, think strategically; foreground, background, and where key elements rest.
Balance makes compositions thrive.
Now, let’s chat about focus. Encapsulate moments that communicate emotion.
You don’t have to overthink it. Sometimes simplicity speaks volumes.
And please don’t forget, the adjustment layers are there for balance. Consider adjusting levels and tones after deciding on composition.
This solidifies lasting impressions.
Pro Tip: Balance between modern tweaks and classic aesthetics. Let the matte effect photoshop inspire, not dictate. Navigate this delicate dance, and let your evolution surprise you!
And if you’re interested in expanding your creative horizons, consider diving into the world of NFTs and photography to explore new opportunities in digital art.
Frequently Asked Questions (FAQs)
How to Get a Matte Effect in Photoshop?
Here are the steps to making a matte effect in Photoshop:
Open your photo: Start by loading the image you want to edit into Photoshop.
Modify the contrast: Go to Image > Adjustments > Brightness/Contrast. Reduce the contrast to soften the image.
Add a solid color layer: Choose Layer > New Fill Layer > Solid Color. Pick a light grey or off-white color and set the blending mode to 'Soft Light'.
Adjust opacity: Lower the opacity of the solid color layer until you achieve the desired matte effect.
Final touches: Optionally, you can tweak the levels or curves (Image > Adjustments > Levels/Curves) for finer control over the matte effect.
How to Matte a Picture in Photoshop?
Open your image: Load the image you wish to edit in Photoshop.
Apply a curves adjustment: Go to Layer > New Adjustment Layer > Curves. Gently lift the lower part of the curve to soften the shadows.
Desaturate colors slightly: Go to Image > Adjustments > Hue/Saturation and reduce it to give a more subdued look.
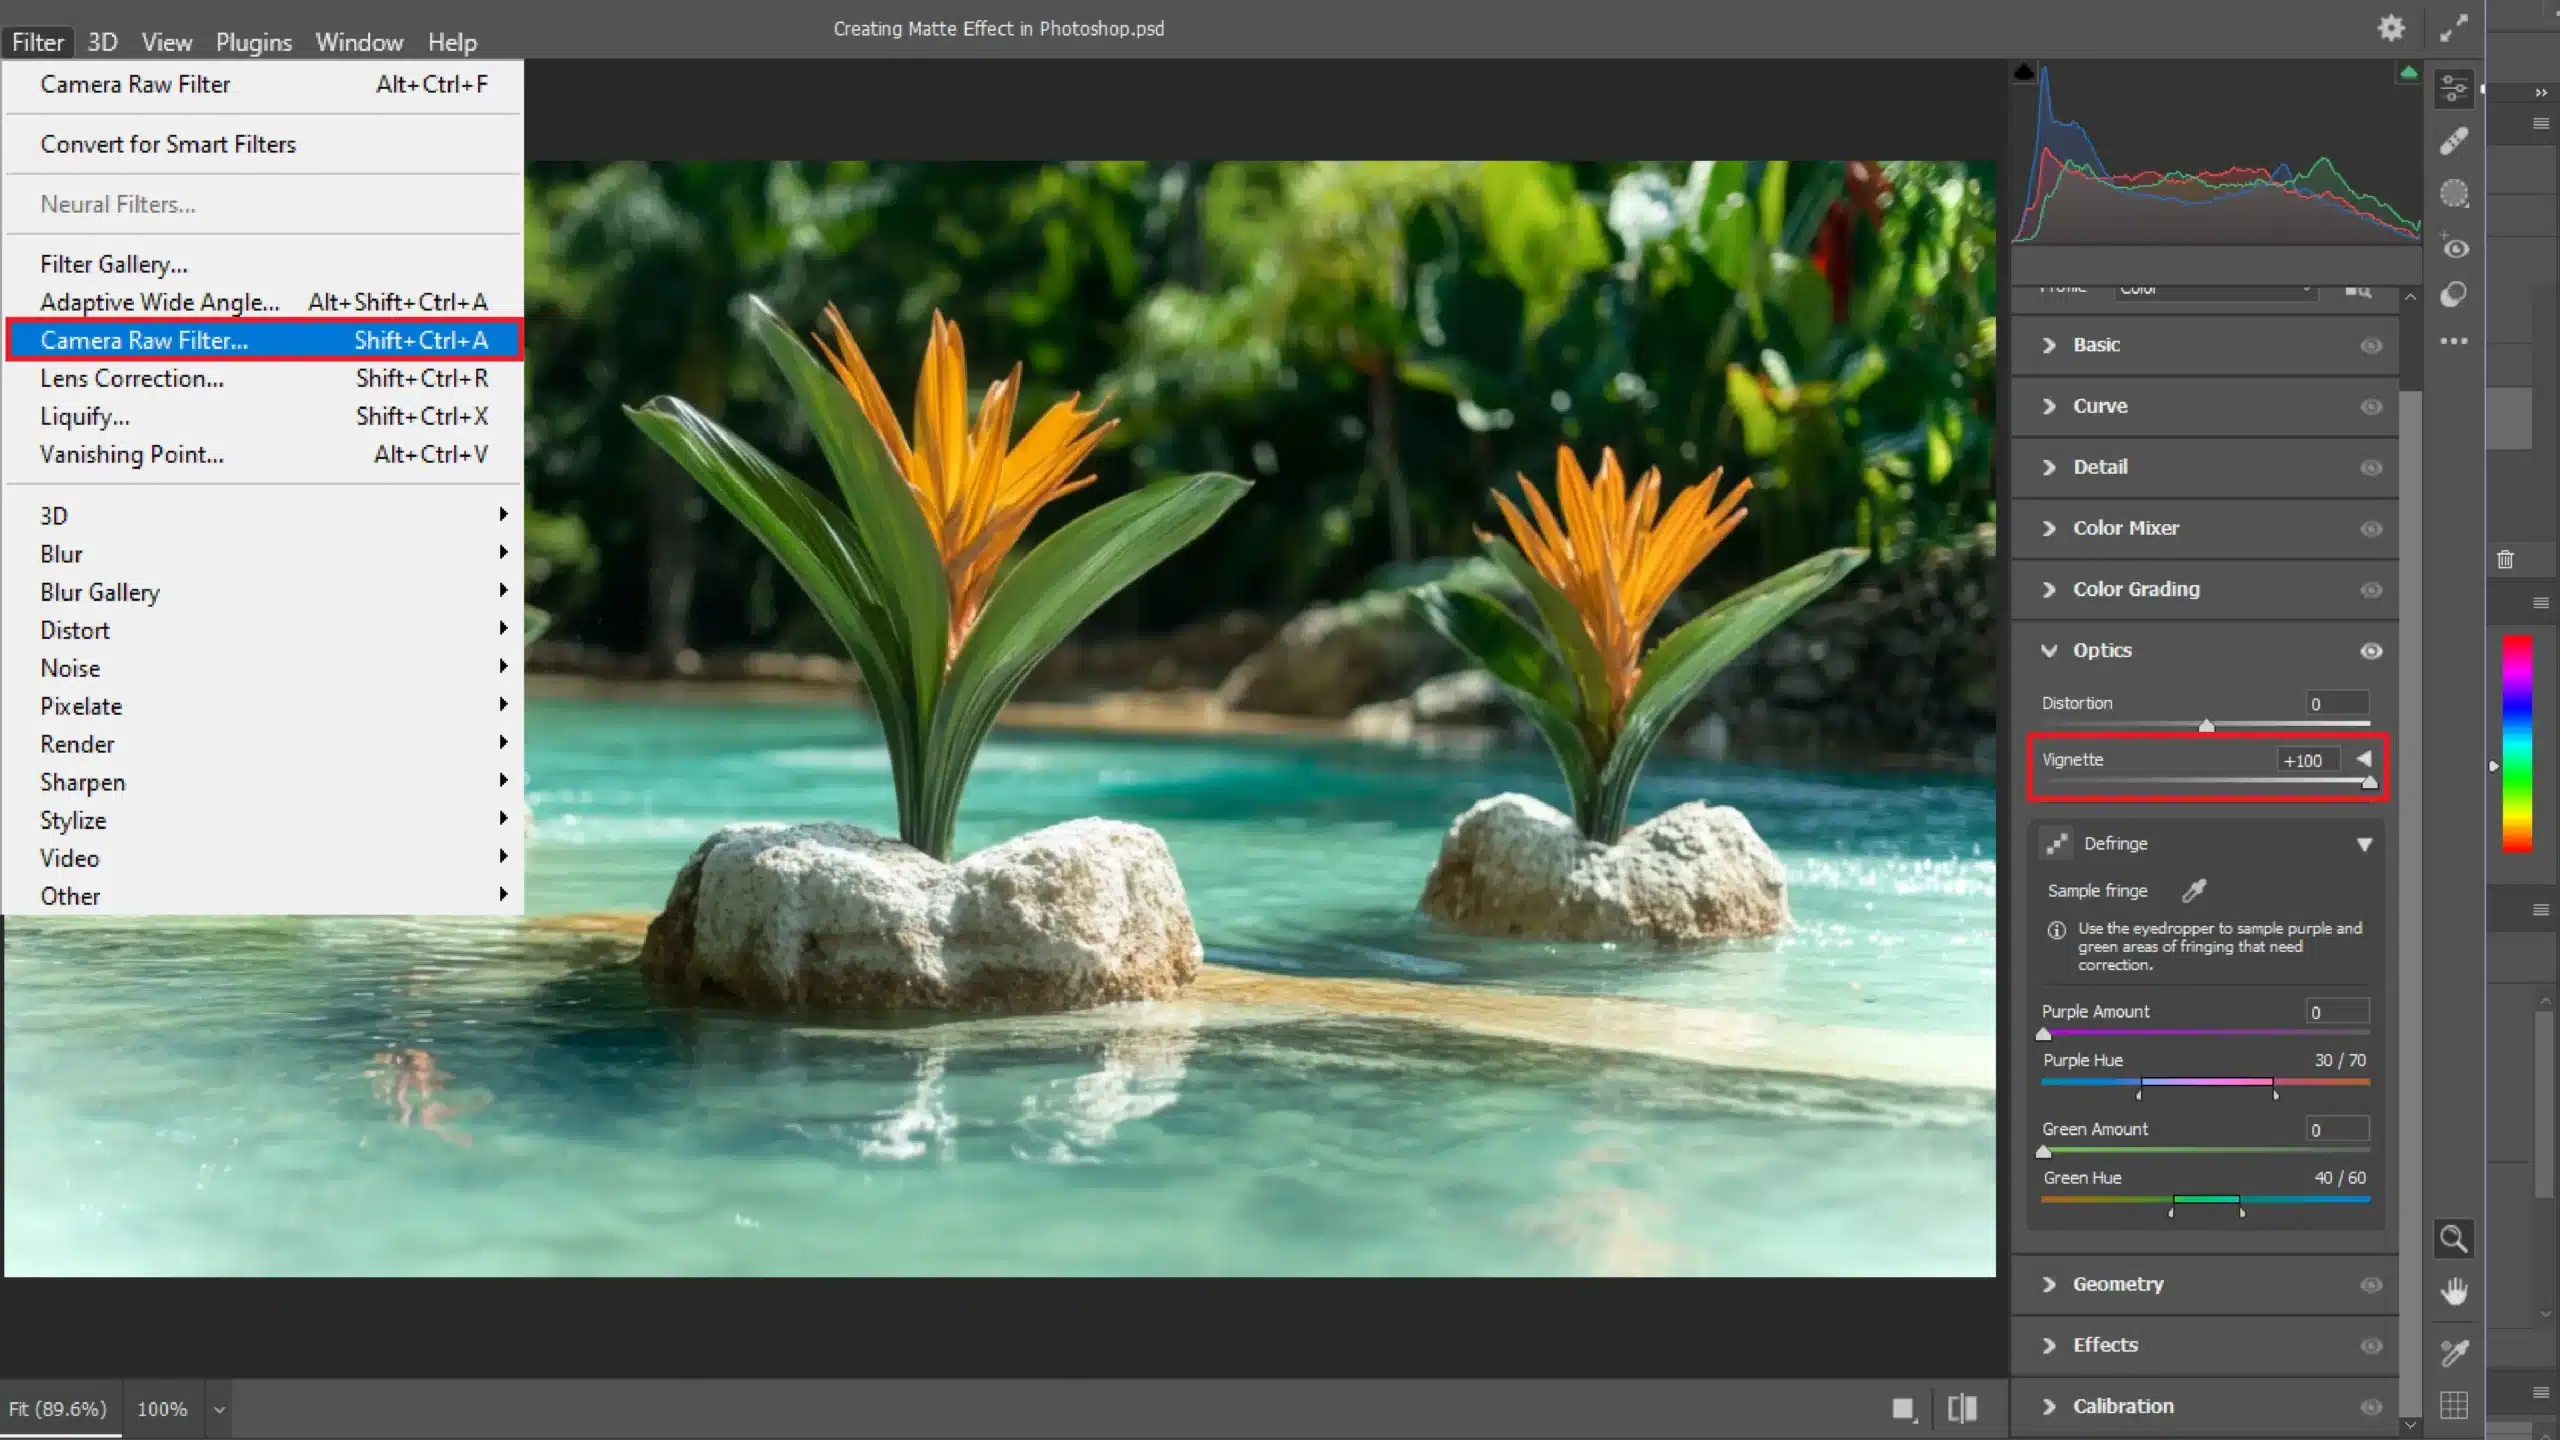
Add a vignette: Go to Filter > Lens Correction, click on the Custom tab, and modify the Vignette amount to add a subtle dark edge.
Refine and save: Review your adjustments and save your work.
How to Turn Glossy to Matte in Photoshop?
Here are the necessary steps:
Begin with your glossy photo: Open the glossy picture in Photoshop.
Reduce highlights: Go to Image > Adjustments > Shadows/Highlights and decrease the highlights to remove glossiness.
Soft light layer: Add a new layer filled with grey and set to 'Soft Light' blending mode. Adjust the layer opacity as needed.
Blur slightly: Optionally, use Filter > Blur > Gaussian Blur to subtly blur the image, enhancing the matte effect.
Adjust and finalize: Make any final adjustments to color or brightness, and save your matte photo.
How to Make a Photo Look Matte?
Start with your selected photo: Open it in Photoshop.
Modify brightness/contrast: Reduce the contrast to flatten the image tones slightly.
Add matte coloring: Create a new fill layer with a beige or soft white color, set to 'Multiply' or 'Soft Light'.
Adjust opacity and blending: Fine-tune the opacity of your fill layer to get the perfect matte look.
Enhance with filters: Experiment with different filters like Posterize or Threshold for creative matte effects.
Save your work: Once satisfied, save your edited photo.
Mastering the “matte effect” in Photoshop has transformed my photography, adding a timeless, artistic quality with a soft, muted finish.
The first time I used this effect, it gave my images a professional, polished look that I had previously struggled to achieve. By using Photoshop and Lightroom, I’ve been able to consistently enhance my portfolio.
For anyone looking to elevate their photo editing skills, I highly recommend exploring a comprehensive Photoshop course or a Lightroom course. Both have been invaluable in refining my techniques and helping me realize my creative vision.
Happy editing!
If this article has helped you, then Like and Share it with your friends
$2,061.00Original price was: $2,061.00.$1,061.00Current price is: $1,061.00. 27584
Download Your Free Guide Now!
Discover the secrets of photography with our printable guide! Master essential techniques like aperture, shutter speed, and ISO to create stunning images. Get your free printable PDF now and start turning your snapshots into masterpieces!