Lightroom White Balance to Easily Fix Color Cast in Images

Hi there! As an experienced photographer, I know that white balance can make or break your photos. It’s not just about adjusting colors, it’s about getting that perfect shot every time. Lightroom white balance tools might seem complex, but they’re incredibly powerful once you get the hang of them.

In a nutshell, the white balance in Lightroom adjusts the color temperature and tint of your images, making sure that whites appear neutral and colors look natural. Understanding how to tweak these editing program can help you correct color casts and enhances the mood of your photos effortlessly.

Table of Contents

3 Ways to Adjust Lightroom White Balance

Achieving the proper white balance selector in Lightroom is crucial for creating images that accurately represent the colors as you saw them during the shoot. Lightroom offers several tools and methods to adjust white balance, ensuring your photos look natural and appealing. Below are three effective ways to adjust the white balance in Lightroom, each with step-by-step guide you through the process.

Using the White Balance Selector Tool (Eyedropper Tool)

Lightroom Classic interface showing a portrait with the White Balance Selector Tool (Eyedropper Tool) selected for adjusting white balance.
It is also known as the Eyedropper Tool, is one of the most precise ways to adjust white balance in Lightroom. This tool allows you to select a neutral spot in your image to change the color casts and achieve right balance look.

Steps to Use:

Pro Tip: If you don’t have a neutral spot in your image, you can use an 18% gray card during your shoot, which provides an ideal target for the this tool.

Using the Temperature and Tint Sliders

Lightroom Classic interface showing a portrait edited with Temperature and Tint Sliders for white balance adjustment.
For more manual control, to use these in the Basic Panel offer a straightforward way to adjust white balance sliders. This method is useful when you want to fine-tune the white balance options or create a specific mood in your next image.

Steps to Fix White Balance Using Temperature and Tint Sliders:

Pro Tip: This method is ideal for fixing color casts by camera, such as warming up a sunset photo or cooling down an image shot under fluorescent lighting.

Using Lightroom’s White Balance Presets

Lightroom Classic interface showing a portrait edited with a White Balance Preset applied, featuring warm tones and sunlight.
Lightroom includes several White Balance Presets that offer a quick way to fix white balance based on common lighting conditions. These presets can serve as a starting point, which you can further refine using the other tools. The editing process becomes more efficient, allowing you to achieve accurate editing workflow with minimal effort.

Steps to Use White Balance Presets:

Pro Tip: If you shoot in RAW, you have more flexibility with these presets, as RAW files retain all the color data. For JPEG files, the adjustments might be less flexible, so consider using presets as a base and fine-tuning with sliders.

Lightroom White Balance Presets

Lightroom Classic interface showing a portrait with a split-screen comparison, highlighting the use of Temperature and Tint Sliders for white balance adjustment.
Lightroom White Balance Presets offer a quick and effective way to adjust the white balance of your images based on different lighting conditions. These presets are designed to correct color casts and ensure that your images look natural and true to life. Below, we’ll explore the most commonly used presets, when to use them, and how to fix the most of these powerful tools.

Overview of Lightroom White Balance Presets

White Balance Presets are easily accessible through the drop-down menu, offering predefined white balance settings that adjust the temperature and color sliders to match the lighting conditions under which the photo was taken. These presets mimic the white balance options available in most digital cameras, such as Daylight, Cloudy, Shade, Tungsten, and Fluorescent. When you apply one of these presets, Lightroom automatically performs color correcting to adjust the image’s color for the light source temperature.

Common Lightroom White Balance Presets:

These presets provide a solid starting point for correcting white balance but may require additional fine-tuning with the Temperature and Tint Sliders depending on the specific lighting conditions of your shoot.

When to Use Each White Balance Preset

Fine-Tuning with Temperature and Tint Sliders

After applying a White Balance Preset, it’s often necessary to fine-tune the image using the Temperature and Tint Sliders. These sliders allow you to adjust the image’s warmth or coolness and the color balance.
By combining the use of presets with manual adjustments using the sliders, you can achieve a perfect white balance tailored to the specific lighting conditions of your image.

Gain Control of the White Balance Adjustments Using the Temp/Tint Sliders

When it comes to achieving the perfect white balance in your photos, Lightroom’s Temperature and Hue Sliders are indispensable tools. These sliders give you precise control over the color balance, allowing you to correct color casts and adapt your images to various lighting conditions. Here’s a table to show how to effectively use these sliders to gain control of your white balance selection.

Feature/Tool Temperature Slider Tint Slider
Function Adjusts the image’s warmth (yellow) or coolness (blue). Balances the green-magenta spectrum in the image.
Use Case Corrects overall color temperature issues, like overly warm or cool tones. Fine-tunes color casts, especially in mixed lighting conditions.
Primary Adjustment Blue to yellow tones. Green to magenta tones.
Best for General white balance adjustments, especially in outdoor or natural light. Correcting skin tones and specific color casts in artificial lighting.
Adjustment Range Wide, affecting the overall mood and temperature of the image. Subtle, precise adjustments for specific color casts.

Understanding the Temperature Slider

The Temp Slider in Lightroom adjusts the color temperature of your image along the blue-yellow spectrum:

Practical Example: If you’ve taken a photo indoors with warm lighting and it appears overly yellow, move the Temperature Slider slightly to the left to add blue, neutralizing the warm tones​.

Mastering the Tint Slider

It controls the balance of your image:
Practical Example: If your image has a greenish tint due to fluorescent lighting, moving the Tint Slider to the right can correct this, bringing the colors back to a natural state​.

Combining Temperature and Tint Adjustments

To achieve the most accurate white balance, use them together:
Pro Tip: After making adjustments with the sliders, take a step back and evaluate the image under different lighting conditions on your monitor to ensure that the changes are consistent and natural.

Fine-Tuning White Balance with the White Balance Selector Tool

While the Temperature and Tint Sliders provide excellent control, sometimes you may need a starting point. The eye dropper can be used to set an initial white balance by clicking on a neutral spot in the image, such as a pure gray or white area.

Steps to Use :

By mastering the Temperature and Tint Sliders in Lightroom, you can take full control of your white balance adjustments. Whether you’re correcting color casts, enhancing skin shades, or simply trying to match the colors to the scene as you remember it, these essential tools are for any serious photographer.

FAQ Answers for Lightroom White Balance

Photoshop-Masterclass-Advanced-Editing-Layer-Manipulation

How to get correct white balance in Lightroom?

To achieve the correct WB in Lightroom:

Is Lightroom auto white balance good?

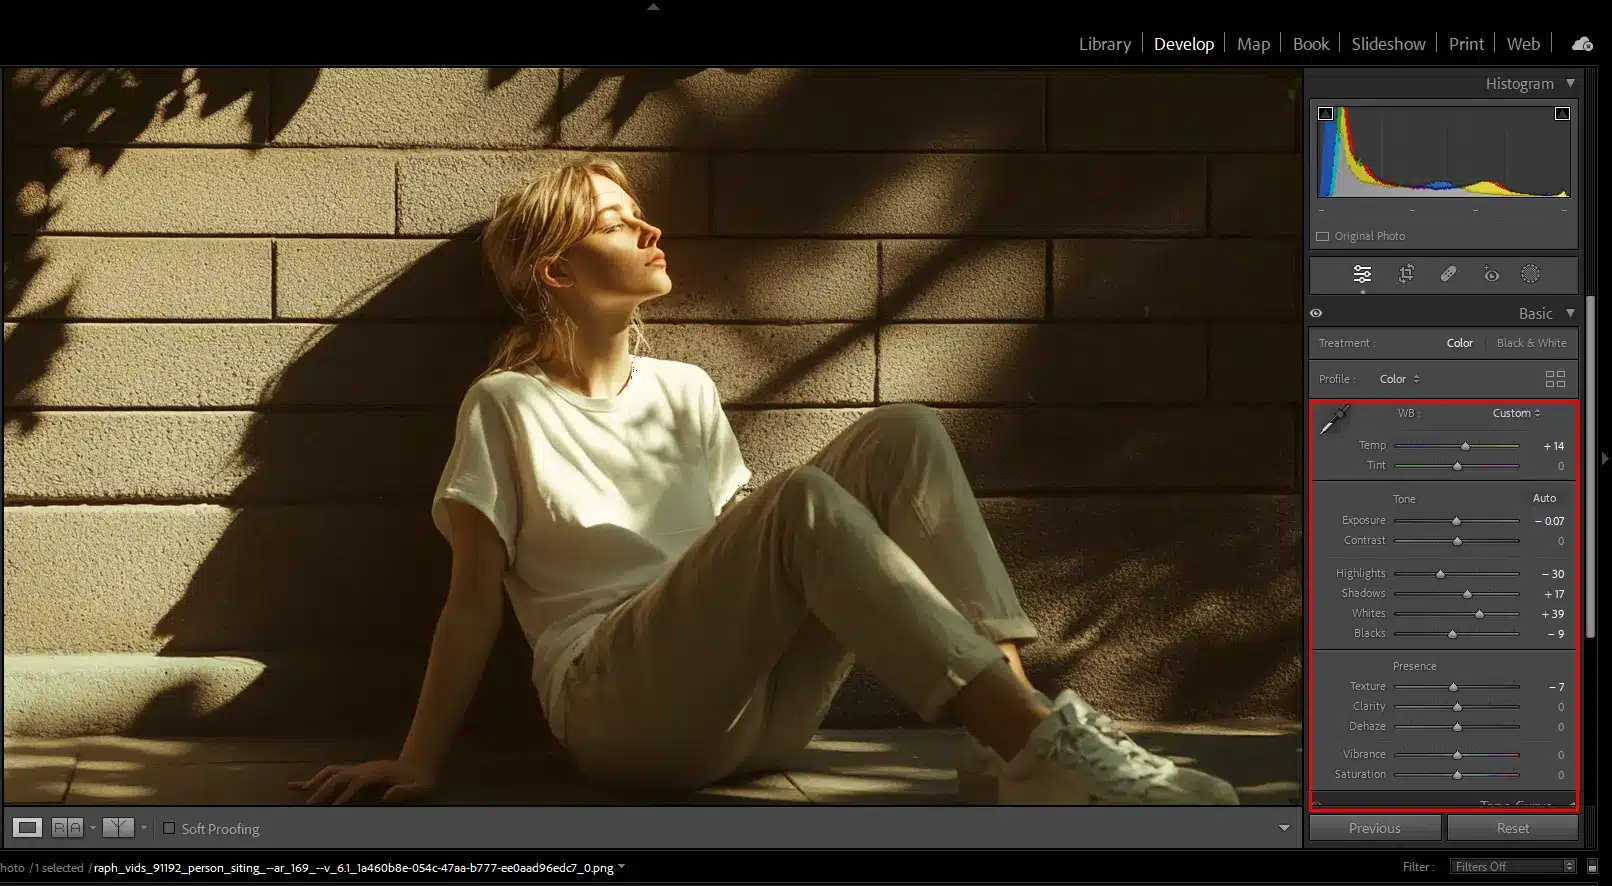
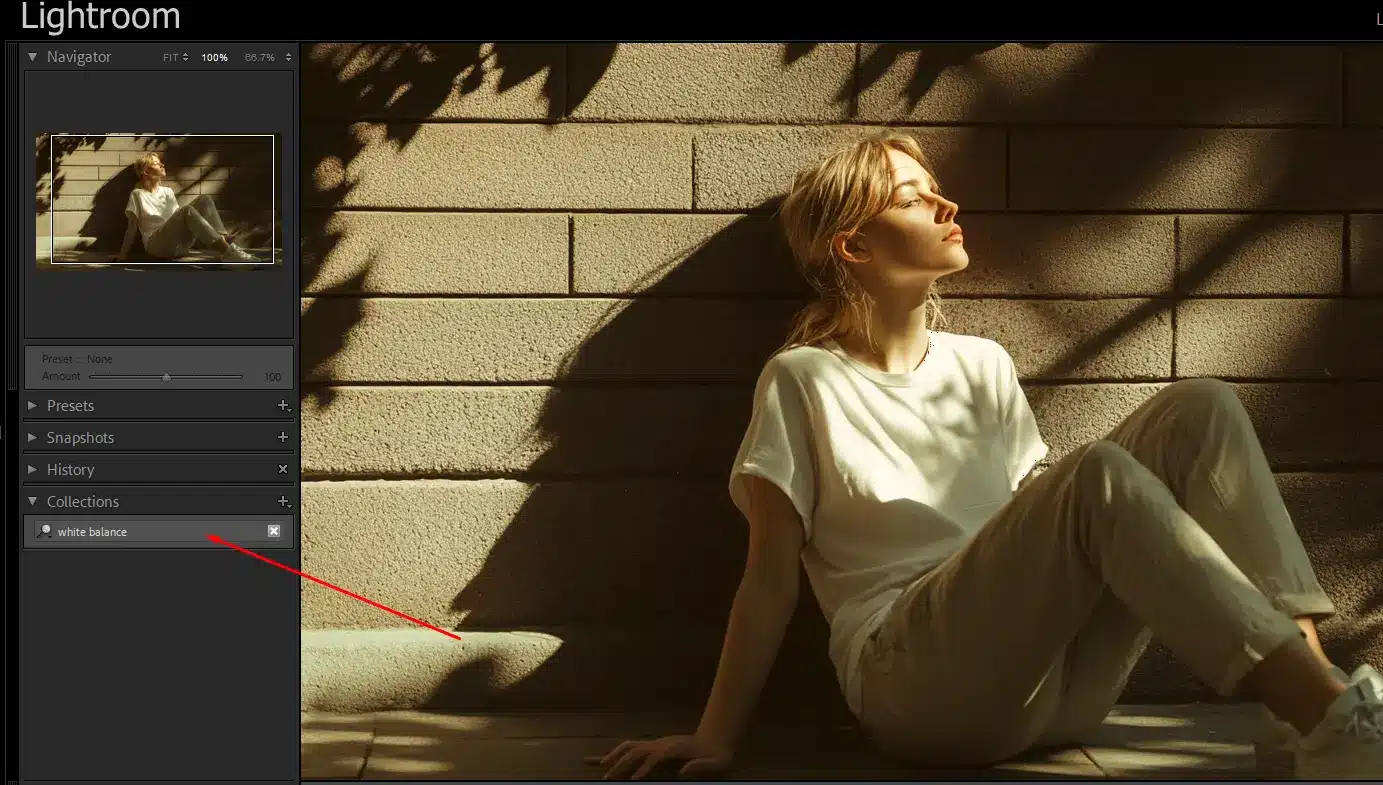
Auto White Balance in Lightroom is a good starting point, especially for quick adjustments or when you’re unsure about the lighting conditions. However, it may not always provide the most accurate results, particularly in complex or mixed lighting scenarios. For more precise control, it’s recommended to use the eye dropper or manually adjust the temperature and tint sliders.

How to get perfect whites in Lightroom?

To get perfect whites in Lightroom:

What is the shortcut for white balance in Lightroom Classic?

In Lightroom Classic, the shortcut to access the White Balance Selector Tool is W. Pressing W allows you to quickly select the eye dropper tool and start adjusting the white balance by clicking on a spot in your image​.

Conclusion

Split-screen image showing a sunset scene with warm tones on the left and cool tones on the right, demonstrating the effect of white balance adjustments.

Mastering white balance in Adobe Lightroom transformed my photography. I struggled with unnatural skin tones until I learned to use the Temperature and Tint Sliders, White Balance Presets, and Selector Tool. Combining these with a grey card during shoots greatly improved my color correction and confidence. Explore our Lightroom and Photoshop tutorials to elevate your photo editing skills. Start your learning journey today by joining our Photoshop Course and Lightroom Course!

If Lightroom White Balance article has helped you, then Like and Share it with your friends.

Facebook
Twitter
LinkedIn
Pinterest

Have a nice photoshoot! 

Read more about: Photo Editing with Lightroom and Photoshop

Download Your Free Guide Now!

Discover the secrets of photography with our printable guide! Master essential techniques like aperture, shutter speed, and ISO to create stunning images. Get your free printable PDF now and start turning your snapshots into masterpieces!