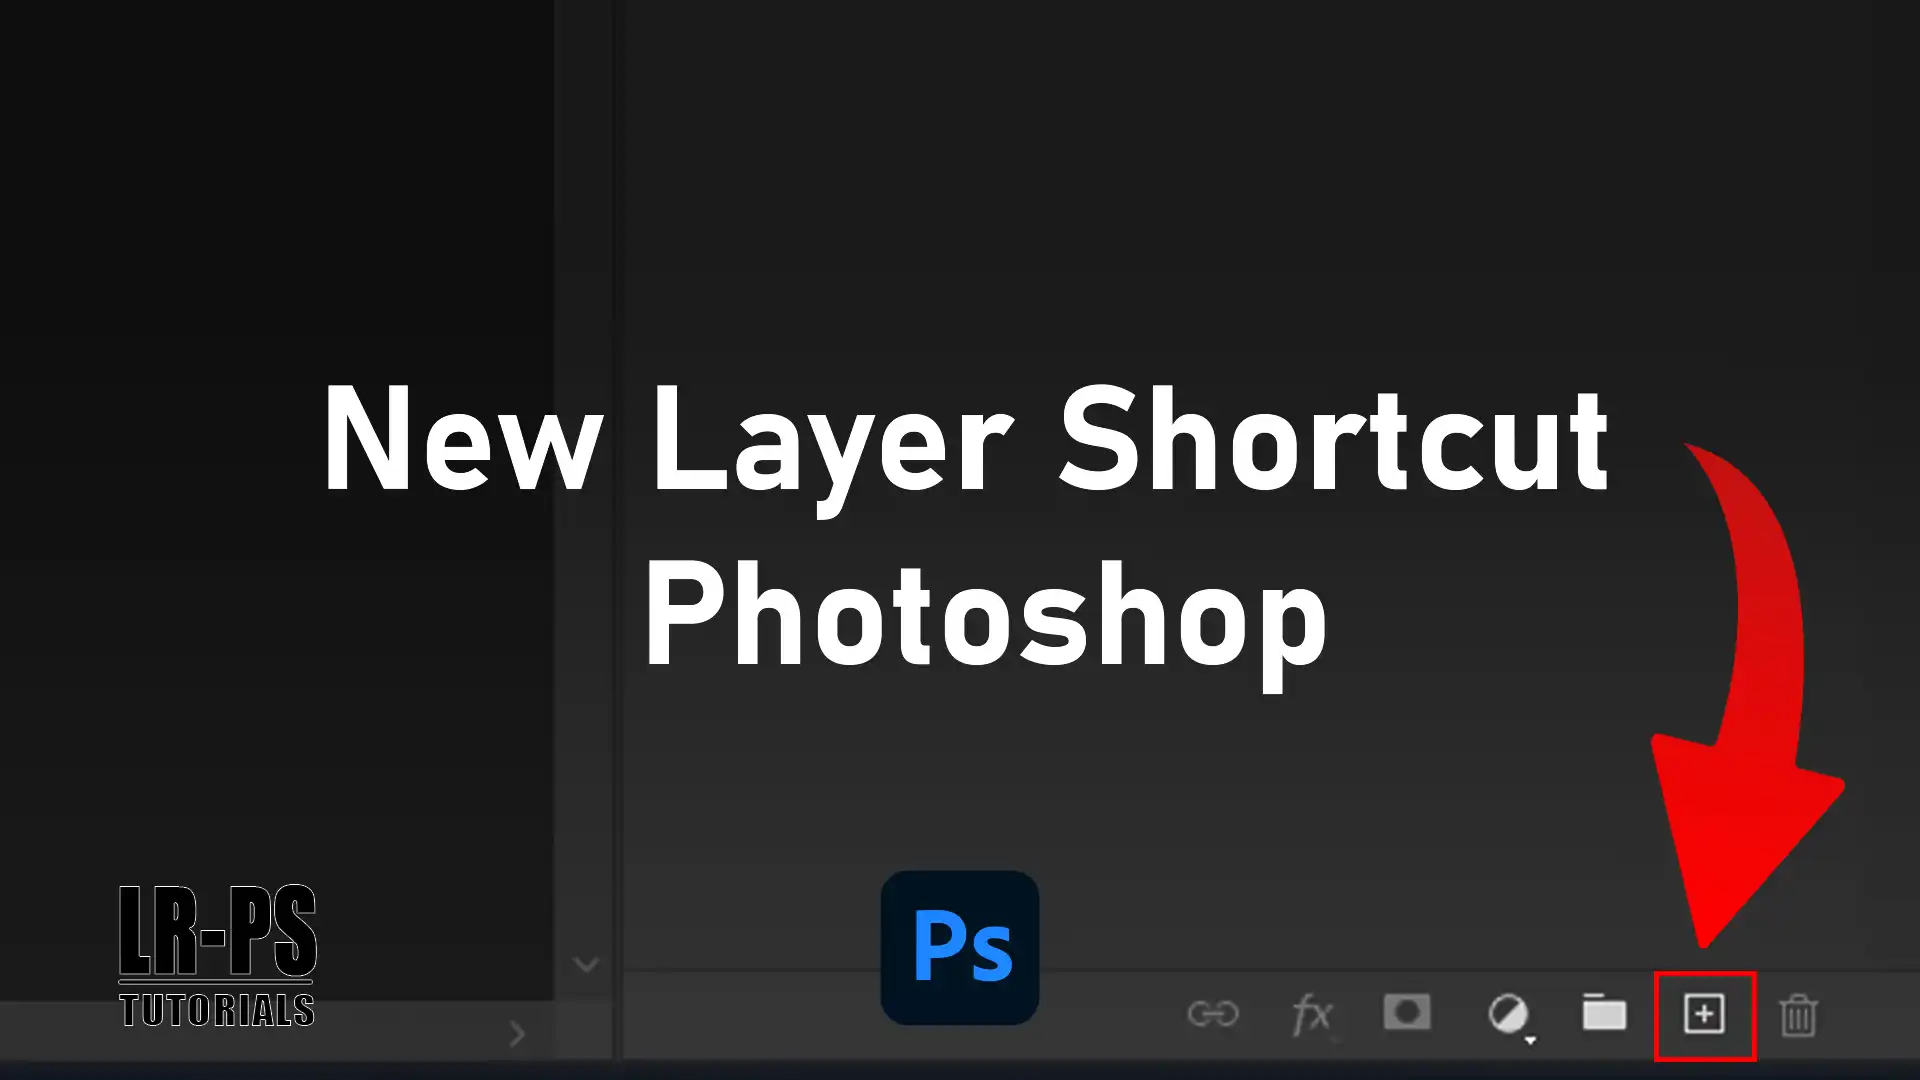
Are you struggling to find the new layer shortcut Photoshop?
You’re not alone.
In this article, I’ll guide you through the simple steps to create a new layer quickly and efficiently.
Discover how mastering this shortcut can save you time and enhance your workflow.
Stay with me, and you’ll be navigating Photoshop like a pro in no time.
Table of Contents
Why Use Layers Panel Shortcuts?
Let’s dive into why using layers shortcuts in Photoshop and Lightroom can be a game-changer for your photo editing journey.
Imagine you’re working on a photo, and you need to make quick adjustments. Instead of clicking around and using the quick selections tool, you can use Photoshop shortcuts to speed things up.
It’s like having a magic wand that makes everything faster and easier!
Speed Up Your Workflow With Photoshop Layer Shortcuts
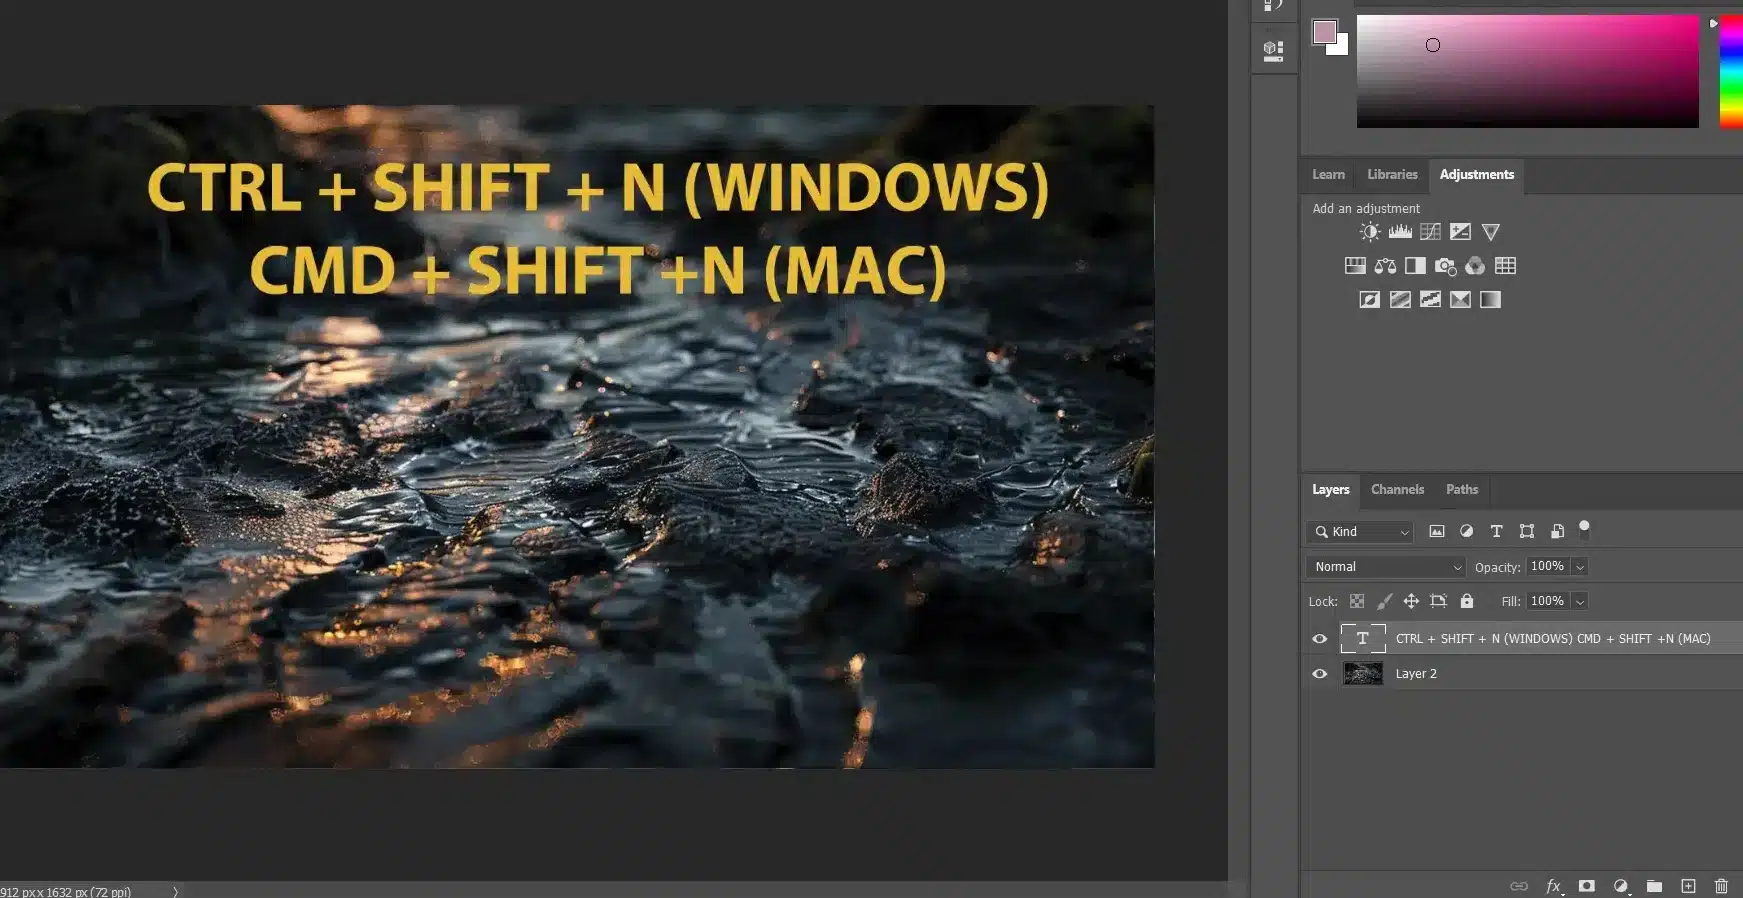
Layers shortcuts help you work faster. When editing photos, every second counts. Instead of going through menus, you can use a simple keyboard shortcut to create a new layer.
For example, pressing Ctrl + Shift + N (or Command key + Shift + N on a Mac) instantly brings up the new layer dialogue box.
This means you can keep your focus on your creative process without getting bogged down by technical steps.
Experimenting with tools and modes shortcuts , like the blending modes can speed up your workflow within Photoshop. Mastering blending modes allows you to create unique effects effortlessly, making your editing process more efficient and your creative output more dynamic.
Pressing Shift + ‘+’ or Shift + ‘-‘ cycles through blending modes, allowing you to find the perfect effect without breaking your flow.
Stay Organized
Using layer shortcuts also helps keep your layers panel organized. When you create a new layer, you can name it right away, making it easier to find later.
Imagine you’re editing a family photo and you want to add some text.
By using the new layer shortcuts, you can quickly add a text layer and name it “Family Text” This way, you won’t get lost in a sea of unnamed layers in the layers panel.
Real-Life Example
Let’s say you’re editing a landscape photo. You want to add some clouds to the sky.
Instead of manually creating a new layer, you can use the new layer icon shortcut.
Press Ctrl + Shift + N, name the layer “Clouds” and start painting with the brush tool. This saves you time and keeps your layers panel neat and tidy.
Example such as using the color tool can speed up your workflow with Photoshop.
Using shortcuts like Alt + Shift + Ctrl + B to access the Replace Color Tool allows you to quickly change specific colors, making your editing process more efficient and creative.
Custom Shortcut
Did you know you can create custom shortcut in Photoshop?
If there’s a specific action you use often, like merging layers in the layers panel, you can assign a custom shortcut to it.
This way, you can tailor Photoshop to fit your workflow perfectly. To do this, go to the Edit menu, select Keyboard Shortcuts, and customize away!
Using shortcuts like “S” to quickly access the clone stamp tool allows you to efficiently duplicate and edit parts of your image, making your editing process more streamlined and creative.
Enhance Your Creativity
Layers shortcuts aren’t just about speed, they also enhance your creativity.
By quickly creating one layer in the layers panel, you can experiment with different effects and blending modes without worrying about making mistakes.
If you don’t like the result, simply delete the one layer and start over. This freedom to experiment can lead to some amazing creative breakthroughs.
Additionally, using shortcuts like “L” to quickly access the lasso tool allows you to make precise selections easily, enhancing your editing efficiency and creativity.
Layer Stack
Imagine you’re working on a photo with multiple elements, like a collage.
Using layers shortcuts, you can quickly create new layer for each element and arrange them in the layer stack.
This makes it easy to move elements around and see how they interact with each other.
For instance, you can use the move tool to position a photo of a sunset on the top layer and adjust its blending mode to create a dreamy effect.
Load Layers Transparency
Here’s a cool trick: you can load layer transparency as a selection. Hold down the Ctrl key (or Cmd on a Mac) and click on the layer icon in the layers panel.
This selects all the non-transparent pixels in that layer, making it easy to apply adjustments or effects precisely where you want them.
Save Time with Photoshop Layer Shortcuts
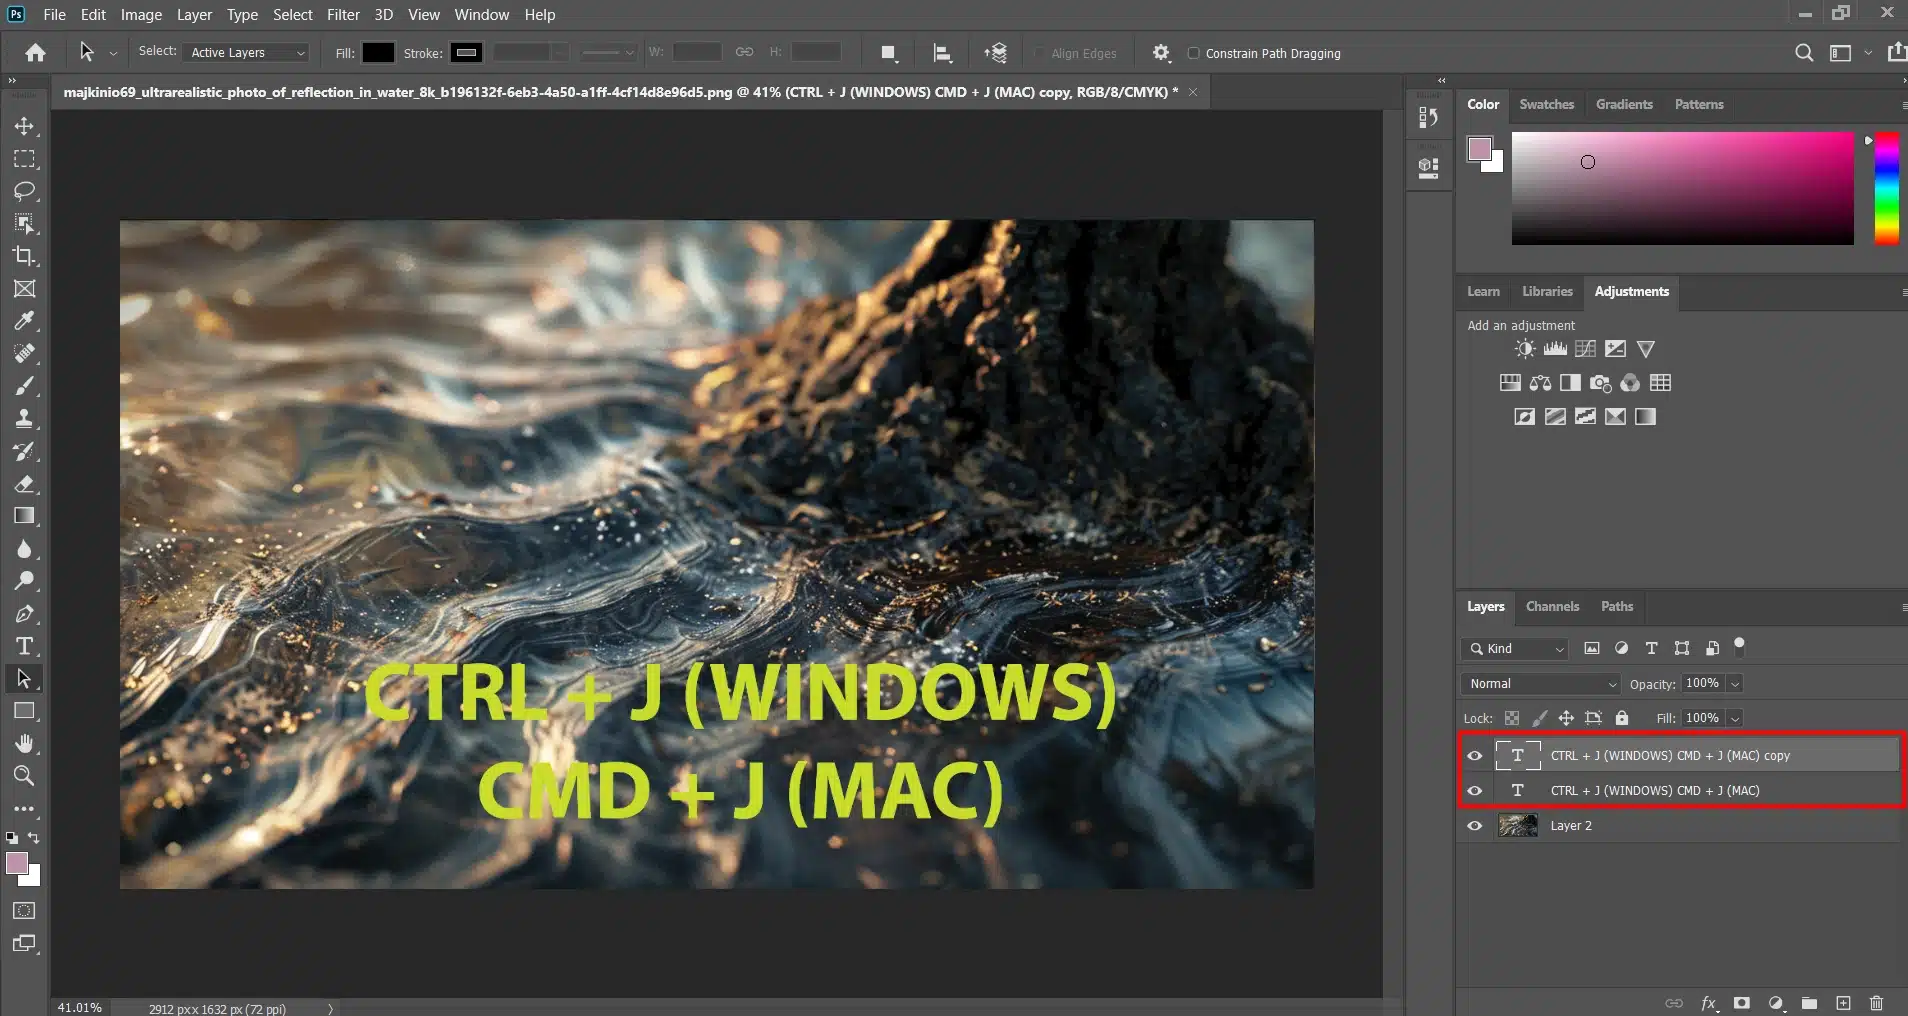
Using shortcuts for layers panel can save you a ton of time. For example, pressing Ctrl + J (or Cmd + J on a Mac) duplicates the selected layer.
This is super handy when you want to make a copy of a layer to try out different edits without affecting the original.
Editing Text
Let’s say you’re working on a poster and need to add some text. Instead of manually creating a new layer, you can use the new layer shortcuts to quickly add a text layer.
Press Ctrl + Shift + N, name the layer “Poster Text” and start typing. This keeps your workflow smooth and efficient.
Default New Layer Shortcut
Let’s talk about the default new layer shortcuts in Photoshop. This little trick can save you a ton of time and make your editing process smoother.
Imagine you’re working on a photo and you need to add a new layer quickly. Instead of navigating through the menu bar, you can use a simple keyboard shortcut.
It’s like having a secret code that makes everything faster!
Efficiently Managing Multiple Layers
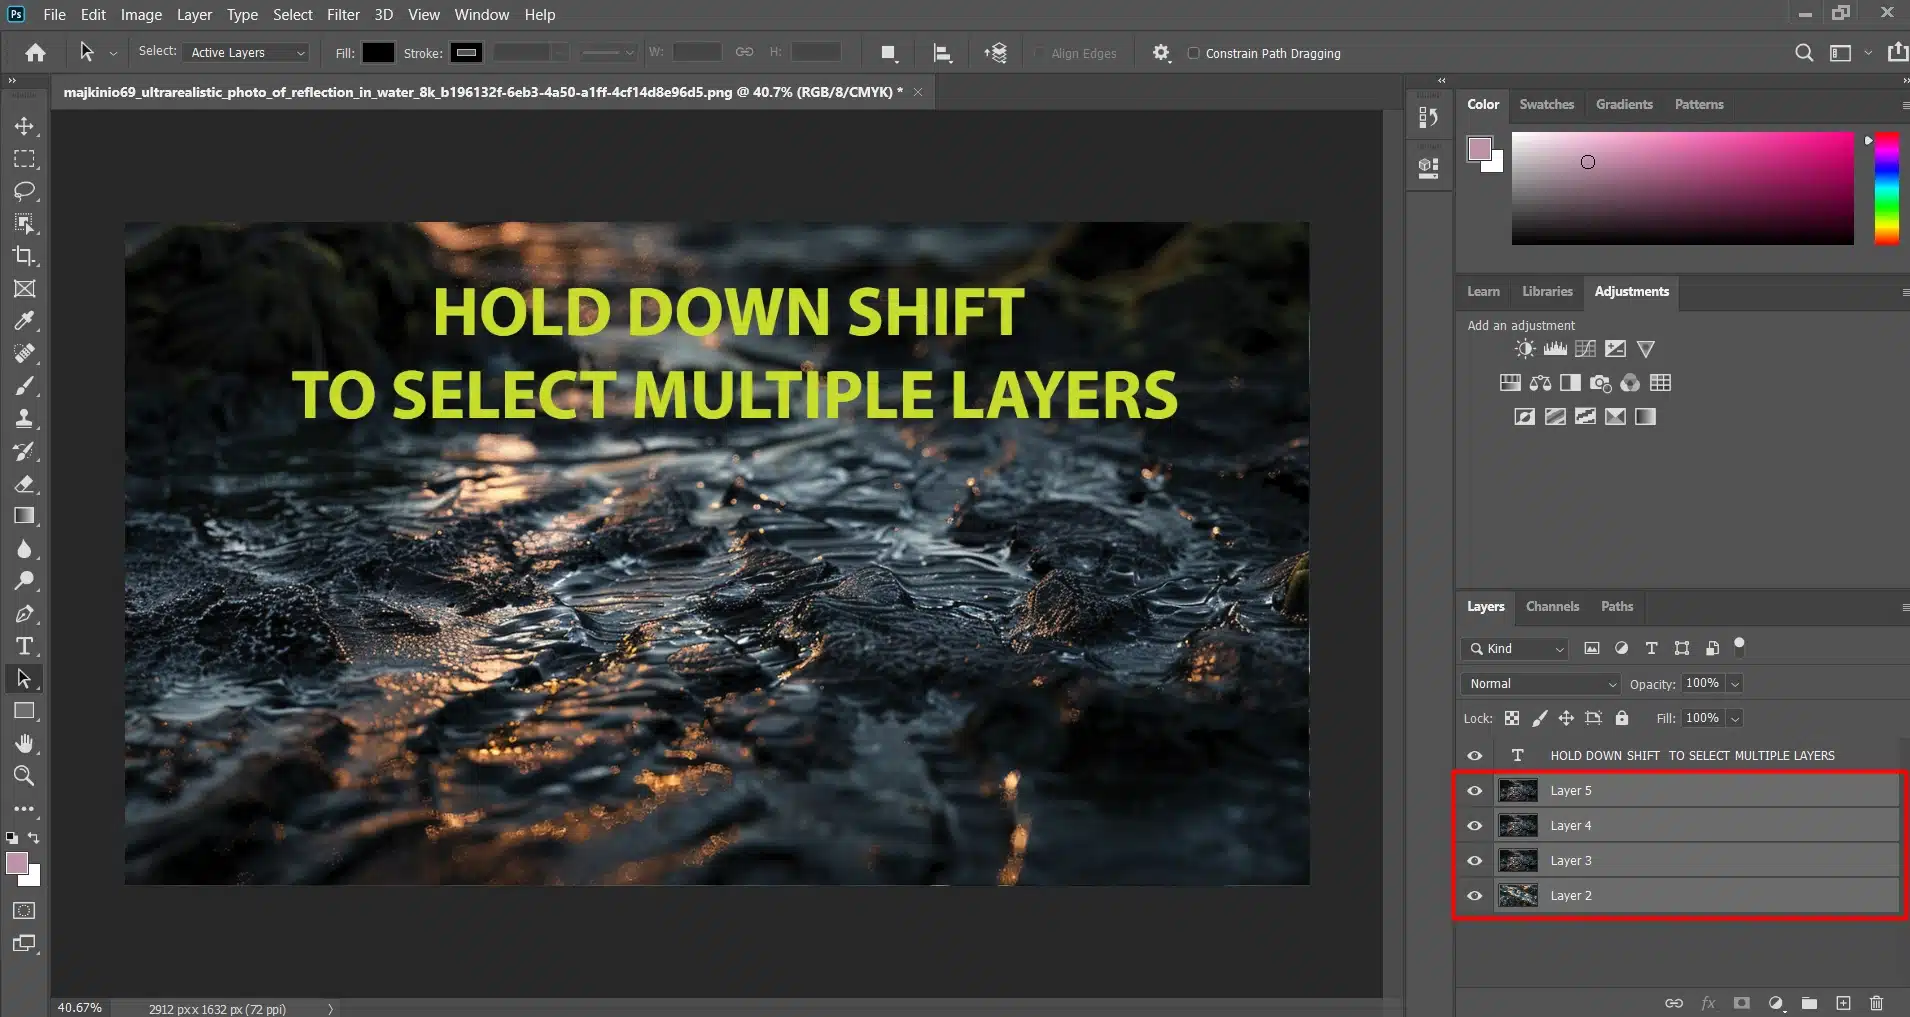
When working with multiple layers, holding down the shift while selecting layers can help you select multiple layers at once. This is useful when you want to move or apply adjustments to several layers simultaneously.
Windows shortcuts and Lightroom shortcuts that can make your editing process a breeze.
So, there you have it! Layers shortcuts are a fantastic way to speed up your workflow, stay organized, and enhance your creativity. Give them a try, and you’ll see how much easier and more fun photo editing can be!
Advanced Layers Shortcuts for Photoshop
Enhance your Photoshop efficiency with key shortcuts. This table outlines essential commands for layer management, helping you streamline your workflow quickly.
| Shortcut | Function | Use Case |
|---|---|---|
| Ctrl+E (Cmd+E on Mac) | Merge Layers | Quickly combine selected layers into one to simplify your layer stack. Useful for final adjustments. |
| Ctrl+J (Cmd+J on Mac) | Duplicate Layer | Create an exact copy of the selected layer. Ideal for testing different effects without altering the original. |
| Alt+Ctrl+G (Option+Cmd+G on Mac) | Create Clipping Mask | Clip a layer to the one below, restricting visibility to the lower layer’s shape. Great for complex compositions. |
Creating Clipping Masks
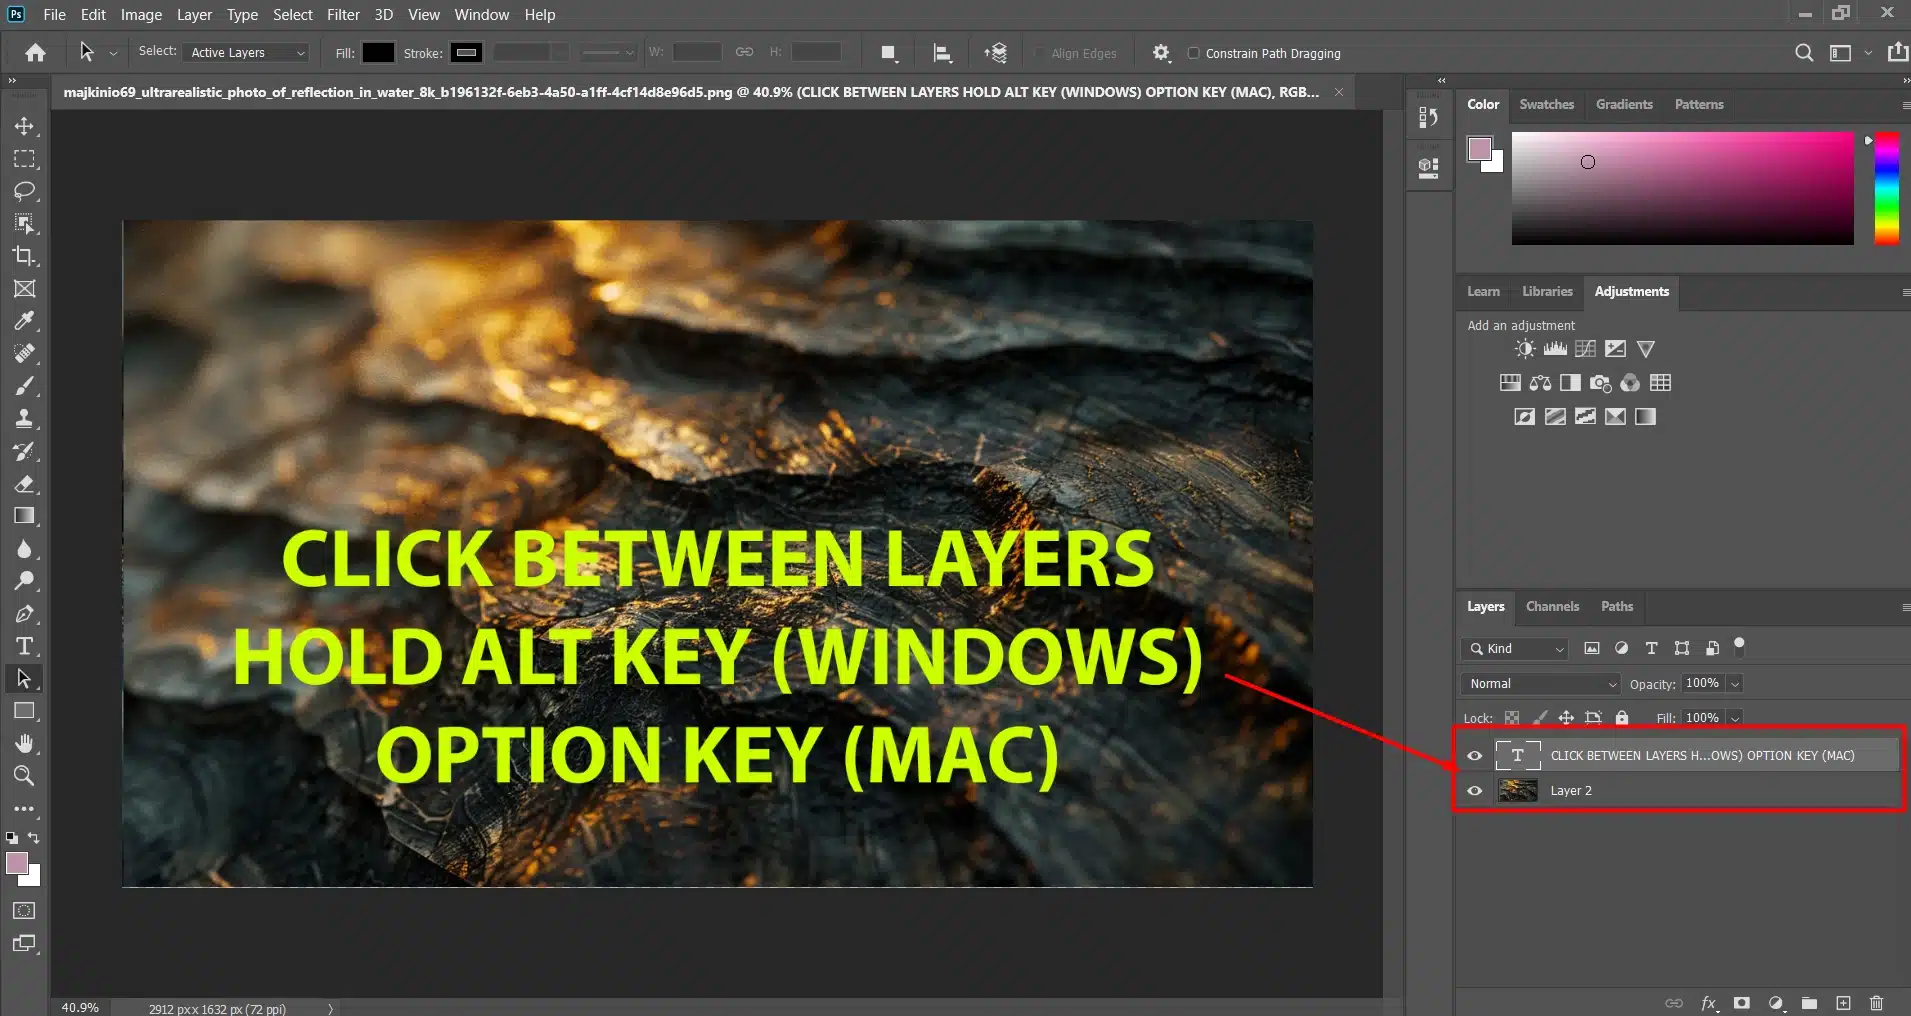
Creating clipping masks can streamline your workflow. I often use them to control which parts of a layer are visible.
This technique is essential for non-destructive editing. Let’s dive into how to create clipping masks efficiently.
- Select the layer you want to clip.
- Hold the Alt key (Option key on Mac).
- Click between the layers in the Layers Panel.
This technique is especially useful when combined with features such as the dodge and burn in Photoshop or other Lightroom essential tools.
Merging Layers Quickly
Merging layers is a quick way to simplify your Layers Panel. I find it handy when finalizing an image.
Here’s how to merge layers without losing your edits.
- Select the layers you want to merge.
- Press Ctrl+E (Command+E on Mac).
Duplicating Layers Efficiently
Duplicating layers is a frequent task in my editing process. It helps in trying out different effects without altering the original layer. Here’s how to duplicate layers quickly.
- Select the layer you want to duplicate.
- Press Ctrl+J (Command+J on Mac).
These shortcuts can save you time and make your editing process smoother. Keep practicing them to become more efficient in Photoshop.
Troubleshooting Photoshop Layers Shortcut Problems
Encountering issues with shortcuts related to layers can disrupt workflow and productivity.
Understanding common problems and their solutions can streamline your editing process and improve your Photoshop experience.
Resolving Shortcut Conflicts
Sometimes, Photoshop shortcuts can conflict with each other, causing frustration. Let’s fix those conflicts so you can work smoothly.
If your new layer shortcuts in Photoshop isn’t working, check for conflicts with other shortcuts.
- Go to Edit > Keyboard Shortcuts.
- Look for any conflicting shortcuts.
- Reassign or remove conflicting shortcuts.
Restoring Default Shortcuts
If you’ve customized your shortcuts and something goes wrong, restoring defaults can help. This ensures all Photoshop shortcuts work as intended.
- Go to Edit > Keyboard Shortcuts.
- Click on the Set dropdown menu.
- Select Photoshop Defaults.
Updating Photoshop for Shortcut Fixes
Sometimes, issues with shortcuts can be due to outdated software. Keeping Photoshop updated ensures you have the latest fixes and features.
- Open the Creative Cloud app.
- Check for updates under the Apps tab.
- Click Update next to Photoshop CC.
By following these steps, you can resolve most shortcut issues and get back to creating efficiently.
Pro Tip: Learn how to zoom with shortcuts to better manage layers shortcuts. Zooming in helps you focus on details and streamline your editing workflow.
Frequently Asked Questions

What is the shortcut to create a new layer in Photoshop?
To quickly create a new layer in Photoshop, you can use the following shortcut:
- Windows: Press Ctrl + Shift + N
- Mac: Press Cmd + Shift + N
This shortcut opens the ‘New Layer’ dialog box, where you can name your layer and set other properties before clicking OK to add it to your project.
How do I create a new layer in Photoshop fast?
For a speedy way to add a new layer without a dialog box:
- Simply press Ctrl + Shift + Alt Key + N on Windows or Cmd + Shift + Alt + N on Mac. This method adds a new layer directly above the active layer with a default name like "Layer 1."
What is Alt Ctrl G in Photoshop?
The Alt + Ctrl + G Photoshop shortcuts is used for creating a clipping mask. Here’s how it works:
- Select the layer you want to use as the mask.
- Hold down Alt + Ctrl + G on Windows or Option + Cmd + G on Mac. This groups the selected layer with the layer below, making the lower layer only visible where there’s content on the upper layer.
What does Ctrl+L do in Photoshop?
Using Ctrl + L (or Cmd + L on a Mac) in Photoshop opens the Levels adjustment to the new layer dialog box. This feature allows you to adjust the intensity levels of the shadows, midtones, and highlights in your image. Here’s what you can do:
- Move the black slider to adjust shadows.
- Move the grey slider to tweak midtones.
- Move the white slider to alter highlights. This tool is great for correcting the lighting and contrast of your image with precision.
Conclusion
Using layer shortcuts in Photoshop has transformed the way I work. By incorporating simple keystrokes, I can swiftly create a new layer, which allows me to focus more on the creative aspects of my projects.
If you’re eager to dive deeper and refine your skills, I highly recommend checking out this Photoshop course.
For those who toggle between both applications, this Lightroom course is also perfect for mastering another powerful tool in your creative arsenal. And for more resources directly from the source, visit the Adobe Lightroom page to discover a wealth of tools and tutorials that can enhance your photo editing skills.
Remember, mastering these shortcuts can significantly enhance your editing workflow, giving you more time to unleash your creativity.
Give them a try, and see the difference for yourself!
Read more about Photoshop:


