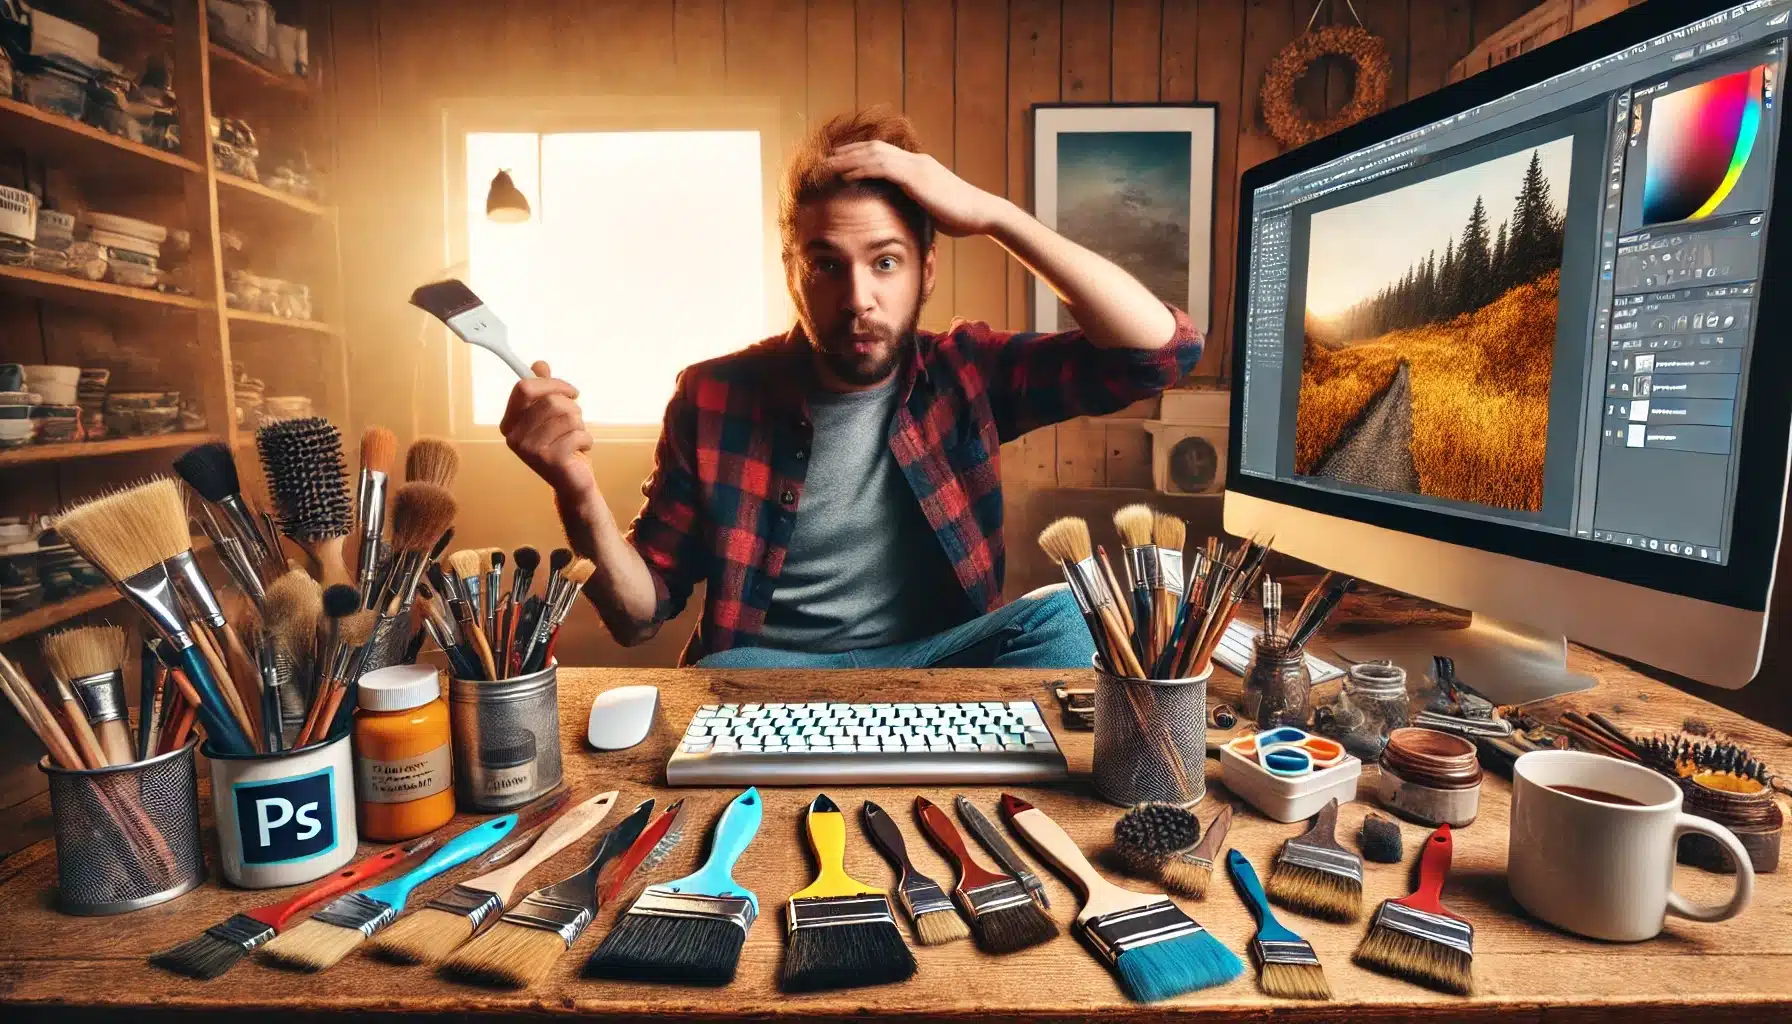
How to Make a Brush in Photoshop: A Step-by-Step Guide
How to Make a Brush in Photoshop: A Step-by-Step Guide
Ever wondered how to make a brush in Photoshop?
Imagine the possibilities of creating your own unique brushes tailored to your creative needs.
In this guide, I’ll show you the simple steps to craft custom brushes in Photoshop that can elevate your designs.
Whether you’re a beginner or a seasoned artist, mastering this skill will open up new avenues for your creativity. Intrigued?
Let’s dive in and explore the world of custom brushes together!
Table of Contents
How to Make a Brush in Photoshop
Creating custom brush in Photoshop allows you to add a unique touch to your artwork and streamline your workflow.
Step-by-Step Guide to Creating a Custom Brush
Custom brush in Photoshop offer several advantages that can significantly enhance your creative process:
Select Your Base Image
You start by selecting the image you want to use for your custom brush. This image can be anything from a texture to a specific design.
Define Your Brush Tip
Use the Marquee Tool to select the part of the image you want. Then, go to Edit > Define Brush Preset and name your new brush.
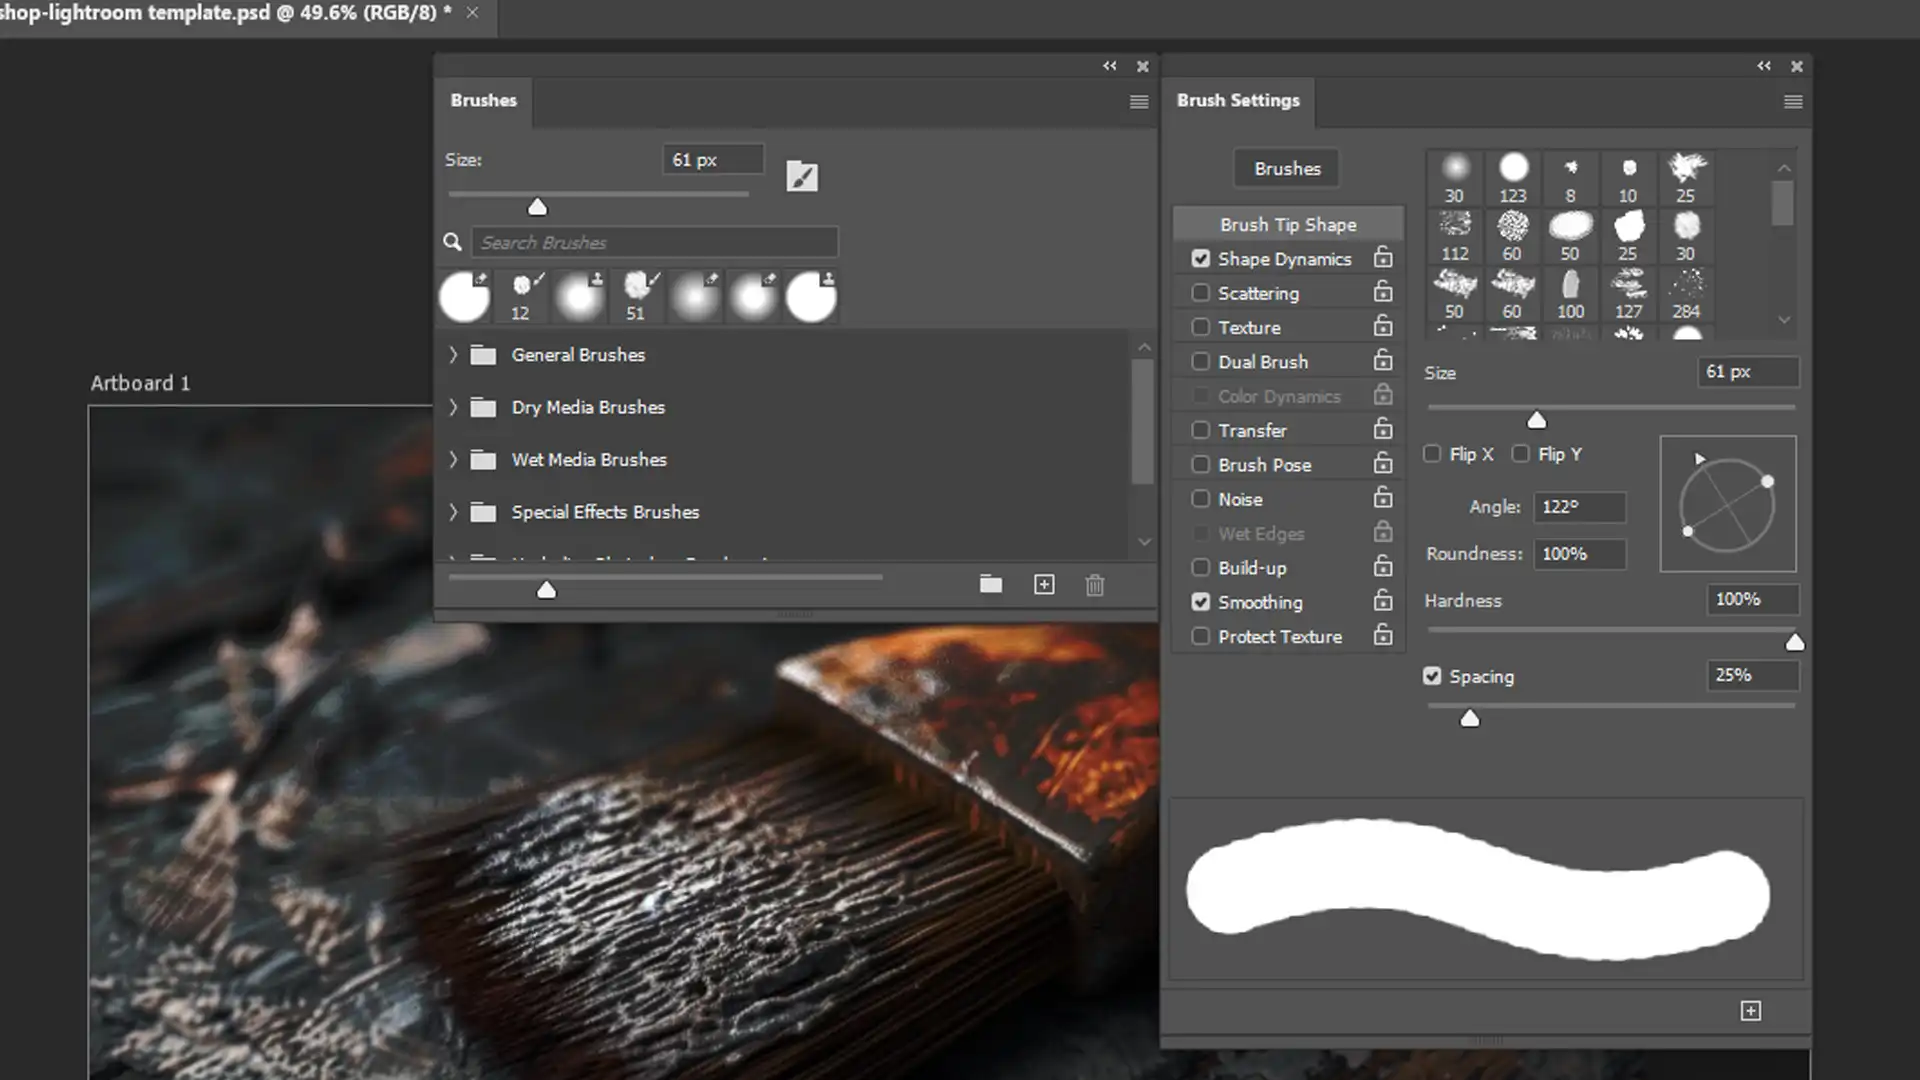
Adjust Brush Settings
Head over to the Brushes panel. Here, you can change the brush tip shape, size, and other settings.
Adjusting these settings customizes how your brush behaves when used.
Test Your Brush
Select the brush tool from the toolbar and test your new brush on a blank canvas.
Experiment with different brush stroke to understand the impact of various settings.
Saving and Organizing Your Custom Brushes
Once you’re happy with how your new brush performs, it’s time to save and organize it for future use.
Save Brushes
With your brush active, click on the Brushes panel window menu (three horizontal lines) and select “New Brush Preset” .
This will save your custom brush in Photoshop.
Organize Your Brushes
You can use the Brushes Panel to manage your brushes.
Group similar ones together by creating new folders or sets.
This keeps your workspace tidy and makes it easier to find what you need.
Pro Tip: To ensure seamless brush strokes, adjust the spacing in the brush settings.
This creates a smoother result, especially for horizontal brush strokes.
Advanced Techniques for Custom Brushes
In this section, we’ll dive into more sophisticated methods for creating and using custom brushes in Photoshop.
These techniques will help you leverage the full potential of your brushes, allowing for greater creativity and precision in your work.
From combining multiple brush settings to experimenting with advanced textures and dynamics, these strategies are designed to enhance your workflow and produce more professional results.
Mastering advanced techniques for custom brushes in Photoshop can be incredibly powerful.
Adjust the brush settings like size, shape, and spacing to match your needs.
Change the brush tip alignment for unique effects on your artwork.
Test the brush by making a few strokes on a new layer.
If satisfied, save it as a new brush to keep your adjustments for future use.
Creating Brushes from Images
Creating custom brushes from images is straightforward:
Select a part of an image using the Marquee Tool.
Go to Edit > Define Brush Preset.
Name your new brush and click OK.
The brush thumbnail will now appear in the brushes panel.
Customize it further by tweaking various brush presets.
Try different brush tip sizes, shape dynamics for better results.
Efficient Brush Management
After creating your custom photoshop brushes, it’s essential to organize them:
Create folders in the brushes panel for different projects or styles.
Use descriptive names for each folder for easy access.
Save brushes regularly to prevent loss and ensure that your customizations remain intact.
Using Custom Photoshop Brush
Once you have your custom photoshop brush, it’s time to use it:
Select the brush tools and choose your desired brush.
Experiment with different brush strokes on your canvas.
Observe how the brush interacts with various textures and layers.
Adjust settings as needed for a seamless brush stroke.
Mix and match custom photoshop brushes for unique effects.
Pro Tip : Always keep an eye on your brush stroke preview. This aids in achieving consistent results with your own custom brushes.
The Brush Tool is one of the essential tools in Photoshop which along side Photoshop’s shortcuts enable precise and versatile painting, drawing, and retouching by allowing users to apply a wide range of textures, effects, and colors to their projects.
Using the Brush Tool Effectively
The Brush Tool in Photoshop is a powerful feature that can greatly enhance your creative projects.
To use it effectively, it’s important to understand how to customize and control its settings.
Start by selecting the right brush size and hardness for your task.
Brush Tool Settings and Options
The Brush Tool in Photoshop offers a range of settings and options that allow for fine-tuned control over your painting and editing.
Selecting the Right Brush
Select the right brush from the brushes panel.
This choice affects how your artwork appears.
Explore different brushes in photoshop to find what fits your needs.
Adjusting Brush Settings
Adjust settings like size, shape dynamics, and spacing.
These options help you achieve varied effects.
Fine-tuning these settings makes a big difference.
Each brush behaves uniquely with different textures.
Understanding this makes your work more nuanced.
Adjusting for Seamless Strokes
Adjust settings for seamless brush strokes.
Small tweaks can eliminate unattractive glitches.
Such adjustments deliver professional-quality outcomes.
Mixing and Matching Brushes
Mix and match custom Photoshop brushes for unique effects.
Combining different brushes opens new possibilities.
This method provides endless creative potential.
Monitoring Brush Stroke Preview
Monitor brush stroke previews for consistent results.
This ensures your strokes look intentional and uniform.
Previews offer immediate feedback for better control.
Maximizing Efficiency with Saved Custom Brush Sets
Save an active brush set for quick access. Having your favorite brushes ready speeds up your workflow.
It’s a small step that can immensely impact your efficiency.
Pen pressure in Photoshop refers to how the software responds to the varying levels of pressure you apply with a stylus or tablet.
When enabled, it allows for more dynamic and natural strokes, such as varying line thickness or opacity, based on how hard you press the pen.
This feature is especially useful for digital painting and detailed illustration, as it mimics the effects of traditional media like pencils and brushes.
Adjusting the pen pressure settings can help you achieve more precise and expressive artwork.
When using the brush tool effectively, incorporating the spot healing brush can enhance your edits significantly.
This tool helps seamlessly correct imperfections, blending your changes naturally.
Incorporating Custom Brushes into Your Workflow
Your custom brush in Photoshop can greatly enhance your creative process, allowing you to achieve unique effects and streamline your work.
Feature
Photoshop Custom Brushes
Lightroom Brushes
Customization Options
High (Shape, Texture, etc.)
Limited to presets
Ease of Use
Moderate (Requires setup)
Easy (Preset application)
Versatility
Very High (Artistic, Textures)
Moderate (Basic adjustments)
Integration
Seamless with layers and tools
Limited to editing adjustments
Learning Curve
Steeper (Advanced settings)
Gentle (Simple application)
Enhancing Digital Art with Custom Brushes
Digital art thrives on creativity and flexibility. A custom Photoshop brush can elevate your work to new heights, providing distinctive effects.
To begin, you select a basic Photoshop brush from the brush panel. Adjust its settings like size and shape for specific needs.
Try varying the brush tip alignment to produce unique strokes.
Testing a brush configuration on a new layer ensures it meets your expectations.
Creating your own brushes means more control. You can tailor the specifics down to every tiny detail.
Save these customizations as new brushes so you can use them again. Remember, the Marquee Tool helps you define exact areas for your customizations.
Simple, right?
Accessibility improves when you name each custom brush carefully. So, take your digital art seriously by incorporating these specialized tools.
Pro Tip: Experiment with mixing different brushes to discover unique effects. It often brings surprising results.
Organizing Your Brush Library
A chaotic brush library can slow you down.
Organize it for better productivity.
Start by keeping brushes in folders. Name them descriptively for quick identification.
Regularly save your brushes to prevent their loss-simple yet effective.
For example, naming folders based on the brush type or project scope saves time.
Keeping your workspace clean enhances focus, ensuring a productive workflow.
To sum up, a well-managed brush library is essential. It helps in quickly finding the right tool.
Saving an active brush set allows easy access to favorites.
Monitor brush stroke previews, this provides consistency. After all, efficiency impacts overall artistry.
And, of course, regularly save your progress to keep things smooth.
Pro Tip: Create a master folder for daily-use brushes and update it once a month. This keeps your tools fresh and relevant.
Organizing your brush library can be enhanced by knowing how to add shapes to your collection.
By effectively managing your brush library, you ensure that custom shapes are always at your fingertips
Troubleshooting Common Brush Issues in Photoshop
Using custom brush in Photoshop can sometimes lead to unexpected issues.
If your brushtool isn’t working as expected, there are a few commonissues to check.
Check Settings
Often, a brush problem roots in settings. Ensure size, opacity, and flow are correctly adjusted.
Correct Layers
Always check if painting on the right layer.
Locked or invisible layers can interrupt your work.
Reset Preferences
If settings appear right and the brush still does not work, reset Photoshop preferences.
It clears unexpected issues.
Check Brush Tip
Verify if the brush tip isn’t worn out or a custom one causing issues.
Switching to default often helps.
Restart
Simple but effective. Restarting your software or device can resolve many unforeseen problems.
Optimizing Brush Performance
To optimize brushperformance in Photoshop, adjust brush settings for efficiency, use the latest softwareupdates, and managesystem resources effectively.
Adjust Brush Settings
Tweak brush settings regularly.
Playing with size, hardness, and spacing can surprise you.
Use Correct Brush Tip
Choosing the right brush tip for your project is fundamental.
Different tips provide various effects.
Create Own Brushes
Customize tools by creating your own brushes.
Tailored brushes offer better control.
Organize Brushes
Keep your brushes organized.
Use descriptive names and folders for easy access.
Save Regularly
Workflows are smooth when brushes are saved regularly.
Pro Tip: Always test new brushes on a separate layer. Helps in maintaining primary artwork’s integrity and ensures you achieve the desired effect easily.
Frequently Asked Questions
How do I make my own brush in Photoshop?
Making your own brush in three easy steps:
Step 1: Open Photoshop and select the Brush Tool from the toolbox.
Step 2: Go to the Edit menu and choose Define Brush Preset.
Step 3: To save your brush, choose define brush preset, name your brush, and click OK..
How to create a brush in Photoshop Elements?
Creating a new brush in photoshop:
Step 1: Select the Brush Tool or press B on your keyboard.
Step 2: Choose a brush from the existing presets or use an image to create a new brush.
Step 3: Edit the brush settings as needed and save the preset.
How to make a brush stamp in Photoshop?
To make a brush stamp follow these steps:
Step 1: Create or select the image you want to use as a stamp.
Step 2: Use the Rectangular Marquee Tool to select the area for the brush.
Step 3: Go to Edit and select Define Brush Preset.
Step 4: Name your stamp and click OK.
How do you make a bristle brush in Photoshop?
Bristle Brush in few steps:
Step 1: Select the Brush Tool and open the Brush panel.
Step 2: Choose a bristle brush from the brush presets.
Step 3: Adjust the brush settings like stiffness, thickness, and length to customize your bristle brush.
Step 4: Experiment with your brush on a new layer to see the effects.
$2,061.00Original price was: $2,061.00.$1,061.00Current price is: $1,061.00. 27584
Download Your Free Guide Now!
Discover the secrets of photography with our printable guide! Master essential techniques like aperture, shutter speed, and ISO to create stunning images. Get your free printable PDF now and start turning your snapshots into masterpieces!