Ever wondered how to center text in Photoshop effortlessly? You’re not alone. Many creatives face this common challenge when working on their designs. Imagine transforming your project from chaotic to orderly with just a few clicks.
Mastering this simple yet significant skill can elevate your design game, making your work look professional and polished.
I promise, by the end of this article, you’ll not only understand the step-by-step process but also feel confident applying it to your own projects.
Let’s dive in and unlock the secret to perfectly centered text in Photoshop.
Table of Contents
Why Center Text? Understanding the Basics
Centered text can make your design look balanced. When working with Adobe Photoshop, knowing how to center your content is important.
Rather than guessing where the text belongs, learn how alignment tools work to place text in Photoshop at the exact spot.
Overview of Photoshop Tools for Text Alignment
Understanding how to utilize Photoshop tools for text alignment can significantly enhance your design work.
By using a text box, you can easily manage your text and ensure it fits well within your layout. This guide will help you learn how to align text effectively and perfectly center text for a polished finish.
Getting Started with the Text Tool
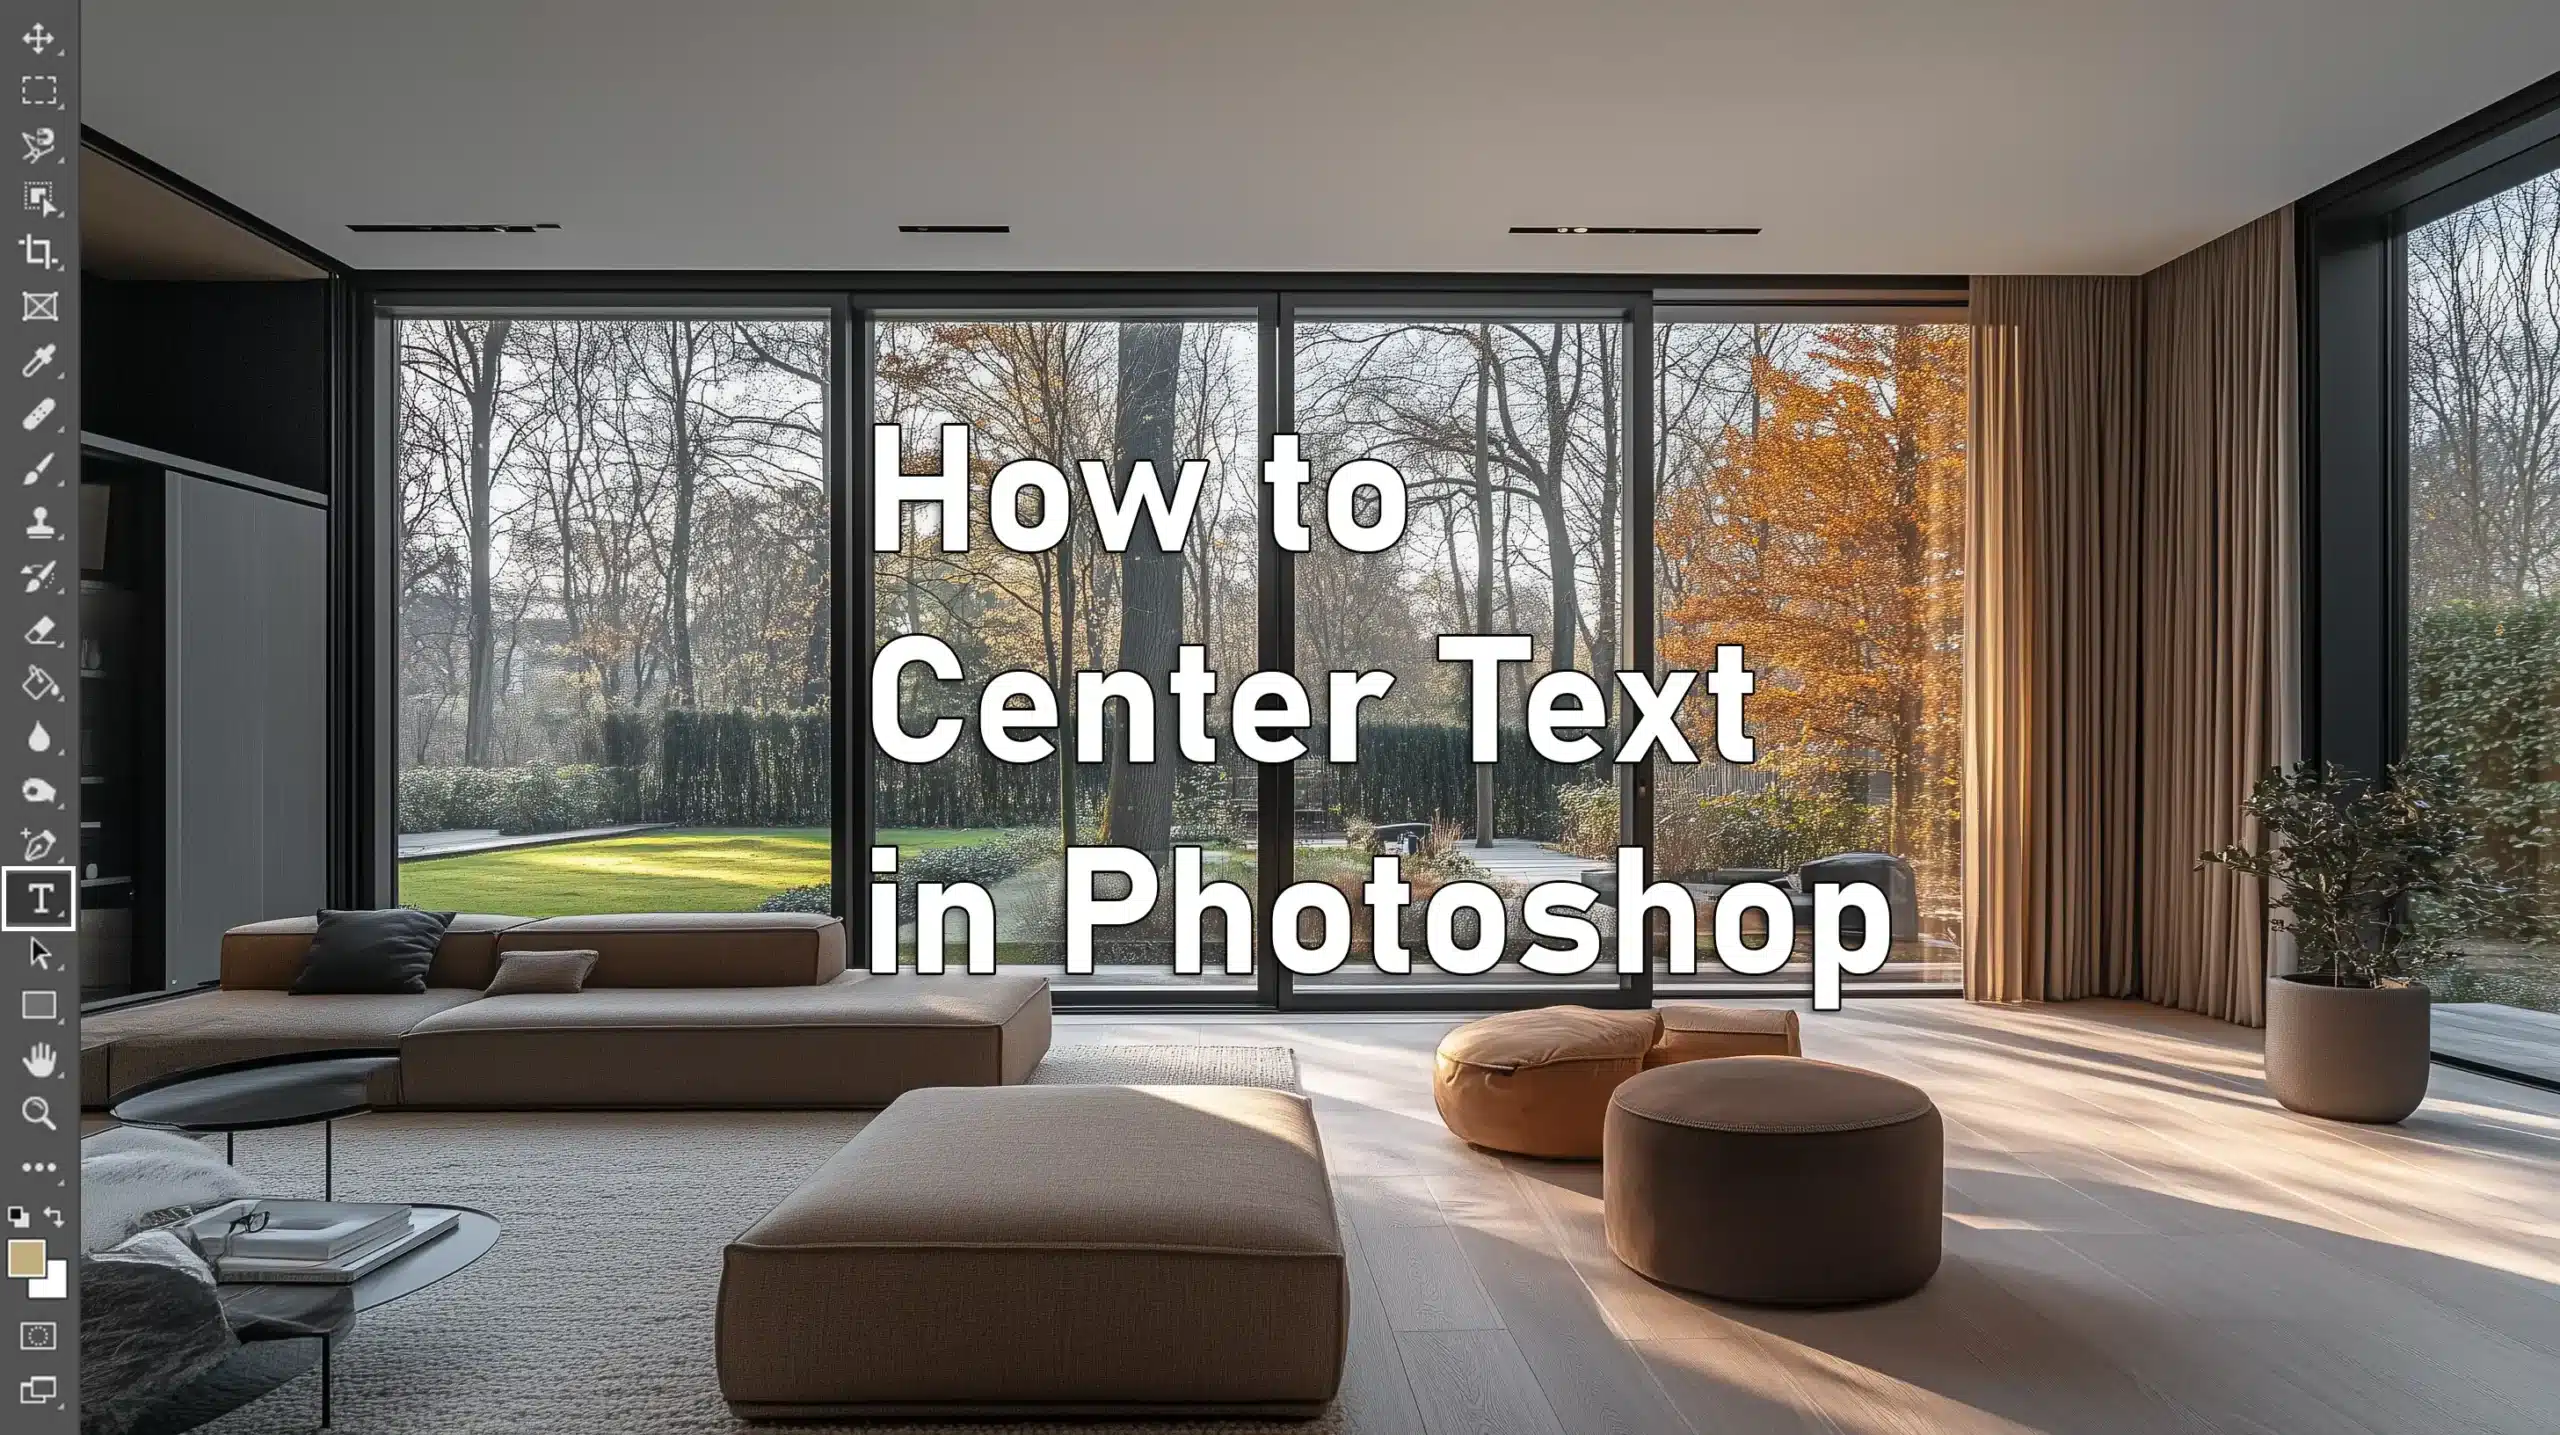
To start, you need to locate the tool in the toolbar. It’s the “T” icon, always ready for action. Clicking it lets you create a text box on your canvas.
Immediately, you see the options bar pop up with a myriad of settings.
Using the Menu Bar for Alignment
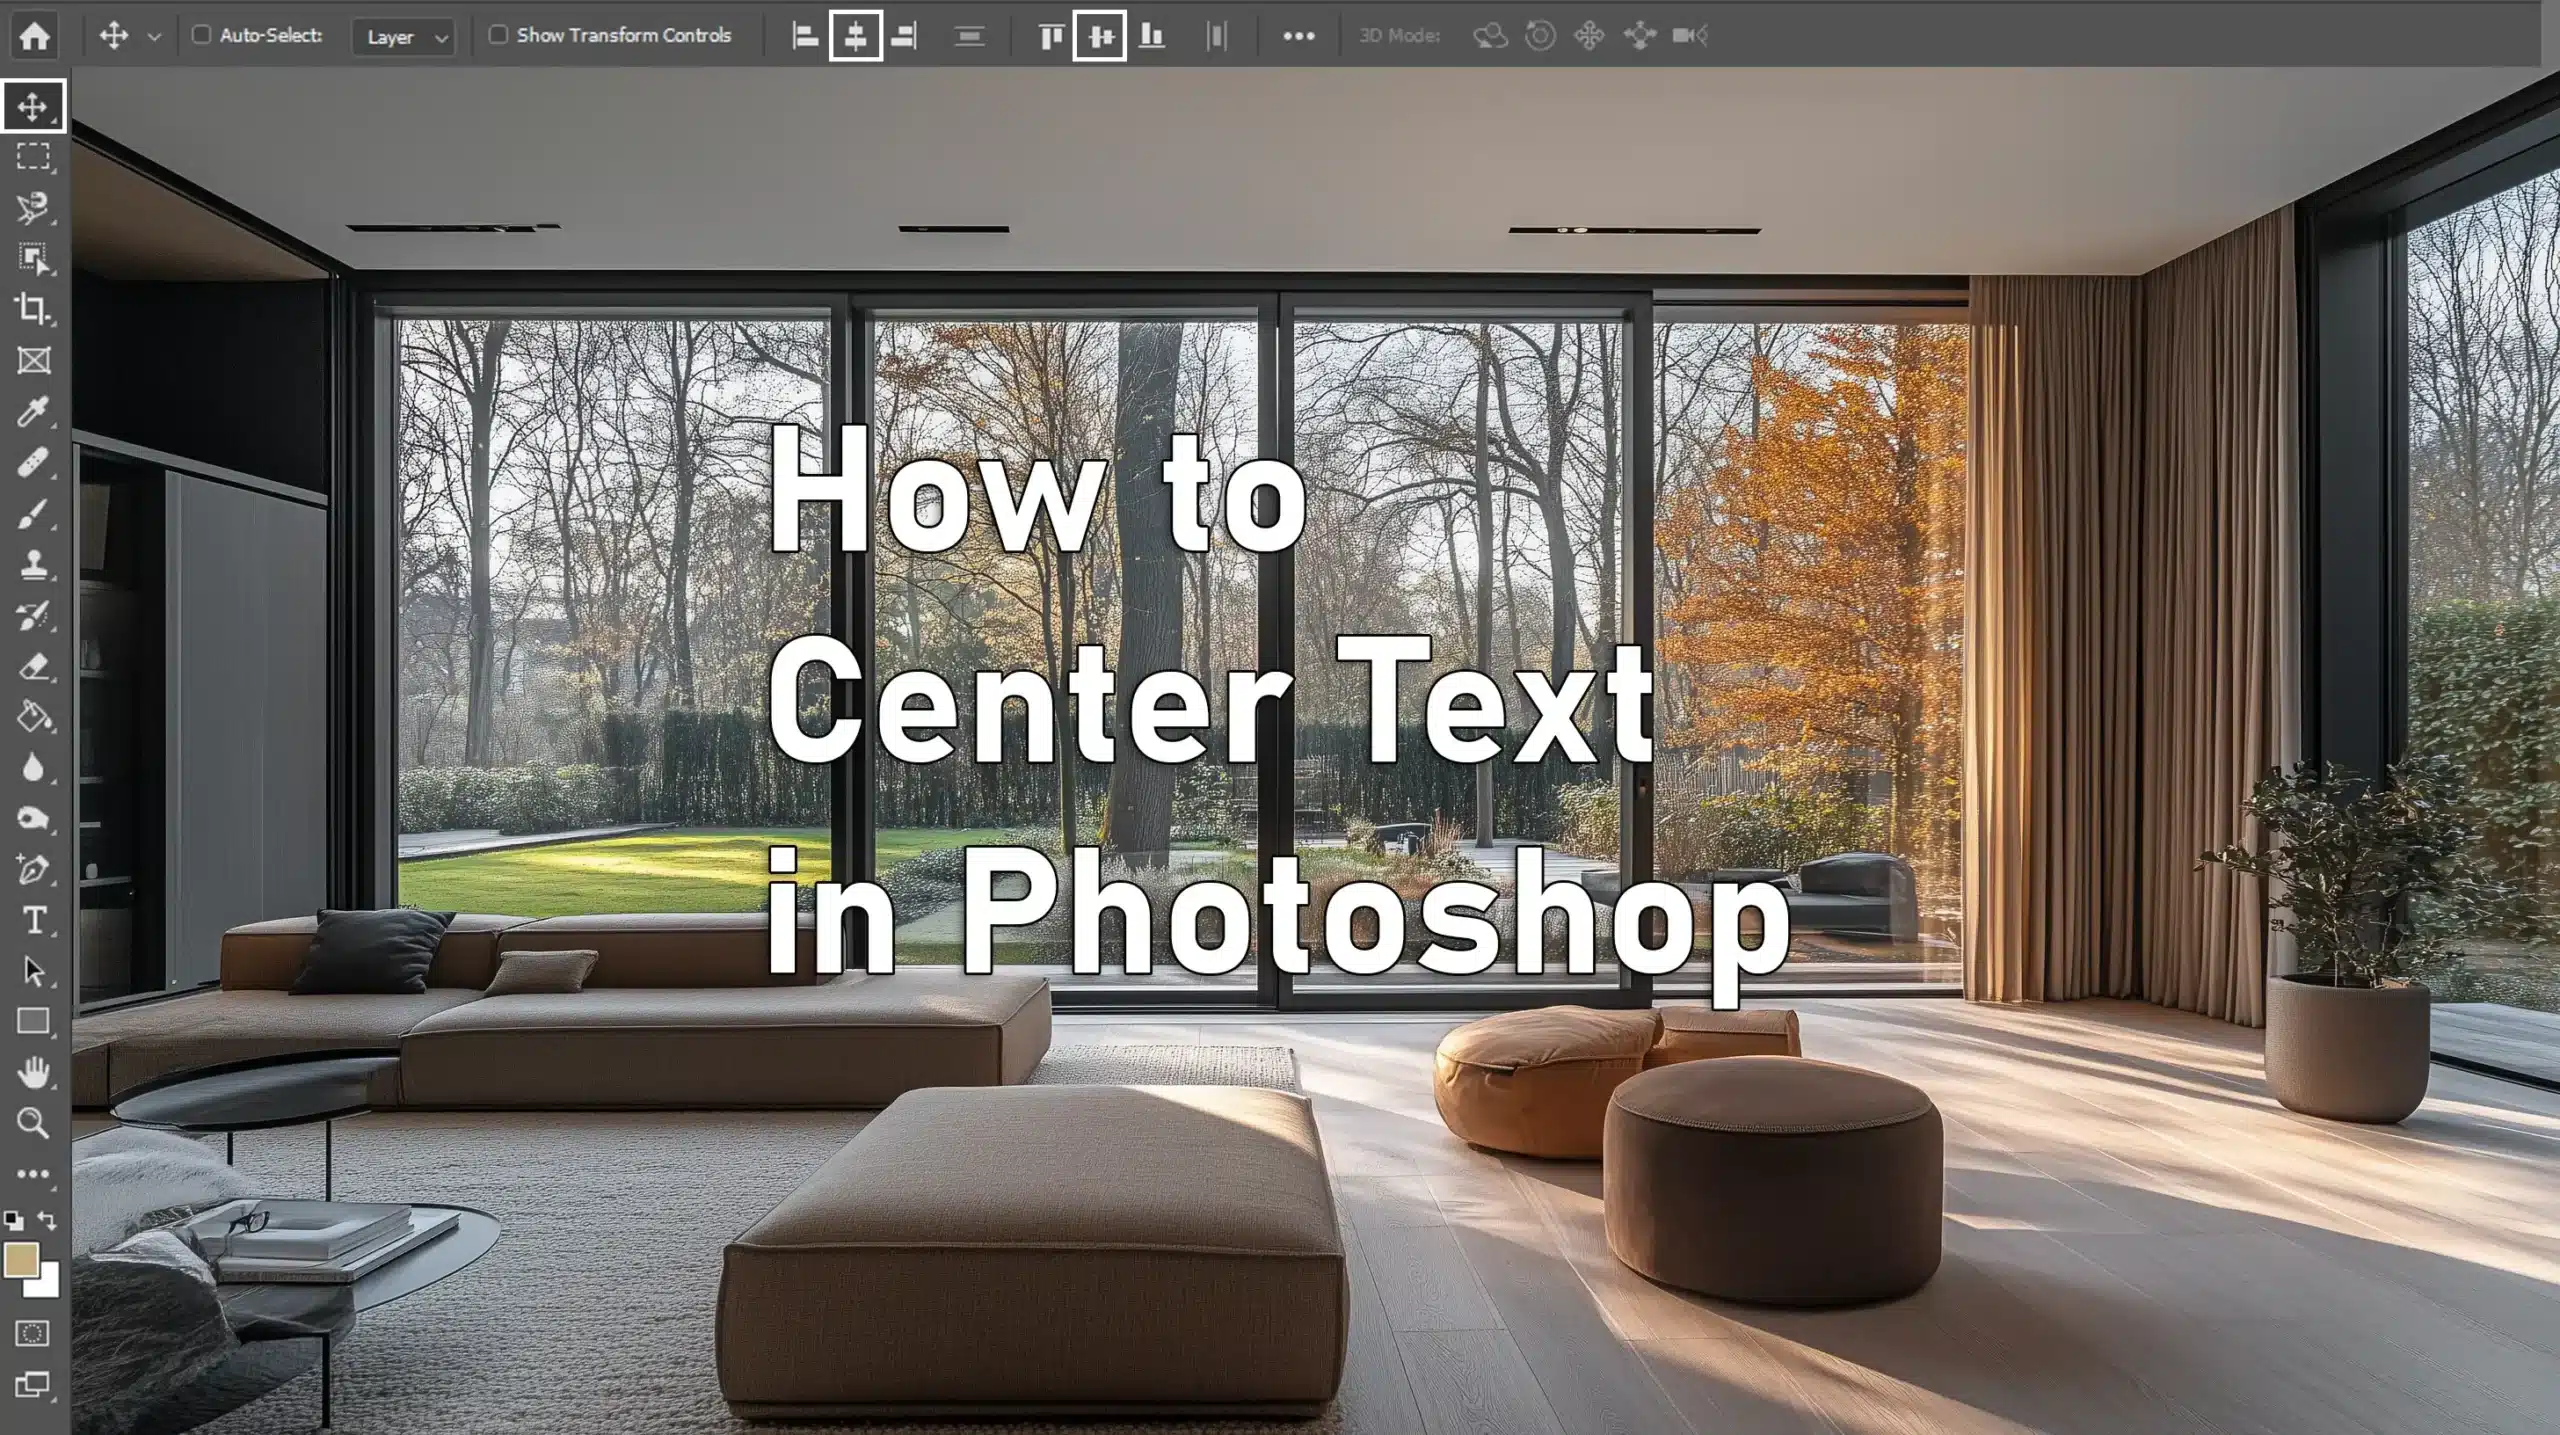
Once you have your text layer, it’s time to explore the menu bar. Here, you find important features like aligning horizontal and aligning vertical centers.
What’s great about using the move tool is that it offers flexibility, allowing you to center text vertically or horizontally depending on your needs.
The approach involves selecting your entire canvas area and ensuring your text fits perfectly.
Navigating the Layers Panel
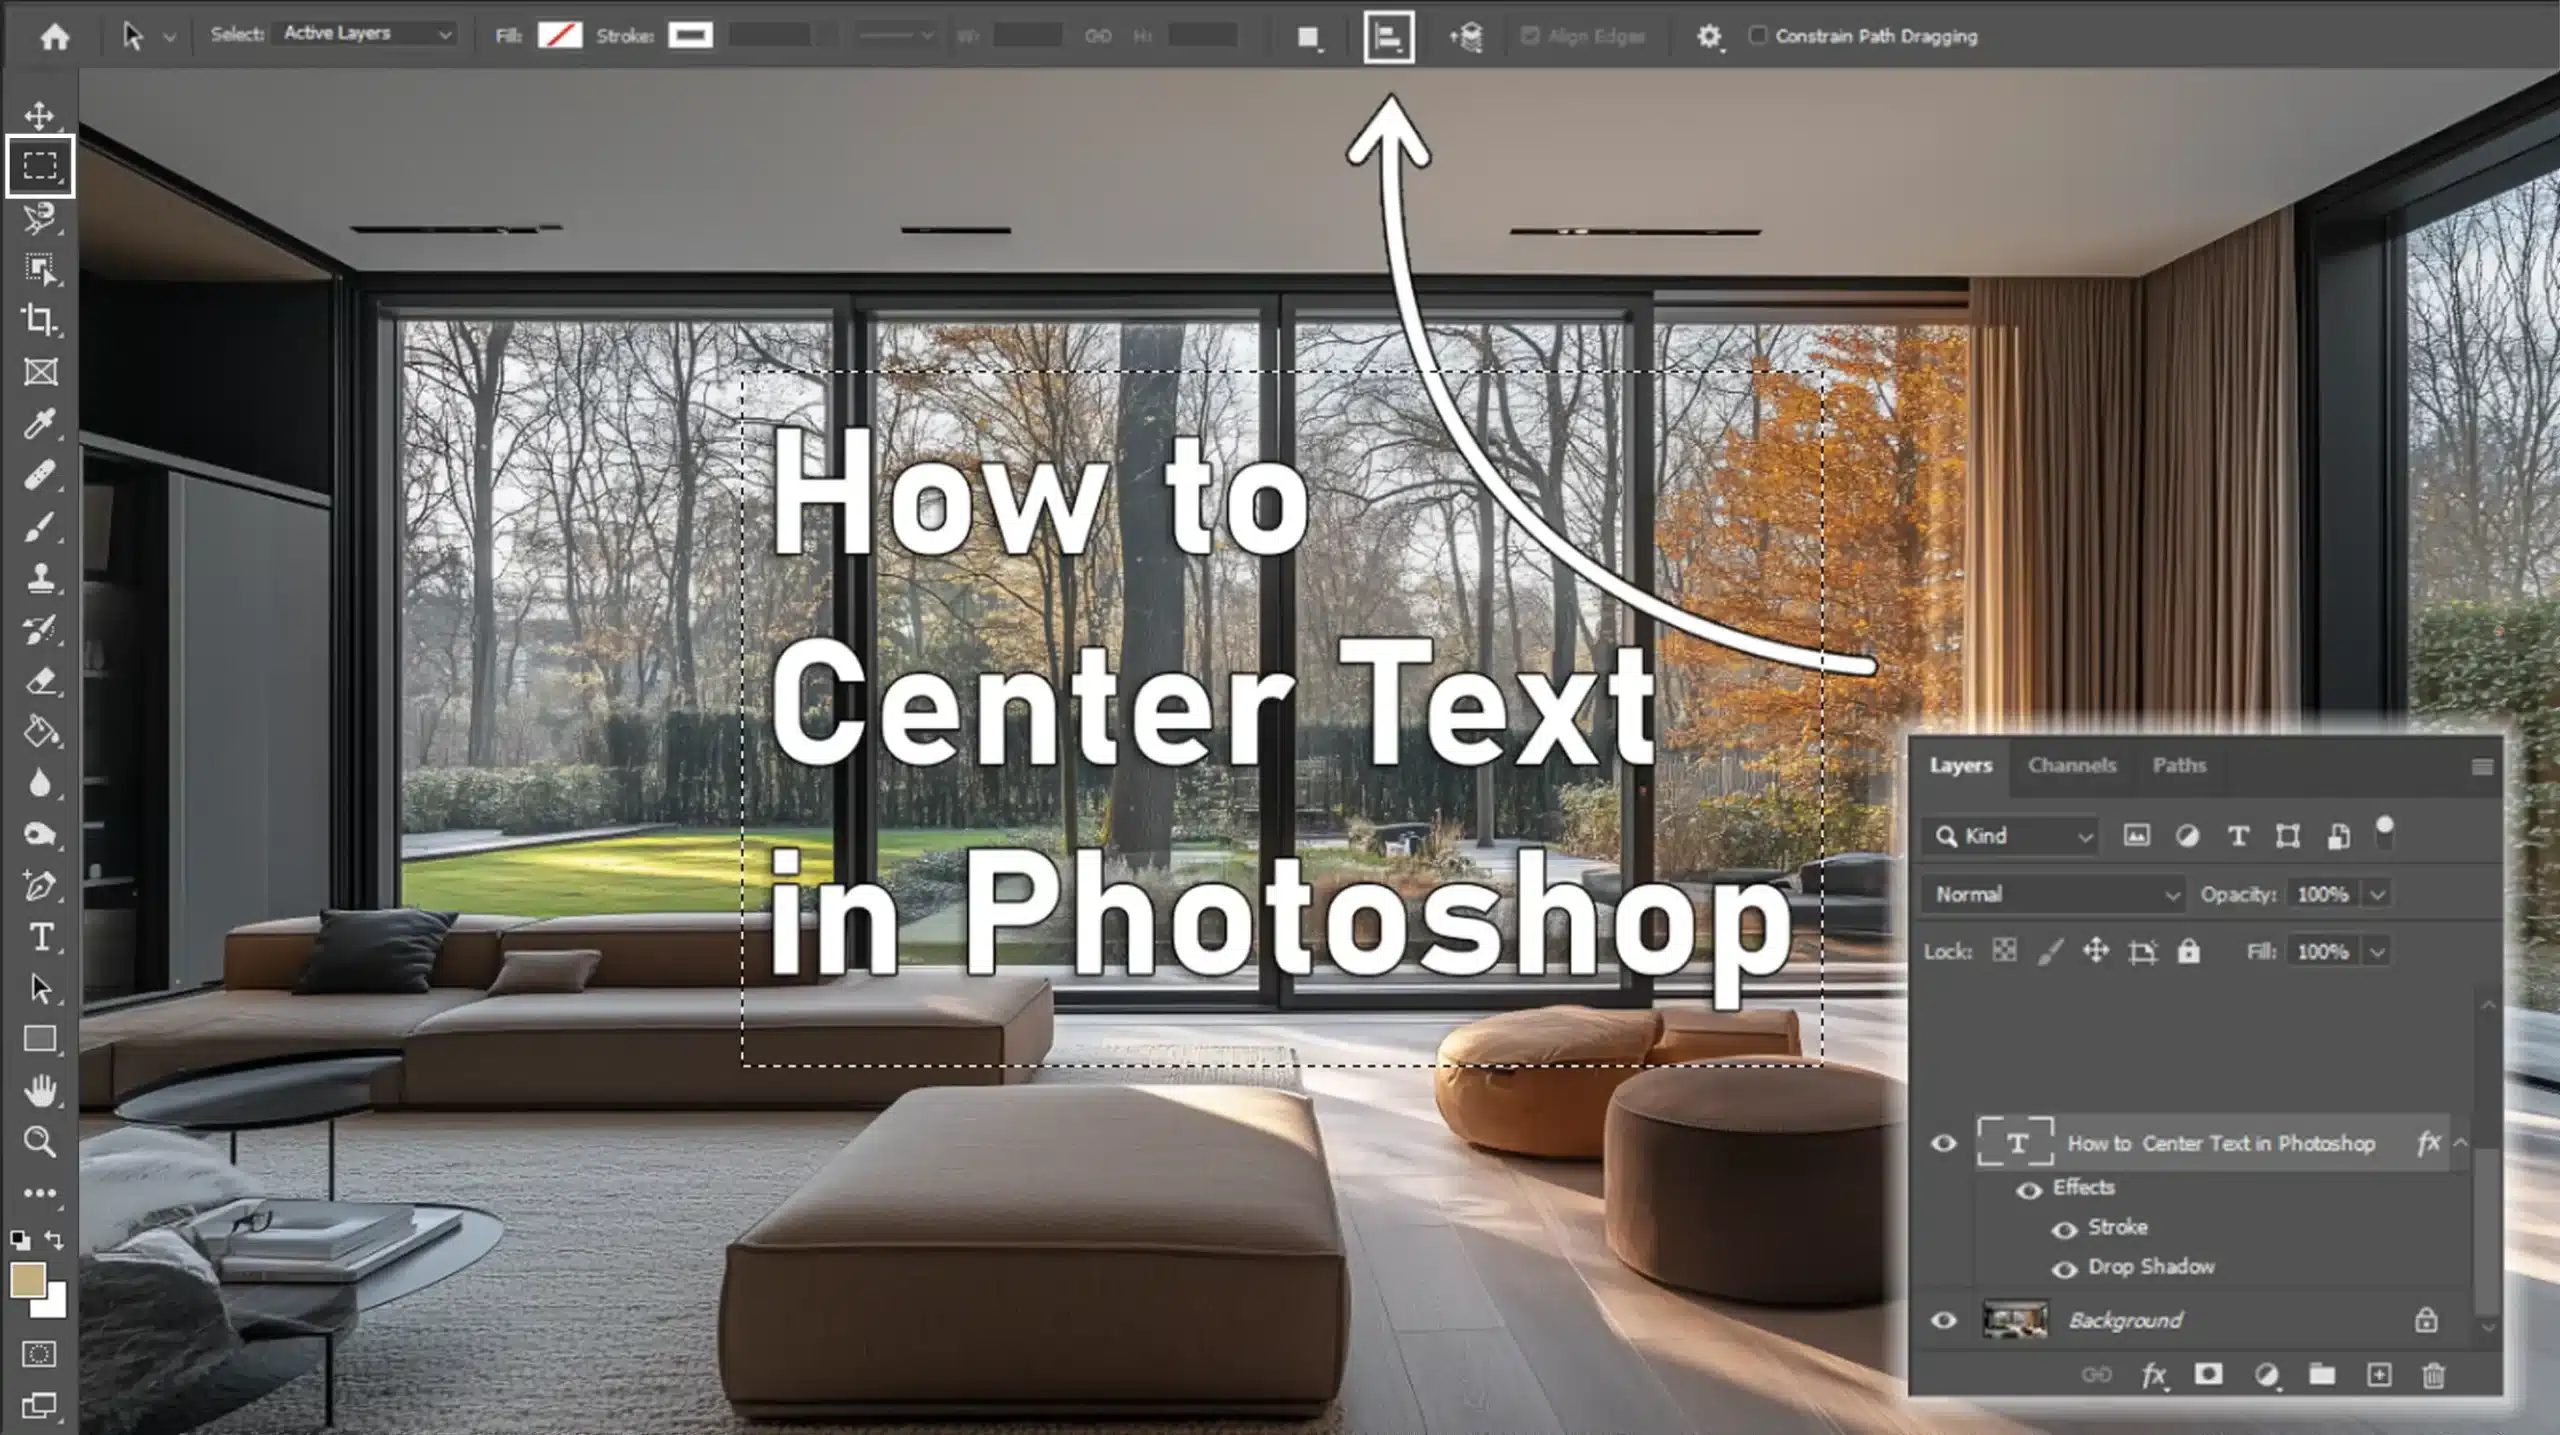
If the layers panel looks overwhelming, fear not. Click on your text layer, go to the paragraph panel, and you’ll find straightforward alignment options.
Horizontal centering is easy when you familiarize yourself with the functions of both the rectangle marquee tool and the rectangular marquee tool. They draw guides, minimizing mistakes and saving you lots of time.
Quick Tips for Efficient Text Centering
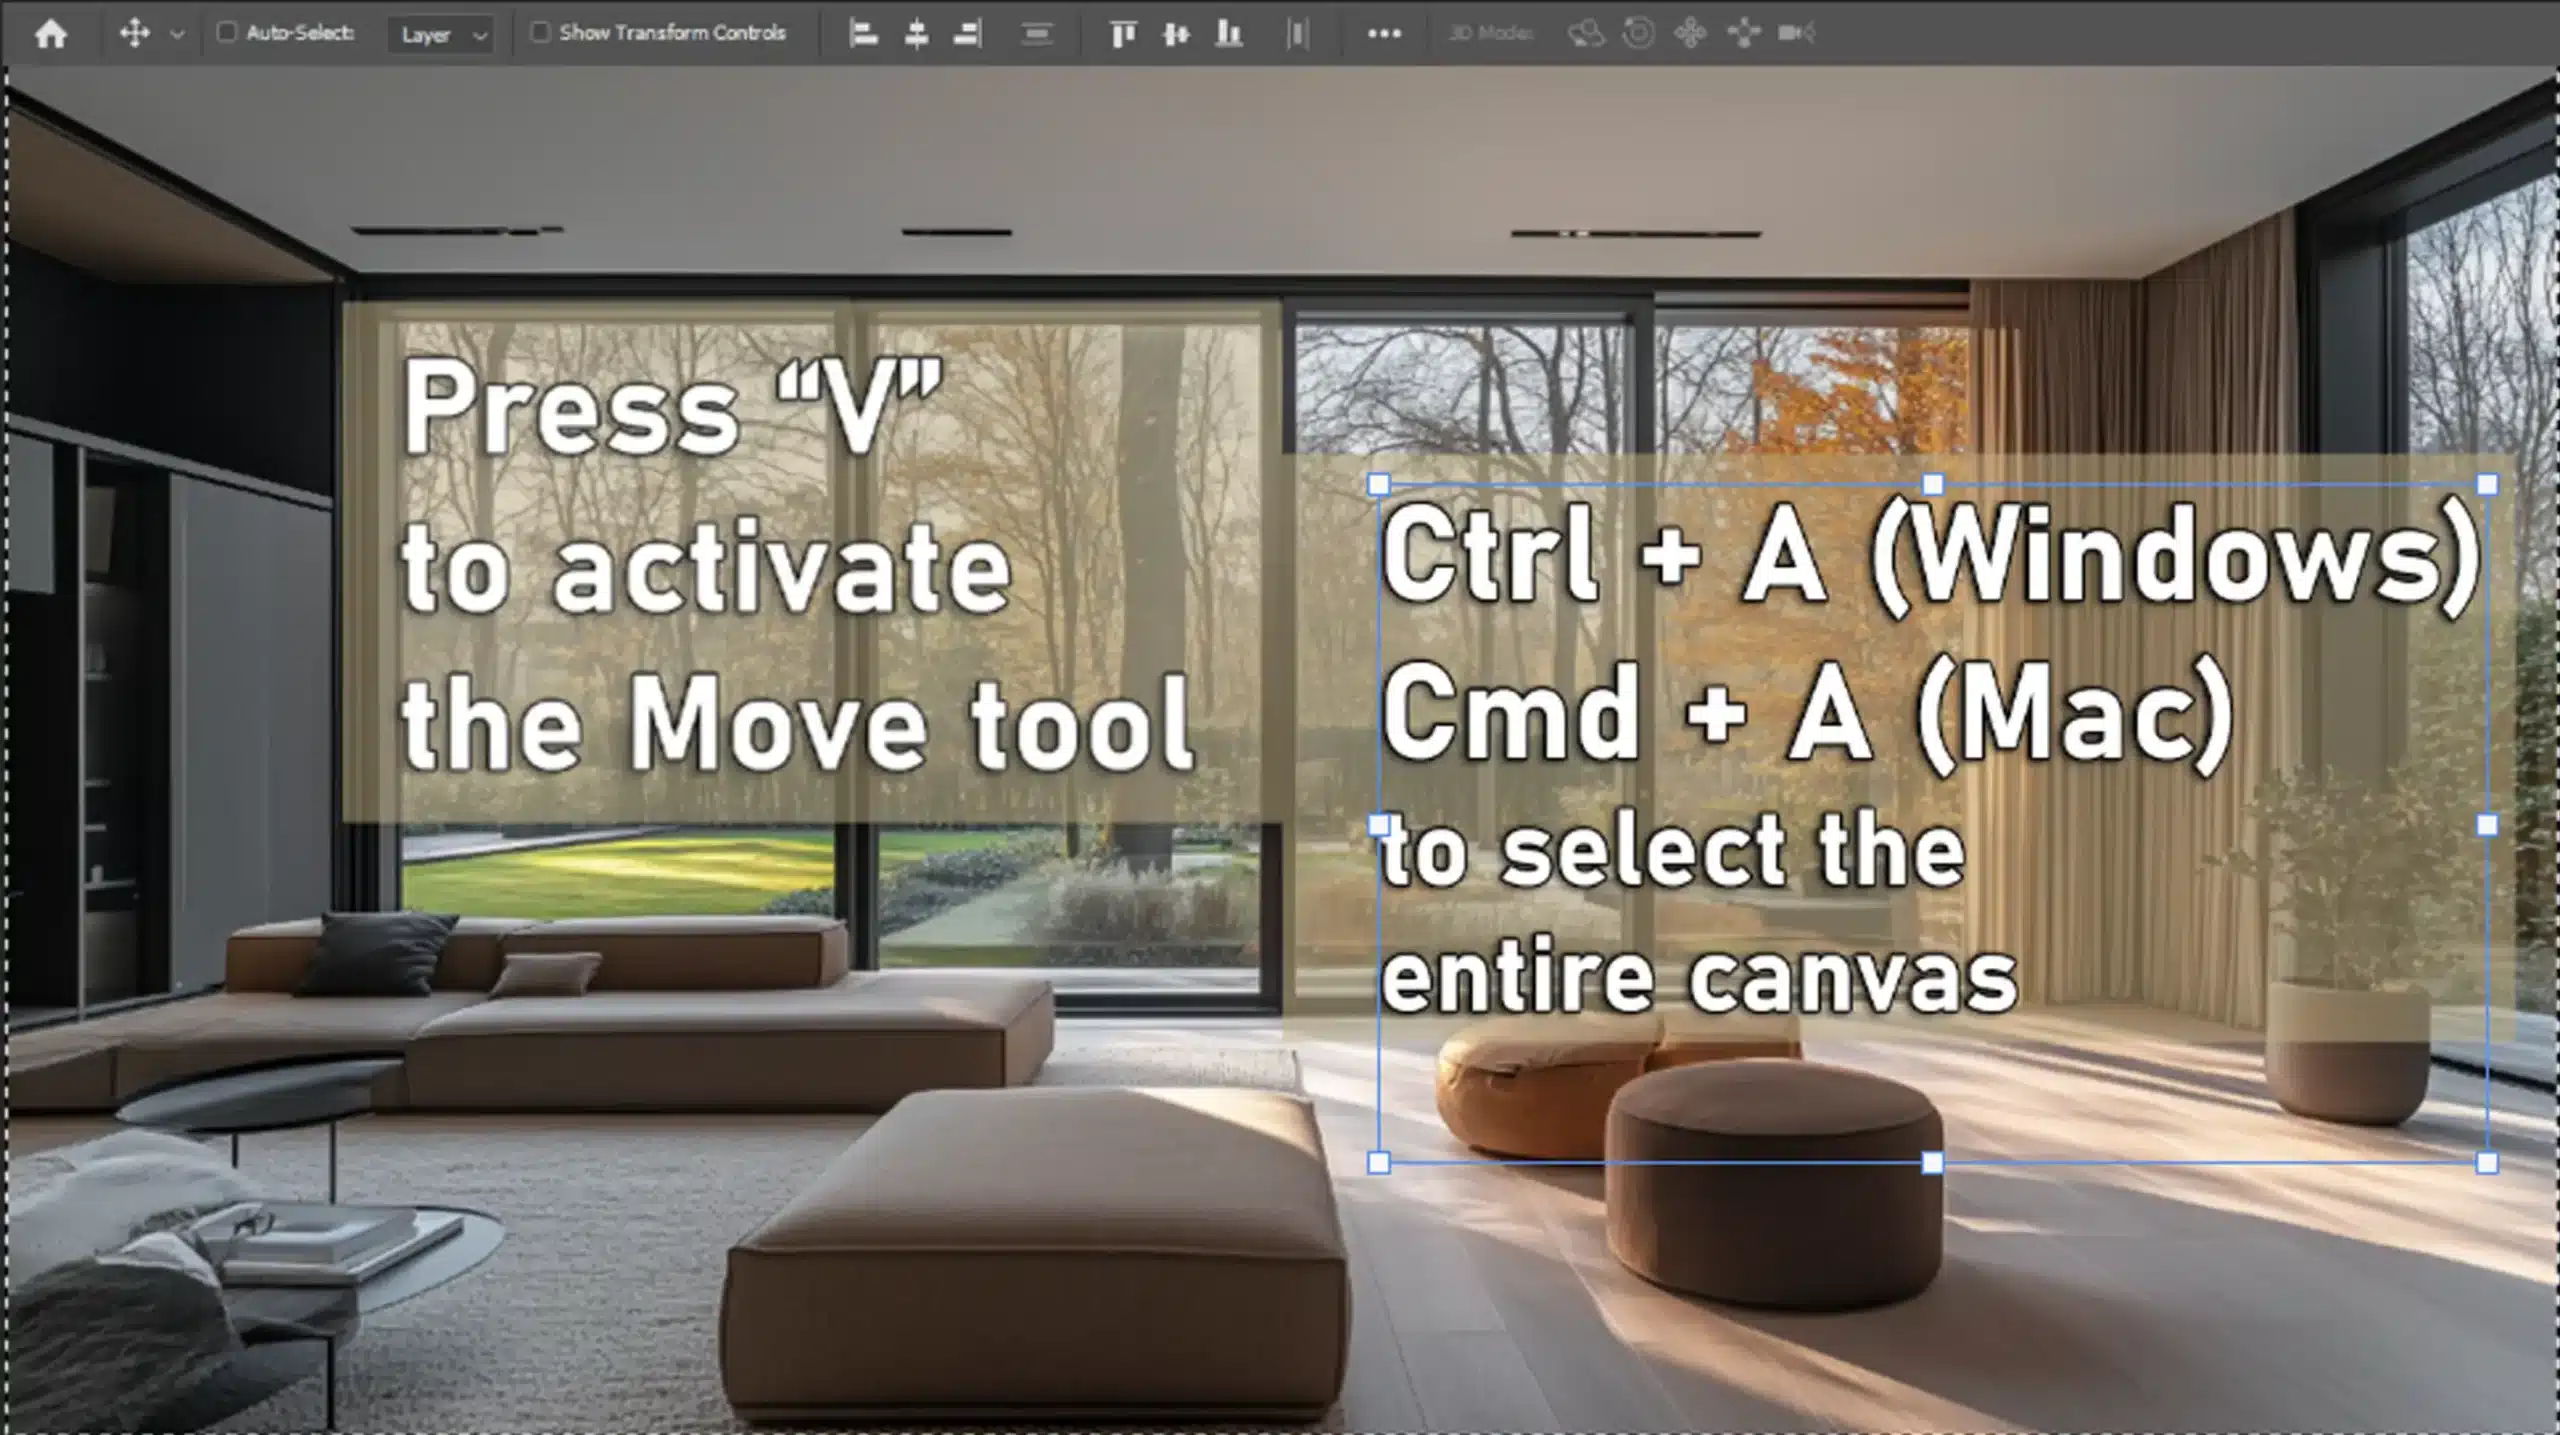
To streamline your text-centering process in Photoshop, try these quick tips that will make alignment easier and more efficient:
- Press the command to quickly activate the keyboard shortcut, making how to center text in Photoshop just a click away.
- Experiment with bounding box settings for effortless text manipulation.
Remember, mastering these techniques will help you Photoshop align your text with precision.
How to Center Text in Photoshop
Centering text in Photoshop might sound simple, but it requires a bit of finesse. Too often, beginners struggle with how to place their text dead center on the canvas.
Utilizing the options bar effectively can make this process smoother and more intuitive, allowing you to achieve the perfect text alignment with ease.
Using the Move Tool for Quick Alignment
The move tool is super handy for centering text. I use it all the time because it works quickly and effectively. Follow these steps:
- Ensure your text layer is selected.
- Activate the move tool from the tool options bar.
- Drag your text layer until small alignment lines appear. These guides ensure you can center-align text on your canvas.
Align Horizontal Centers: A Step-by-Step Guide
To align text horizontally:
- Select your text layer.
- Head to the top menu bar, where you’ll find the alignment options.
- Click on the icon that aligns horizontal centers.
This step can effortlessly bring balance to your design.
Leveraging the Rectangular Marquee Tool
This tool adds precision by letting you draw a selection over your entire canvas. Here’s how:
- Select your text layer.
- Use the rectangular marquee tool from the options bar.
- Draw the marquee, aiming for the whole canvas.
- Go to the paragraph panel and choose the 'center text' icon.
The text aligns perfectly with your rectangular selection as if guided by invisible hands.
Pro Tip: Transform your text into a smart object before scaling it up or down. This maintains quality and prevents pixelation, ensuring that your perfectly centered text always looks sharp and clear.
For creative enhancements, explore Photoshop text effects to give your design flair, and if you’re interested in a unique look, try a text portrait effect in Photoshop to make your projects stand out even more.
You can also adjust the bounding box to refine your text’s placement further. Additionally, using a Photoshop text box around your content can help keep everything organized and neatly centered.
Advanced Techniques for Centering Text in Photoshop
Centering text in Adobe Photoshop becomes less daunting once we delve deeper into more advanced strategies.
The tools at our disposal not only facilitate creativity but also precision, especially when using essential tools in Photoshop.
The following table outlines significant aspects and insights to help you master text alignment, ensuring your designs not only look polished but also communicate effectively.
| Aspect | Overview |
|---|---|
| Understanding Text Layer Adjustments | Creating a text box and adjusting the bounding box ensures your text is properly centered and visually appealing. |
| Using Alignment Tools | Utilizing the options bar for horizontal and vertical alignment can greatly enhance the appearance of your text. |
| Employing Guides and Grids | Using guides and grids helps in achieving precise text placement and maintaining symmetry in your design. |
| Common Pitfalls to Avoid | Misalignment can be prevented by understanding text box adjustments and utilizing the right tools. |
Mastering Text Layer Adjustments
Working with the text layer is fundamental when editing documents. Here are some fundamental steps to achieve perfection:
- Create a text box using the type tool. Remember the importance of the bounding box, ensuring that your text fits well within it. Adjust the bounding box to encompass all your text.
- Align your text box precisely. Utilize the options bar above for neat alignment options.
- Use the keyboard shortcut 'Ctrl + A' to select the entire canvas. Center align text through the alignment icons found in the settings bar for a perfectly balanced creation.
Using Guides and Grids for Precision
Grids and guides are important for achieving accuracy when placing text in Photoshop:
- Activate guides from the ‘View’ menu. A horizontal line can provide a quick centering guide for your text box. By snapping the text to the center, you achieve a neat professional look.
- Engage grids to divide your canvas into manageable sections. They help maintain symmetry, giving your text layer exact positions to snap to.
Pro Tip: Create a vector shape behind your text. This allows for experimental compositions without affecting the main design.
Practical Applications of Centered Text
In the world of design, a well-centered text can transform a dull image into a captivating masterpiece. It’s akin to using the Photoshop shape tool to create balance in your composition.
Design Projects Benefiting from Centered Text
A center text comes in handy for many design projects:
- Posters and Invitations: A neat center-aligned text makes a powerful statement on these canvases. Striking-centered titles can draw your attention right to the middle of a movie poster.
- Greeting Cards: Friends open that card, and their eyes land on a sweet message sitting nicely in the center. It’s simple, neat, and impactful. A text box ensures everything is contained within the boundaries, making your message pop without stray lines or awkward spacing.
By utilizing the type tool, you can craft unique messages that fit snugly in the design space.
Enhancing Visual Appeal with Proper Alignment
Good alignment isn’t merely an aesthetic choice. It’s what makes or breaks visuals. Centering text in Photoshop involves using a text box to hold everything together.
A well-centered text adds symmetry. You don’t want to pour your effort into a design only to have a wonky focal point.
Keeping your text neat and tidy is easy by avoiding overshoot, even with a bounding box. With a bit of practice, anyone can master Photoshop shortcuts, trust me.
Pro Tip: Always double-check your text in Adobe Photoshop by switching layers off and on. This trick reveals any minor adjustments. Additionally, if you want to take your editing skills further, learn to master side-by-side picture editing to compare your designs easily.
Common Mistakes and How to Avoid Them
Common mistakes can often lead to frustration when working in Photoshop, especially when it comes to text alignment. Misalignments can make your designs look unprofessional.
In this section, we’ll explore how to center text effectively in Photoshop and the solutions to avoid these common pitfalls.
Misalignments and Their Solutions
Let’s talk about misalignments, those sneaky disruptors that pop up when you least expect them. The misaligned text jumps out like a wrong note in a melody. But guess what? There’s a fix for that.
Text Box Adjustments
Proper adjustments to your text box are crucial for maintaining alignment and visual appeal. Follow these steps to ensure your text is well-positioned:
- First, the text box. Sometimes it shifts unexpectedly, throwing your text off-center. Make sure you set the text box dimensions correctly before typing.
- Gently adjust the bounding lines until they fit pleasantly around your content.
- Use the type tool to draw perfect rectangles, maintaining consistency. This preserves aesthetic balance.
Using the Grid Feature
A great trick is using the grid feature in Photoshop. If you snap your text box to the grid, it begins behaving better. Snapping ensures everything aligns perfectly, leading to symmetric designs.
Understanding Layer Order and Its Impact
Layer order is important in Photoshop for creating visually appealing designs. Proper text alignment and managing your layers effectively ensures that elements like a text box appear as intended.
Let’s look at how proper layer management enhances your projects.
Layer Management
The order of your layers requires careful attention.
Just as you would ensure the right arrangement for a polished presentation, messy layers can obscure your design’s clarity and intent.
- Always double-check the layer order. Your text box can hide behind other elements if layers overlap.
- Align text above or at visible spots where they enjoy the limelight. Correct layering improves readability, enhancing overall composition clarity.
- Feel free to adjust the layer opacity until you reach the desired level of transparency. Fine-tuning these settings can bring out the best in your artwork!
Pro Tip: Merge duplicate layers to streamline workflow. Single-clicking surrounding icons generates much-needed digital tidiness, saving precious time for further creativity expansion.
For more advanced techniques, explore the difference between Photoshop and Lightroom to understand which tool suits your needs best.
Frequently Asked Questions

How do I center-align text in Photoshop?
- Open your project and select the Type Tool.
- Type your text and select it with the Type Tool.
- Click on the Move Tool or press 'V' on your keyboard.
- Ensure your text layer is selected in the Layers Panel.
- Find the align options in the top toolbar. Click on 'Align vertical centers' and 'Align horizontal centers' to center your text on the canvas.
How to perfectly center things in Photoshop?
- Open your project and select the layer you want to center.
- Choose the Move Tool or press 'V'.
- Press 'Ctrl + A' (Cmd + A on Mac) to select the entire canvas.
- Use the align options in the top toolbar: click 'Align vertical centers' and 'Align horizontal centers'.
- Press 'Ctrl + D' (Cmd + D on Mac) to deselect the canvas.
Why won't my Photoshop center text?
- Check if the text layer is selected and active.
- Make sure there's no additional spacing or padding affecting the text box.
- Ensure that your canvas size accurately reflects the area you intend to center your text within.
- If issues persist, resetting the character and paragraph settings might help.
How do you center a piece of text?
- Select the text you want to center using the Text Tool.
- Switch to the Move Tool.
- With the text layer selected, use the alignment options in the top toolbar to center the text both vertically and horizontally.
Conclusion
Mastering how to center text in Photoshop has truly transformed my design process. When I first learned this skill, my projects looked so much more polished and professional.
It’s amazing how something as simple as text alignment can enhance the overall quality of my work.
If you’re looking to improve your design skills, I highly recommend checking out the Photoshop Course. This course is filled with practical techniques that can really help you grow your confidence and productivity in design.
Additionally, the Lightroom Course can take your editing skills to the next level, making sure you’re well-rounded in both Photoshop and Lightroom.
By embracing these techniques and tools, you’ll open up a world of creative possibilities. So, take the plunge and start mastering the art of text alignment today!
If you want to explore more about Adobe tools, you can check out Adobe Photoshop and Adobe Lightroom.
Read more about Photoshop:


