Transform Eyes with Photoshop: Effortlessly Enhance and Brighten
Transform Eyes with Photoshop: Effortlessly Enhance and Brighten
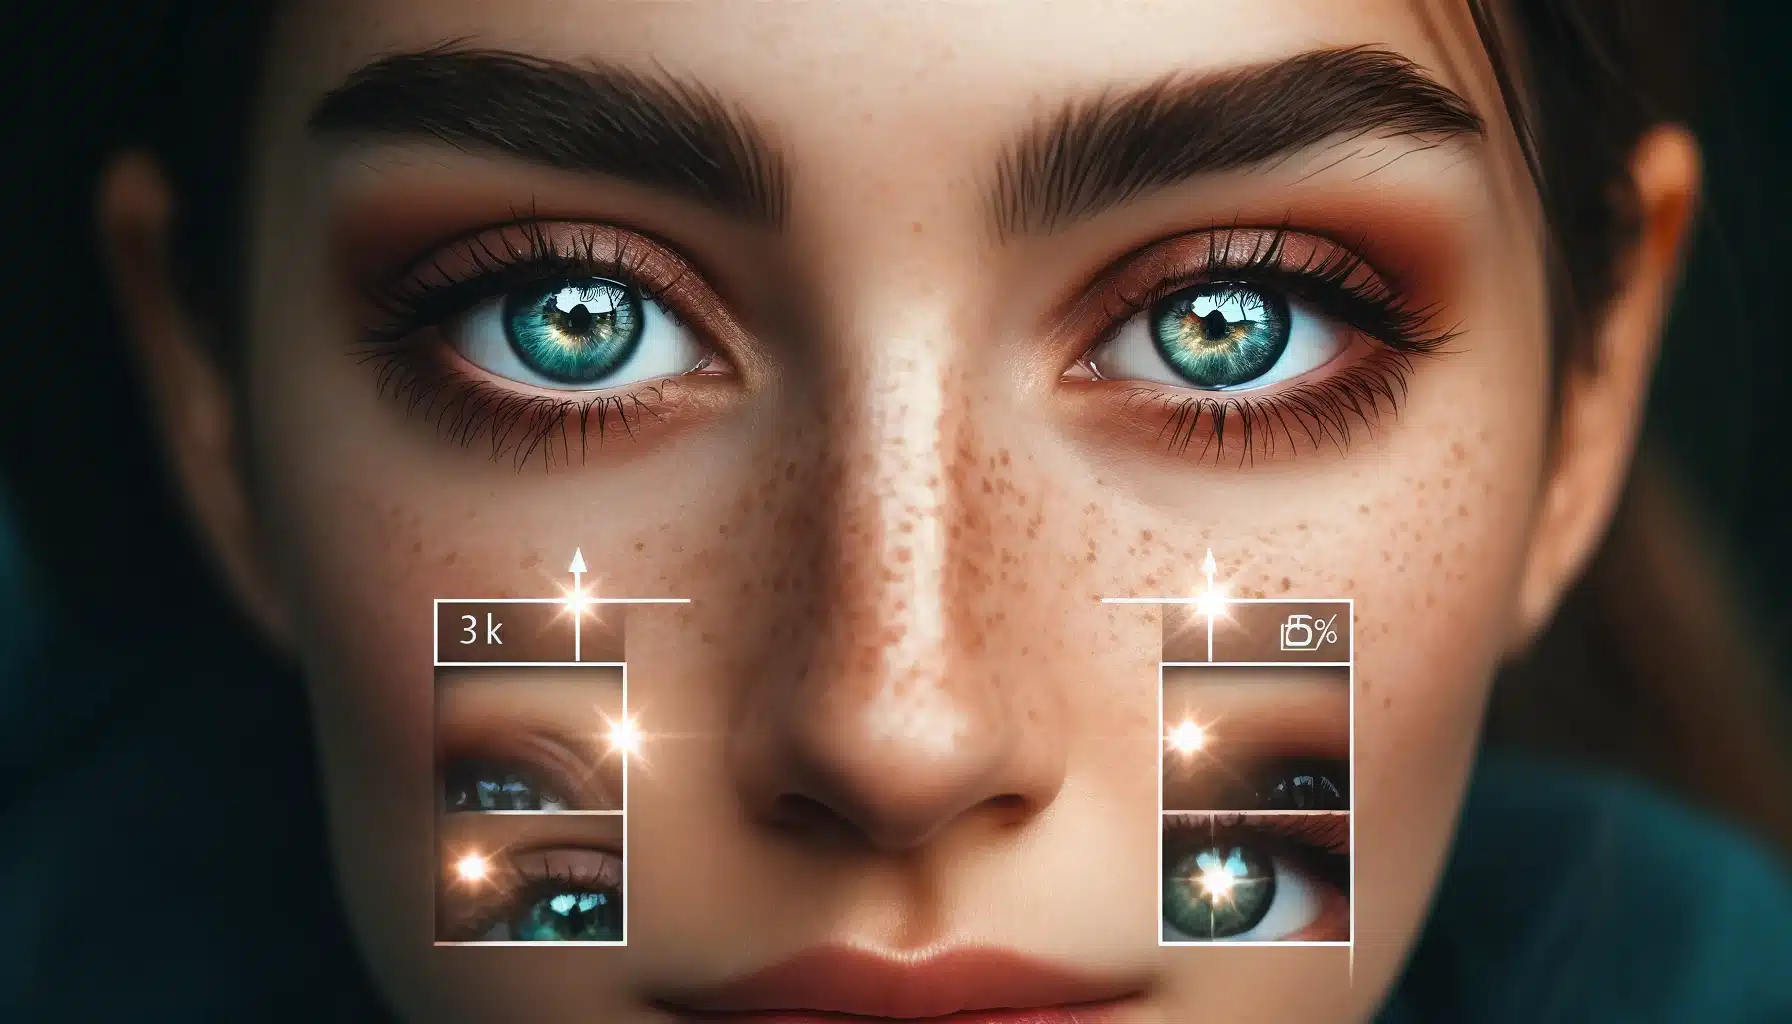
Curious about how to brighten eyes in Photoshop? You’re in the right place.
Brightening eyes can make your portraits pop and add life to your images.
This step-by-step guide will walk you through the process, making it easy even if you’re a beginner.
We’ll explore various tips and tricks to enhance eye brightness naturally, ensuring your photos look professional and captivating.
Dive in to discover how you can transform ordinary photos into stunning portraits with just a few simple techniques.
Table of Contents
Comprehensive Tutorial: Brightening Eyes in Photoshop
Enhancing the brightness of eyes in Photoshop can significantly improve the overall appeal of your photos.
Follow this comprehensive tutorial to learn the step-by-step process, starting with opening your image in Photoshop.
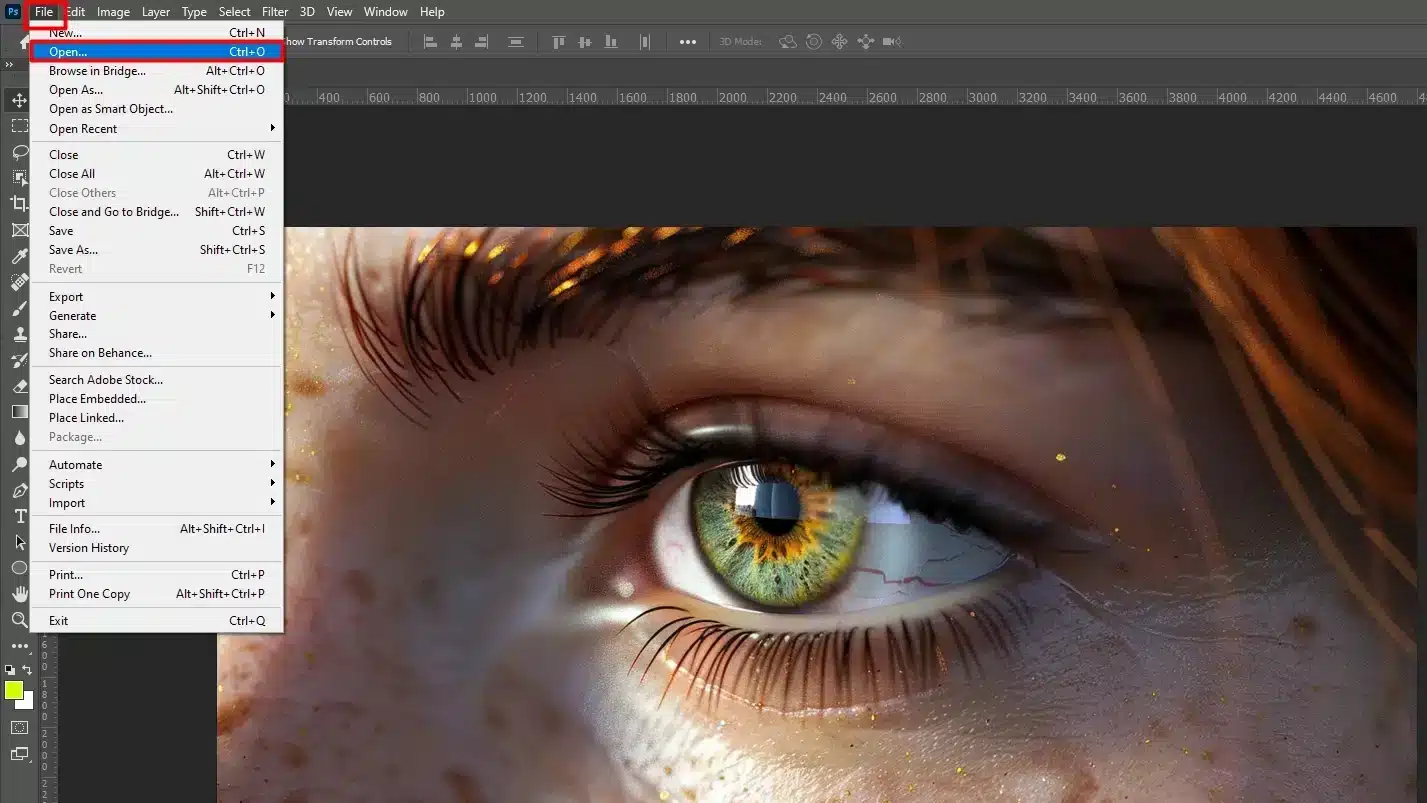
Step 1: Open Your Image in Photoshop
First, open Adobe Photoshop and load your photo. Go to File, click Open, and pick your images.
Make sure it’s the right one.
Step 2: Zoom in on the Eyes
Zoom in on the eyes for accuracy. Use the magnifying glass tool or press Ctrl (+) or Cmd (+) on a Mac.
This helps you see the eyes clearly.
Step 3: Select the Dodge Tool
Find the Dodge Tool in the toolbox on the left. It looks like a magnifying glass with a handle.
This tool lightens areas without messing up the whole image.
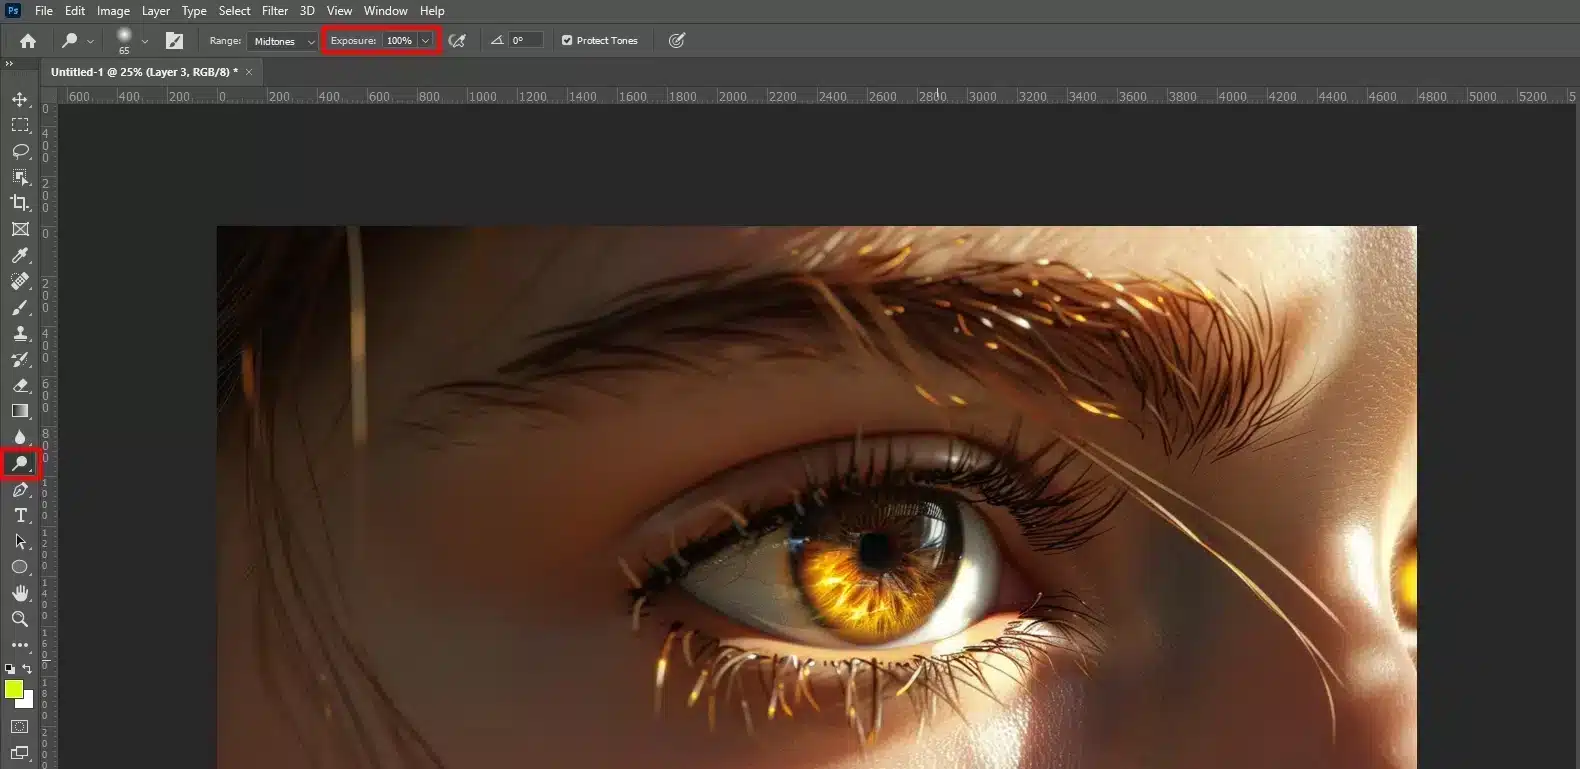
Step 4: Adjust the Dodge Tool Settings
Set the Dodge Tool to target midtones and adjust exposure to 20-30%.
This avoids making the eyes too bright.
We want a natural look while brightening the eyes.
Step 5: Brighten the Eyes
Carefully paint over the irises to brighten them. Work slowly with a soft round brush.
This gives you control and prevents harsh edges.
Step 6: Fine-Tune the Brightness
If needed, repeat step 5 until the eyes are bright but natural. Use the history panel to undo any over-brightening.
This is how you can bright eyes and ensure your edits look smooth and professional.
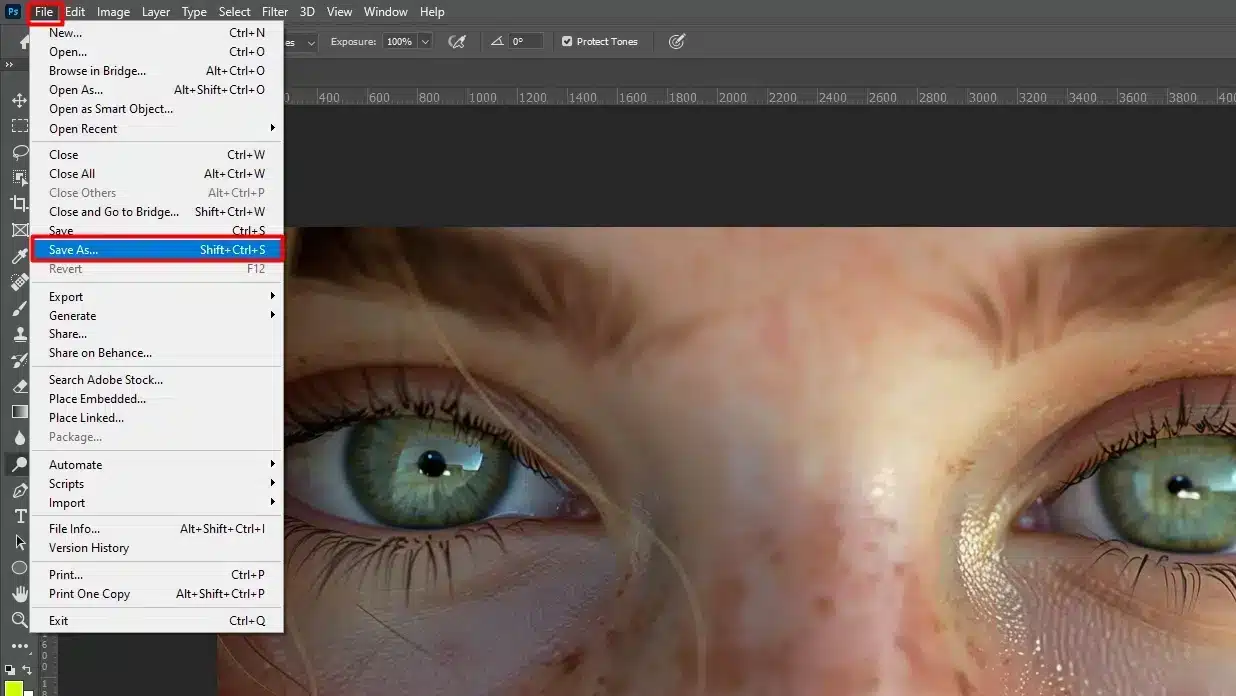
Step 7: Save Your Work and Preserve the Background Layer
Save your edited images. Go to File, click Save As, and choose the format and location. Saving your work keeps your edits safe and accessible.
Pro Tip: For more detail, use the Dodge Tool on a new layer and apply a Layer Mask thumbnail to refine the effect.
By creating a new layer mask, you have the flexibility to adjust the brightness without damaging the original photo.
Face editing in Photoshop allows you to enhance and transform facial features for stunning results. To transform eyes with Photoshop, mastering face editing techniques is very important.
Enhancing Photo Editing Skills with Shortcuts and Software Choices
To further enhance your photo editing skills, consider learning about Photoshop shortcuts to speed up your workflow.
Learning how to brighten eyes in Photoshop will make your portraits amazing and full of life.
More Enthusiastic Tips for Brightening Eyes
Enhancing specific areas in images requires the right tools and techniques to achieve the desired visual impact and maintain overall image quality.
Here’s a quick overview of effective methods:
Aspect
Overview
Dodge Tool
Lightens specific areas like irises without affecting the whole image; natural and controlled.
Adjustment Layers
Non-destructive adjustments for brightness and contrast; preserves original image integrity.
Brush Tool for Catchlight
Adds realistic eye sparkle with a small, soft brush; enhances eye appearance subtly.
Dodge and Burn Technique
Enhances eye dimension by selectively lightening or darkening areas; adds depth and realism.
Content-Aware Fill
Removes distractions around eyes; keeps focus on enhanced eye features.
Brightening eyes in photos can be a game-changer for portraits, adding vibrancy and life to the image.
Whether you’re a professional photographer or a hobbyist, mastering eye enhancement techniques can elevate your work.
In this guide, we’ll explore various tips and tricks to make eyes pop, look more expressive, and add that extra sparkle.
From subtle adjustments to more pronounced edits, you’ll learn how to use Photoshop tools efficiently to achieve stunning results.
For a deeper dive into essential tools in Photoshop that can further enhance your editing skills.
Explore techniques like using adjustment layer, applying layer mask to create stunning, professional-quality images.
Use Adjustment Layers and Layer Mask In The Layers Panel
For brightening eyes, use an adjustment layer. It lets you make changes without messing up the original image. Think of it as a clear sheet over your photo.
First, go to the layers panel and click the Create new adjustment layer Icon.
Choose ‘Brightness/Contrast’ or ‘Curves’. Adjust until just the eyes look brighter.
If you make a mistake, no worries. Adjustment layer is non-destructive, so you can always fix them.
Enhance Eye Color Using Layer Mask and Blend Mode
Now, let’s boost the eye color using layer mask and blend mode. Select a vibrant foreground color and that complements the natural eye color.
Go to the Layers Panel and add a new mask layer. This adds depth to the eye’s foreground color.
Choose the brush tool, set your foreground color to match the eye color. Use a soft round brush and gently paint over the irises. Don’t overdo it.
Choose a soft round brush with a low opacity to ensure a subtle blend mode and natural-looking enhancements.
Then, choose a suitable blend mode. Set the blend mode of this layer to ‘Overlay’ or ‘Soft Light’. This makes the background colors pop without looking fake.
Finally, review the overall image to ensure that the eye enhancements blend seamlessly with the background colors, creating a natural and vibrant look.
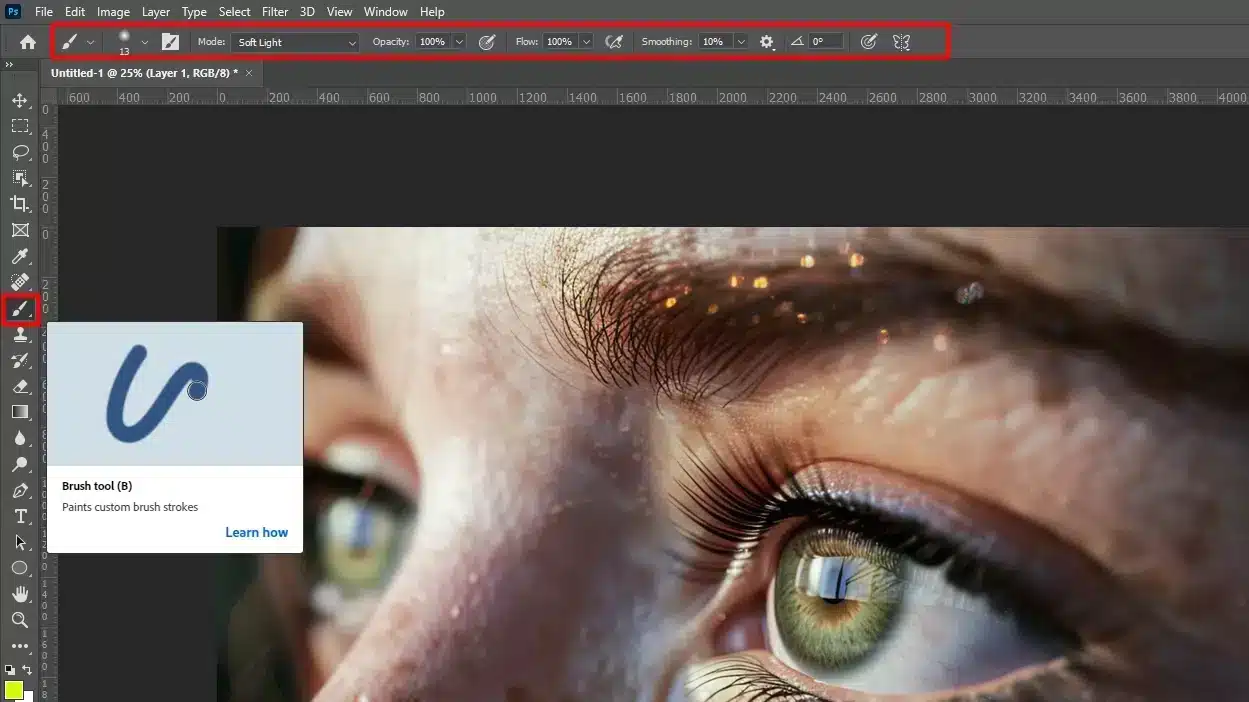
Add a Catchlight With Brush Tool
Adding a catchlight gives the eyes a sparkle. It’s the tiny light reflection that makes eyes look real.
Create a new layer and select the Brush Tool. Set the foreground color to white and choose a small, soft brush. Paint a small dot in each iris.
If it looks too bright, lower the opacity in the Layers Panel until it looks natural.
Watch the brighten eyes in Photoshop come alive!
Pro Tip : When using layers in the layers panel and brushes, adjust the brush size to fit the eye area. This ensures the effects are just right.
Always work on a new layer. It gives you flexibility to adjust without affecting the background layer.
Composition in photography is the foundation of a captivating image.
When you transform eyes with Photoshop, a well-composed photo enhances the impact.
Perfecting Eye Edits in Lightroom
For even more refined results, consider using the dodge and burn technique.
This allows you to lighten or darken specific areas, adding more dimension to the eyes.
Another useful tool is the content-aware fill, which can help remove any unwanted distractions around the eyes, ensuring they remain the focal point.
Lightroom editing is significant for refining your photos, especially for eye edits.
Learning how to brighten eyes in Photoshop has greatly improved my portrait editing skills. It adds vibrancy and life to my photos, making them more engaging and professional.
The step-by-step guide and tips above are easy to follow, even for beginners.
By mastering these techniques, you can transform ordinary photos into stunning portraits with bright, captivating eyes.
$2,061.00Original price was: $2,061.00.$1,061.00Current price is: $1,061.00. 27585
Download Your Free Guide Now!
Discover the secrets of photography with our printable guide! Master essential techniques like aperture, shutter speed, and ISO to create stunning images. Get your free printable PDF now and start turning your snapshots into masterpieces!