| Work on a New Layer |
Always work on a new layer to keep your original photo safe, allowing you to experiment without fear. |
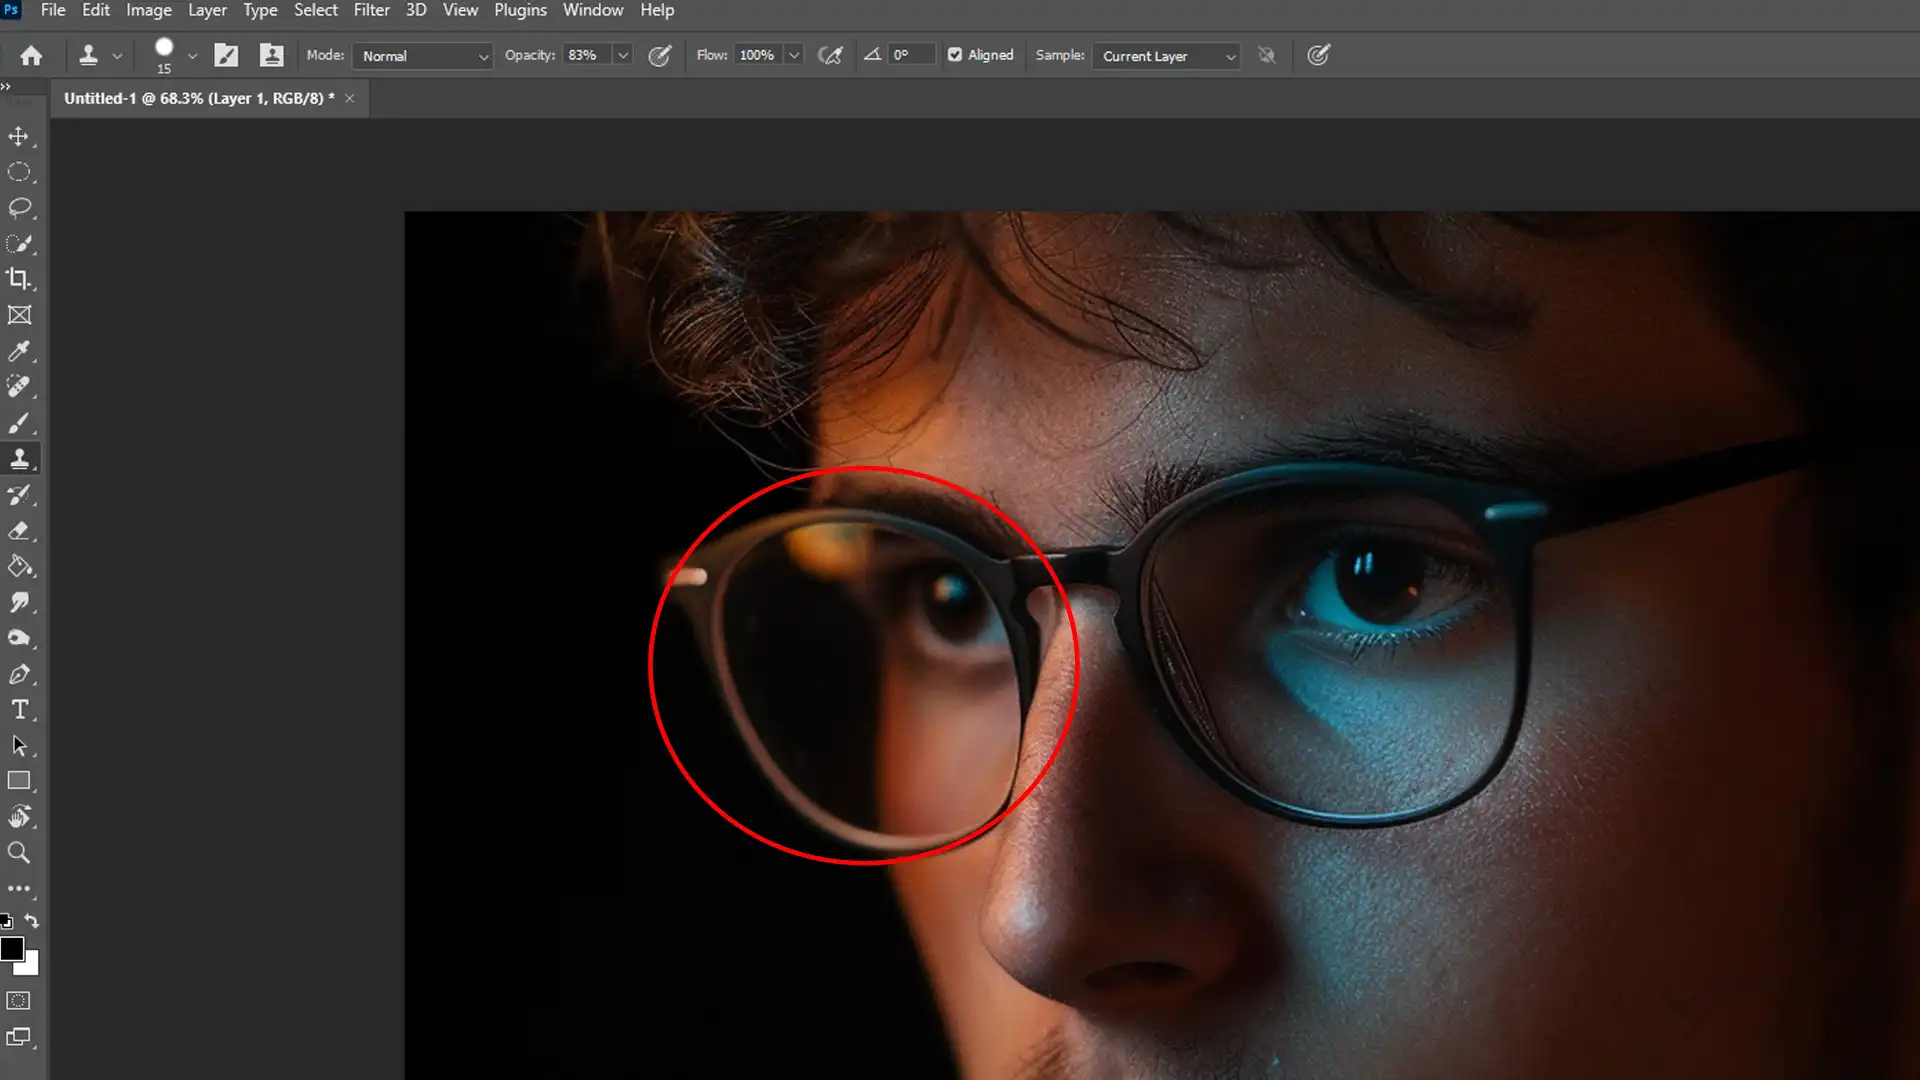
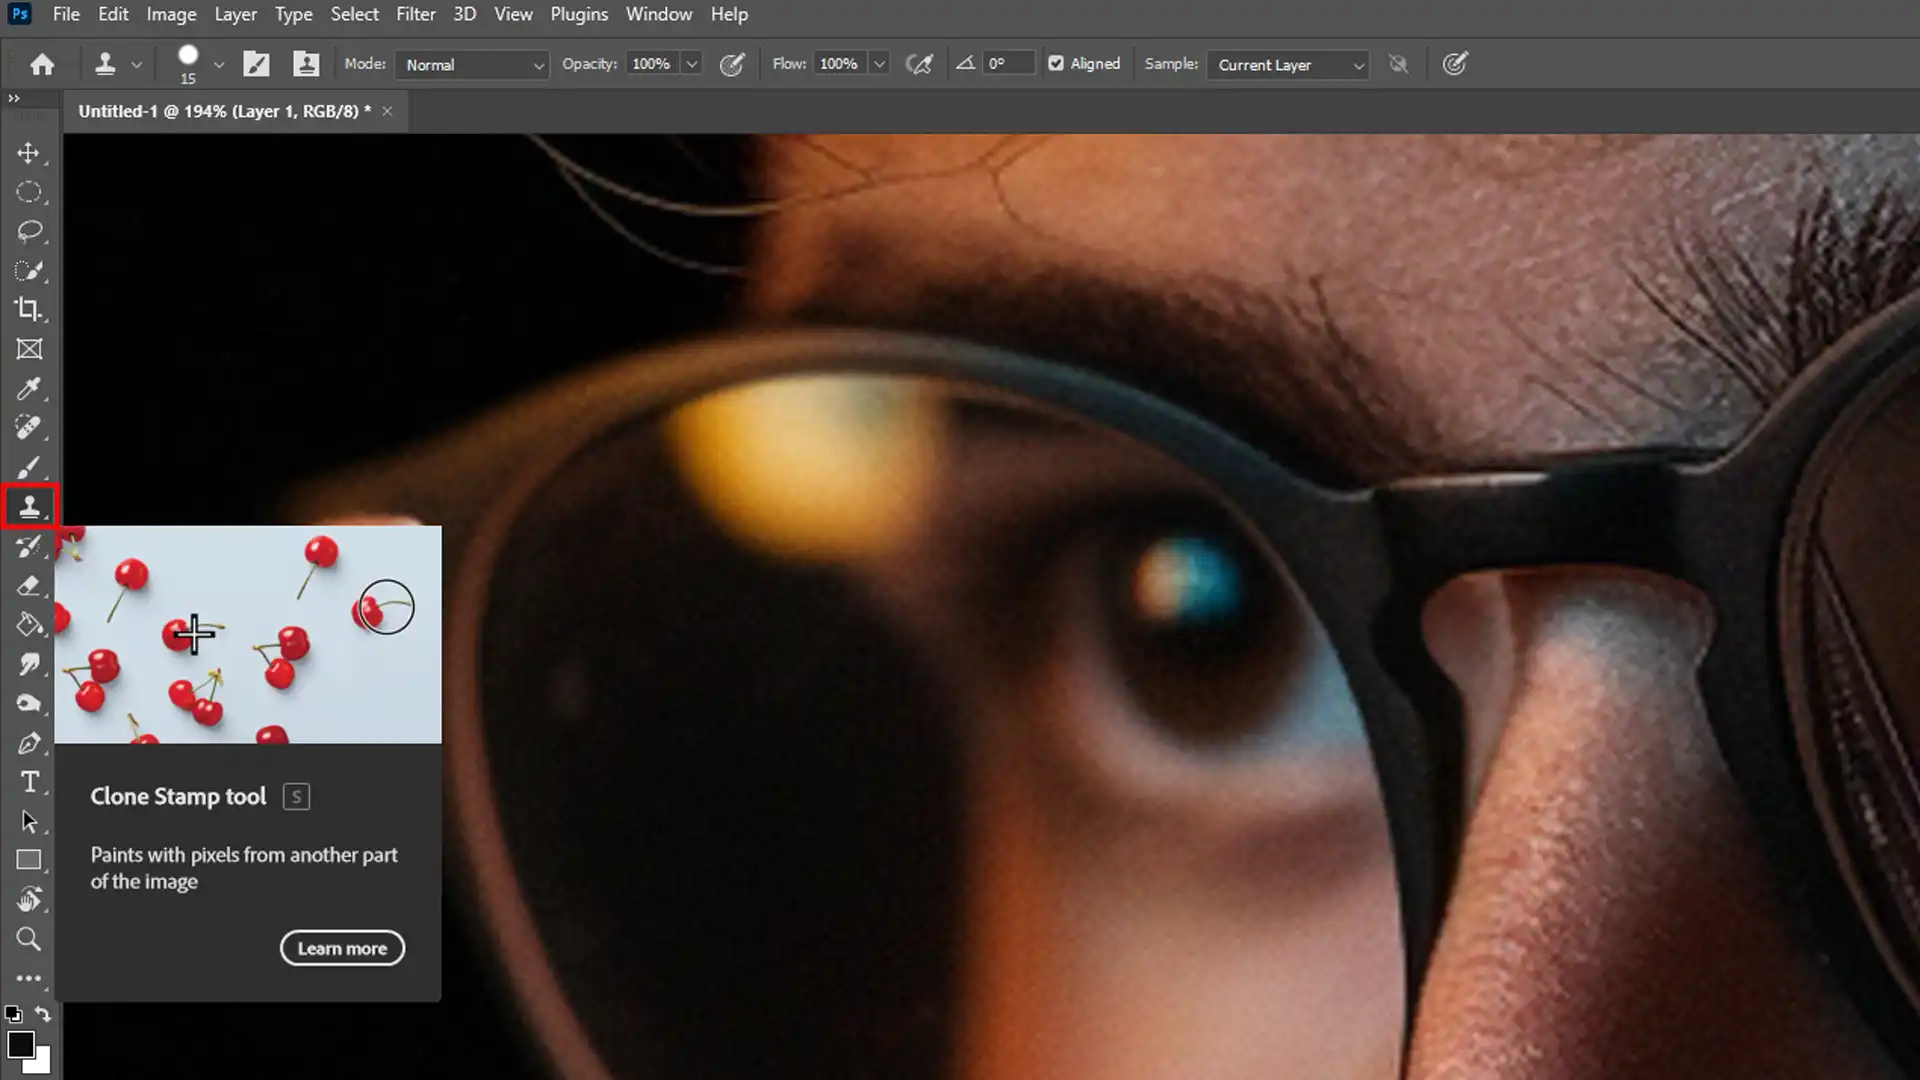
| Remove Glare from Glasses Photoshop |
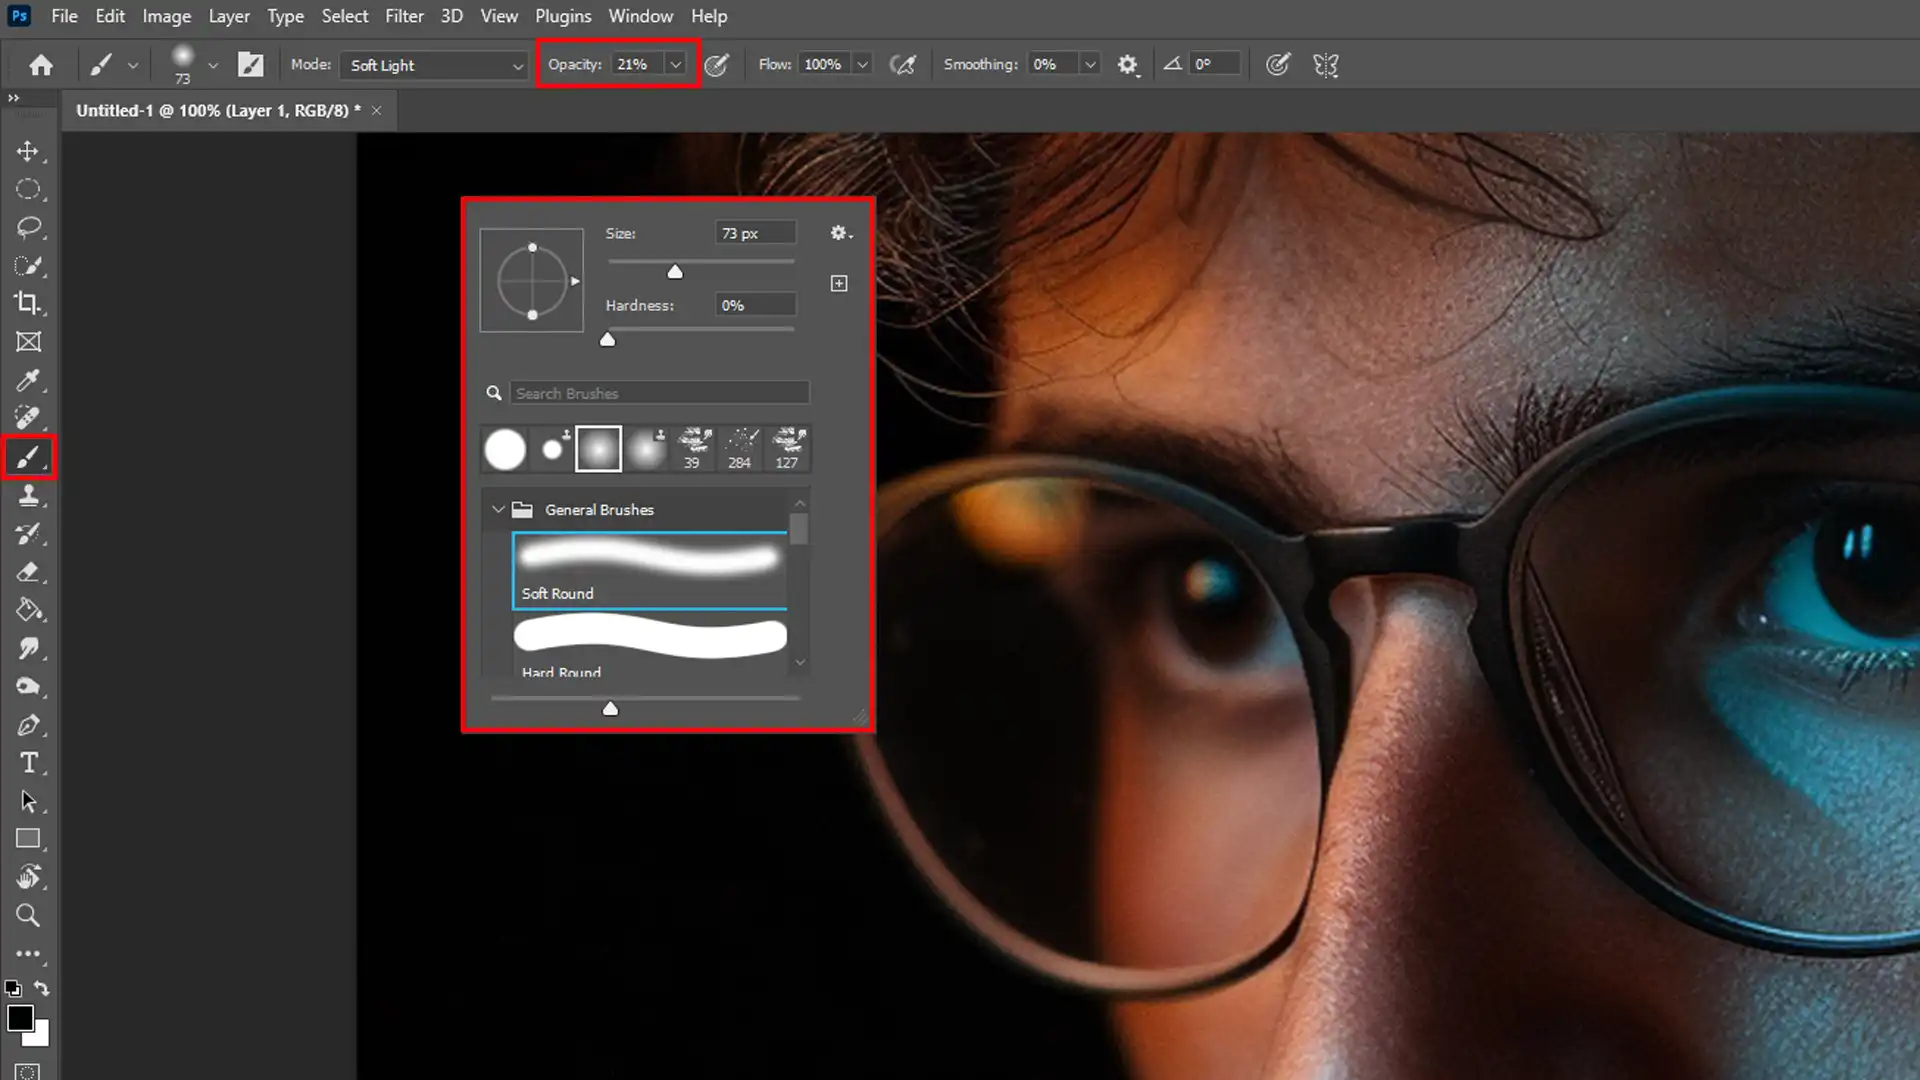
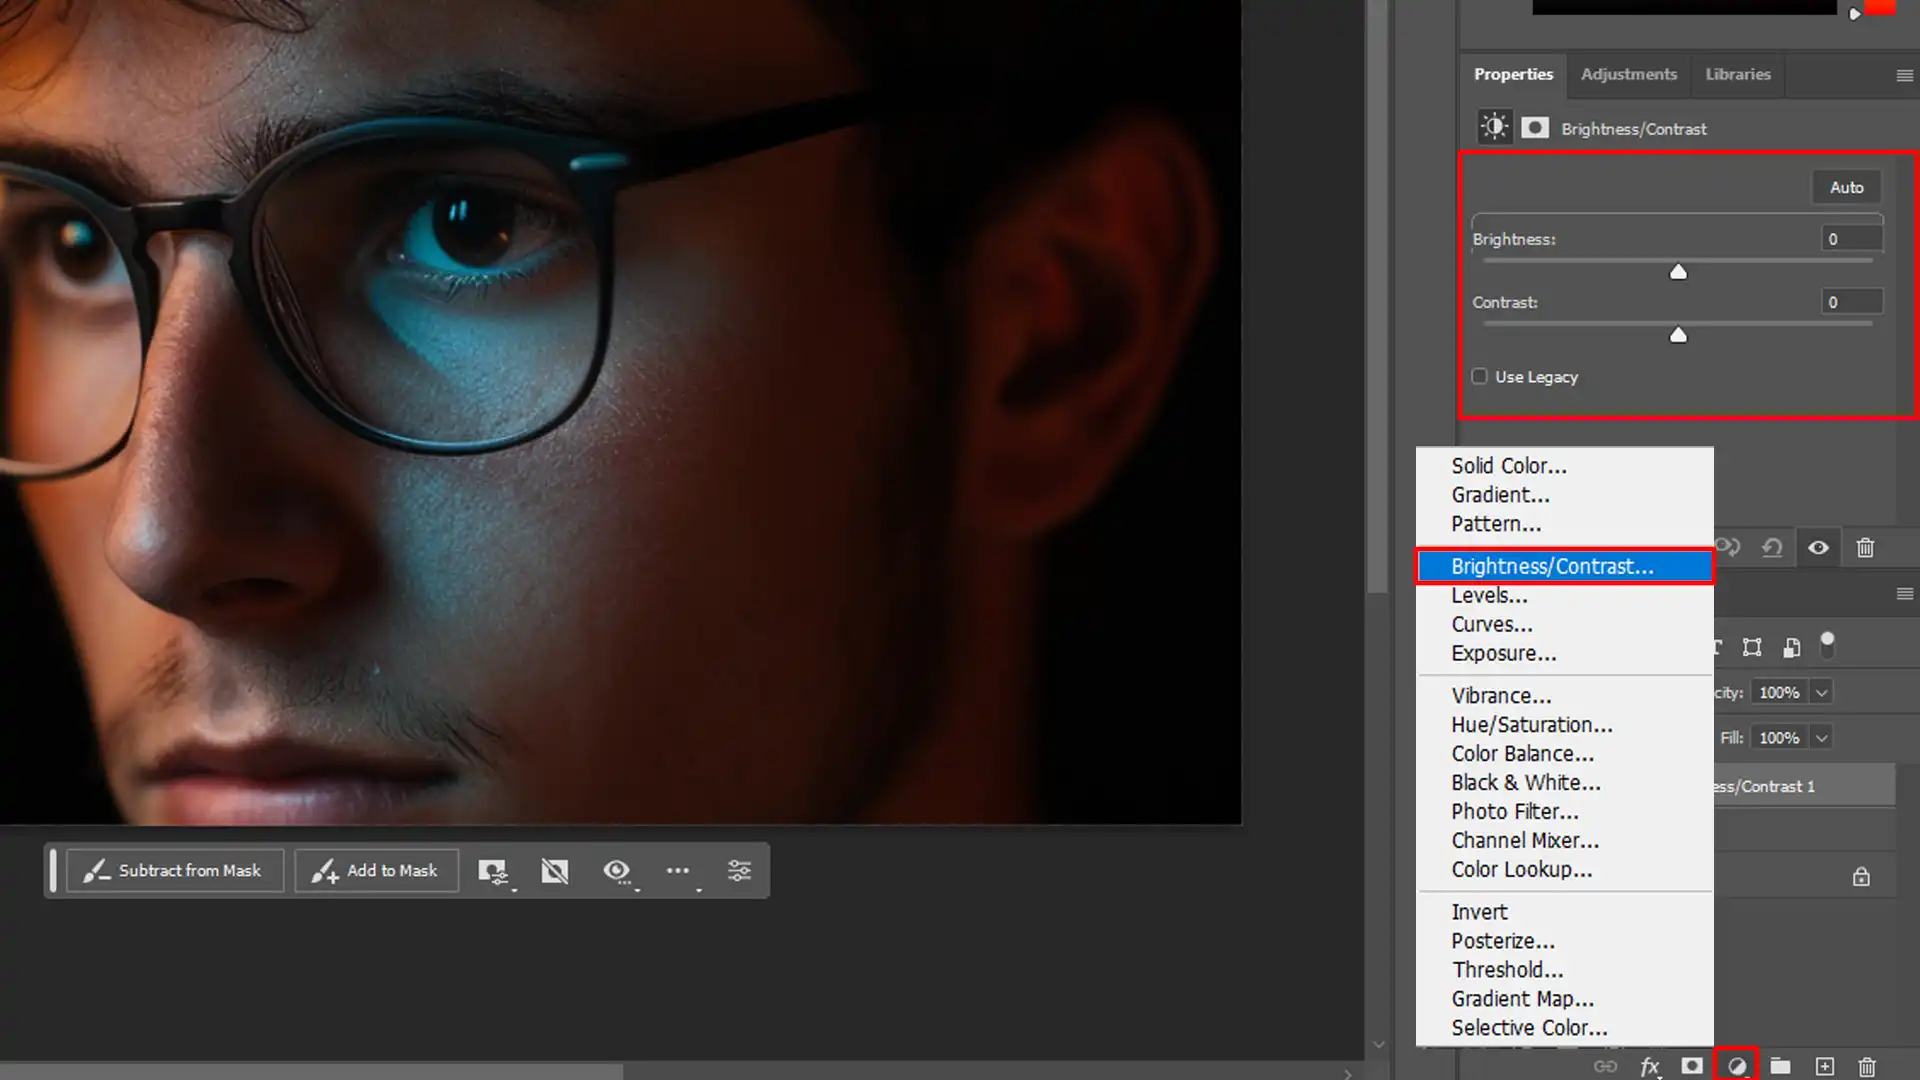
Use tools like the adjustment layer, brush, clone stamp, and content-aware fill to effectively remove glare from glasses in Photoshop. |
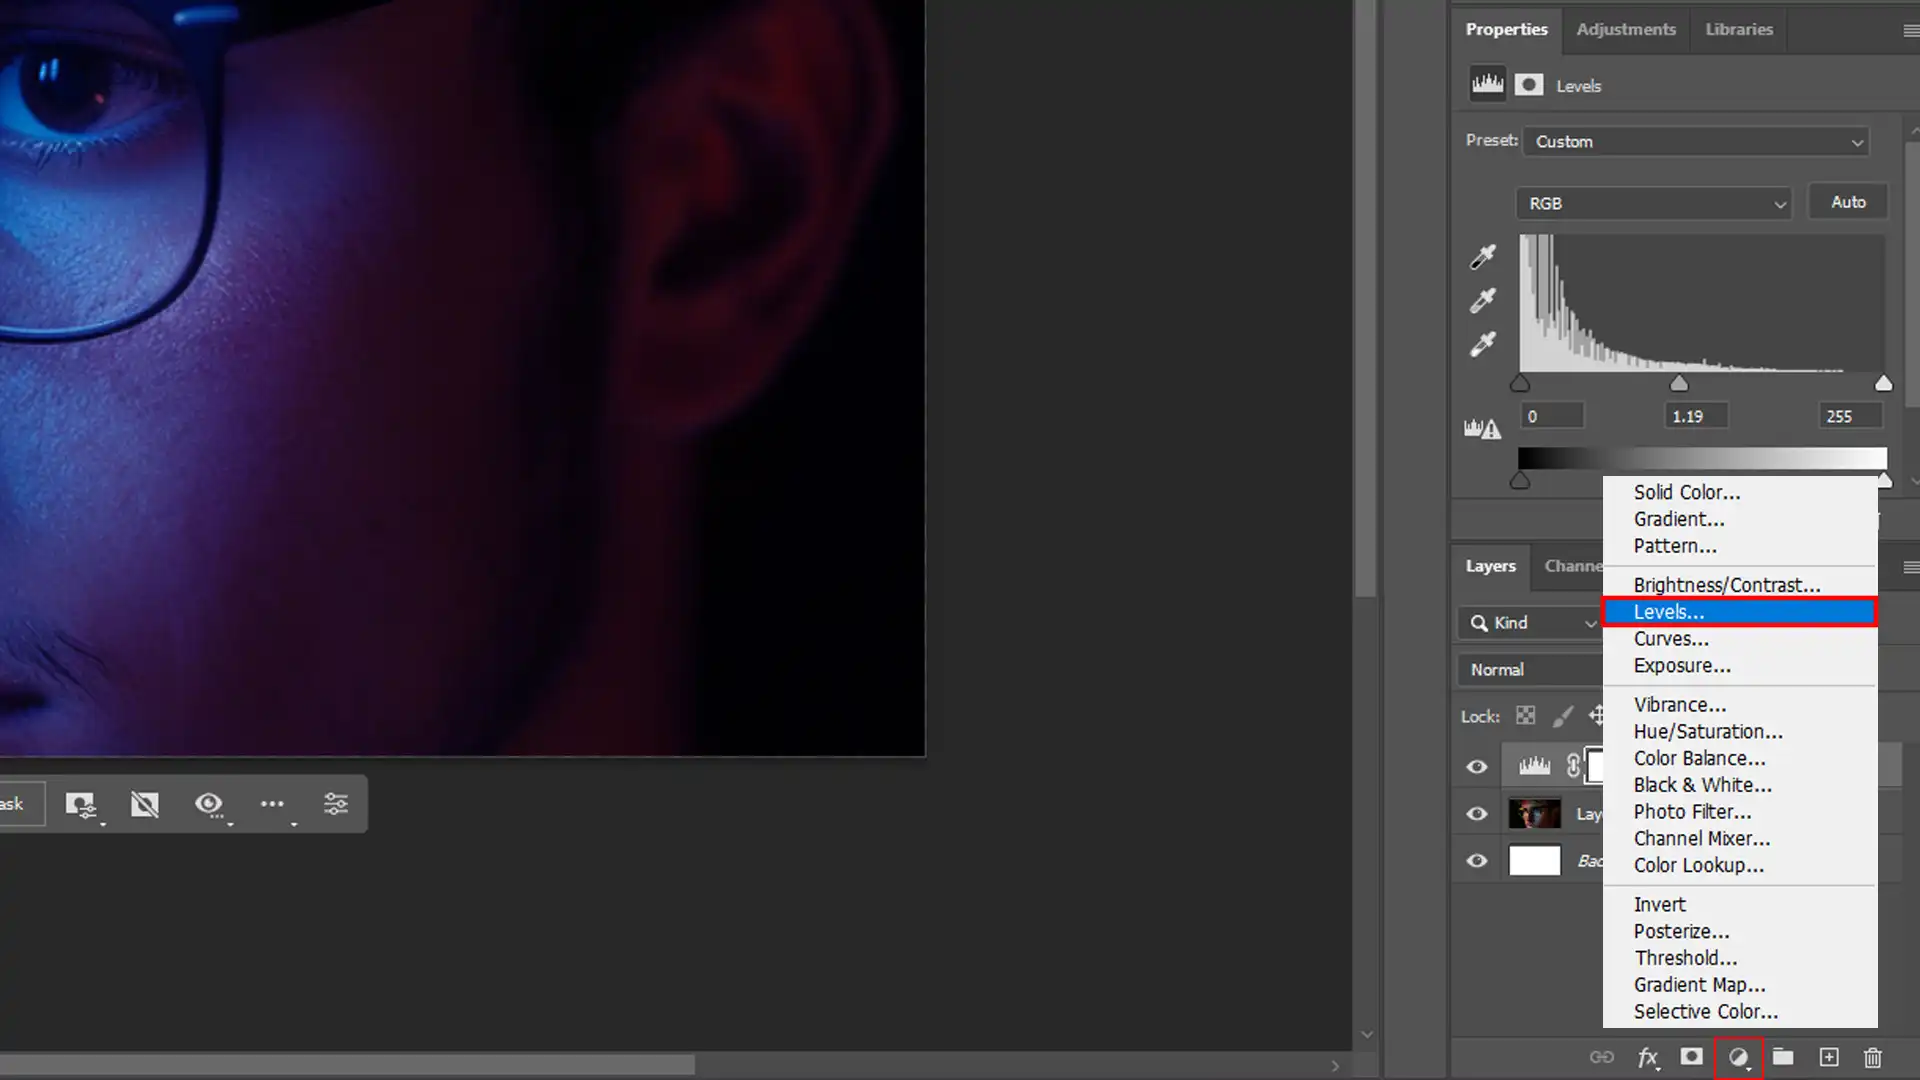
| Light Adjustments |
Utilize the layers panel to apply soft lighting adjustments that complement your subject and remove unwanted glare. |
| Dehaze Slider |
Use the dehaze slider in Lightroom to remove glare and enhance the overall clarity of your photos. |
| Combining Tools and Techniques |
Combine multiple tools and techniques to achieve better results, such as modifying midtones and using feather sliders for smooth edges. |
| Practice Makes Perfect |
Consistently practicing these methods will improve your skills and confidence in achieving desired outcomes. |