How to Make Contact Sheet in Photoshop: The Ultimate Guide
How to Make Contact Sheet in Photoshop: The Ultimate Guide
Are you wondering how to make a contact sheet in Photoshop?
Creating a contact sheet is a game-changer for photographers, providing a tidy visual summary of your photo collection. It’s an efficient way to showcase your work and select the best shots.
In this article, I’ll guide you through the step-by-step process to transform a cluttered library into a cohesive, professional contact sheet. By the end, you’ll master this essential skill, enhancing both your workflow and presentation.
Let’s dive in and unlock the potential of your photo collection together!
Table of Contents
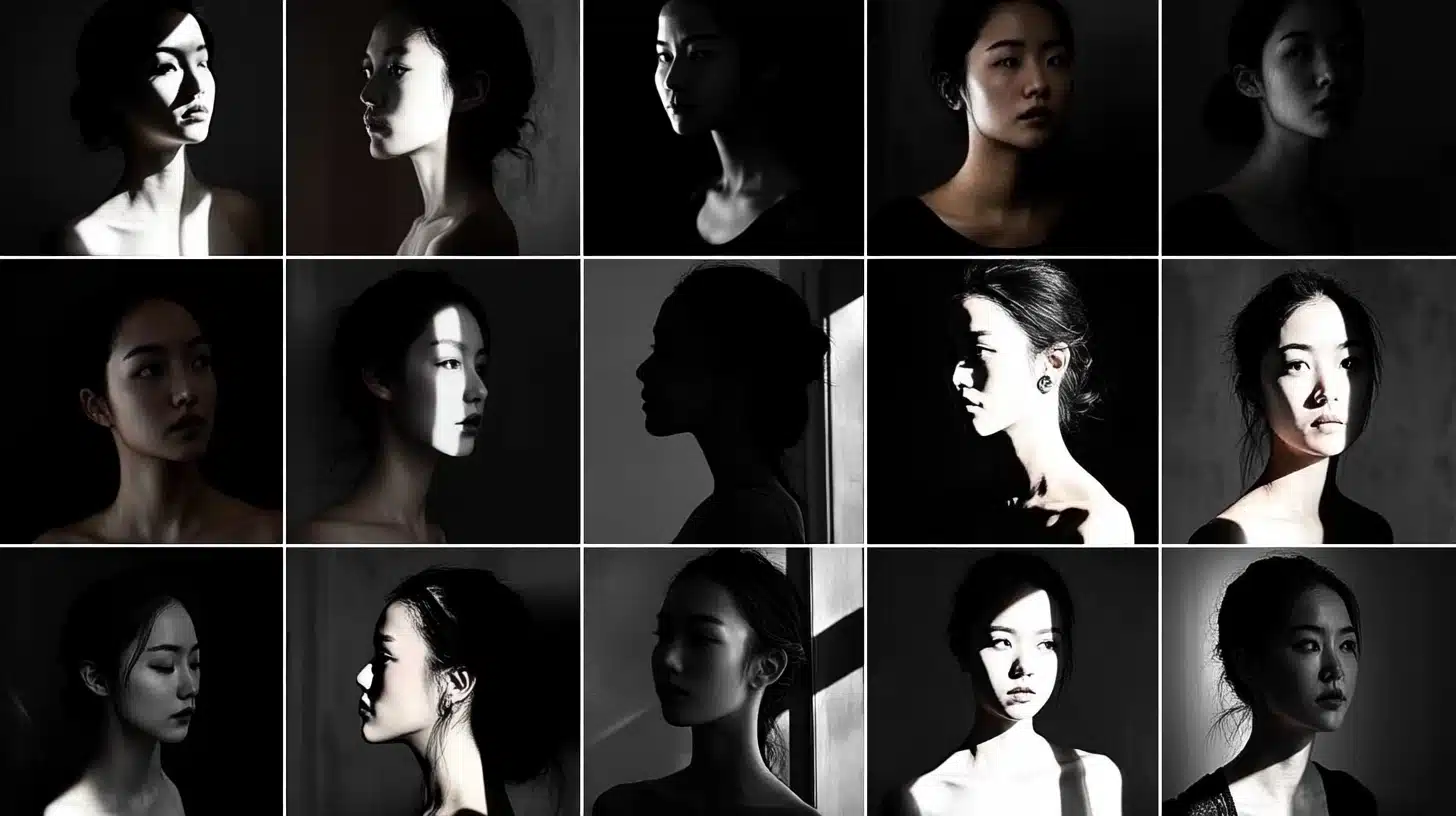
What is a Contact Sheet?
A contact sheet serves as a visual summary of a photographer’s work. Photographers use it to review many images at once, making decision-making easier.
The sheet displays multiple thumbnail images on a single page, offering a quick overview of the captured moments.
How to Create a Contact Sheet in Photoshop: Setting Up Your Workspace
Creating a contact sheet in Photoshop begins with setting up the workspace to ensure efficiency:
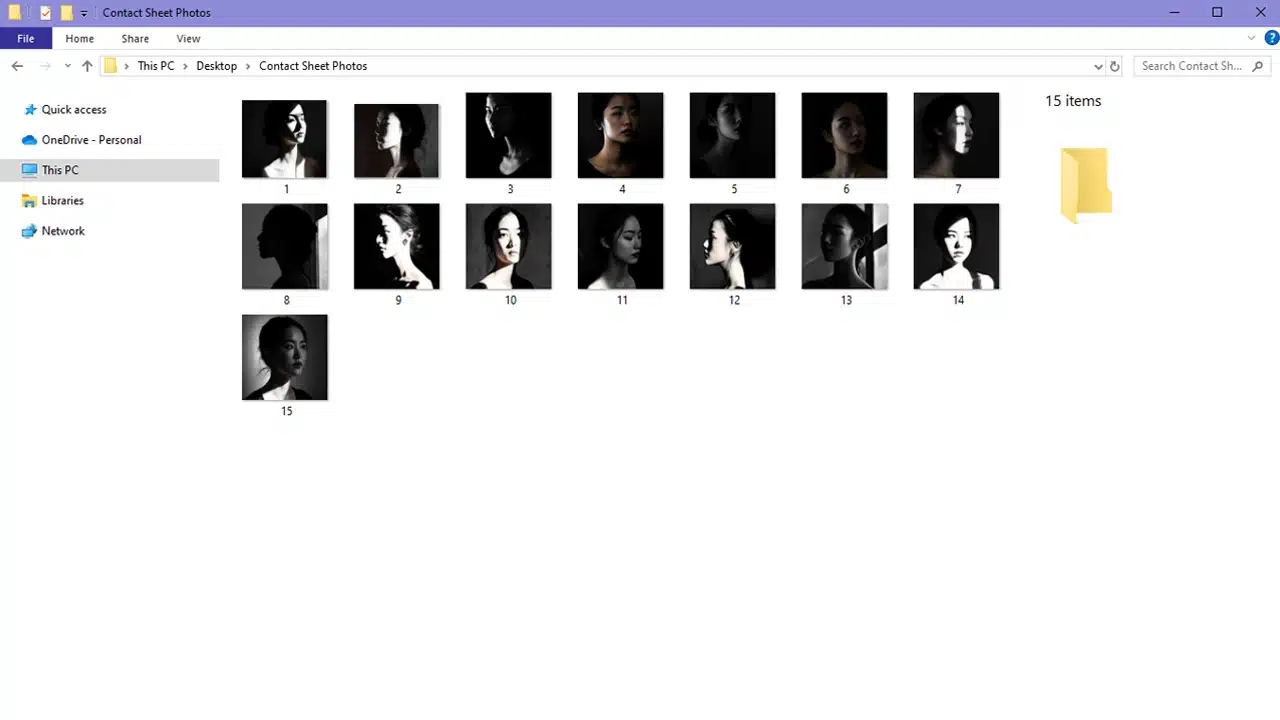
Open Photoshop and prepare your files. Organize your source image filenames before starting to avoid confusion later.
Choose the images for your contact sheet and place them in one folder for easy access. Opening each individually wastes time.
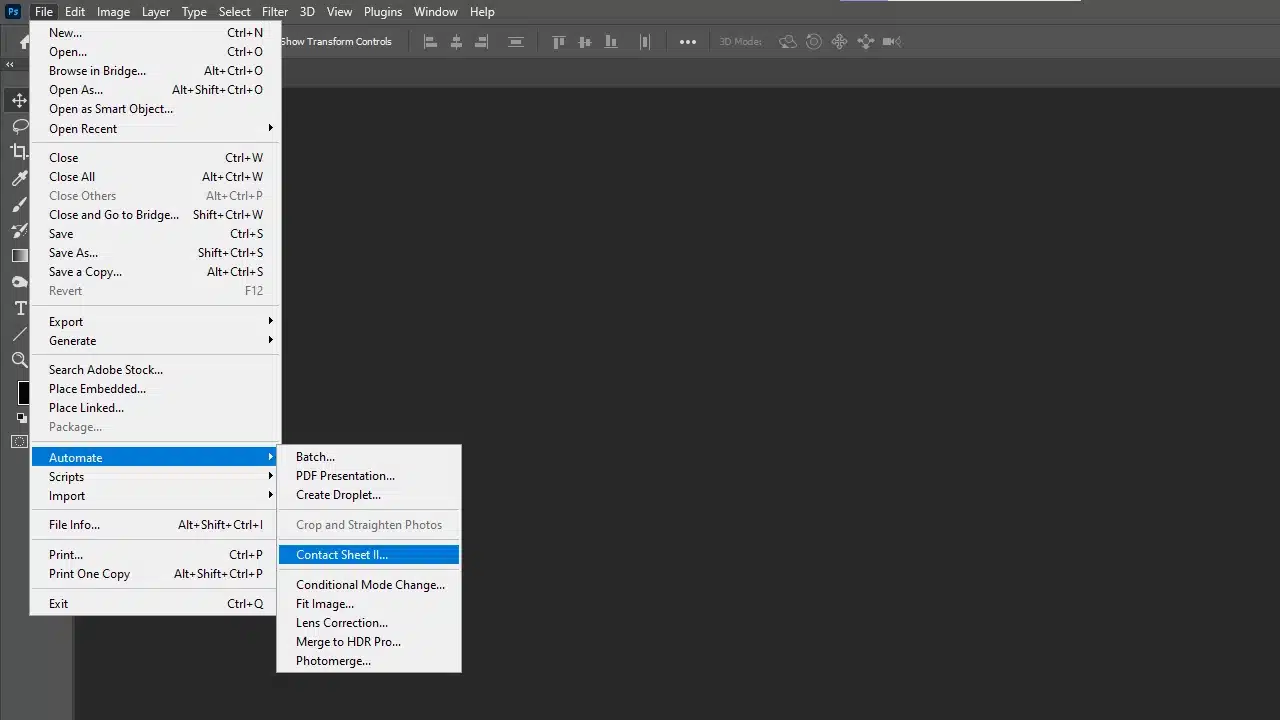
Use the menu to select 'File' then 'Automate Contact Sheet II'. This automation streamlines your process, enabling quick setup.
Step-by-Step Guide on Using the Contact Sheet II Dialog Box
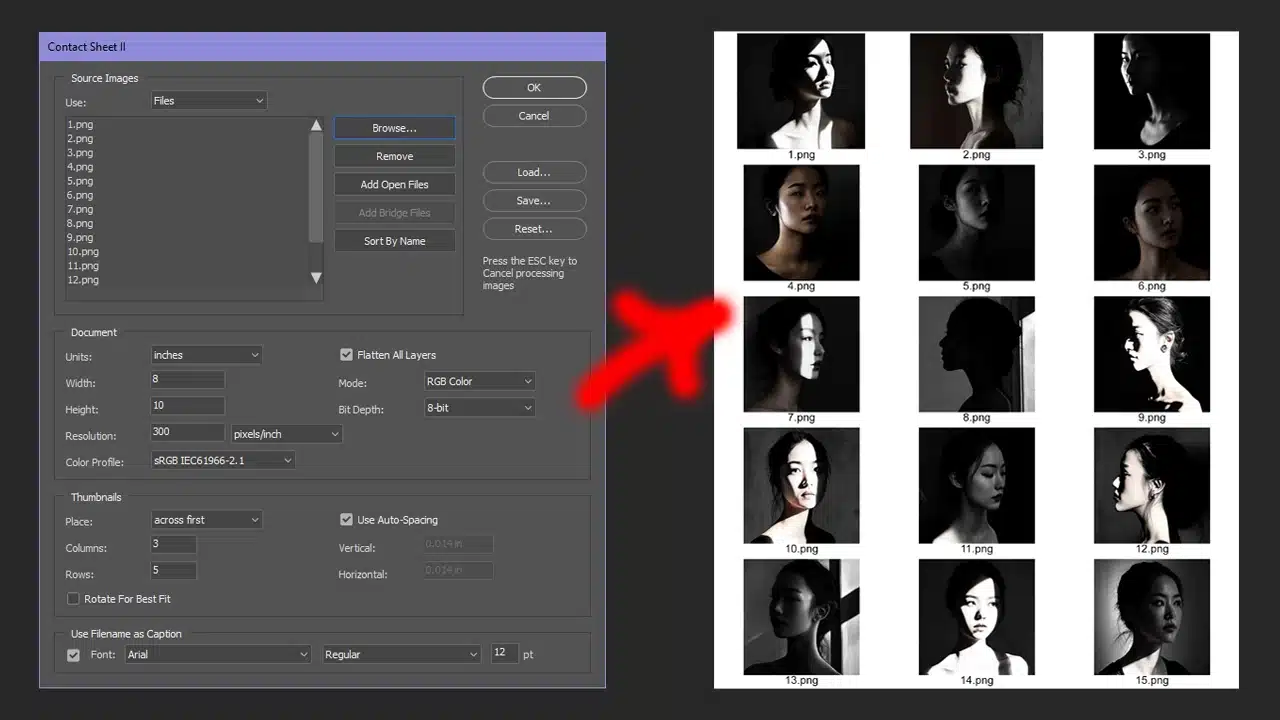
Once you open the Contact Sheet II dialog box, start by adjusting the layout options:
Arrange thumbnails with ease by customizing the arrangement. Whether you want more rows or columns, these adjustments help you create a contact sheet that suits your needs.
Adjust vertical and horizontal space to fit the thumbnails perfectly. Choosing to select auto spacing ensures consistent gaps between every image.
Pro Tip: Check out these Photoshop layout tips to be able to create stunning designs!
Customizing Your Contact Sheet
Customizing gives you control over the final look:
Add captions using a separate text layer, selecting a caption font that matches your style. Adjust this font size to ensure readability without clutter.
If needed, rotate clockwise within the thumbnails area for better alignment.
Explore the single layer option for simplicity if you're considering typography.
For those looking to add color data, use the color feature to enhance visuals.
When you automate contact sheet ii processes, Photoshop automatically spaces your thumbnails, saving time. Don’t forget to deselect flatten if you plan further edits.
Include the use filename as labels, keeping the document area organized. If desired, select flatten to merge and simplify your finished contact sheet.
Conclude by arranging the file automate contact sheet settings.
Pro Tip: Always double-check the layout after you arrange thumbnails. Consistent spacing and alignment impact viewer engagement.
Exploring Adobe Photoshop new features can provide additional creative tools and shortcuts to streamline the editing process.
Additionally, understanding the difference between Photoshop and Lightroom can help you decide which software best suits your workflow needs when you create a contact sheet.
Exporting and Saving Your Contact Sheet
After we finish the contact sheet creation, saving it properly becomes an important step. We want our work to be preserved well, don’t we?
In Photoshop, saving an image ensures compatibility across different devices and formats. Selecting a common file type like JPEG or PDF can make sharing with others easy.
It’s also worth noting that we’ve spent considerable effort creating those thumbnail previews, so let’s ensure they’re saved in the highest quality available.
A little trick I learned along the way: save your project as a PSD file before finalizing it. This choice keeps all layers intact, which can be handy if you need to revisit your masterpiece later.
Trust me, there might be a time when you say, “Oh snap, I forgot that!” and you’ll thank past you for planning ahead.
Pro Tip: Choosing the right format is very important, which is why learning the different formats can help in making your decision of NEF or JPEG or CR2 or JPEG
Exporting Options in Photoshop
Now, about exporting – let’s do this right!
When you’re ready, use the ‘File Automate Contact Sheet‘ feature to guide the export process. It’s not just about hitting a save button; a world of options is at your fingertips.
Are you familiar with ‘Automate Contact Sheet II’? It simplifies exporting by allowing you to select filenames automatically.
Features to Explore:
Select Rotate: Adjust image orientations, a great tool for perfectionists among us (I might be one).
Use Auto Spacing: Let Photoshop automatically space the images. Sometimes it's nice to let the software do a bit of heavy lifting.
Ultimately, the choice depends on our needs: are we presenting this contact sheet to clients, or storing it for personal use?
Define the purpose beforehand. It makes decision-making easier.
Pro Tip: If you need to refine your images further, exploring Photoshop shortcuts as well as Lightroom shortcuts can significantly speed up your workflow.
Advanced Tips on How to Use a Contact Sheet
Creating a contact sheet in Photoshop can seem daunting.
But fear not, we have some advanced tips that will have you navigating Photoshop and Lightroom like a pro in no time.
Optimizing Contact Sheet Layout
When you’re figuring out how to make contact sheets in Photoshop, layout is key.
You want your sheet to be clear and organized.
Use Menu Options Effectively: - Open Photoshop and use the 'File Automate Contact Sheet' to kickstart your process. It's easy and saves time.
Consider the Layout: - Place images on a separate layer to allow movement and adjustment without disturbing other elements. - Use filenames as captions to help identify photos easily, making each picture more recognizable. - Select 'use auto spacing' for uniform gaps. This small touch adds a lot to your contact sheet's presentation.
Personal Control with 'Contact Sheet II': - Adjust columns and rows until you have something visually appealing. A well-organized layout means viewers stay engaged, not confused.
Troubleshooting Common Issues
Sometimes, things don’t go as planned. Contact sheet issues arise due to software glitches or minor mistakes.
Here are some common problems and solutions:
Sheet Doesn't Save Properly: - Check if you’ve chosen the right export settings, especially if you're using Lightroom for additional edits.
Images Not Aligned: - Revisit your spacing, especially in 'Contact Sheet II', to ensure no elements overlap. It’s like tidying up a photo album.
Scaling Issues: - Confirm your resolution settings to solve blurry photo problems. Remember to always save regularly to avoid losing work.
Unexpected Crashes: - Keep your software updated to minimize disruptions. A stable version of Photoshop is your best friend. Troubleshooting might feel tedious, but it ensures smooth editing.
Creative Uses for a Contact Sheet in Photoshop
Now, let’s look through some inventive uses of the contact sheet.
Inspiration for Designers
The humble contact sheet evolves beyond basic functions. It becomes a creative tool for designers worldwide.
By presenting visuals in a grid format, the contact sheet can morph into inspiration boards. Images strategically positioned on these grids spark different design ideas.
Designers view their work in a new light. Patterns and themes emerge effortlessly.
Use filename captions to identify which image captivates the most, and consider utilizing Lightroom Shortcuts to streamline your workflow.
Usage of a Contact Sheet in Professional Photography
A contact sheet can excel in the realm of professional photography. They act as a visual representation of a photo shoot’s entirety.
This allows photographers to quickly assess the quality and mood of their shots.
Photographers value them for easy selection of the best images. The process simplifies editing decisions before deep-diving into individual photos.
Creating a contact sheet also helps convey a narrative through strategic placement of images, much like how you might use the content-aware fill in Photoshop to enhance storytelling.
Using Contact Sheet II
Contact sheet II comes used to refine the layout further, giving control over columns, rows, and spacing.
Want to learn how to make a contact sheet in Photoshop? It’s straightforward:
Initiate it with 'File Automate Contact Sheet'.
Ensure you select use auto spacing for neat gaps between photos and uniformity.
Pro Tip: Regularly update your contact sheets as you accumulate more work. It’s a surefire method to keep your ideas fresh and easily accessible.
Frequently Asked Questions
How do I create a contact sheet in Photoshop?
Open Adobe Photoshop and navigate to File > Automate > Contact Sheet II.
Select the folder where your images are stored.
Adjust settings like dimensions, resolution, and thumbnails per page as needed.
Click OK to generate the contact sheet.
How do you make a contact sheet step by step?
Choose the program or tool you will use (e.g., Photoshop, Lightroom).
Load or select the images you want to include.
Set the layout preferences such as grid format, image spacing, and captions.
Generate the contact sheet and save or print it as required.
What is the app that makes a contact sheet?
Adobe Photoshop - Offers a built-in tool called Contact Sheet II.
Adobe Lightroom - Allows users to create a contact sheet through the Print module.
Microsoft Word - Can be used to manually create a contact sheets by inserting images into a table.
How to make a contact sheet on Mac?
Open Preview app and select all the images you want to include in your contact sheet.
Go to File > Print, then click on the Show Details button.
Choose the layout options such as the number of images per page.
Click on Print to create a PDF or print the contact sheet.
Creating a contact sheet in Photoshop has transformed how I organize and present my photography work. Before mastering how to make a contact sheet in Photoshop, managing large batches of images felt overwhelming.
Compiling multiple photos into a single, organized sheet has greatly improved my workflow and allows me to showcase my work professionally to clients and collaborators. The automation tools in Photoshop have saved me countless hours, letting me focus more on creativity instead of tedious tasks.
If you want to elevate your skills, I highly recommend my Photoshop course and Lightroom course. These resources have refined my editing techniques and can offer you the same advantage.
Mastering the contact sheet enhances both efficiency and professionalism in your photography projects.
If this article has helped you, then Like and Share it with your friends
$2,061.00Original price was: $2,061.00.$1,061.00Current price is: $1,061.00. 27583
Download Your Free Guide Now!
Discover the secrets of photography with our printable guide! Master essential techniques like aperture, shutter speed, and ISO to create stunning images. Get your free printable PDF now and start turning your snapshots into masterpieces!