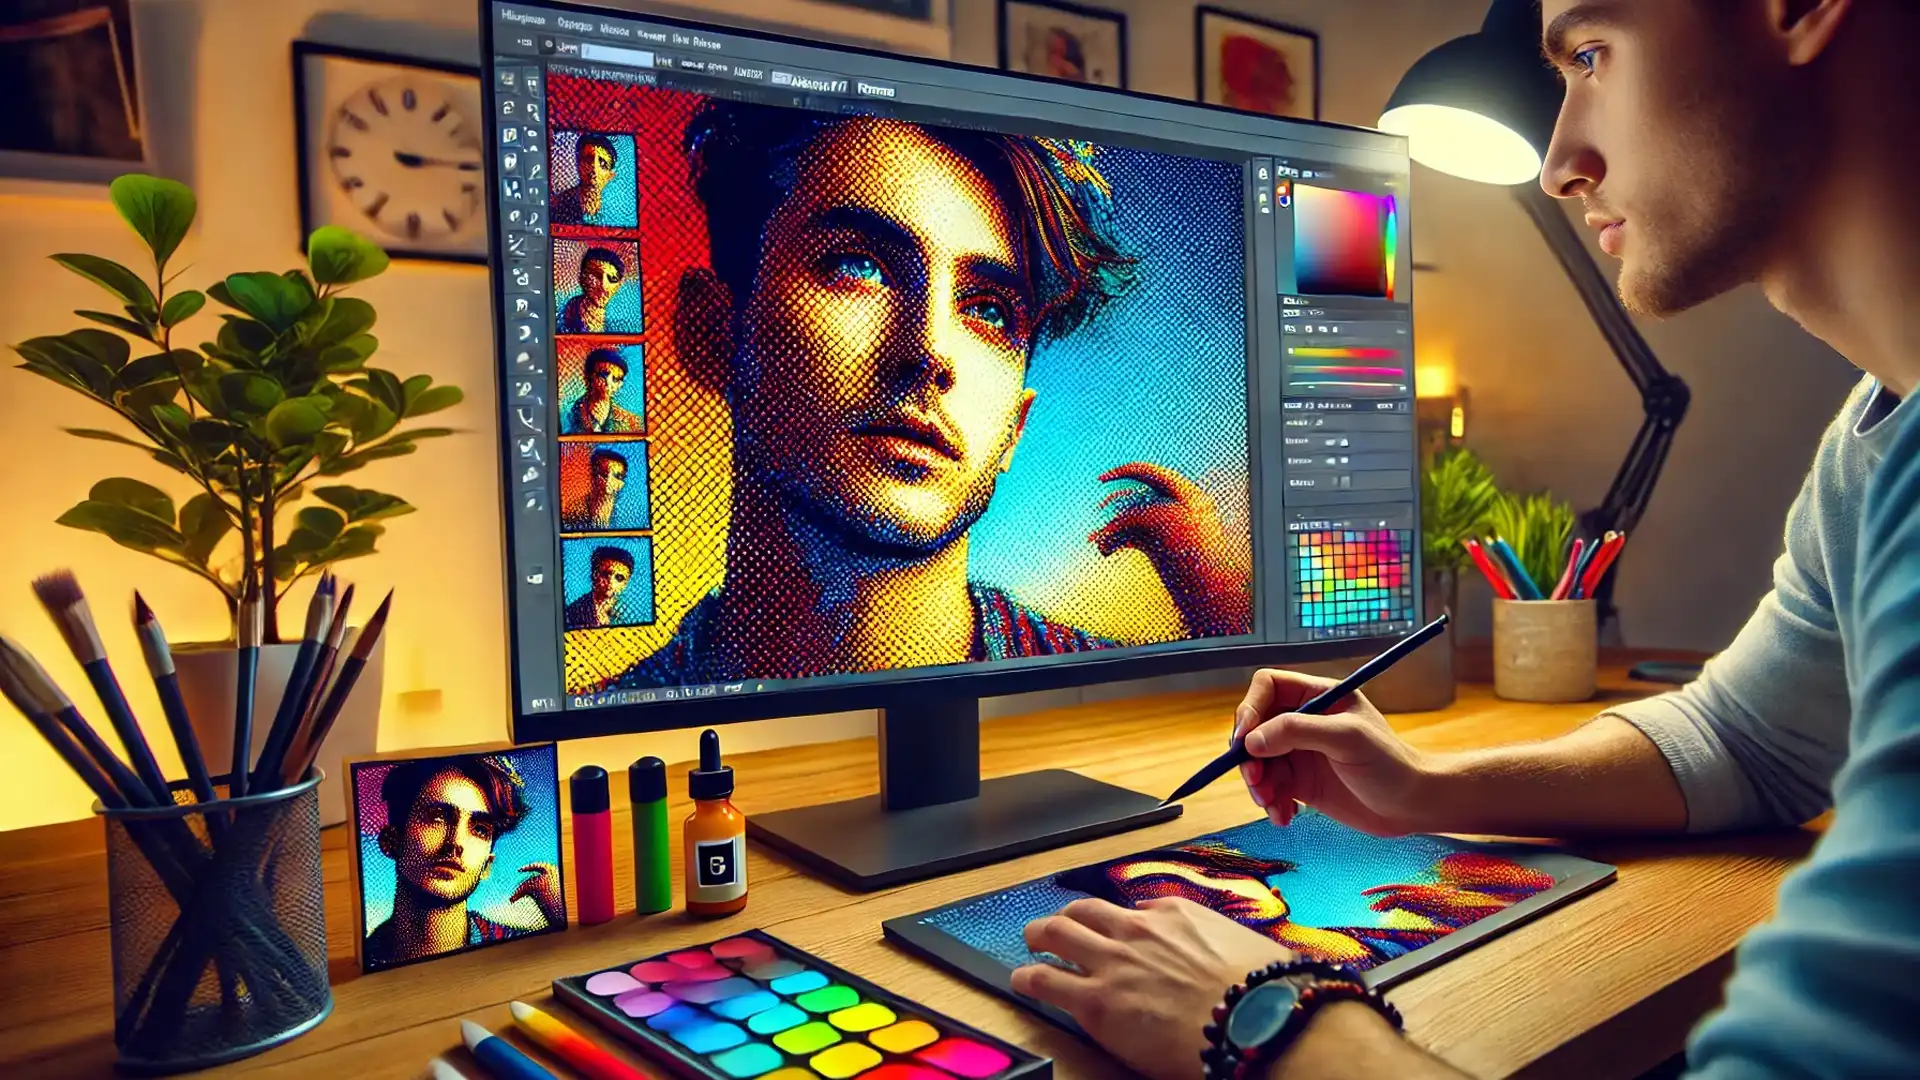
Color halftone Photoshop techniques can transform your images into stunning works of art.
Ever wondered how to give your photos that unique, retro comic book feel? You’re in the right place. In this guide, I’ll walk you through the steps to create a captivating color halftone effect in Photoshop.
Whether you’re a beginner or looking to refine your skills, this method is both fun and easy to master.
Stay with me, and together we’ll explore how to make your images pop with vibrant, eye-catching halftone patterns.
Let’s dive in and unlock the creative potential of color halftone effects in Photoshop!
Table of Contents
Setting Up Your Workspace for a Halftone Pattern in Photoshop
Your workspace setup matters a lot. It’s the first step toward achieving a great Halftone Filter in Photoshop.
Let’s walk through this together.
Opening Your Image
First, open your image in Photoshop. Choose an image that you want to work on:
Click on “File”, then select “Open”.
Search for your image file and double-click on it.
It’s important to have a clear image before starting any edits.
Adjusting Image Size and Resolution
Next, we adjust the size and resolution of the photo in Photoshop:
Go to the "Image Menu" at the top of your screen.
Select “Image Size”.
In the dialog box that appears, change the dimensions and choose a resolution that suits your project needs.
The goal is to ensure your image doesn’t lose quality after applying effects.
When adjusting image size and resolution for a Halftone effect, be sure to set the correct pixel dimensions to ensure the final output maintains the desired image quality and detail.
Understanding Image Resolution for a Halftone Pattern
The resolution affects the Halftones effect’s appearance. Higher resolution means finer details. A lower resolution might result in blurrier halftone dots.
Always choose wisely to balance between detail and file size.
Applying the Halftone Filter Effect
Now, we’re ready to apply the halftones effect in Photoshop. This effect creates patterns that make your photos look retro.
Start by converting your image to grayscale.
Converting to Grayscale
Grayscale conversion is essential:
Go to "Image Menu", select “Mode”, then click on “Grayscale.”
This simplifies the color information, making the color halftone screen smoother.
Implementing the Color Halftone Filter
With the image in grayscale:
Head to the "Filter Menu".
Choose “Pixelate”, then select “Color Halftone screen. ”
In the dialog box, set the max radius. This determines how large your halftone screen dots are.
Once set, click "OK". Watch the transformation unfold.
When applying the Halftone Filter, use smart filters to allow for non-destructive editing, ensuring you can easily make adjustments to the effect as needed.
Fine-Tuning Your Halftone Effect
After applying the initial Photoshop halftone effect, some fine-tuning might be needed.
This ensures the effect looks just right.
Adjusting Levels for a Halftone Pattern Effect
Head to the “Image Menu” again:
Select “Adjustments”, then “Levels.”
Use the sliders to tweak the contrast. This step sharpens the Halftone screen pattern.
Additionally, utilize the sharpen an image feature to enhance the overall clarity and detail of your effect.
Colorizing the Halftone Effect
Although we started with grayscale, we can bring color back:
Go to the "Image Menu," select "Mode," then “RGB Color.”
Use adjustment layers to colorize your image. Use the "Layers Panel" for better control over colors.
When colorizing the Halftone effect, consider composition rules to ensure that the colors enhance the overall design and visual balance.
Saving and Exporting Color Halftone Photoshop Work
Lastly, save and export your completed work:
Click on “File”, then “Save As.”
Choose the desired format, such as JPEG or PNG. A high-quality format is recommended for best results.
When saving your work, choosing the right format based on your intended use is important.
Below is a comparison of the most common formats, their best uses, pros, and cons:
Select a format that retains high resolution. TIFF is a common choice.
Always check the color modes to ensure accuracy in print.
Saving for Web
For web use:
Consider optimized formats like JPEG or PNG.
Compress the file to reduce loading times without significantly losing quality.
Pro Tip: Use the Photoshop halftone texture on different layer styles and blend them. This will give your artwork more depth and originality.
To fine-tune your halftone effect, consider using the remove background tool to isolate the subject and enhance the overall appearance.
Creating a Vibrant Color Halftone Effect in Photoshop
To create a captivating color halftone effect in Photoshop is both an pop art and a science.
Let’s dive into how you can easily apply this effect to your photos using simple steps and explanations.
Using the Color Halftone Filter
The first step is to open your desired image in Photoshop.
Next, head to the Filter Menu. From there, choose Pixelate and then select Color Halftone texture. This halftone filter creates a classic dot pattern that resembles vintage comic books.
You might notice how the dots overlap in certain areas, when you create an interesting and unique blend of original colors.
Modifying Halftone Filter Settings
Now, let’s tweak the settings. You’ll see options to adjust the max radius and the shapes of the dots.
The max radius controls how large the dots can get, acting as a color halftone texture screen for your image. Play around with these settings until you’re happy.
If you want the dots to be more or less visible, adjust the maximum size and shape.
Remember, subtle changes can make a big difference in achieving the desired halftone pattern effects.
When adjusting Halftone Filter pattern settings, make sure to resize the image appropriately to achieve the desired level of detail and clarity in the final effect.
Previewing the Color Halftone Effect Photoshop
After adjusting the settings, always preview your changes before applying them.
This helps ensure the halftone effect looks just right. Look out for areas where black dots might overpower the image, and scale down if needed.
Don’t be afraid to experiment; it’s all part of the fun. Once you’re satisfied, apply the color halftone texture, and save your work in the desired format.
When previewing the Halftone effect, it can be beneficial to learn from software like Lightroom to understand how different adjustments can impact your image.
For finishing your design consider adding also text textures so it will look breathtaking the finished product.
Enhancing Your Halftone Pattern in Photoshop
Let’s dive into the different techniques to enhance your halftone screen effectively.
Adding Color Adjustments
To make your halftone filter more vibrant, you can tweak color adjustments in Photoshop.
Go to the Adjustments layer and select options like Hue/Saturation.
You can shift the hues to add diversity or increase saturation for a bold look. A little experimentation goes a long way here.
Blending modes are your friends. Using blending modes like Multiply, Screen, or Overlay can give your halftone effects a unique finish.
Modify the opacitylevels to balance how vivid or subtle you want the halftone effect in Photoshop to appear. This step can significantly change the perception of your design.
Creating Custom Halftone Dots
You can personalize your halftone screen patterns by creating custom dots.
This makes your work stand out and look different from the standard halftone filter.
Using Custom Brushes
First, create custom brushes. In Photoshop, design small dot shapes with varying sizes.
Save these as brushes. Apply them using the Brush Tool for more manual control over each color halftone effects.
When creating custom halftone dots, you can also use the clone stamp tool to duplicate specific areas, ensuring a consistent halftone pattern.
Creating Dot Patterns
Another second method to create custom dots is by designing patterns.
Open a new document. Draw dots in a grid layout. Save this as a pattern and apply it to your image.
How to Create a Color Halftone effects in Photoshop?
Open your image in Photoshop.
Go to the Filter menu, select Pixelate, and then choose Color Halftone filter.
Set the maximum radius for the dot size and adjust the screen angles for each color channel.
Click OK to apply the filter.
How does the Color Halftone Filter CMYK work?
Color halftone Filter CMYK refers to a printing process where small dots of four colors: cyan, magenta, yellow, and black (CMYK) are used to create a full-color image.
The dot patterns vary in size and spacing, simulating different hues and intensities
What is the Halftone Pattern in Color?
A halftone pattern in color involves using dots of various sizes and colors to represent a continuous tone image.
The pattern is often used in printing to reproduce a full spectrum of color with limited ink colors.
What are the 4 Colors of Halftone Pattern?
The four basic colors used in halftone filter printing are Cyan, Magenta, Yellow, and Black (CMYK).
These colors are printed in tiny dots that blend at a distance to form various colors and shades in the printed image.
$2,061.00Original price was: $2,061.00.$1,061.00Current price is: $1,061.00. 27583
Download Your Free Guide Now!
Discover the secrets of photography with our printable guide! Master essential techniques like aperture, shutter speed, and ISO to create stunning images. Get your free printable PDF now and start turning your snapshots into masterpieces!