Warping an image can truly transform your photography, and I’m here to show you just how powerful this technique can be.
Whether you’re looking to correct perspective, add creative effects, or simply experiment, learning how to warp an image opens up a world of possibilities.
Imagine being able to manipulate your photos perspective in ways that capture attention and evoke emotions.
By the end of this article, you’ll have the skills and confidence to take your image editing to the next level.
Let’s get started!
Table of Contents
Step-by-Step Guide to Warp Images
We dive straight into the practical steps, because no one likes fluff. Let’s turn that plain image into a work of visual art.
Follow along as we explore how to warp image and distort it effectively and seamlessly.
Preparing Your Warp Image

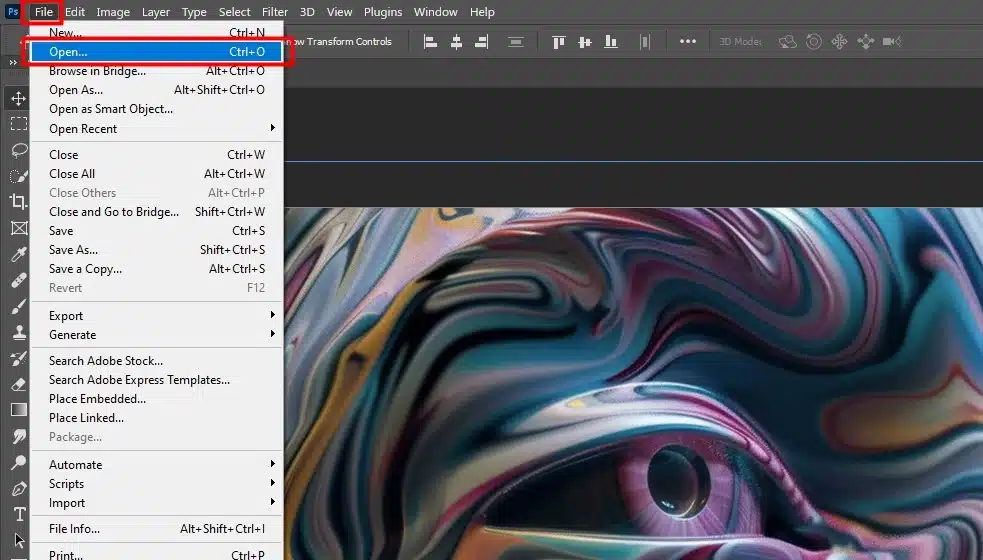
Before you start warping, ensure your source image is of good quality. Open your source image in your editing apps.
Whether it’s a BMP, JPG, or GIF, the format doesn’t matter much as long as the resolution is fine. Zoom in to check the pixels and see if they hold up upon close inspection.
This step is significant; you don’t want to start with a poor base. Also, make sure your background is clean. Remove any unnecessary objects that might draw attention away from the main subject.
Now, let’s select the image you want to warp. Click on the image layer. Always keep a duplicate layer of your original image. This way, you can always go back if the warping goes south.
If you’re looking to improve your Lightroom skills as well, check out these tips for Lightroom editing.
Using the Warp Tool

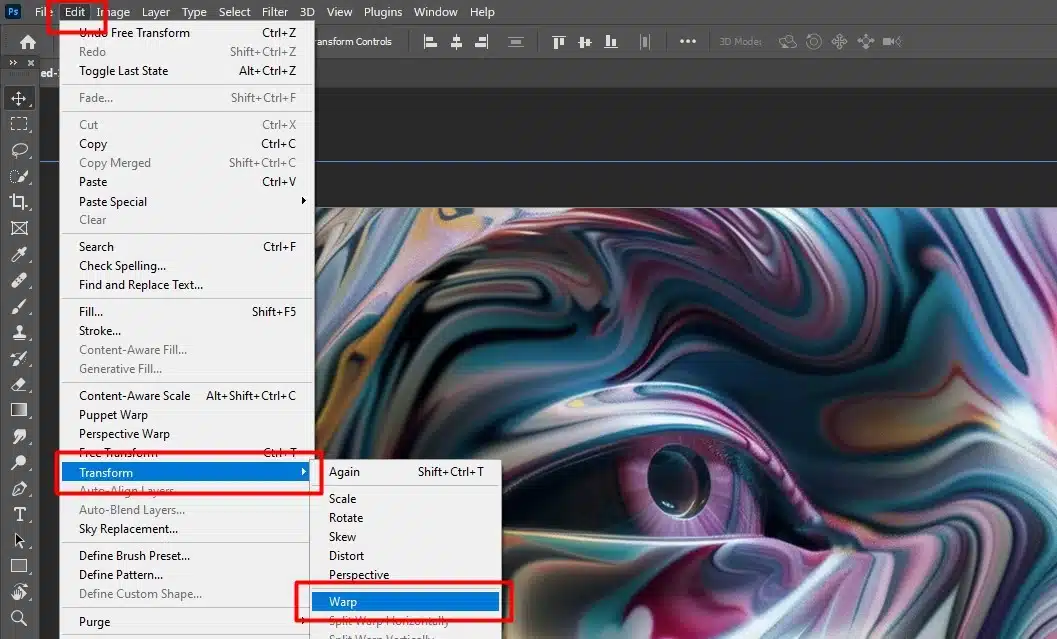
For example, your image is prepared. Now, go to the “Edit” menu and select the “Warping Tool.” If you notice, you can see a grid overlay on your image.
This grid divides the image into small segments, making it easier to manipulate. Drag any point on the grid to start the image warp process.
You’ll see parts of the image distort when you do this. Keep it subtle to begin with; drastic changes might ruin the overall appearance.
Each corner and edge of the grid can be moved to warp the image. Push and pull until you achieve the desired effect. If you need to warp images of different shapes, play around with the grid points more interactively.
Advanced Techniques in Image Warping
Understanding the basics of image warping gives us the foundation to explore more advanced techniques.
These feature will take your image warping and text warping from good to masterfully crafted works of art.

Combining Warped Image with Other Effects
To get really creative, I like to combine warping with multiple effects. You can incorporate layers such as adding shadows and lighting to make your warped image stand out.
Below, I’ll talk about a few effective combinations:
| Effect | Description |
|---|---|
| Lighting Effects | Adjust your lighting to highlight the areas you’ve warped. This adds depth and makes the image more lifelike. |
| Shadows | Incorporate shadows around warped edges to give a 3D feel. The perspective looks authentic this way. |
| Color Adjustments | Changing color tones in warped photos can indicate mood or focus on key elements. It’s amazing what a little color can do! |
Blending these effects with a warped image can achieve that “wow” factor.
If you’re interested in exploring more creative editing techniques, check out this guide on making a collage in Photoshop.
It’s a great resource to expand your editing skills.
Frequently Asked Questions

What does it Mean to Warp an Image?
Warping an image involves altering its original shape or structure. This process allows you to stretch, bend, or twist the image in various ways to achieve creative or dramatic effects.
How do I Warp an Image?
- Open the photo in a photo editing software that supports warping.
- Look for a tool or option labeled 'Warp' or 'Transform'.
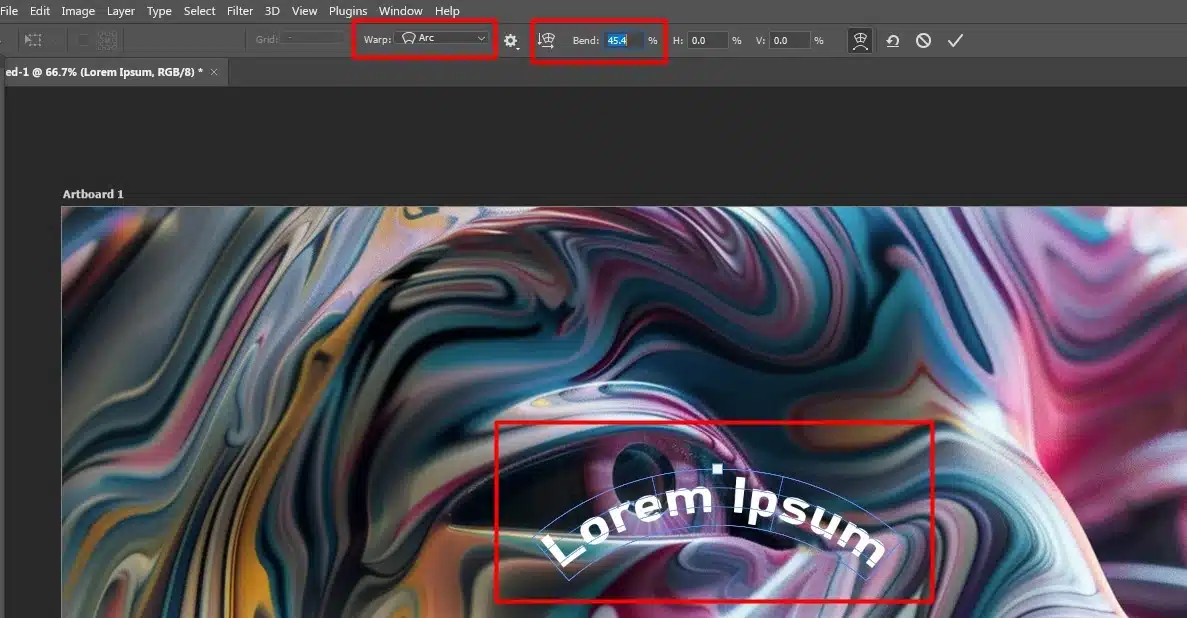
- Use the available handles or grid to manipulate the photo as desired.
- Apply the changes once you are satisfied with the new look of the photo.
What is the App that Bends Pictures?
Many photo editing apps can bend pictures, but popular ones include Adobe Photoshop, GIMP, and Pixlr.
These apps offer comprehensive tools to manipulate images in various creative ways.
What does Warp mean in Editing?
In editing, ‘warp’ refers to a technique used to distort or transform an element within the image.
Warp allows editors to make adjustments to the shape of images or parts of images to meet specific visual requirements.
Conclusion
In conclusion, mastering the ability to warp images has greatly improved my picture editing projects.
It has helped me fix distortions, enhance compositions, and add creative touches to my work.
From straightening architectural shots to creating surreal effects, the warp image tool has been invaluable.
If you want to take your skills to the next level, I highly recommend checking out these resources: the Photoshop course and the Lightroom course.
Both courses have been instrumental in my journey, providing detailed knowledge and practical tips that you can use right away.
For more tools to boost your editing, check out Photoshop and Photoshop Lightroom from Adobe.
Happy editing!
Read more about Photoshop & Lightroom:


