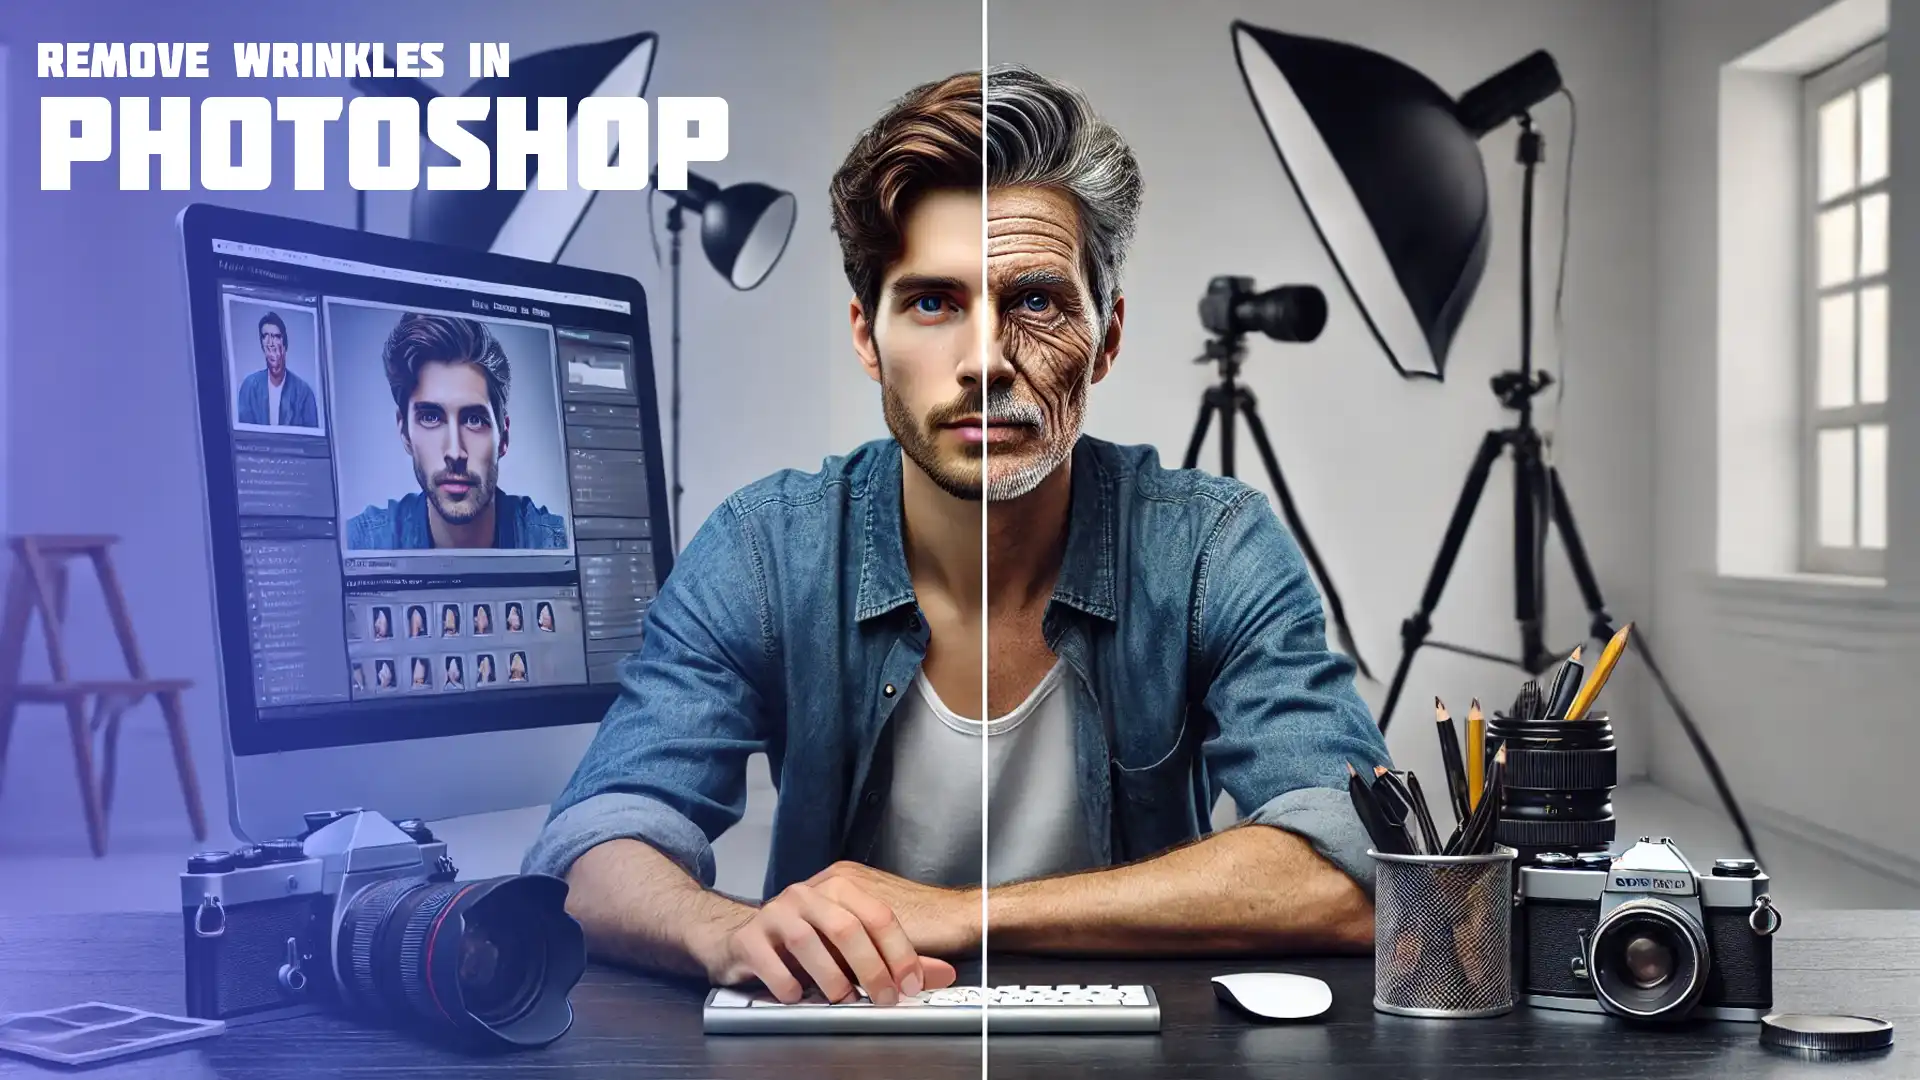
Remove Wrinkles Photoshop: Easy Steps to Flawless Skin Editing
Remove Wrinkles Photoshop: Easy Steps to Flawless Skin Editing
Have you ever wanted to remove wrinkles Photoshop but felt overwhelmed by all the tools and techniques? You’re not alone!
As someone who has spent countless hours perfecting photos, I understand how frustrating it can be to achieve that flawless look. In this Photoshop tutorial, I’ll guide you through simple, effective steps to smooth out those pesky lines.
Imagine the satisfaction of seeing your photos look professionally retouched without spending a fortune on expensive services.
Keep reading, and you’ll discover how easy it can be to enhance your images, making them look stunning and youthful.
Table of Contents
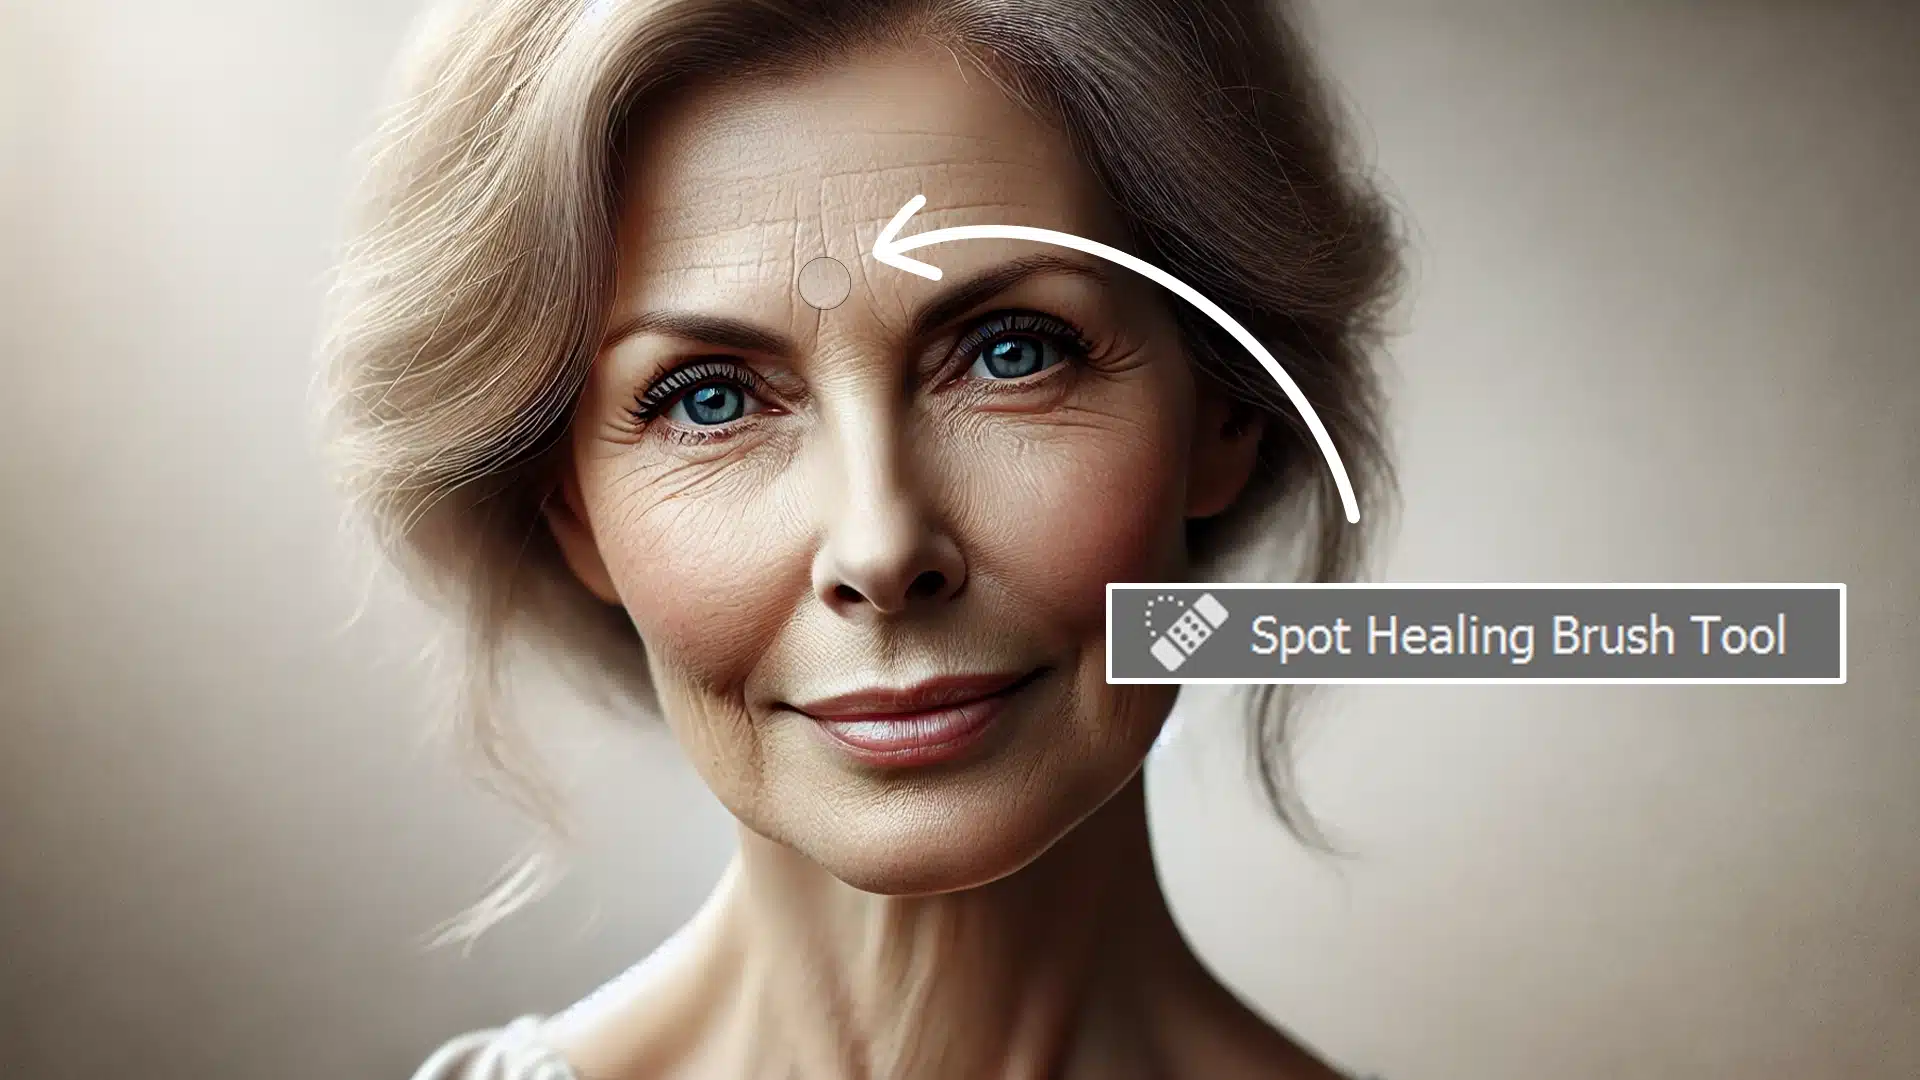
Using Spot Healing Brush Tool to Remove Wrinkles in Photoshop
The Spot Healing Function Brush Tool is a handy feature in Photoshop. It’s designed for quick touch-ups on your images.
Steps to Use the Spot Healing Function Brush Tools:
Select the spot healing function brush from the toolbar located on the left side of your screen.
Choose a brush dimensions that matches the blemish you're fixing by pressing the bracket keys on your keyboard. You can make the brush bigger or smaller as needed.
Click directly on the imperfection you want to fix using your left mouse button. The Spot Healing Function Brush Tools will analyze the surrounding pixels and blend them over the selected spot.
Work on a new layer to preserve your original image and allow easier adjustments if needed.
Tips for Effective Use
Always start with a new layer. This keeps your work non-destructive and flexible.
Adjust the brush dimensions depending on the blemish. Use the smallest size needed for precision.
Enable the Aligned option in the Options bar to ensure seamless blending.
Use the Spot Healing Function Brush Tools for small imperfections. For larger areas, consider the Patch Tool.
If you are dealing with a few wrinkles, try reducing the layer opacity for a more subtle effect.
Pro Tip: If you’re not happy with the result, use the history panel to step back. You can undo recent changes easily. For more advanced edits, consider using the content-aware fill in Photoshop for larger areas or complex backgrounds.
Importance of a Flawless Finish
Creating a flawless finish in photograph editing is important. It significantly boosts the visual appeal of images, making them stand out.
Significance of Reducing Wrinkles
Old photos or portraits often have imperfections like wrinkles. Decreasing wrinkles in photos can make subjects look younger and fresher.
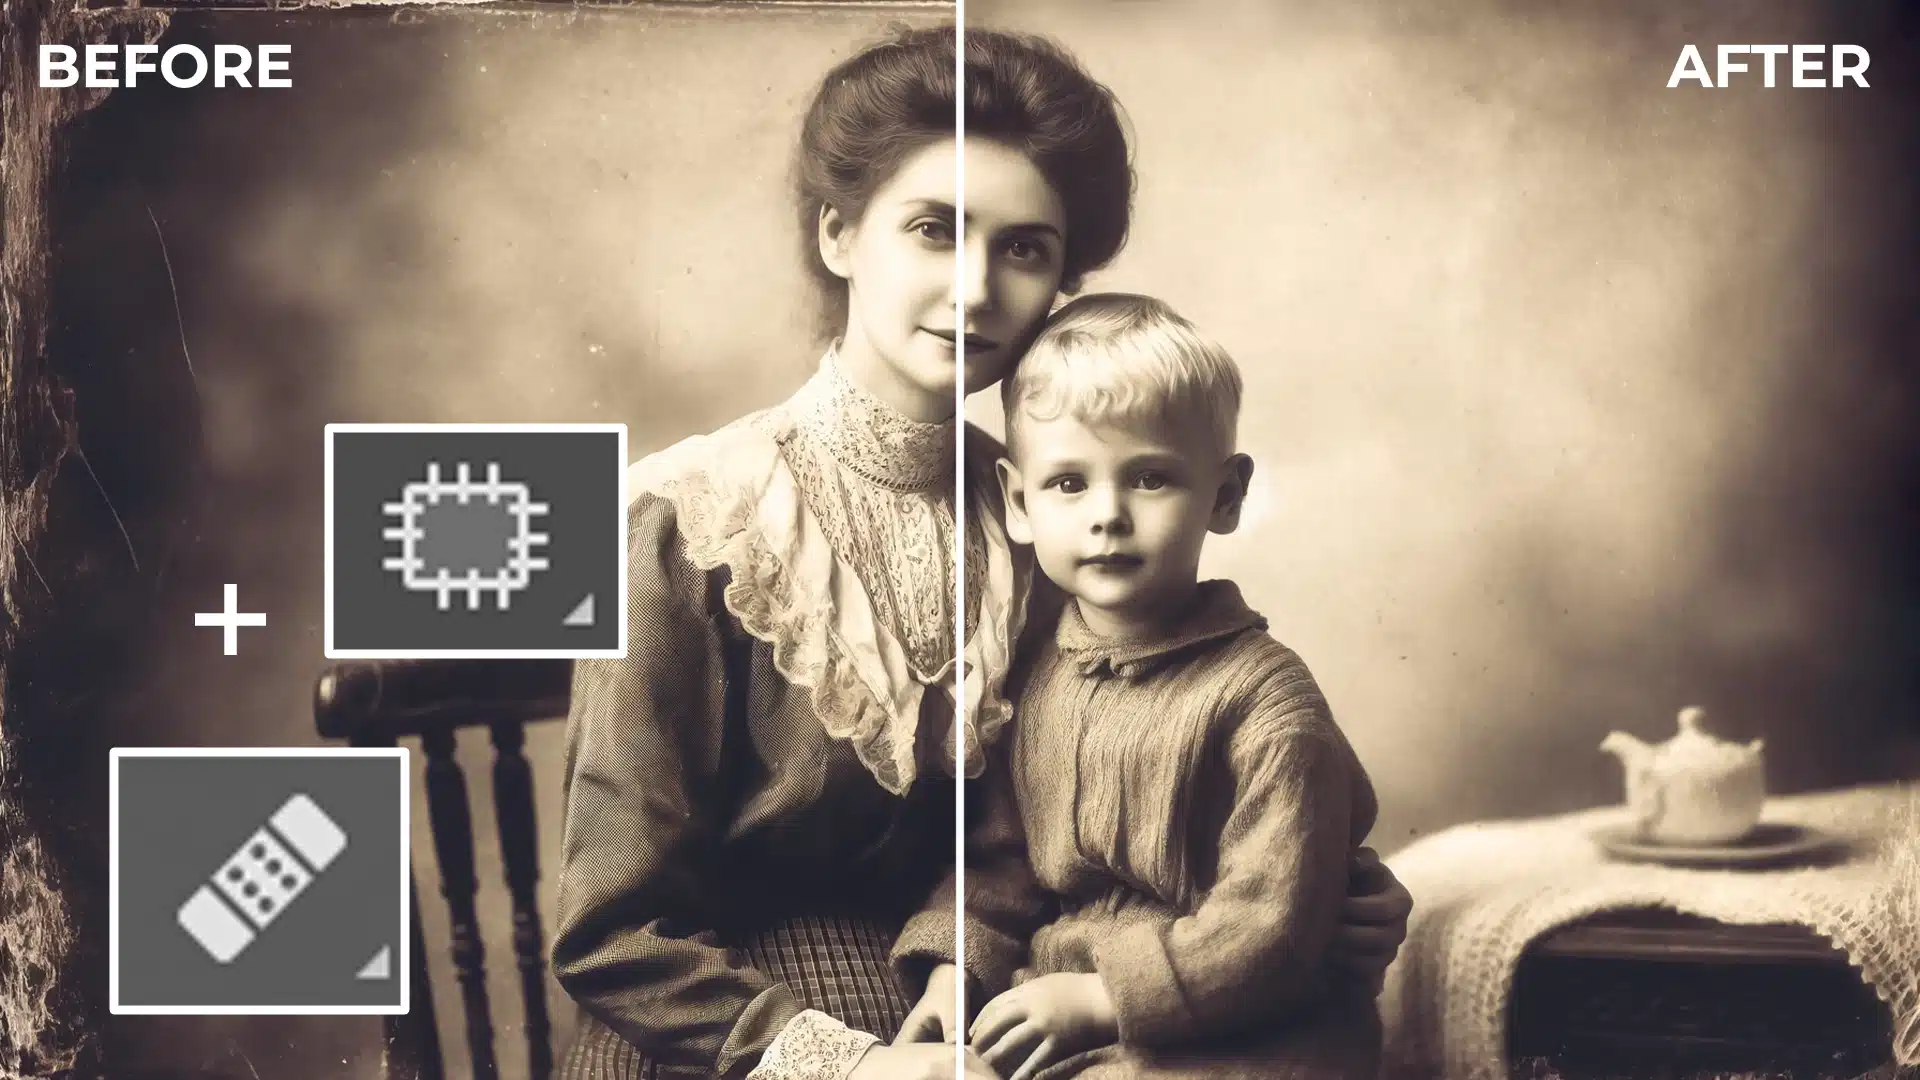
The Healing Brush Tool
Photoshop offers many tools for decreasing wrinkles. The healing brush tool is ideal for this task. Using this tool, you can clear wrinkles by blending the flaw with the surrounding pixels.
Select the healing brush from the toolbar
Adjust the brush size for precision
Click on the wrinkle with the left mouse button to apply the effect
Using New Layers for Non-Destructive Editing
It’s important to work on a new layer. This technique allows you to preserve the original image. Creating a new, fresh layer provides flexibility in editing.
Create a new layer through the layers panel.
Apply edits on the current layer instead of the background layer. This ensures that changes are made specifically to the current layer without affecting other elements.
Keep the original image untouched.
Advanced Techniques: Frequency Separation
For detailed editing, frequency separation is helpful. This method separates the texture from color, enabling precise edits without affecting the entire image.
Duplicate the background layer.
Apply Gaussian Blur on one layer
Use the healing brush on the texture layer
Blending Imperfections
The healing brush is perfect for small areas, but other tools like the patch tool can handle larger areas effectively.
Use the patch tool to select a problematic area and blend it seamlessly with another part of the image.
Select the patch tool from the toolbar
Draw a selection around the imperfection
Drag the selection to a smooth area
Refining the Edit
After applying these tools, refine the edit:
Reduce the opacity of the recent layer for subtle effects
Use the history panel to undo any mistakes
Experiment with different blend modes to achieve the desired result
Pro Tip: Always zoom in while working on details to ensure precision.
With these steps, creating a flawless finish becomes simple and effective using Photoshop tools, like the healing brush and patch tool.
Photoshop Remove Wrinkles Using Healing Brush Tool
To efficiently remove wrinkles Photoshop in your images, first select the Healing Brush Tool from the toolbar. Then, adjust the settings in the options bar to match your needs and apply the tool to seamlessly blend and remove imperfections.
For optimal results, experiment with different blend mode to achieve the best effect when you smooth wrinkles, and ensure a natural appearance.
While the healing brush tool requires you to sample a source area to fix another area, the spot healing function brush automatically samples areas around the spot you want to fix.
Both tools are crucial for removing imperfections like removing blemishes and wrinkles, but they are used differently depending on the task.
Mastering the Healing Brush Tool
To master the healing brush tool:
Select the tool from the toolbar.
Adjust the brush size according to the area you want to heal. Use the bracket keys to increase or decrease the size.
Always choose a soft brush to blend seamlessly.
Create a new layer to keep your edits non-destructive. This way, you don't alter the original image.
Hold the Alt key (Option key on Mac) and click to sample a clean area. Then, use the left-side mouse button to paint over the area you want to fix.
Keep checking your work by toggling the visibility of the new layer. This gives you a clear before-and-after view.
Pro Tip: For advanced retouching, use frequency separation to smooth skin in Photoshop. This technique separates textures from colors, allowing precise control over skin details.
Combining frequency separation with the Healing Brush Tool can produce professional-level results.
Essential Tools in Photoshop
While mastering the healing brush tool, it’s also beneficial to familiarize yourself with other essential tools in Photoshop. For instance, the clone stamp tool can be a great companion for more complex retouching tasks.
The clone stamp tool, similar to the healing brush, requires sampling a source area but offers more control making it ideal for intricate edits. Knowing when to switch between these tools can significantly enhance your editing efficiency.
Other significant tools include the Layer Mask for non-destructive edits, the Patch Tool for blending large areas, and the liquify tool for reshaping elements within the image.
Common Photo Editing Mistakes to Avoid
When using the healing brush tool, avoid over-editing, which can make the image look unnatural. Always work on a duplicate layer to ensure you can revert back if needed.
Paying attention to the texture and smoothness of the area being edited can make your work look more seamless.
Additionally, avoid working on a zoomed-out view. Always zoom in to edit pixels accurately, but periodically zoom out for a broader perspective. Overlooking this can lead to an inconsistent overall look.
Example: Retouching Workflow
Step 1: Start by creating a duplicate layer of your original image. This ensures non-destructive editing.
Step 2: Use the Healing Brush Tool to fix minor blemishes and imperfections on the skin. Remember to sample clean, smooth areas frequently for the best results.
Step 3: Switch to the Clone Brush Stamp Tool for more detailed work, such as enhancing textures that the Healing Brush Tool might miss. Combining these tools can address various issues effectively.
Step 4: For areas requiring significant modifications, use the Patch Tool. Draw around the area you want to replace, then drag the selection to a clean part of the image. This tool is excellent for smoothly editing larger areas.
Step 5: Use the Liquify Tool sparingly to subtly reshape elements if needed. Be cautious about maintaining a natural appearance.
Step 6: Periodically toggle the visibility of your edit layers to compare with the original image. This helps in consistent and balanced editing.
Video Tutorials for Better Understanding
Watching video tutorials is very helpful in understanding the practical application of these tools. Videos provide visual guidance and tips that written tutorials cannot.
Numerous video tutorials are available online, demonstrating step-by-step processes for using the Healing Brush Tool and other significant tools in Photoshop.
Moreover, seeing real-time examples of combination techniques and complex retouching tasks can significantly shorten the learning curve.
For example, a tutorial might show a detailed workflow that includes the Healing Brush Tool, Clone Brush Stamp Tool, and frequency separation to achieve professional results.
Remove Wrinkles Photoshop: Advanced Tips for Professional Results
1. Use a graphics tablet instead of a mouse for more precision. Tablets offer better control over brush strokes, pressure sensitivity and can make the healing process more natural.
2. Customize brush settings to match the texture of the area you are editing. Adjust parameters like hardness, spacing, and angle to blend edits smoothly into the background.
3. Utilize Photoshop’s Smart Objects feature. Convert your layers to Smart Objects before starting detailed retouching. This allows you to apply non-destructive filters and transformations that can be edited later.
4. Pay attention to lighting and shadows. When retouching, always consider the light source and how it impacts the areas you are editing. Maintaining consistent lighting ensures a realistic finish.
By integrating these advanced tips and practicing consistently, you can achieve pixel-perfect retouching results. Remember, the combination of tools and techniques is significant to mastering photo editing in Photoshop.
Advanced Techniques for Wrinkle Remove Photoshop
To achieve a flawless finish, focus on removing wrinkles from the entire garment using Photoshop’s advanced tools.
Start by adjusting settings in the dialog box to smooth wrinkles effectively, and follow each Photoshop step meticulously to ensure the best results.
The table below provides a comparison of these techniques to help you choose the best approach for your needs.
Technique
Steps
Pros
Cons
Frequency Separation
Duplicate Foundation layer twice; name them “Texture” and “Color.”
Apply Gaussian Blur to “Color” layer.
Set “Texture” layer blend mode to “Linear Light” and apply image.
Sample and paint over with Healing Brush Tool.
Preserves texture while smoothing; provides precise control over skin details.
Complex to master; requires multiple steps.
Patch Tool
Select area around wrinkles.
Drag to a smoother region.
Effective for large areas; easy to use.
May need refinement for smaller imperfections.
Spot Healing Brush
Click and drag over minor wrinkles.
Auto-blends imperfections; quick and simple.
Less control over blending; may not be effective for larger areas.
Clone Stamp Tool
Alt+click to sample a wrinkle-free area.
Paint over the wrinkles.
High precision; excellent for detailed work.
Can be time-consuming; requires careful sampling.
Using Frequency Separation
Frequency separation is a powerful technique to smooth wrinkles without losing texture. Here’s how you do it:
Step 1: Duplicate your Foundation layer twice. Name them “Texture” and “Color.”
Step 2: Select the “Color” layer and apply Gaussian Blur (Filter > Blur > Gaussian Blur). Choose a blur radius that removes wrinkles but keeps overall shapes.
Step 3: Move to the “Texture” layer. Set its blend mode to "Linear Light" (in the layers panel). Then go to Image > Apply Image.
Step 4: In the apply image dialog box, set the source layer to “Color” and blending mode to "Subtract." Adjust the Scale to 2 and Offset to 128. Click OK.
Step 5: Create a new layer above “Texture.” Use the healing brush tool to fix blemishes, sampling from clean areas.
Always remember to use soft brushes for better results.
Combining Tools for Best Results
When reducing wrinkles, combining tools often gives the best outcomes. Let’s explore this:
Step 1: Start with the patch tool. Select the area around wrinkles, then drag to a smoother region. The patch tool blending is fantastic for large areas.
Step 2: Use the spot healing brush to refine smaller imperfections. Simply click and drag over minor wrinkles and let the tool auto-blend.
Step 3: Switch to the clone brush stamp tool if you need high precision. Alt+click to sample a wrinkle-free area and paint over the wrinkles.
Pro Tip: Always work on a new layer to keep your edits non-destructive. This allows easy adjustments of layer opacity and fixes mistakes seamlessly.
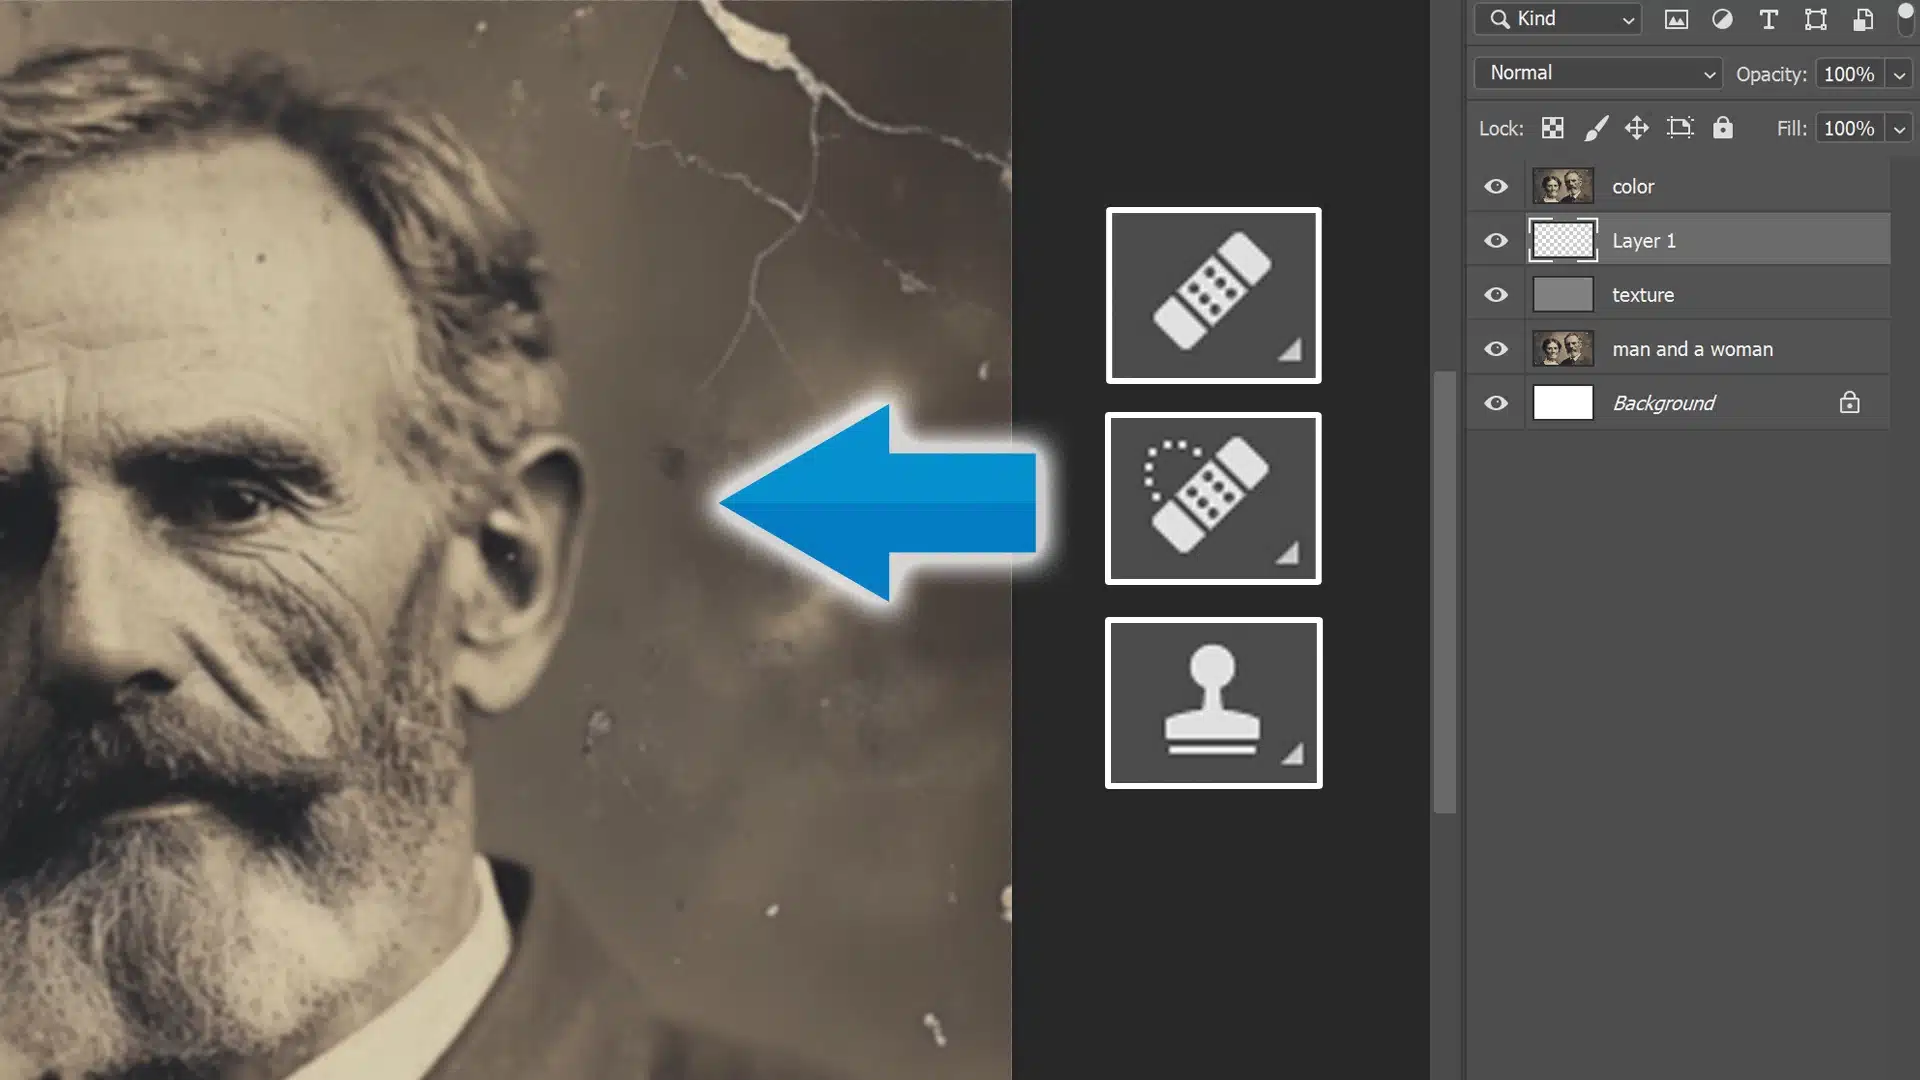
Working with the Photoshop Background Layer
When working in Photoshop, the Background Layer serves as the starting point for your project. Understanding how to unlock and manipulate this layer is fundamental to creating and editing your images effectively.
Unlocking the Foundation Layer
To start, we need to unlock the Foundation layer.
Double-click on the foundation layer in the layers panel.
A dialog box pops up, asking you to name the new layer.
You can leave the default name or rename it to better organize it.
Click OK.
Now, your layer is unlocked and ready for editing.
Preserving Original Image Quality
Before making any edits, it’s important to preserve the original image quality.
First, duplicate your Foundation layer.
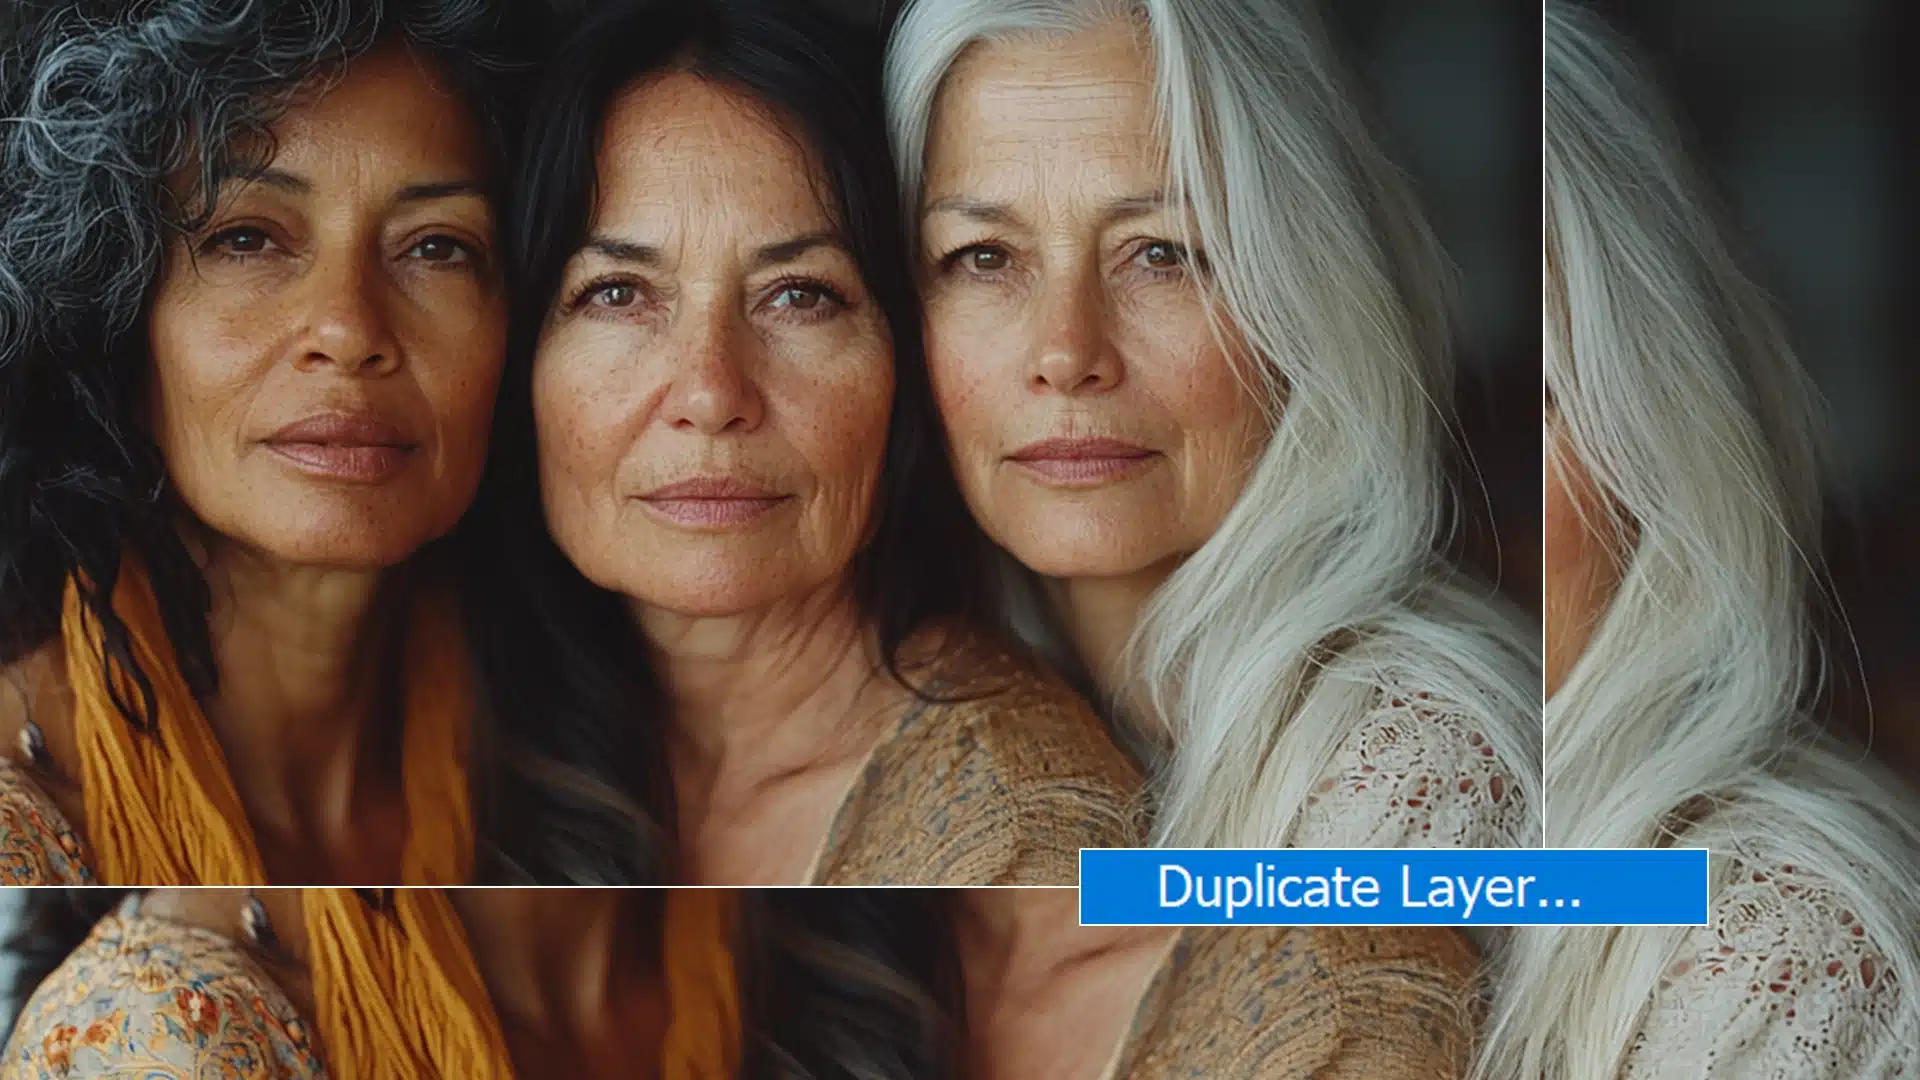
Right-click on the layer and select "Duplicate Layer."
Work on this duplicate layer to ensure non-destructive editing.
Pro Tip: Always use the spot healing brush tool and healing brush tool carefully by adjusting the brush dimensions. Hold the mouse button lightly, and let the tools do their magic!
For more advanced edits, consider using the Content-Aware Fill feature in Photoshop. This tool allows you to seamlessly remove wrinkle Photoshop from your images while maintaining the background’s integrity.
Additionally, learning Photoshop shortcuts can significantly speed up your workflow and make your editing process more efficient.
Remove Wrinkles Photoshop: Utilizing the Layers Panel
Understanding how to use the layers panel is important to mastering Photoshop and Lightroom. With proper layer management, you can create amazing edits without damaging the original image.
Organizing Your Layers
When working with multiple layers, always keep them organized:
Label your layers accurately. You do not want to end up confused.
Use groups to keep related layers together. This way, you minimize mistakes and make the editing process smoother.
Adjust opacity and blend mode to get the desired effect for each layer. Experimenting with various blend modes can help you achieve the perfect balance and enhance your overall design.
Becoming familiar with this will save you time and make your edits cleaner.
Non-Destructive Editing Techniques
Always opt for non-destructive editing techniques to maintain the integrity of your images:
Duplicate the background layer before making edits.
Create adjustment layers instead of direct edits on the current layer. This allows you to go back and tweak settings without starting over.
Use the healing brush tool or the patch tool for precise editing.
Adjust the brush size to better match the area you are working on.
Always test edits on a hidden layer before applying them to your final image.
These steps make the editing process efficient and reversible. Adding a dialog box or notations in your project reminds you of important changes.
Pro Tip: Want to smooth wrinkles without losing texture? Try using frequency separation for the best results!
For more advanced techniques, consider learning about content-aware fill in Photoshop and how to remove background in Photoshop to further enhance your editing skills.
Frequently Asked Questions
Can you remove wrinkles Photoshop?
Yes, you can erase wrinkles Photoshop using tools like the Healing Brush, Spot Healing Brush, and the Patch Tool.
First, select the Healing Brush and set the brush size to slightly larger than the wrinkle.
Next, hold the Alt key (Option on Mac) and click on an area of skin near the wrinkle to sample it.
Then, gently paint over the wrinkle to blend it with the surrounding skin.
What are the steps to smooth fabric wrinkles in Photoshop?
To smooth fabric wrinkles, start by selecting the area with the wrinkles using the Lasso Tool or Quick Selection Tool.
Go to Filter > Noise > Reduce Noise to smooth out the texture.
You can also use the Clone Brush Stamp Tool to manually smooth the wrinkles by sampling an adjacent wrinkle-free area and painting over the wrinkles.
How to remove fold lines in Photoshop?
Removing fold lines can be done by using the Spot Healing Function Brush.
Simply choose the Spot Healing Function Brush, make sure Content-Aware is selected in the options bar, and brush over the fold lines.
The tool will automatically blend the fold lines with the surrounding pixels.
How to smooth a wrinkled background in Photoshop?
To smooth a wrinkled background, first, duplicate the background layer to preserve the original.
Use the Gaussian Blur filter by going to Filter > Blur > Gaussian Blur and adjust the radius to reduce wrinkles and blur out the background imperfections.
Combine this with the Healing Brush Tool for any stubborn wrinkles, using similar steps as mentioned for skin wrinkles.
Learning to reduce wrinkles Photoshop has been a game-changer for my photography projects. This skill has not only enhanced the quality of my portraits but also boosted my confidence as a photo editor.
If you’re looking to elevate your editing skills, I highly recommend checking out the Photoshop course and the Lightroom course.
These resources have been invaluable in my journey, and I’m sure they’ll be just as helpful for you.
If this article has helped you, then Like and Share it with your friends
$2,061.00Original price was: $2,061.00.$1,061.00Current price is: $1,061.00. 27584
Download Your Free Guide Now!
Discover the secrets of photography with our printable guide! Master essential techniques like aperture, shutter speed, and ISO to create stunning images. Get your free printable PDF now and start turning your snapshots into masterpieces!