Photoshop Face Editing: Everything You Need to Know
Photoshop Face Editing: Everything You Need to Know
Photoshop face editing can dramatically transform portraits, enhancing natural beauty and refining details.
In this guide, I’ll share advanced techniques for smoothing skin and adjusting facial features, ensuring your edits look natural and professional.
By using tools like the High Pass filter and Face-Aware Liquify, you’ll learn how to subtly refine textures and make precise adjustments.
Whether you’re new to photo editing or looking to improve your skills, these methods will help you achieve stunning results while preserving the authenticity of your subjects.
Table of Contents
Advanced Techniques for Smoothing Skin and Nose Width Slider for Photoshop Face Editing
Focusing on advanced techniques for smoothing skin can elevate your Photoshop skills in face editing.
These techniques can drastically enhance the natural beauty and facial features of your subject without compromising texture and detail.
Using the High Pass Filter for Subtle Textures
The High Pass filter is particularly useful when you aim to retain subtle skin textures while smoothing out unwanted blemishes and irregularities.
To use this technique effectively:
Begin by duplicating the layer containing the image of your subject to work non-destructively.
Apply a High Pass filter from the Filter menu; adjust the radius to preserve fine textures.
Set this layer’s blending mode to Overlay or Soft Light. These blend modes are essential for enhancing details subtly.
Blend Modes for Natural-Looking Skin
Blend modes in Photoshop offer powerful ways to create nuanced skin effects by influencing how layers interact with each other.
They are crucial for achieving more natural-looking skin in portraits, or when using the portrait filter, while still refining appearance.
Key techniques include:
Use a soft brush on a new layer filled with a neutral tone like gray, set to Soft Light; this method helps in softening shadows and highlights without altering colors dramatically.
For deeper corrections, use a Duplicate layer, apply GaussianBlur, and experiment with different blend modes, such as Multiply (for dark spots) or Screen (for light spots). With the Layers Panel in the option Face Layer, adjust layer opacity according to need.
Both methods help ensure that changes look integral as if they were originally part of the photograph, rather than artificially added later from the Layers Panel.
Of course, the camera lens you use also plays a huge role in the quality of your photographs, and we offer a guide on how to choose which lens to buy.
Using blend modes is about balancing subtlety and impact, never losing sight of preserving genuine human qualities.
This approach is vital not only to forget aesthetically pleasing results but also to maintain realistic textures and tones within your edits.
Adjusting Facial Features with Face-Aware Liquify
The Face-Aware Liquify Tool is one of the most potent tools for making precise adjustments to facial features in Photoshop.
This tool allows you to subtly alter facial features, ensuring that changes look natural and are almost imperceptible. The “Face-Aware Liquify” feature is perfect for refining smile lines and expressions.
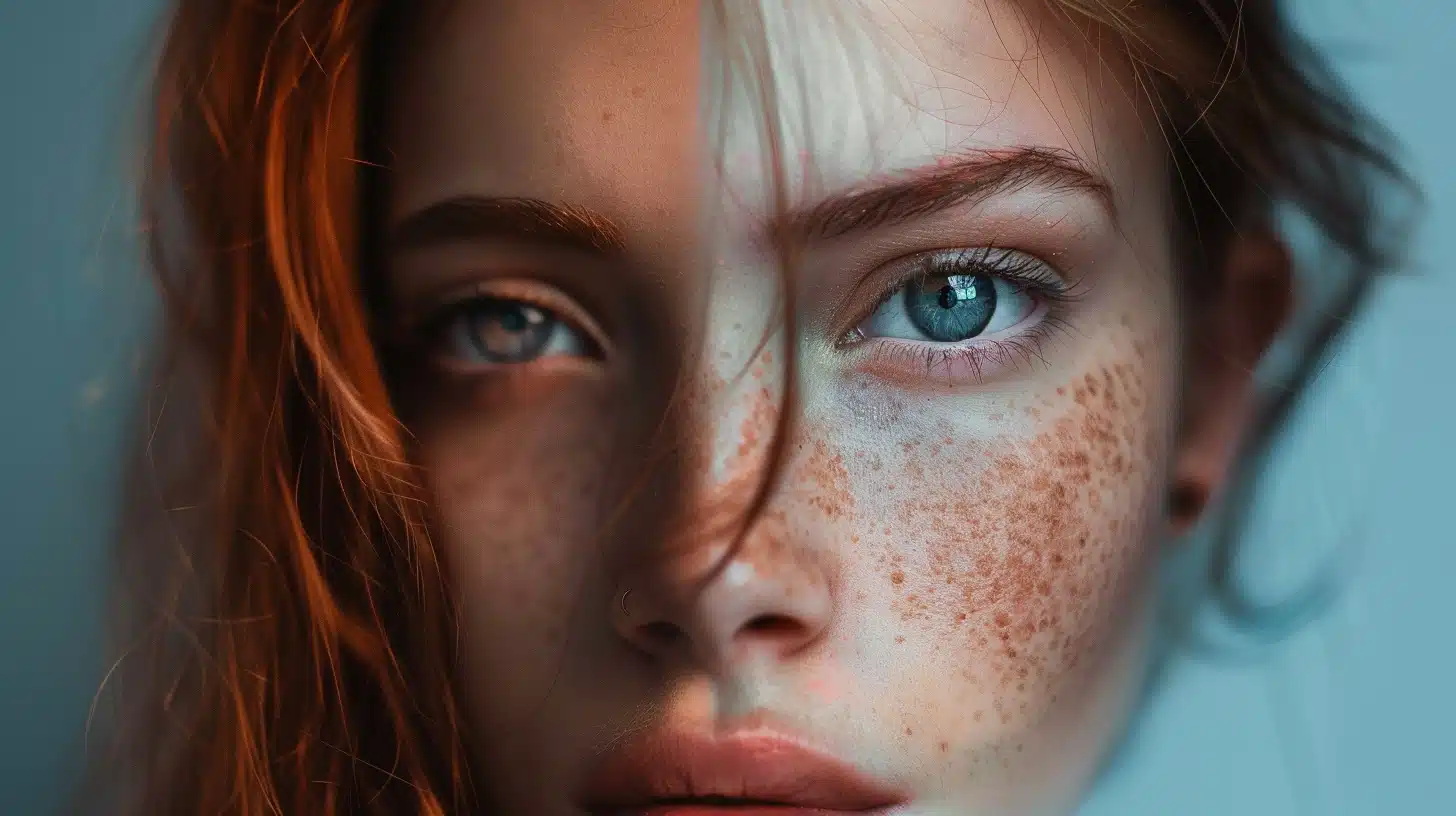
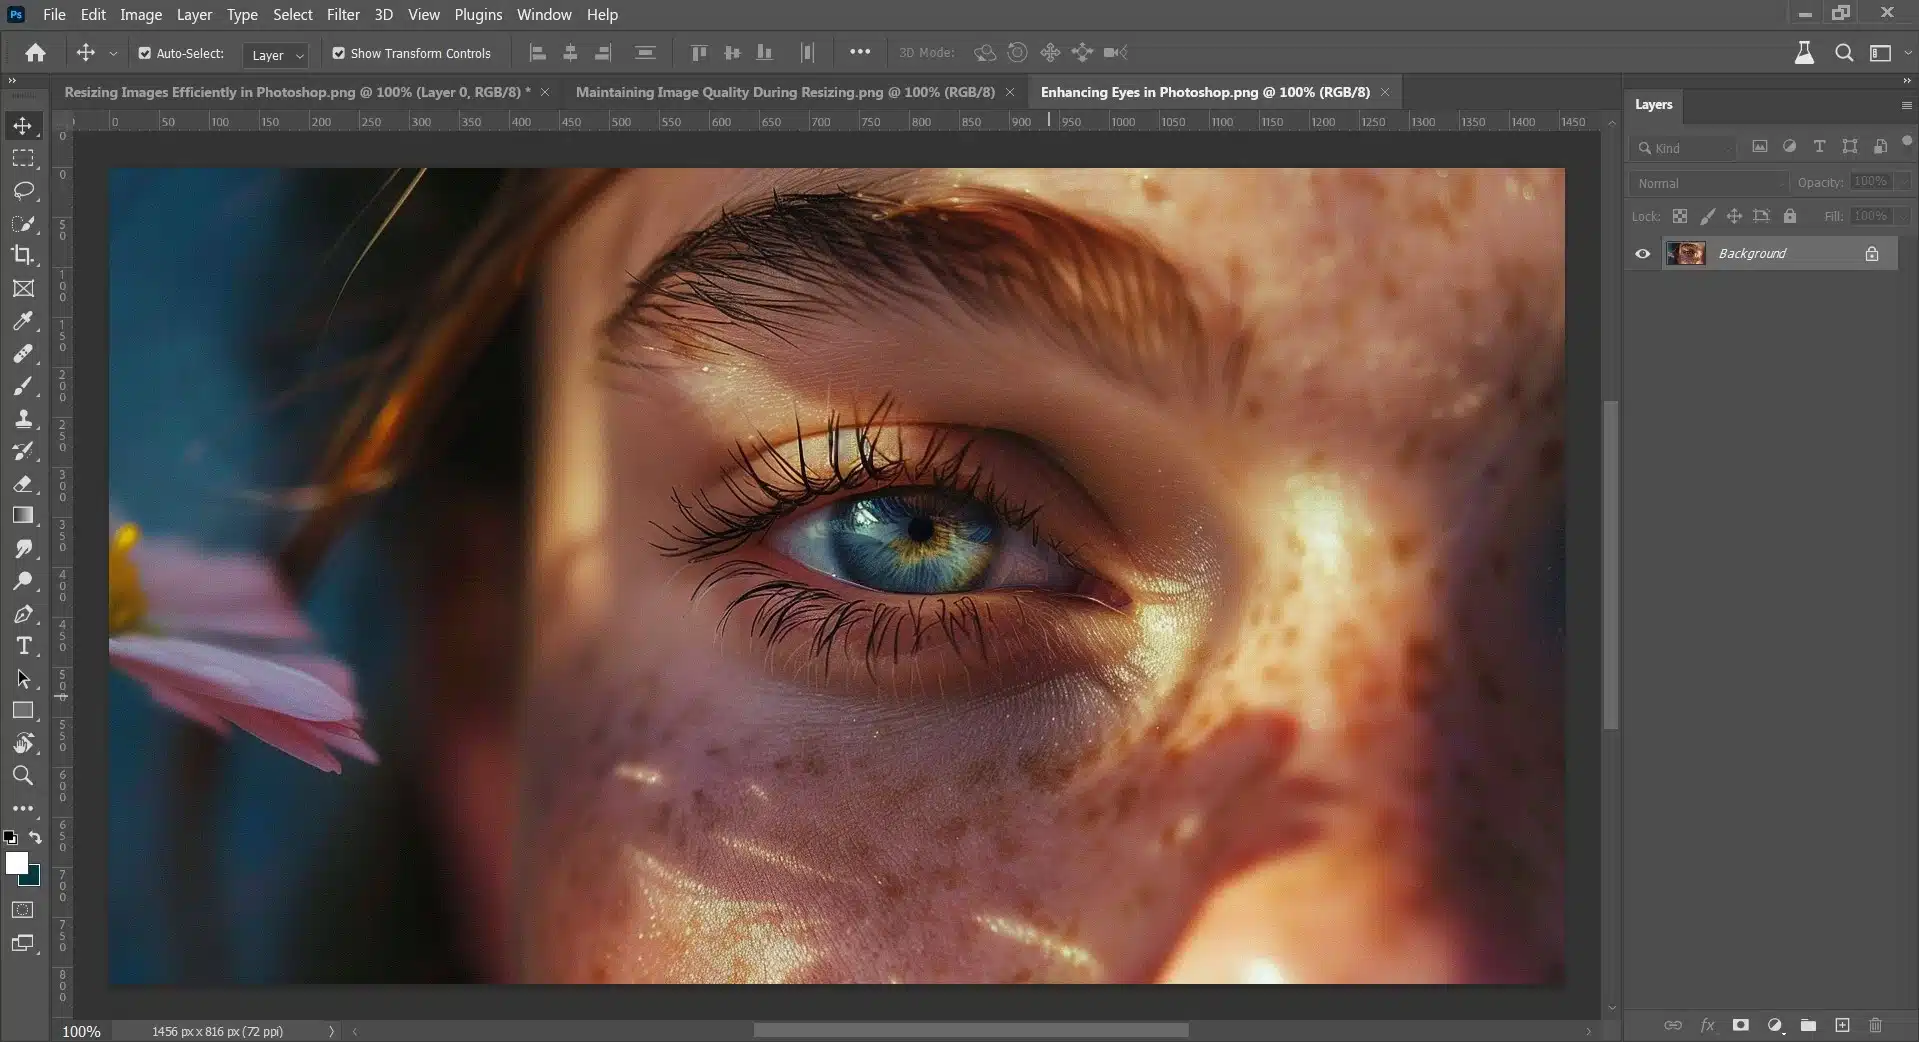
Enhancing Eyes with Photoshop Face Editing
Enhancing the eyes in a portrait can significantly boost the photo’s overall appeal, making the subject look more vibrant and engaging.
In Photoshop, in the Layers Panel, several techniques are available to make the eyes stand out, including focusing on brightness, color adjustment, and adding a sparkle that catches attention.
Aspect
Face-Aware Liquify Tool
Purpose
Precision facial adjustments in Photoshop.
Interface
Access through Filter > Liquify menu.
Functionality
Face–Aware Liquify for intuitive adjustments.
Features
Eyes (size, width), Nose (height), Mouth.
Selection
Dropdown menu for multiple faces.
Nose Adjustment
Drag tools or sliders for length.
Eye Adjustment
Ensure no layer duplication for clarity.
Lip Adjustment
Use specialized sliders for precise changes.
Layer Selection
Critical to avoid unintended edits.
Brightening and Adding Sparkle to the Eyes
Eyes are often seen as windows to the soul; thus, making them brighter can dramatically affect a portrait’s emotional impact.
Here’s how you can achieve this effect in Photoshop:
Create a new layer from your layers panel designed specifically for edits around the eye area.
Lighten the area around the eyes carefully with a soft brush with low opacity. This step requires subtle adjustments; too much brightness might result in an unnatural look.
To add sparkle, highlight key reflection points using the dodge tool in highlights mode. If you make a mistake, you can always use the Eraser tool and carefully erase it to make your photo as it was at the start.
Simple techniques like these amplify facial features while keeping changes looking natural and harmonious with other elements of your photo.
Adjusting Color and Saturation for Visual Impact
Adjustment of eye color or enhancing their saturation can also influence the mood and style of your portrait significantly. These adjustments must be done gently to preserve realism:
Begin by selecting the eyes using either the lasso tool for free-form selection or the quick select tool, which is easier due to its intelligent edge-fitting capability.
Once selected, navigate to Image > Adjustments > Hue/Saturation. Here you can slightly shift hue sliders to change eye color or adjust saturation for depth enhancement.
Additionally, employing tactics such as adding adjustments layers in the layers panel allows you to manage color balance precisely without affecting other aspects of your image.
By following these steps judiciously, photographers not only enhance but also tailor facial features uniquely to individual characteristics highlighted in portraits.
In both procedures described above, starting with non-destructive face editing methods ensures that all changes can be tweaked or reversed if necessary, always keep your original layers intact and use separate adjustment layers where possible!
This series of strategies will develop your skills in leveraging Photoshop tools effectively while respecting visual aesthetics combined with technical prowess within digital photography workflows.
As you continue enhancing photographs, regular practice accompanied by continuous learning about new tools and functions is highly recommended!
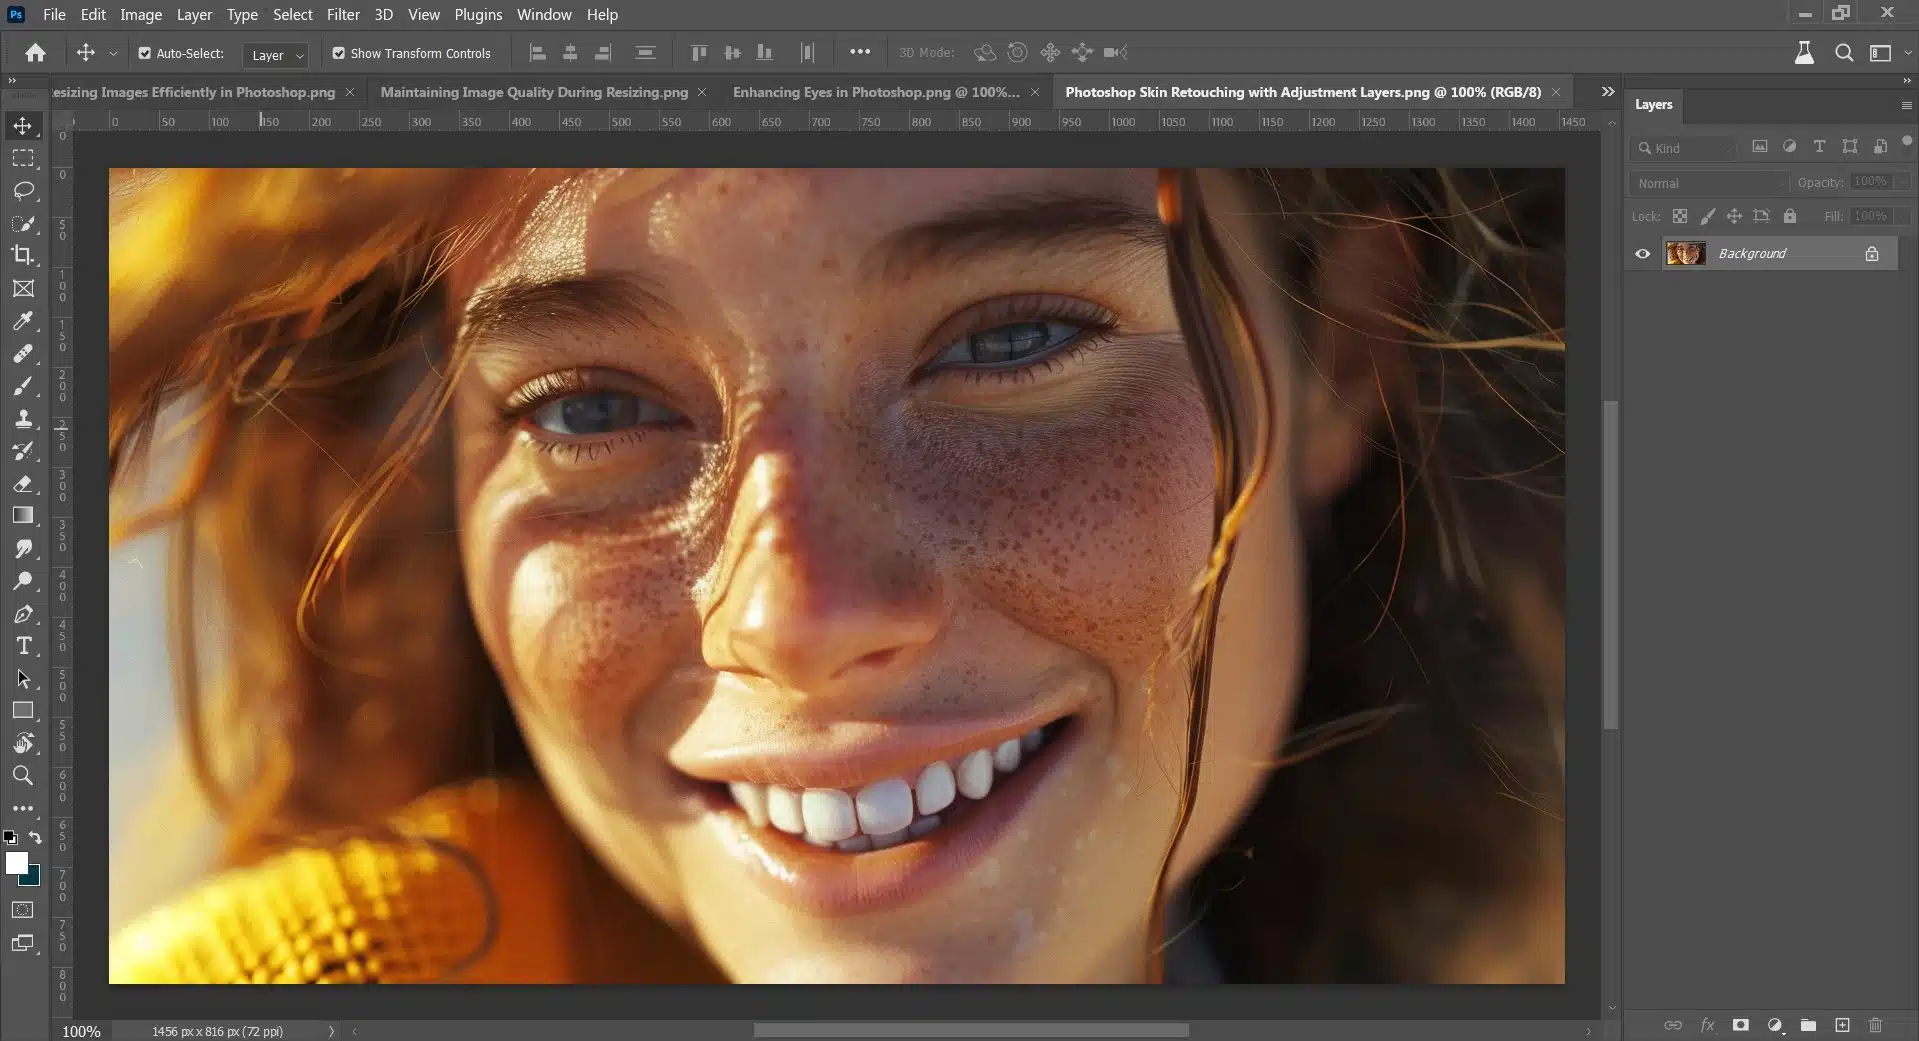
Photoshop Face Editing with Adjustment Layers
Adjustment layers in Photoshop are powerful tools for non-destructive photo editing specializing in facial features.
They are perfect for making subtle adjustments to skin retouch the tones and facial features without altering the original photo.
These layers offer a dynamic way to balance and enhance facial features while keeping every detail intact.
Balancing Colors Using Curves and Levels in the Background layer
Curves and Levels are essential components of Photoshop used to fine-tune the luminosity and color balance of images and facial features.
To adjust skin tones and facial features:
Add a new adjustment layer by selecting Levels or Curves from the Layer menu.
Play around with RGB channels; tweaking each channel can help correct color imbalances.
Use the eyedropper tool to pick target tones for precision in the facial features.
Gently drag points on the curve to tweak midtones, highlights, and shadows, achieving balanced results.
Tips for Matching Skin Tones Across Different Areas
Matching skin tones across various parts of an image is crucial for visual consistency, especially when face editing or model shots.
Here are effective tips:
Use the Lasso Tool to select distinct areas that need correction.
Apply separate adjustment layers to these selections, allowing focused enhancements,
Employ the Blend If function found in the Layer Style dialog box to blend changes smoothly,
Correctly using these methods will ensure seamless tones across all facial features giving your projects a professional finish.
By harnessing Photoshop’s layered capabilities and precise control over enhancement tools like curves and levels, photographers can effortlessly achieve an even skin tone across their work.
This approach not only respects your subjects’ natural aesthetics but also subtly enhances their facial features.
Contouring and Highlighting Facial Features in Photoshop Face Editing
Contouring and highlighting are essential techniques in photography post-processing, especially when you want to draw attention to specific facial features.
Through thoughtful use of Photoshop tools, you can create depth and enhance the natural beauty in your portraits.
Using Brushes and Masks for Precise Application
Using brushes in combination with masks allows you to apply changes to exact areas without affecting the rest of the image.
Start by adding a new layer over your model’s photo to keep your edits non-destructive.
Use a soft brush on this layer to gently add shades along the hollows of the cheeks and jawline, making sure that these adjustments are subtle.
Next, use a layer mask to meticulously erase any excess product.
This approach ensures that all enhancements look natural as if interacting fluidly with the light within the original composition of your photo.
Layer Settings for Natural Light Effects
Blend modes such as Soft Light or Overlay can be particularly effective for simulating a warm sunrise or soft sunset glow across someone’s face or face swap, which subtly enhances specific details like a person’s nose, cheeks, or even lower lip.
To deepen shadows or highlight details further without harsh boundaries, manipulate the opacity and face width slider until you find just the right intensity that complements your image’s existing light sources.
You must continuously adjust as needed while observing how each change affects your subject’s key facial features.
By mastering these methods, you make significant strides in perfecting portrait photographs in Photoshop and Lightroom.
Perfecting a photo often means removing blemishes and other imperfections that distract from the subject’s natural beauty.
Tools and Techniques for Spot Healing
When it comes to spot healing, the Spot Healing Brush Tool is indispensable in Photoshop for quick and efficient removal of blemishes.
The tool works by blending the imperfection into the surrounding image area, using texture from around the spot to create a seamless finish.
Select the Spot Healing Brush Tool from the toolbar.
Adjust the brush size to cover just the blemish you aim to remove.
Click on each blemish until it blends smoothly with the surrounding area.
This method involves selecting a duplicate layer from your “face editing layer panel” and working on this layer instead of directly on your original photo.
Blending and Texture Matching for Seamless Edits
Photoshop offers tools like the Healing Brush, which allows for more precise control when blending:
Select a source point near the imperfection that has a texture similar to that needed for flawless integration.
Paint over the blemish carefully, continually sampling different parts of clean skin as needed to keep up with varying textures.
Mastering texture and ensuring texture continuity in Photoshop often involves making subtle adjustments in hue and brightness in merging areas.
These finer adjustments help ensure no visible borders are left where edits have been made.
Good layer use here includes maintaining a separate background layer specifically for the two images, where broader textural changes are necessary without affecting primary areas of interest, such as swapping faces on the face swap layer.
This approach helps to manage complex edits without altering the main subject areas.
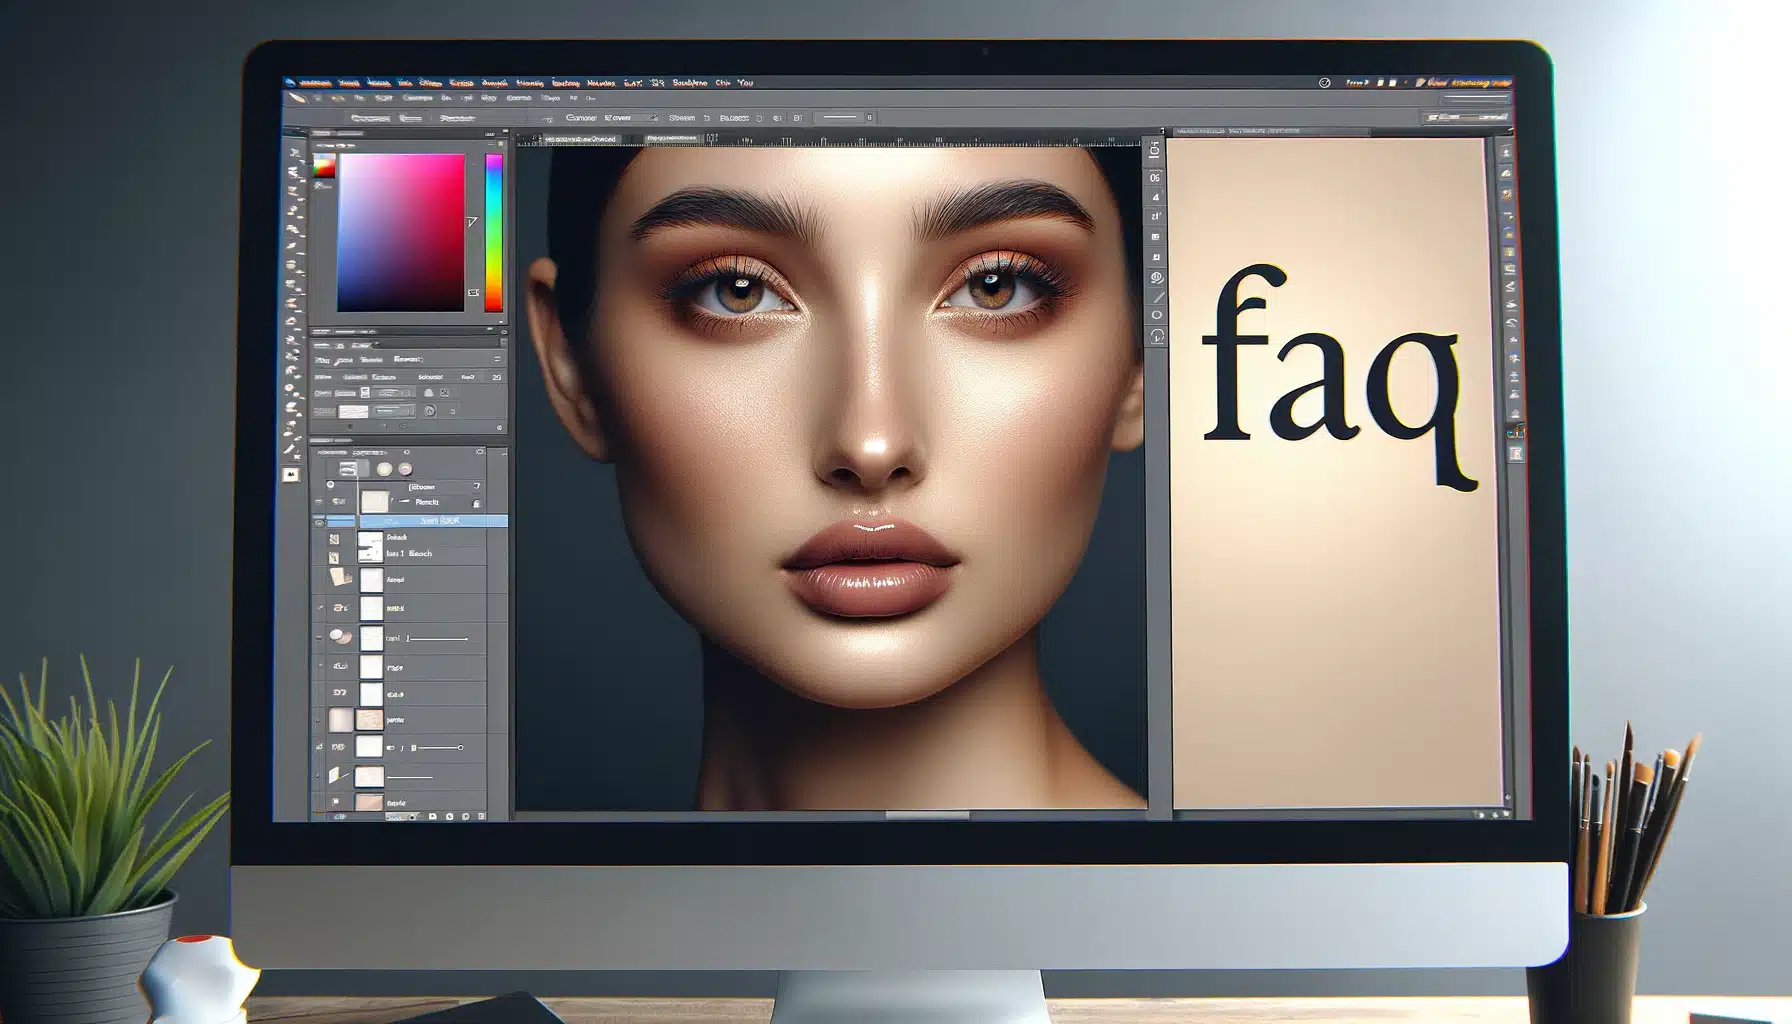
Frequently Asked Questions
How do you edit faces in Photoshop?
To edit a face in Photoshop, you can use several tools:
Spot Healing Brush Tool: Use this tool to remove blemishes and minor imperfections.
Clone Stamp Tool: This tool allows you to duplicate parts of an image to cover up unwanted areas.
Liquify Filter: Use the Liquify filter to adjust facial features, such as slimming the face, enlarging eyes, or reshaping the nose.
How do you retouch a face in Photoshop?
To retouch a face:
Spot Healing Brush: Select the Spot Healing Brush tool and click on the areas you want to correct.
Clone Stamp Tool: Use the Clone Stamp tool to paint over imperfections with pixels from another part of the image.
Dodge and Burn Tools: Use these tools to lighten or darken specific areas of the face to enhance features or correct lighting issues.
How can I Photoshop a face onto another picture?
To change faces in Photoshop for free, follow these steps:
Open Both Images: Open the image of the face you want to use and the image you want to change the face on.
Select the Face: Use the Lasso Tool or the Pen Tool to carefully select the face you want to copy.
Copy and Paste: Copy the selected face (Ctrl+C or Cmd+C), then paste it onto the other image (Ctrl+V or Cmd+V).
Position the Face: Use the Move Tool (V) to position the face in the correct place.
Resize and Rotate: Use Edit > Free Transform (Ctrl+T or Cmd+T) to resize and rotate the face to match the original face's size and angle.
Blend the Edges: Use a soft Eraser Tool or a Layer Mask with a soft brush to blend the edges of the new face with the original image.
Adjust Colors: Use adjustment layers like Brightness/Contrast, Levels, or Hue/Saturation to match the color and lighting of the new face with the rest of the image.
Where is the face tool in Photoshop?
The Face Tool in Photoshop is part of the Liquify filter. To access it:
Open your image in Photoshop.
Go to Filter > Liquify.
In the Liquify dialog box, select the Face-Aware Liquify tool from the toolbar on the right.
I remember the first time I attempted Photoshop face editing. The image was dull, and the lighting was uneven.
After applying techniques like adjusting lighting, smoothing skin, and enhancing eye details, the transformation was incredible.
It wasn’t just about altering an image, it was about bringing a precious memory to life with more vibrancy and emotion.
However, learning these techniques was a journey of trial and error.
For those looking to master these skills without the steep learning curve I faced, I highly recommend enrolling in dedicated courses.
By taking part in structured learning, such as the courses offered in Photoshop Course and Lightroom Course, you can accelerate your proficiency in Photoshop face editing.
If this article has helped you, then Like and Share it with your friends
$2,061.00Original price was: $2,061.00.$1,061.00Current price is: $1,061.00. 27584
Download Your Free Guide Now!
Discover the secrets of photography with our printable guide! Master essential techniques like aperture, shutter speed, and ISO to create stunning images. Get your free printable PDF now and start turning your snapshots into masterpieces!