Photoshop Add Image to Layer: A Comprehensive Guide
Photoshop Add Image to Layer: A Comprehensive Guide
Want to master the art of adding an image to a layer in Photoshop? It’s a fantastic skill to have!
This easy technique keeps your files organized and unlocks endless creative possibilities.
You’ll be able to tweak and adjust images to perfectly match your vision. Let’s dive into the steps and seamlessly enhance your Photoshop experience together!
Table of Contents
How to Add an Image to Layer in Photoshop
Adding a photo to a layerin Adobe Photoshop is fundamental for everyone, from graphic designers to casual users looking to enhance their photos and making collages.
This tutorial walks you through these steps, ensuring precision and ease of implementation when you create a new project.
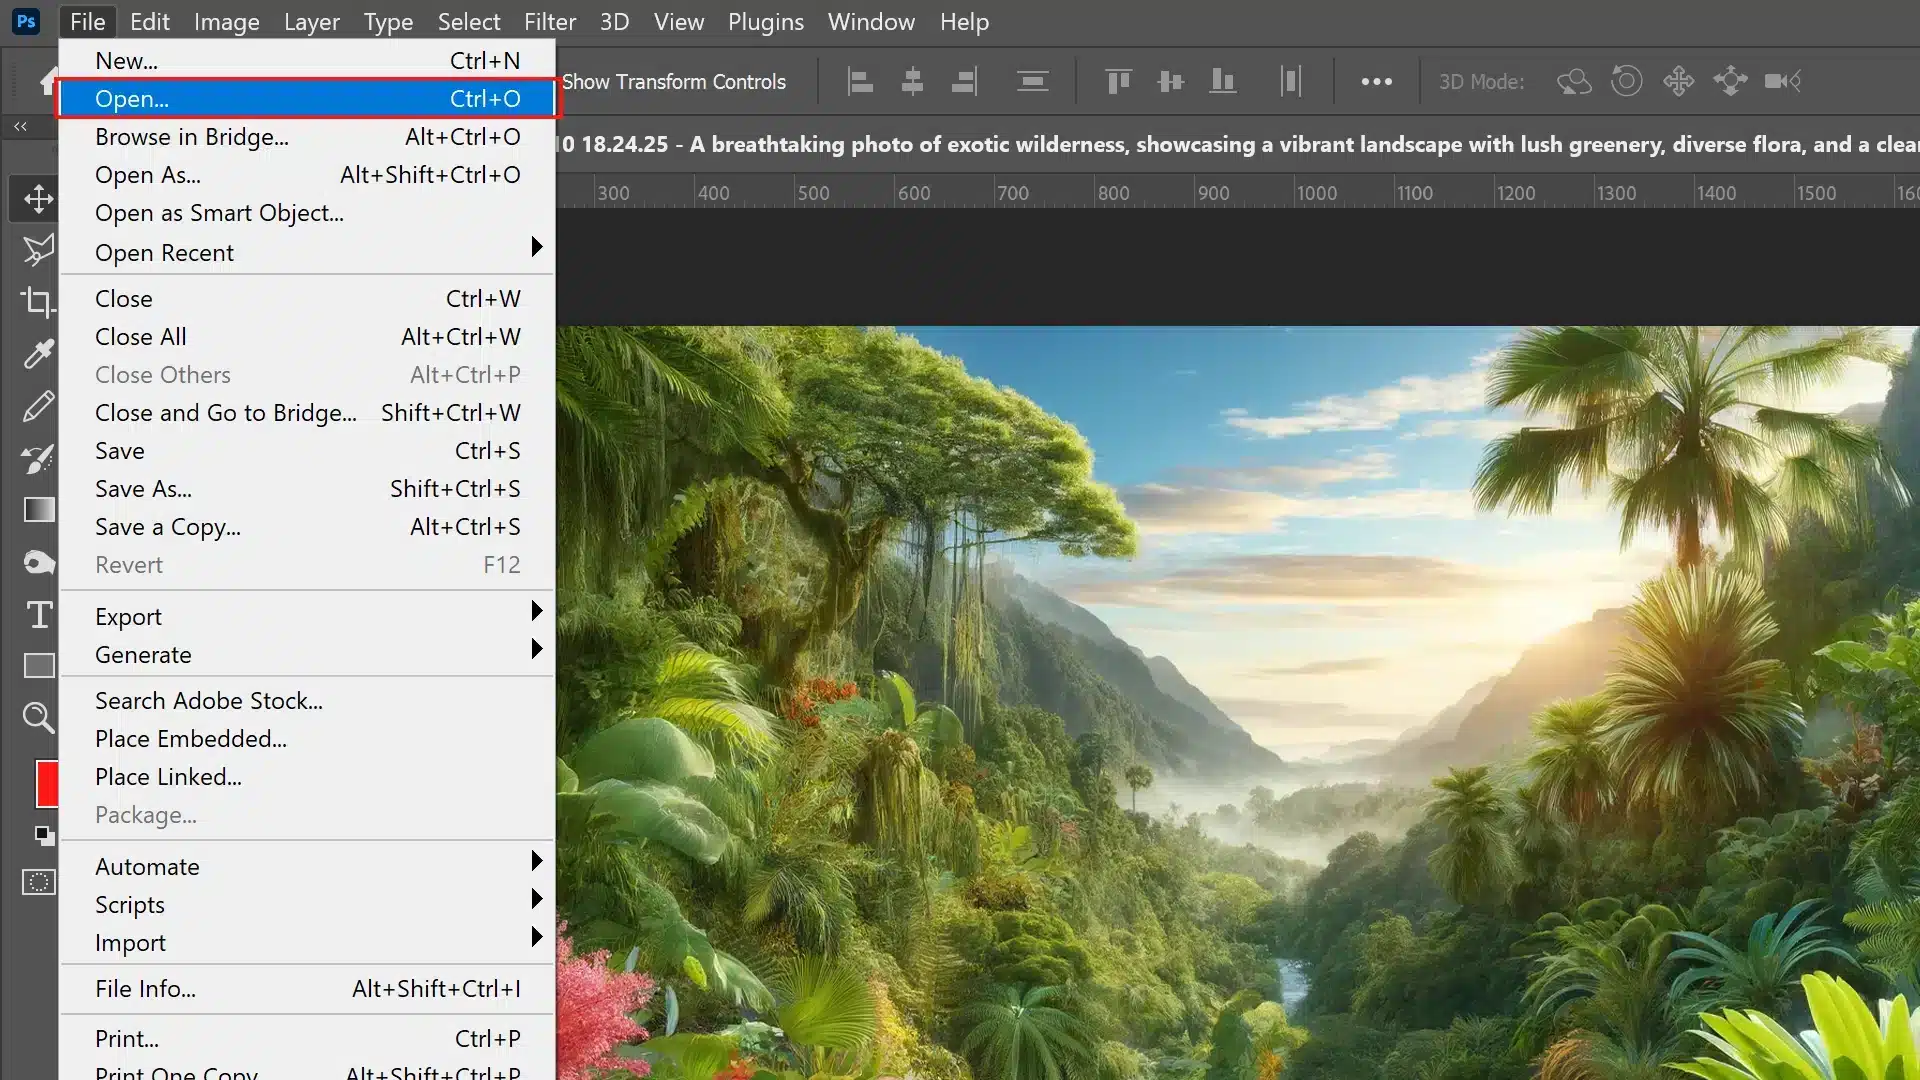
1. Opening Your Project in Photoshop
Initiate this process by opening your existing Photoshop document where the alteration needs to be applied.
Navigate via the menu bar at the top, select ‘File > Open,’ browse your selected file, and press enter.
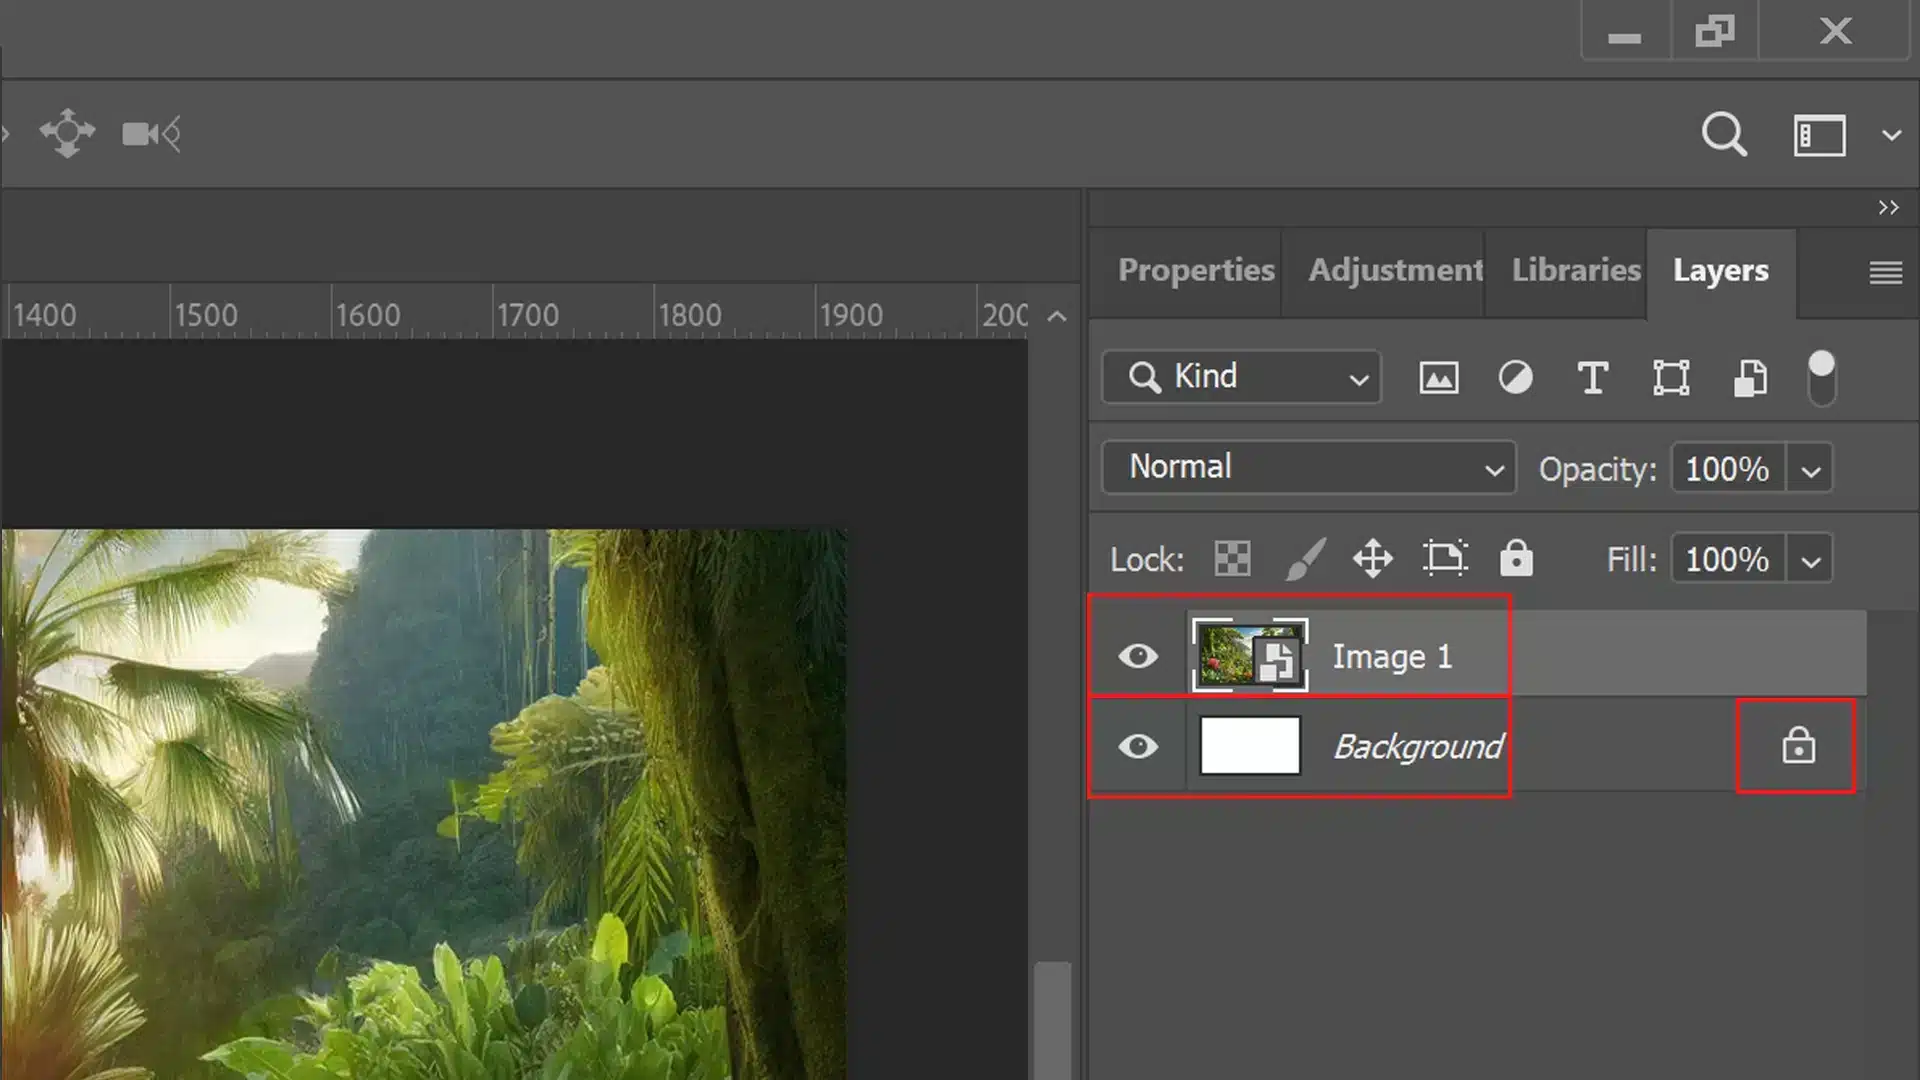
2. Specifying a background layer
Once your document is active, view the resizing layers on the right side to assess the current structure.
Identify a specific “background layer” or another layer to host your new image in Lightroom.
Ensure no other layers are locked, which might obstruct editing.
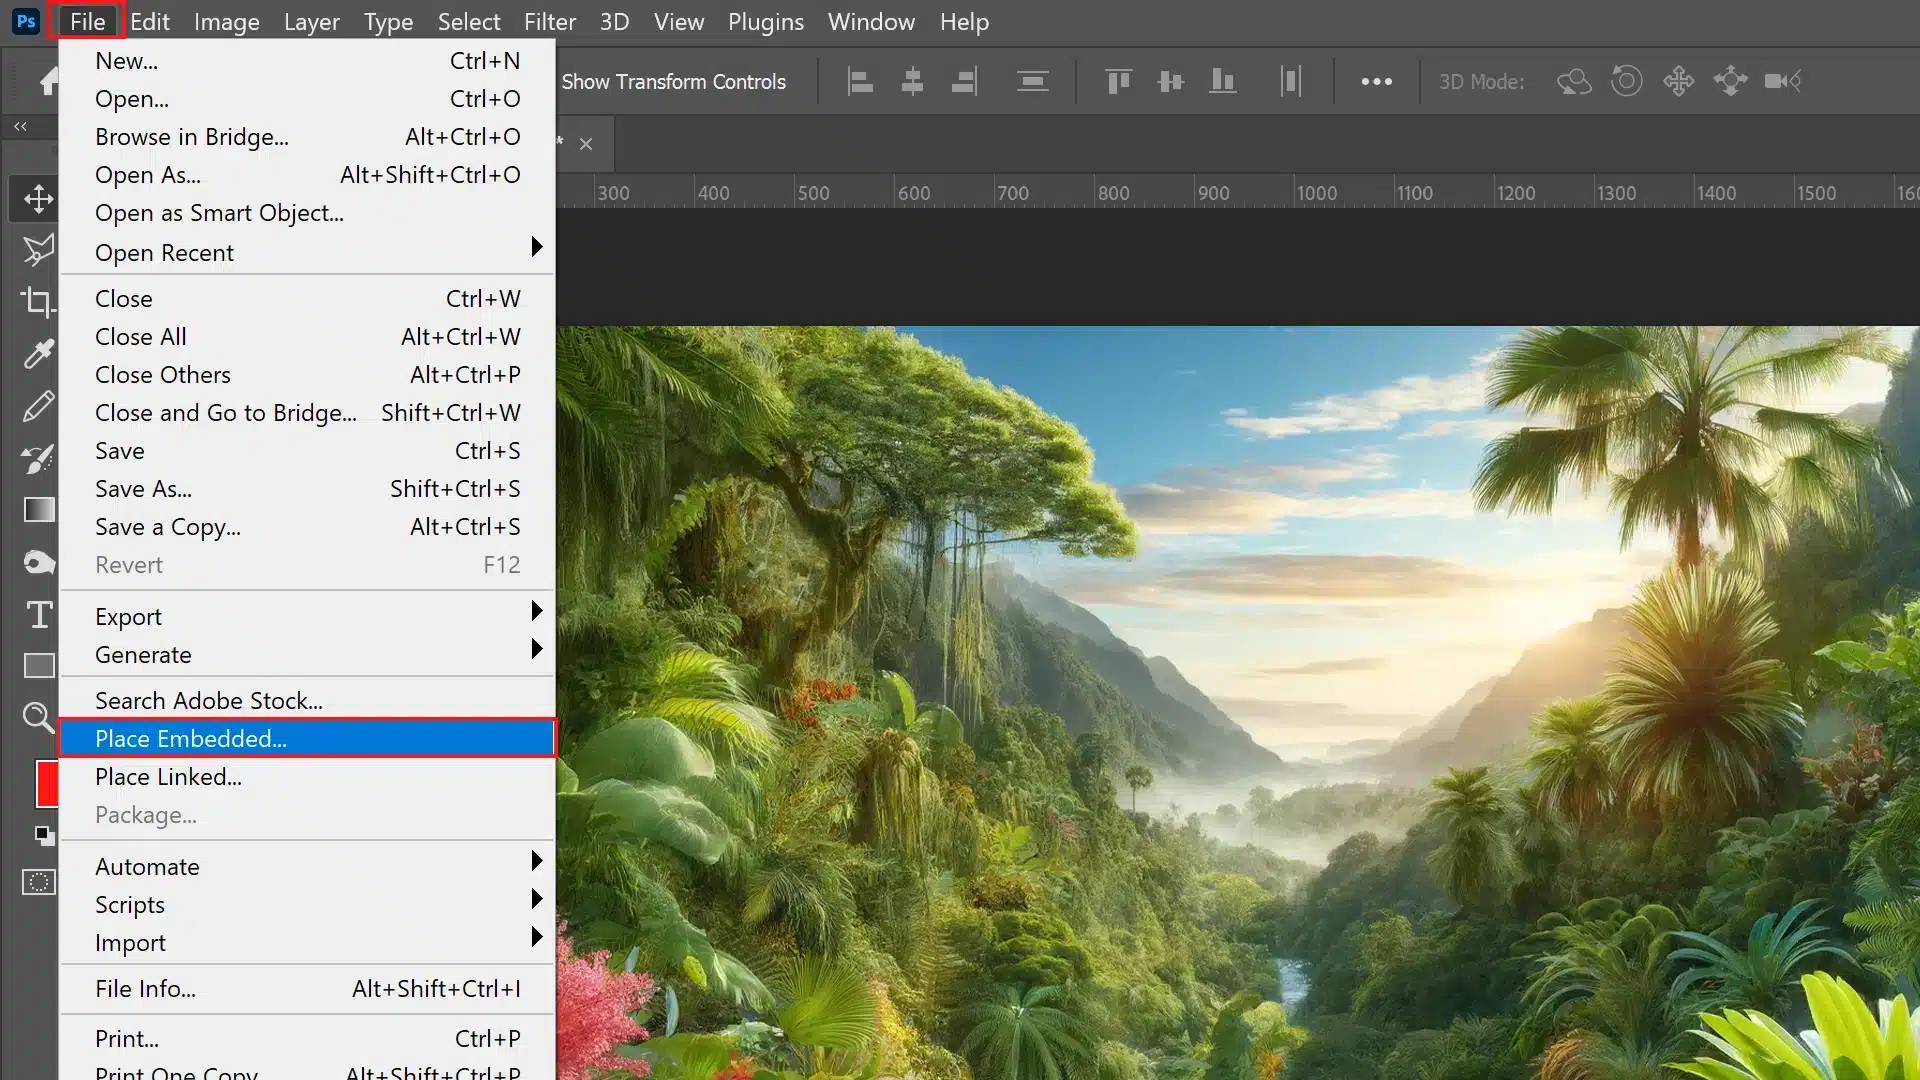
3. Importing the Image
To import your desired image into the open document, go through ‘File> Place Embedded‘ in the menu bar.
It allows you to locate and insert an image file onto the ‘background layer,’ making it part of your canvas as a new smart object.
Moreover, this keeps it scalable and editable without loss of quality.
Pro Tip: To dive deeper into managing multiple layers and creating complex designs, consider exploring a comprehensive Photoshop layering tutorial.
This can enhance your understanding and skills, especially when working on layered projects like digital art or photo manipulations.
Learning to move and position images accurately will help create seamless compositions and collages.
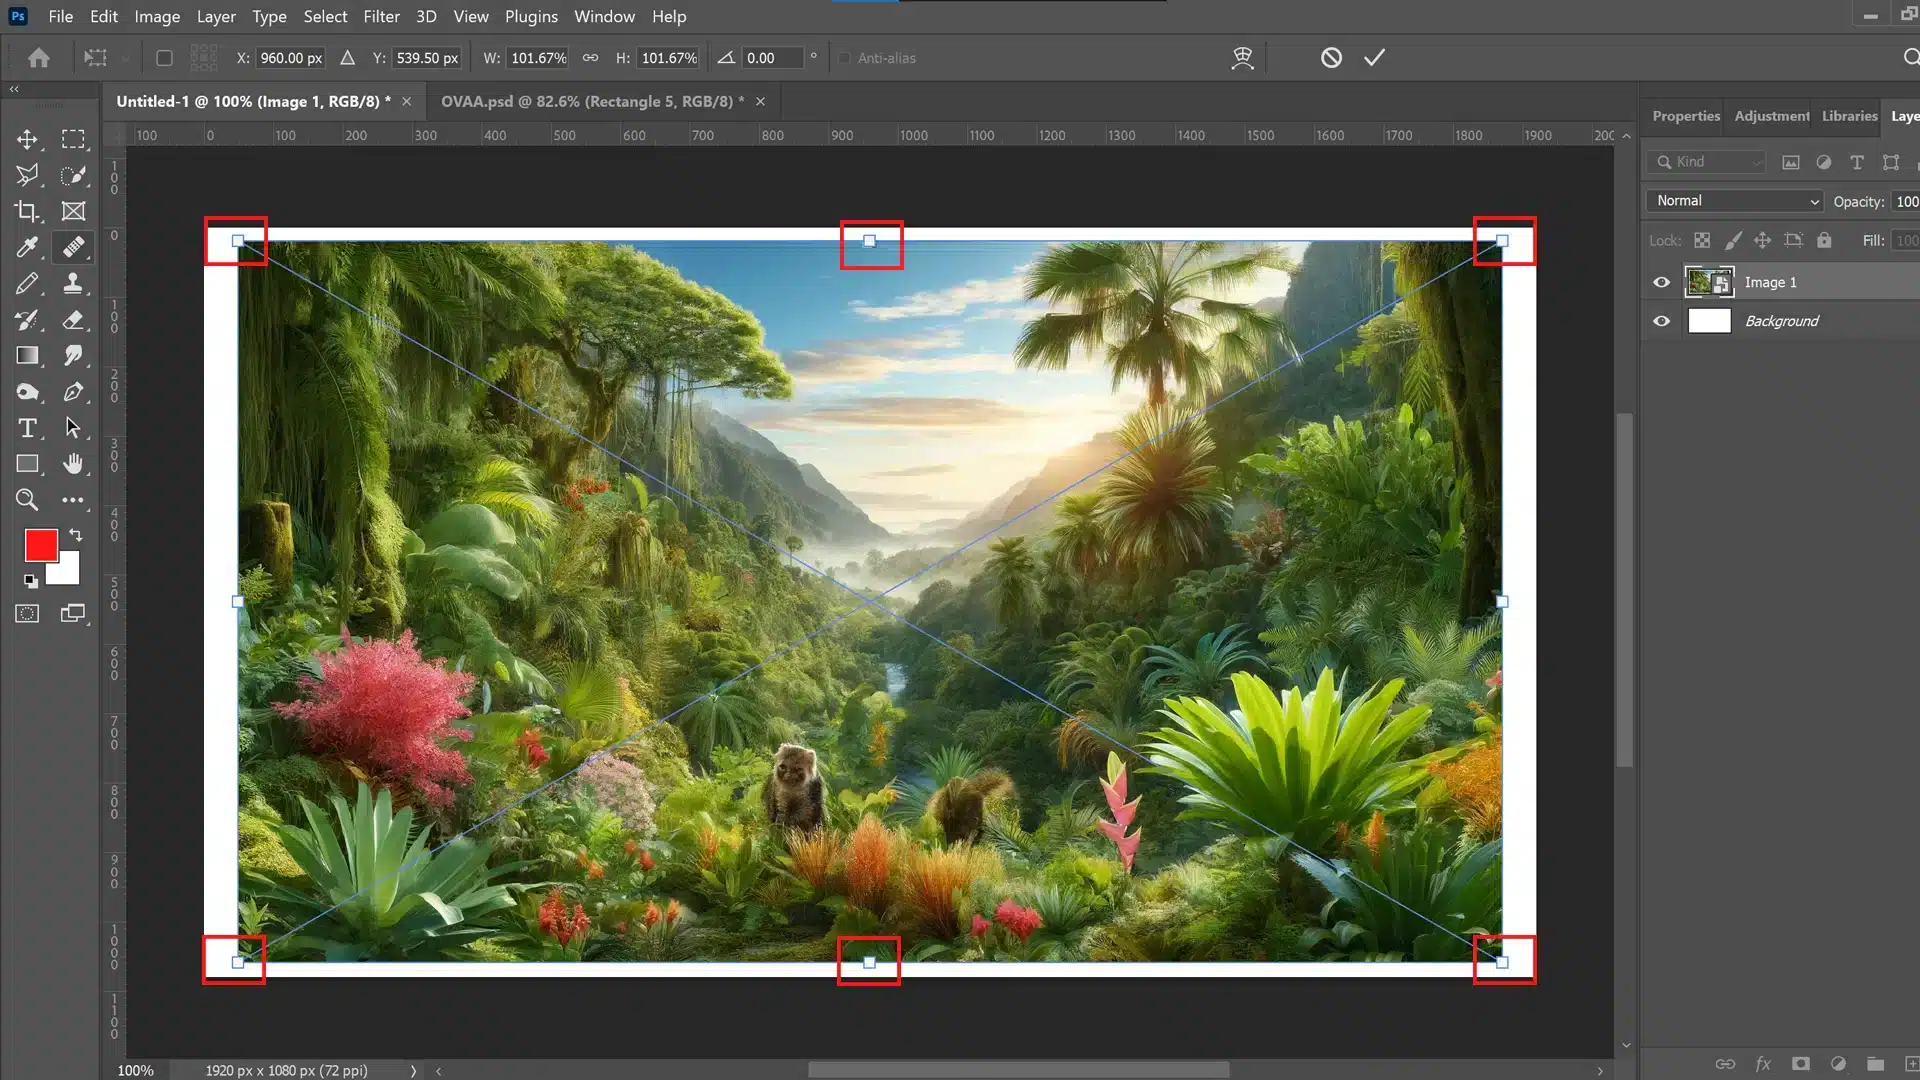
4. Positioning the Image on the Layer
After embedding, position the newly created image on the ‘background layer‘ using tools like free transform(Ctrl + T).
This allows resizing and rotation by dragging corners with the shift key subtly or positioning precisely with the help of guidelines within the canvas area.
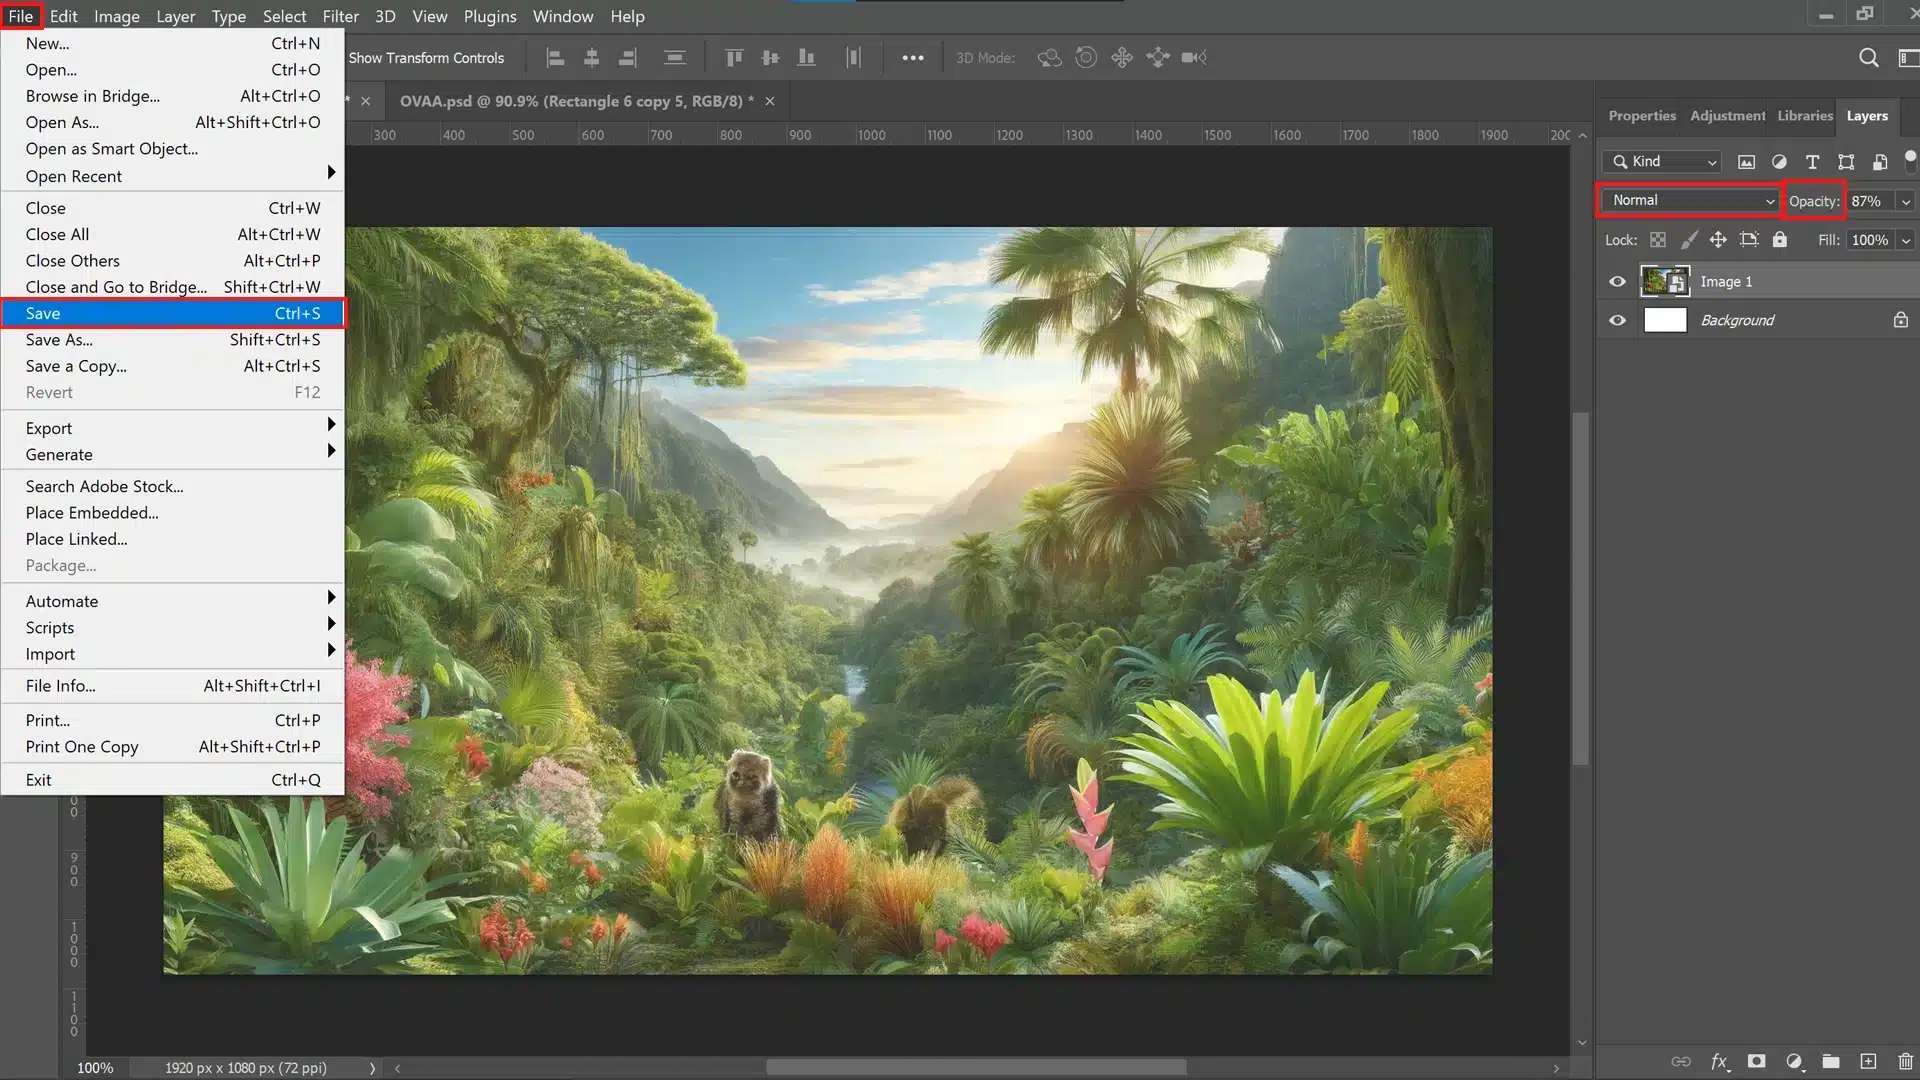
5. Final Adjustment and Saving
Make any necessary final tweaks, such as adjusting opacity, using a blend mode, or applying filters to your smart object.
Once alignment and effect integration are satisfied, commit all changes by pressing ‘Enter‘ or selecting ‘Commit‘ from the top controls.
Remember to save your updated document (File > Save) so none of this effort goes unrecorded!
Resizing Images in Adobe Photoshop for Layer Integration
Resizing images within Adobe Photoshop forms the backbone of effective layer management.
Understanding the resize tool is pivotal in adding new content or integrating a second image.
Accessing the Resize Tool
Accessing the resize functionality begins by selecting an image layer from the layers panel.
Go to the ‘Edit‘ menu, select ‘Transform,’ and then choose ‘Scale.’
Therefore, this Photoshop action activates the resize tool, and it’s your first step toward resizing any selected layer within your document.
Remember, this feature on an intelligent object preserves image quality after resizing.
Adjusting Image Dimensions
Once you’ve accessed the resize tool, adjusting dimensions is straightforward.
Simply drag the corners or edges of the bounding box that appears around your active layer.
For precision adjustments, input exact values in the options bar at the top.
Here, you can manually enter width and height based on pixels or percentages, giving you complete control over how much to adjust your second image’s size to fit as a new layer. It is important to consider pixel dimensions when resizing, as this directly impacts the image quality and clarity
Therefore, check alignment against other layers often represented in the layer order to ensure compatibility with existing elements. Utilizing tools like the Quick Selection Tool can help refine the adjustments by quickly selecting areas to align, while the Selection tool helps maintain overall composition.
Pro Tip: If you’re planning to print your resized image, always consider using the resize image for printing feature. This ensures that the image maintains its quality and proportions when printed, which is pivotal for professional projects such as posters, brochures, or large-scale prints.
Maintaining Aspect Ratio
Aspect ratio maintenance is vital when resizing images for consistency throughout your composition.
Method
Description
Precision
Best Use Case
Dragging Corners
Resize by dragging the corners or edges of the bounding box around the layer.
Visual, less precise.
Quick adjustments where exact dimensions are not critical.
Input Exact Values
Enter specific width and height values in the options bar.
High, very precise.
Critical adjustments where specific dimensions are needed.
Maintain Aspect Ratio
Hold down Shift while resizing to keep width and height proportional.
High, maintains balance.
Maintaining image proportions, especially with photographs.
Aspect ratio maintenance is vital when resizing images for consistency throughout your composition.
If leveraging detailed projects with multiple layers, keeping consistent ratios throughout helps prevent distortions andadds texture that could detract from professional outcomes when merging photo elements into a comprehensive entity.
Applying Changes
Finalize your adjustments by selecting “Apply” in the options or pressing enter, which will confirm any modifications made to the dimensions of the entire image or specific sections therein.
The, review changes by toggling visibility on/off within each background layer from the layers panel.
Confirm integration harmony among all visual components of your new document creation process and ensure the desired output rigorously matches the intended design objectives.
Frequently Asked Questions
How do I add a photo to an existing layer in Photoshop?
To add an image to an existing layer, open the document containing what you want to add. Then, use ‘File > Place Embedded‘ to select and insert the image directly into your document.
The image will appear as a new layer. To combine it with an existing layer, drag the new image layer down in the Layers panel until it merges with your desired layer, or use ‘Layer > Create Clipping Mask‘ to clip the image to the layer below.
How do you paste a photo into an existing layer in Photoshop?
First, open both the image you wish to paste and the existing document. Then, copy the photo (CTRL+C / CMD+C), select the layer you want to merge with in the Layers panel of the existing document, and, lastly, paste (CTRL+V / CMD+V). Then, arrange as you see fit.
How do I add an image to layer in Photoshop?
To add an image to layer in Photoshop, open both photos. Drag one photo tab away to float it in a separate window. Then, use the Move Tool (V) to drag one image onto the other’s background layer window.
How do I add an object to a new layer in Photoshop?
Selectthe object you want to add. Go to Edit > Copy (CTRL+C / CMD+C), then navigate to your target document and Edit > Paste (CTRL+V / CMD+V).
$2,061.00Original price was: $2,061.00.$1,061.00Current price is: $1,061.00. 27584
Download Your Free Guide Now!
Discover the secrets of photography with our printable guide! Master essential techniques like aperture, shutter speed, and ISO to create stunning images. Get your free printable PDF now and start turning your snapshots into masterpieces!