Master Circle Cropping in Photoshop: Perfect Your Image Focus!
Master Circle Cropping in Photoshop: Perfect Your Image Focus!
Are you looking to master the circle crop technique in Photoshop?
You’re in the right place!
In this article, I’ll guide you through the simple steps to create stunning circular images that can elevate your design projects.
Let’s dive in and transform your photos with ease!
Table of Contents
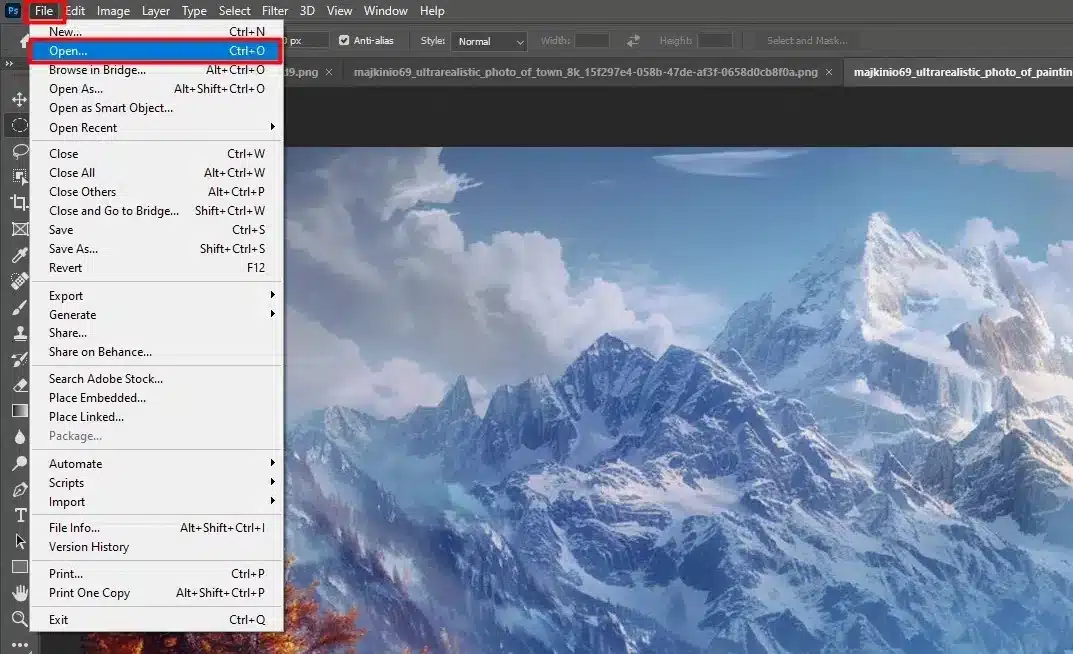
Step 1: Open Your Image in Photoshop
Alright, let’s get started with the basics. The first thing you need to do is open your image in Photoshop.
This is super simple, and the first step to making your photos look amazing.
Opening Your Image
Launch Photoshop: Double click on the Photoshop icon on your desktop.
Go to File Menu: Click on "File" at the top left corner.
Select Open: Choose "Open" from the dropdown menu.
Choose Your Image: Navigate to the folder where your image is stored, select it, and click "Open."
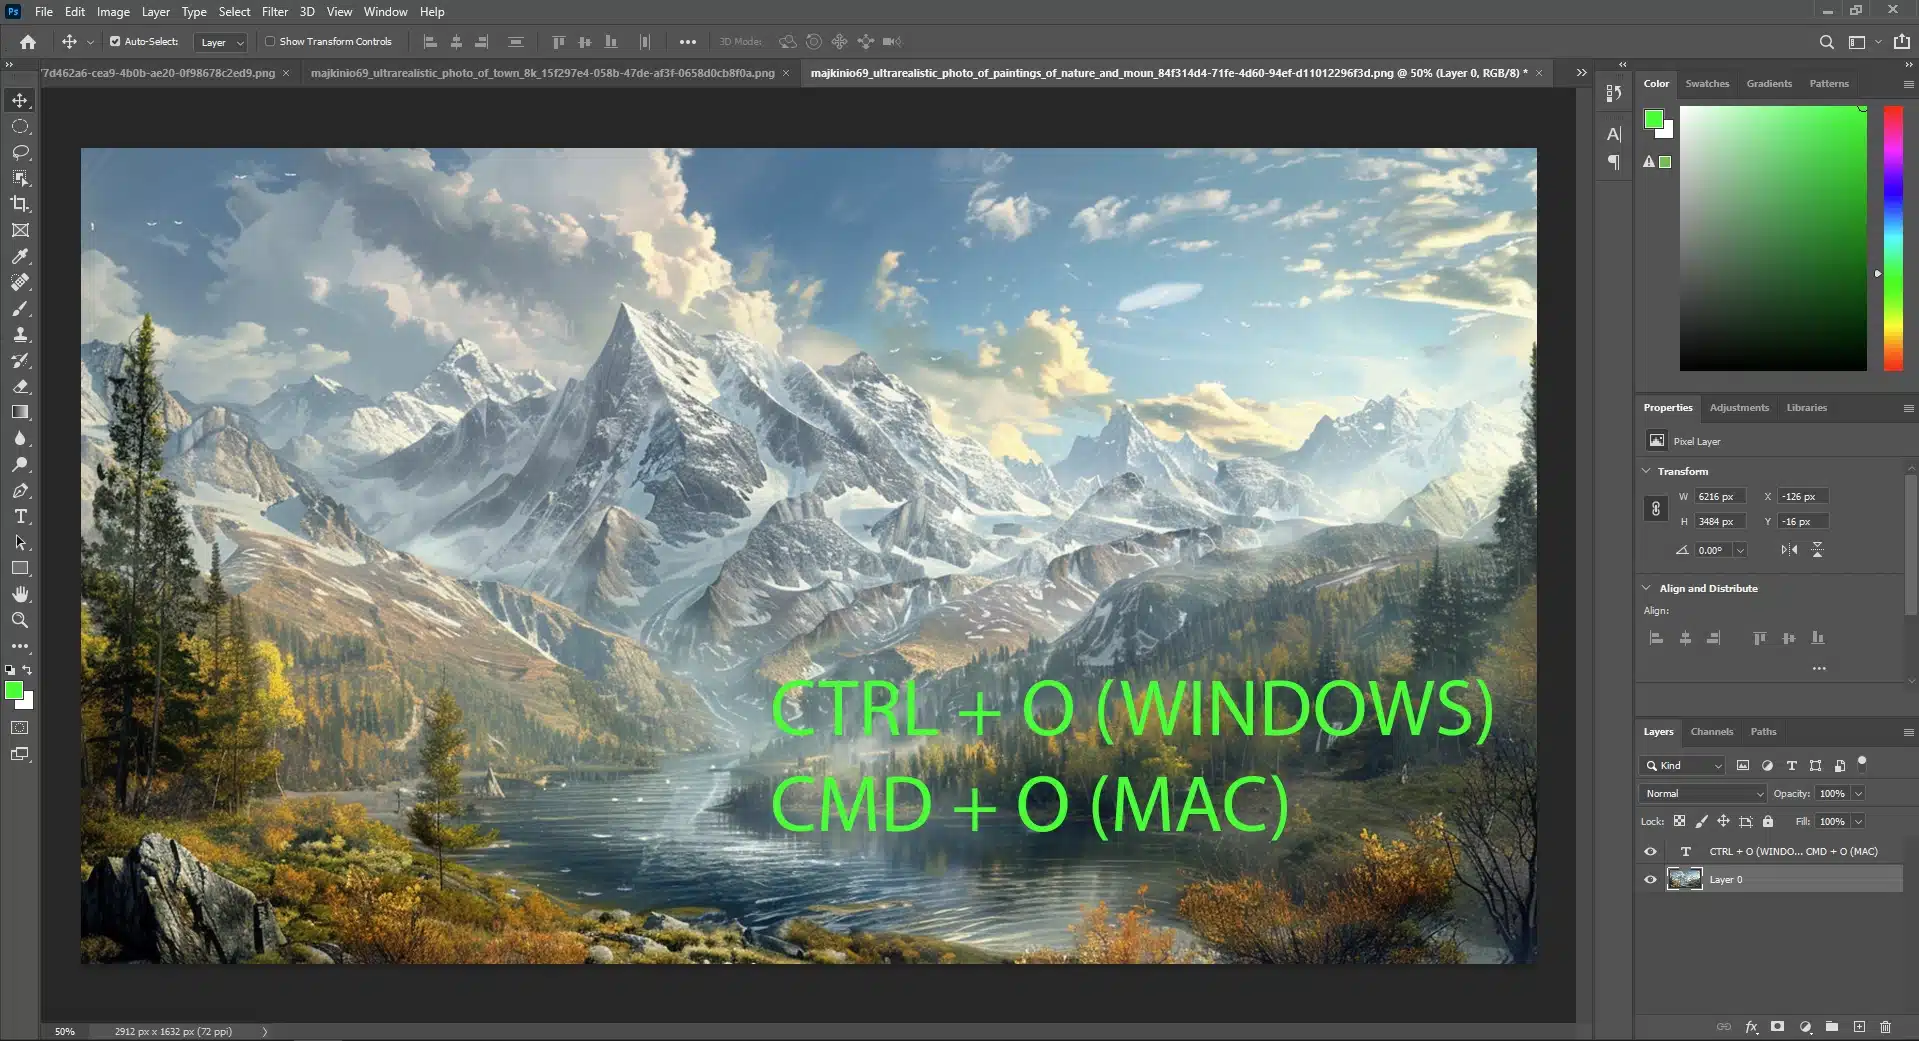
Pro Tip: Use Keyboard Shortcuts
To speed things up, you can use keyboard shortcuts. Press Ctrl + O (Windows) or Cmd + O (Mac) to open the dialog box directly.
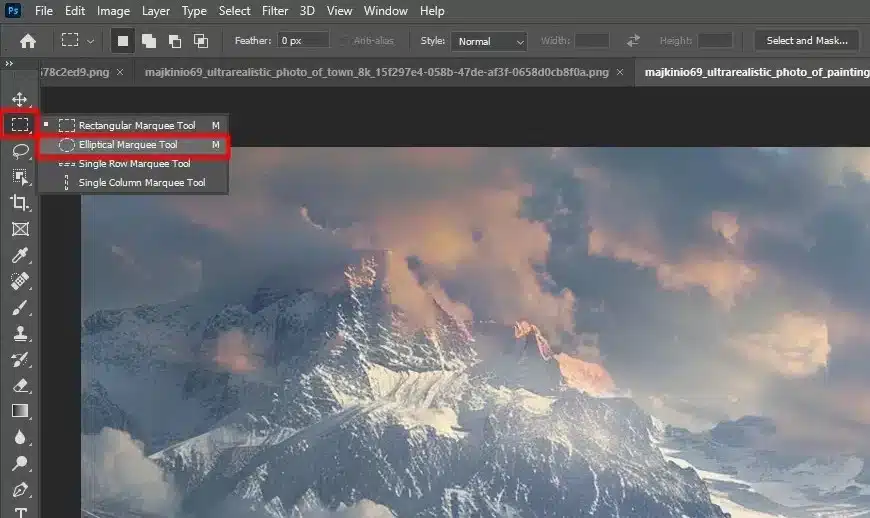
Step 2: Select the Elliptical Marquee Tool
Let’s move on to the next step: selecting the Elliptical Marquee Tool.
This tool is super handy for creating circular selections, which can be used for various effects, like cropping an image into a circle shape or making a part of your image stand out.
But remember to check if the aspect ratio of your image needs to be changed before using this tool.
How to Select the Elliptical Marquee Tool
First, Locate the Toolbar: On the left side of your screen, you'll see the toolbar.
Then, Find the Rectangular Marquee Tool: The default Marquee Tool is usually the Rectangular Marquee Tool. Use it to select square form. Click on background and hold on it to reveal more options.
Finally, Select the Elliptical Marquee Tool: From the dropdown, choose the Elliptical Marquee Tool.
For more efficient editing, you might also want to learn about the Quick Selection Tool.
Adding a Layer Mask
Once you’ve got your perfect circle, you might want to add a layer mask to isolate that part of the image. Here’s how:
Select the Layer: Click on the layer you want to edit in the Layers Panel.
Add Layer Mask: Click the Layer Mask button at the bottom of the Layers Panel. This will mask out everything outside your circle selection.
Example: Highlighting a Subject
Let’s say you want to highlight your grandkid’s face and blur the background layer. After creating your circle selection and adding a layer mask, you can apply a blur effect to the background layer.
This makes the face stand out while the rest of the image is softly blurred.
Tool/Technique
Purpose
Key Steps
Pro Tip
Elliptical Marquee Tool
Create circular selections
Select tool, hold Shift for circle
Use Shift to maintain a perfect circle
Feathering
Soften edges of selections
Select > Modify > Feather
Start with 10 pixels to soften edges
Layer Mask
Isolate parts of an image
Add Layer Mask in Layers Panel
Use with feathering for smooth transitions
Anti-Aliasing
Reduce jagged edges
Check Anti-alias option
Ensure it’s enabled for smoother edges
Adding a Border
Highlight circular images
Canvas Size, new layer, fill border
Adjust canvas size for extra space around circle
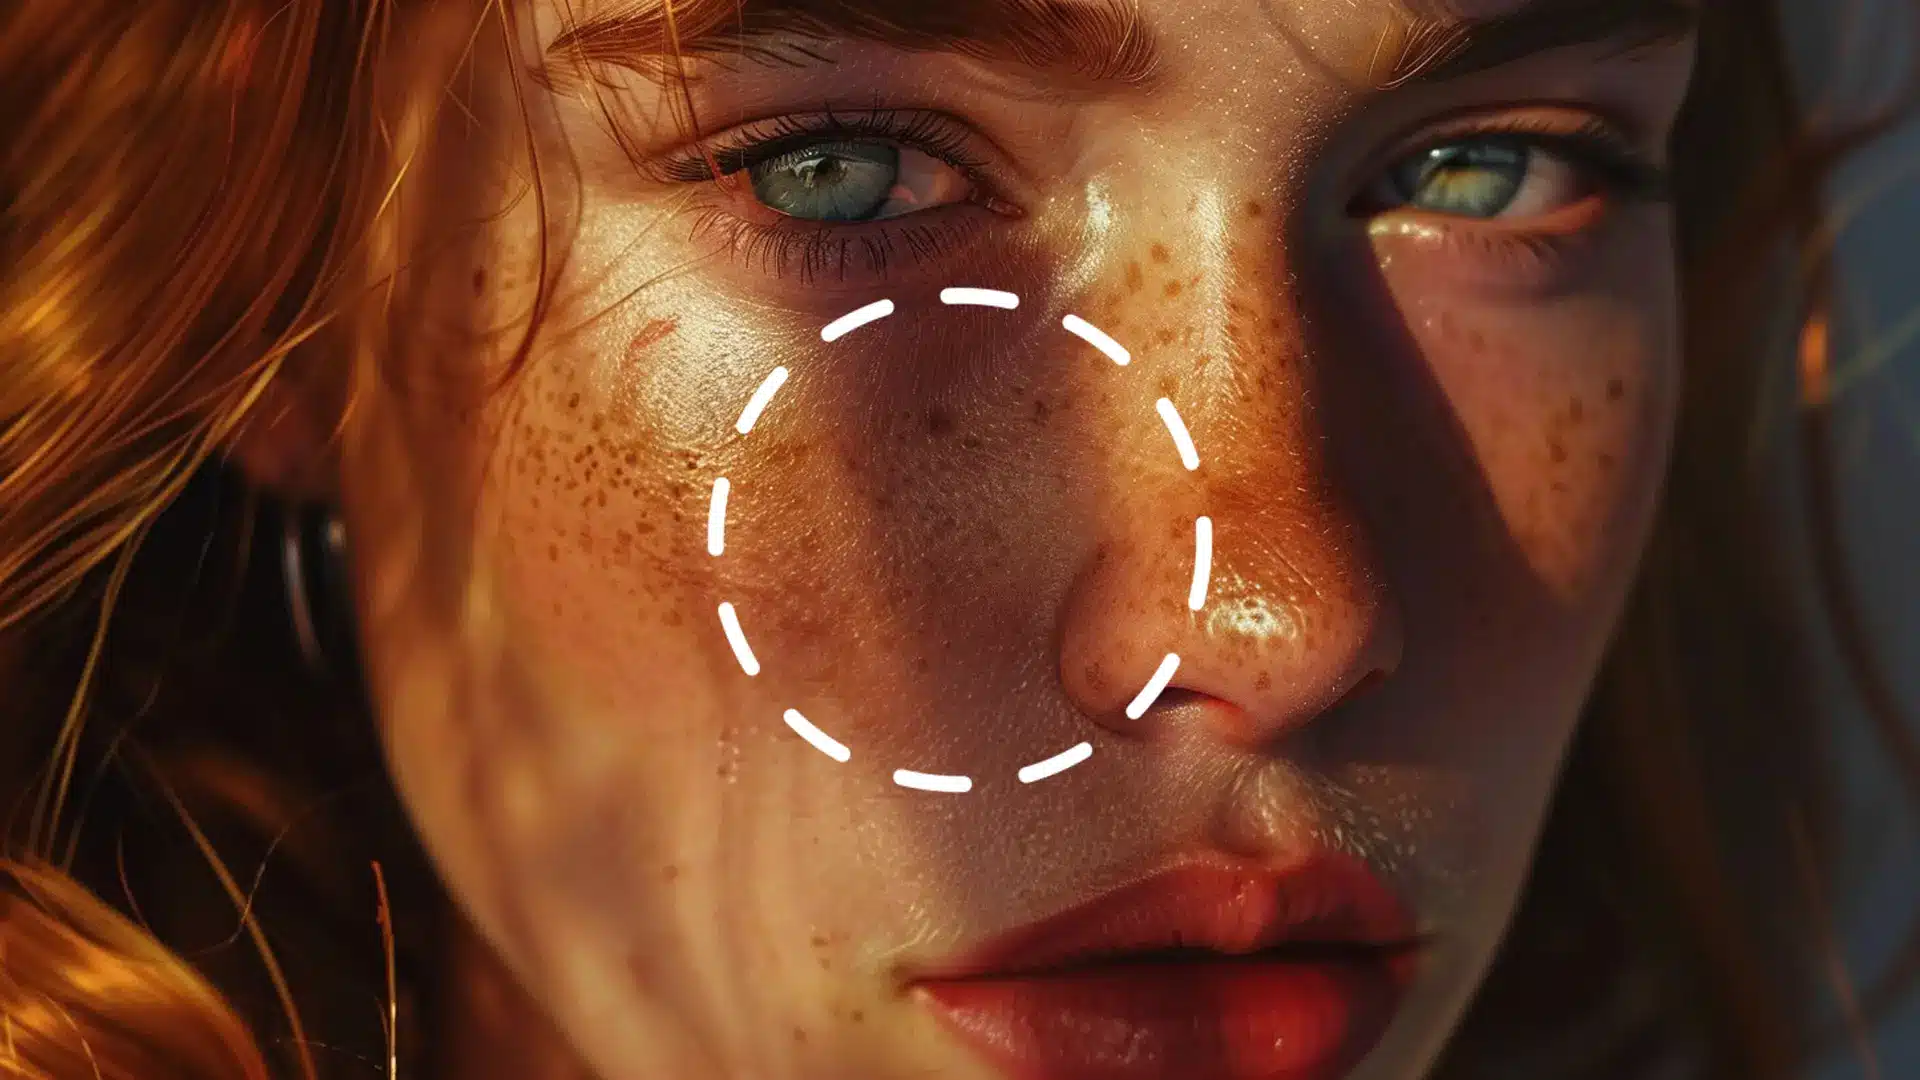
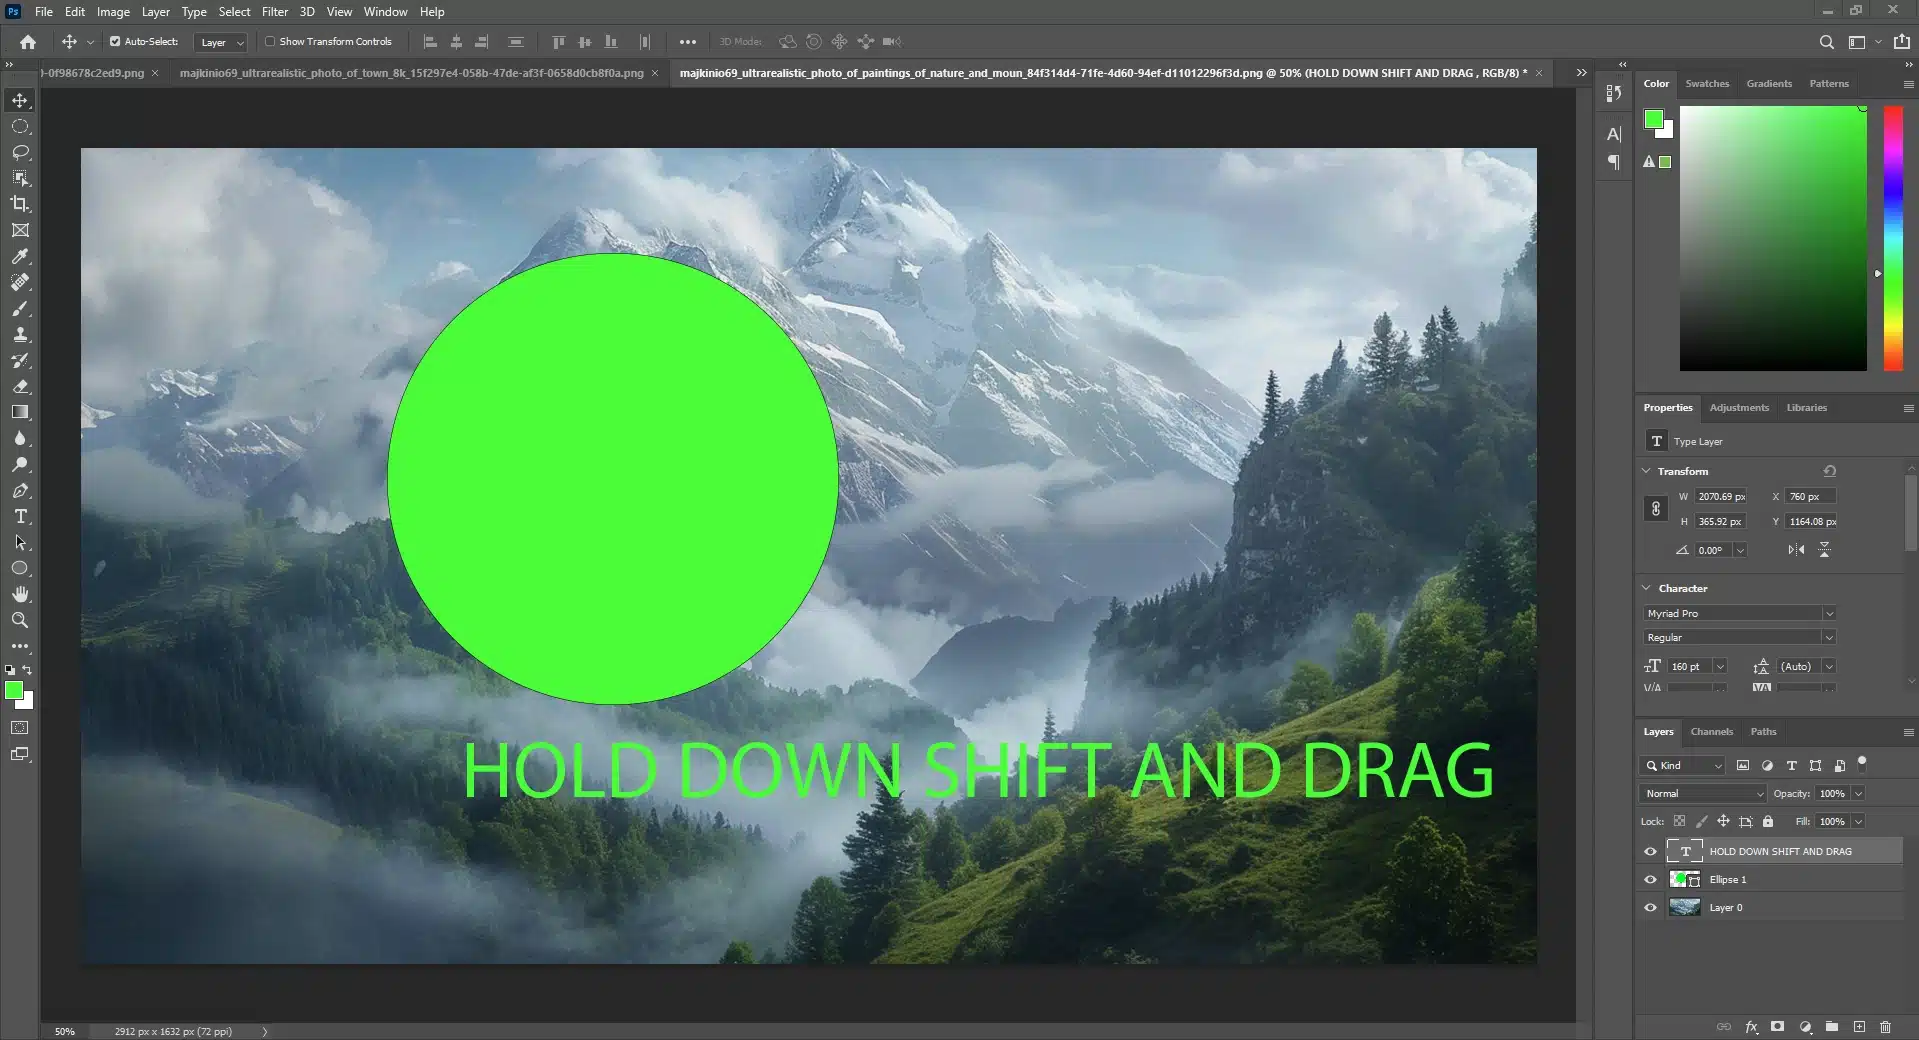
Step 3: Draw a Perfect Circle
Alright, now that we’ve got our image open and the Elliptical Marquee Tool selected, let’s move on to drawing a perfect circle.
This step is crucial for creating precise selections for the perfect circle crop Photoshop, whether you’re highlighting a subject or preparing to crop images into a circle shape.
Drawing a Perfect Circle
Click and Drag: Place your mouse button where you want the circle to start. Click and hold the mouse button while dragging to create the selection outline.
Hold the Shift Key: To ensure your Selection is a perfect circle, hold down the Shift key and drag. This will constrain the Selection to a perfect circle.
Adjust the Position: If the circle isn't in the right spot, you can reposition it. Simply click inside the selection outline and drag it to the desired location.
Adding a Layer Mask
Once you’ve got your circle, you might want to add a layer mask to isolate that part of the image. Here’s how:
First, Select the Layer: Click on the background layer you want to edit in the Layers Panel.
Then, Add Layer Mask: Click the background Layer Mask button at the bottom of the Layers Panel. This will mask out everything outside your circle selection.
Pro Tip: Using the Shift Key
Holding the Shift key while drawing your Selection on the background is crucial for making a perfect circle.
If you forget to hold it, you’ll end up with an ellipse instead. So, always remember: Shift key forces the Selection to stay circular.
Saving Your Work
After making your edits, you’ll want to save your work. Here’s how:
First, Go to File Menu: Click on "File" at the top.
Then, Select Save As: Choose "Save As" from the dropdown.
Now, Choose File Format: Select the file format you need, like JPEG for print or PNG for web.
Finally, Click Save: Hit the "Save" button to finish.
Example: Saving a Cropped Image
Let’s say you’ve cropped your family photo into a circle and want to save it. Follow the steps above, and choose PNG format if you want to support transparency.
This way, your image will have a transparent area background around the circle.
How to Adjust Circle Crop Edges in Photoshop
When working with the circle crop tool, it’s crucial to refine the edges for a polished look.
Here, I’ll guide you through some techniques to achieve smooth and clean edges.
Refining the Selection for Circle Crop Photoshop
To start, you need to refine the selection outline. This step ensures your crop looks professional. Begin by selecting the elliptical selection tool.
Then, use the mouse button to adjust the selection outline until it perfectly fits your subject.
Using Feathering for Smooth Edges
Feathering helps in creating smooth transitions around the edges. Open the dialog box by right-clicking on the Selection and choosing “Feather.”
Set the feather radius to your preference. This technique is especially useful when you want to crop images with soft edges.
Applying Anti-Aliasing
Anti-aliasing reduces the jagged edges that can appear in your circle crop. While making your Selection, ensure the “Anti-alias” option is checked in the dialog box.
This setting smooths out the edges, giving your crop a cleaner look.
Advanced Techniques for Circle Crop Photoshop
Now, let’s dive into some advanced techniques to make your photos stand out.
Creating a Circle Crop with Layers Panel Masks
Layer masks are a powerful tool for creating non-destructive edits. To start, draw an elliptical selection around your subject.
Then, apply a background layer mask to the background layer. This will hide everything outside the selection outline, giving you a circle.
Adding a Border to Your Circular Image
Adding a border can make your circular image pop. After creating your circle crop, go to the image menu and select “Canvas Size.”
Increase the canvas size to add space around your circle. Then, create a new background layer and draw a selection outline around the circle. Fill this with your desired border color.
Combining Circle Crop with Other Shapes
Combining a circle crop tool in Photoshop with other shapes can create unique compositions. Use the elliptical marquee tool to make rectangles or squares.
Combine these with your circle to create interesting designs. Adjust the supports transparency of each shape to blend them seamlessly.
This technique is perfect for creative projects.
Frequently Asked Questions
How to crop a shape in Photoshop?
Cropping a shape in Photoshop can be done in a few steps. Here’s how to do it:
Select the Shape: Use the 'Rectangle Select Tool' or 'Lasso Tool' to select the part of the image you want to shape.
Choose the Shape: Go to the 'Shapes' tool, and select the desired shape you want to crop your image into.
Refine Edges: After selecting the shape, right-click and choose 'Refine Edge' to smooth or feather the edges for a cleaner look.
Crop the Image: Once your shape is ready, press 'Ctrl+X' to cut or 'Ctrl+C' to copy, then 'Ctrl+V' to paste your cropped shape.
How do you make a circle effect in Photoshop?
Creating a circle effect involves a few straightforward final step:
First, Create a New Layer: Open your image menu and create a new background layer to work on to avoid altering the original image.
Then, Select the Elliptical Marquee Tool: Find this tool in the toolbar or press 'M' and hold to switch between rectangular and elliptical.
Now, Draw the Circle: Click and drag on your image while holding 'Shift key' to draw a perfect circle.
Fill or Adjust: You can fill the circle with color or adjust its borders via 'Edit'> 'Stroke'.
How do I get the circle tool in Photoshop?
Accessing the circle tool in Photoshop is easy:
First, Open the Toolbar: Look on the left side of the screen for the toolbar.
Then, Find the Shape Tools: Click and hold on the 'Rectangle Tool' to reveal more shapes including the 'Ellipse Tool' (circle tool).
Finally, Select the Ellipse Tool: Click on it, and you're ready to draw circle in photoshop
How do I crop around an image in Photoshop?
Cropping around an cropped image to isolate an object involves:
First, Select the Object: Use the 'Lasso Tool' or 'Quick Selection Tool' to select the object you want to isolate.
Then, Refine the Selection: Go to 'Select'> 'Modify'> 'Refine Edge' to adjust the edges of your Selection.
Now, Copy and Paste: Once your Selection is refined, press 'Ctrl+C' to copy and then 'Ctrl+V' to paste your object into a new background layer.
Finally, Hide the Background: Hide the original transparent background layer to see only the cropped object.
These steps should help you navigate some common tasks in Photoshop using simple tools and techniques.
Using the circle crop tool in Adobe has truly transformed the way I edit images. It allows me to focus on the subject and create a clean, professional look.
With these steps, anyone can easily master the circle crop in feature, whether you’re a beginner or just want to further your knowledge.
$2,061.00Original price was: $2,061.00.$1,061.00Current price is: $1,061.00. 27584
Download Your Free Guide Now!
Discover the secrets of photography with our printable guide! Master essential techniques like aperture, shutter speed, and ISO to create stunning images. Get your free printable PDF now and start turning your snapshots into masterpieces!