Add Rain Effect to Photo: Easy Steps for a Realistic Look
Add Rain Effect to Photo: Easy Steps for a Realistic Look
Have you ever wanted to add rain effect tophoto but weren’t sure how to make it look realistic? Imagine turning a sunny snapshot into a dramatic, rain-soaked scene that captures attention and evokes emotion.
In this article, I’ll show you step-by-step how to transform your pictures with a convincing rain effect using Photoshop and Lightroom.
By the end, you’ll be able to create stunning, weather-inspired edits that stand out. Whether you’re a beginner or looking to refine your skills, this guide will make the process straightforward and enjoyable.
Ready to dive into the world of creative photo editing?
Let’s get started!
Table of Contents
Step-by-Step Guide to Adding Rain Effect in Photoshop
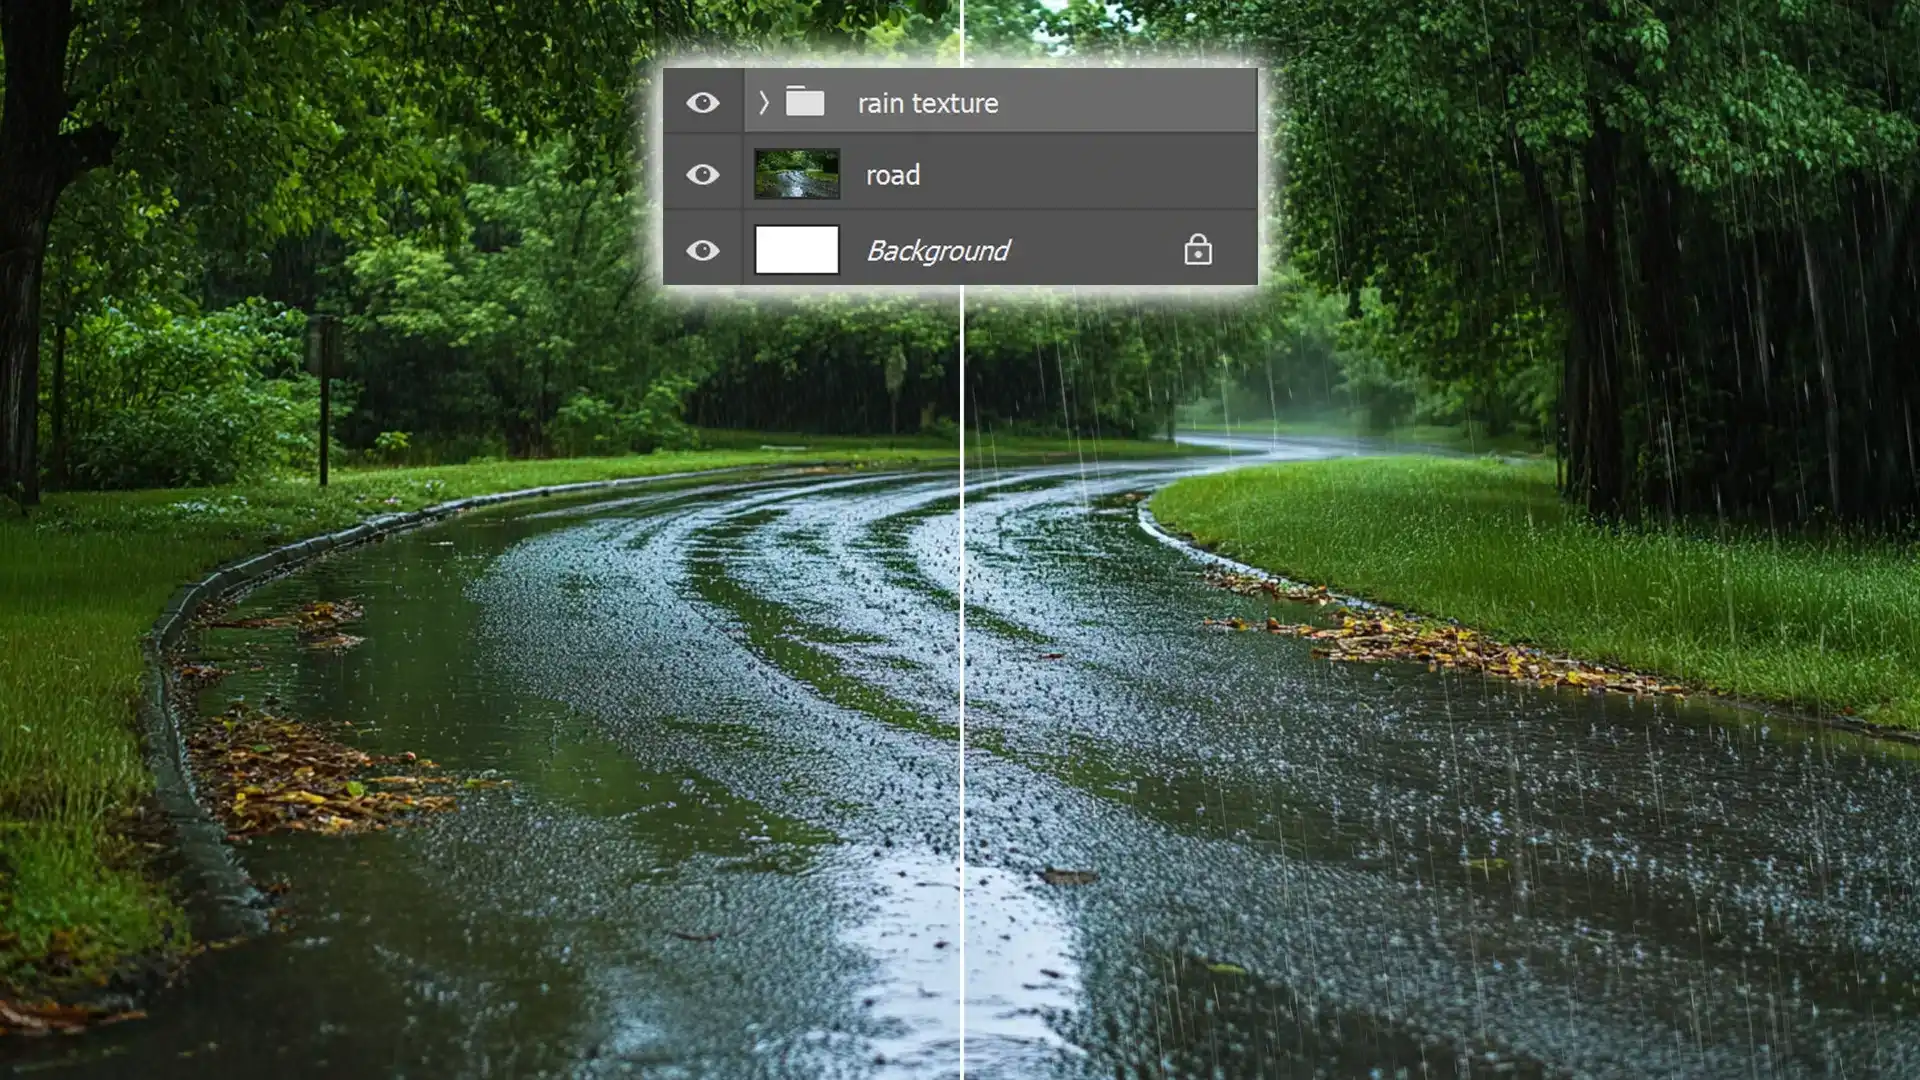
Before we dive into the rain effect, let’s prepare the photo you’ll work on.
Open your photo in Photoshop and ensure it is properly adjusted so the rain stands out.
First, check the brightness and contrast settings of the image and adjust them if necessary.
These adjustments will enhance the final effect.
Using Photoshop for Rain Effect
Create a new layer by clicking on the 'Layer' menu and selecting 'New' followed by 'Layer'.
Fill this layer with black by using the 'Paint Bucket' tool.
Add Noise by going to the 'Filter' menu, selecting 'Noise', and then clicking 'Add Noise'.
Set the noise amount to around 150%, make sure the distribution is set to 'Gaussian' and checked 'Monochromatic'.
Next, apply the Gaussian Blur filter to this noisy layer, which you can find under the 'Filter' menu.
Change the layer blend mode to 'Screen', making the background visible.
The next step is to add Motion Blur. Go back to 'Filter', select 'Blur', and choose 'Motion Blur'.
Set the angle to around -70 degrees and distance to about 30 pixels to simulate falling rain.
Alternative Methods
If Photoshop isn’t your tool or you want quicker results, consider using online tools and apps.
Several applications and websites allow you to add rain effects to pictures with easy-to-follow instructions.
Another option is using mobile apps that offer preset filters. They often include rain effects to enhance your pictures without much effort.
Final Touches
Once you’ve created the rain effect, inspect your image carefully.
You can adjust the opacity of the rain layer to make the effect more subtle.
Adding a slight blur to the background can give an overall realistic look of a rainy scene.
Finally, merge all layers and save your photo in the desired format.
Don’t forget to keep an original copy of the image for future edits.
Pro Tip: If the image looks too busy, try adjusting the rain density by selecting fewer noise and motion blur options.
This gives a lighter rain effect, adding realism without overwhelming the photo.
Tools Needed for Adding Rain Effect
To add a rain filter to an image, you’ll need specific tools and software. Start by gathering data on the best techniques and tools for your image, and use this data to choose the right software for creating a realistic rain filter.
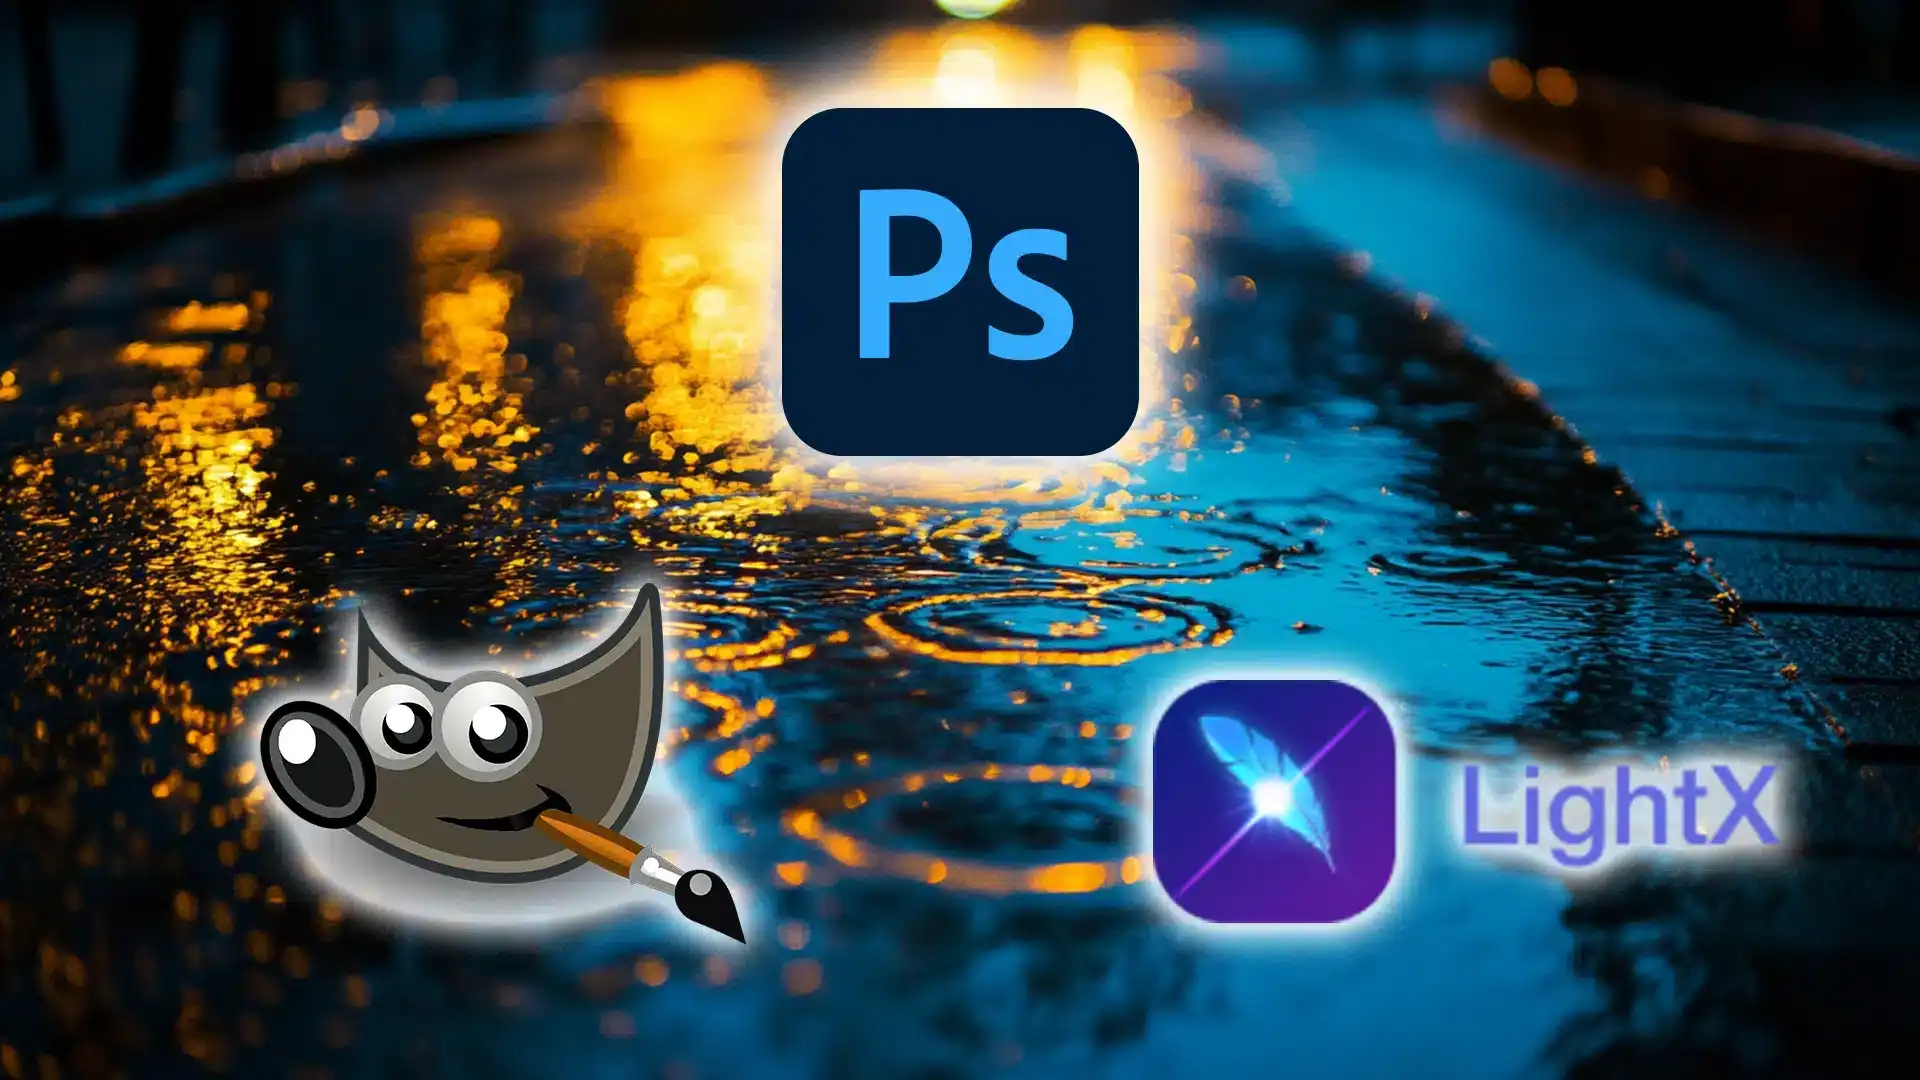
Software Options
Photoshop: The gold standard for editing. Create realistic rain effects with its wide range of tools, including the Content-Aware Fill and the Patch Tool in Photoshop.
GIMP: A free alternative. While not as powerful, it still offers good rain effect features.
Online Tools: For quick jobs, online tools can add rain effects with minimal effort.
Choosing the Right Tools
When selecting tools, consider your familiarity with the software:
Photoshop offers more control but has a steeper learning curve. Utilize essential tools in Photoshop for the best results.
GIMP provides sufficient features but may lack some advanced options.
Online tools are easier for beginners but offer less customization.
Determine your comfort level and needs.
Pro Tip: Always keep an original copy of your image. You might want to adjust or redo the rain filter later.
Creative Tips for Realistic Rain Effects
For creating realistic rainfall effects, focus on blending the rainfall seamlessly with your image.
Pay attention to the image’s lighting and contrast to ensure the rainfall effect enhances the overall image.
Using layer adjustments can further refine the image, making the rain look more natural.
Enhancing Realism
Creating a realistic rain effect in your photo involves careful attention to detail.
Follow these steps to achieve a natural look:
Start with a good base image with appropriate lighting.
Use layers in Photoshop or Lightroom to build up the rain effect gradually.
Overlay a texture that mimics rain and adjust the opacity until it looks natural.
Ensure that the rain direction aligns with the light source in your image. This small touch dramatically increases realism.
Use Gaussian blur to soften edges if the effect appears too harsh. Rain often looks diffused; thus, maintaining a soft look preserves the authenticity.
Playing with Light and Shadow
Light and shadow can make or break your rain effect.
Consider the following tips:
When adding rain to a photo, consider how rain interacts with light sources.
Use highlights to mimic light catching on raindrops and shadows where rain would obscure the light.
Add reflections on wet surfaces to elevate the realism. Look at your base image and identify places where water would pool or create reflections, then add these details. They bring depth to your rain effect that catches the viewer's eye.
Remember, subtlety is key. Overdoing highlights or shadows can ruin the effect.
Pro Tip: Always save a copy of your original image before making adjustments. This allows for easy changes if the rain effect doesn’t come out quite right.
Additionally, using essential tools in Lightroom can streamline your editing process and help you achieve professional results.
To achieve enhancing realism in your photos, knowing how to blend pictures effectively is crucial. This technique ensures a seamless look, making your edits appear natural and convincing.
Showcasing Your Rain Effect Photos
Once you’ve created your rain filter on pictures, showcasing them effectively is key. Use data from your image analytics to determine the best platforms and formats for sharing your pictures.
Method
Pros
Cons
Social Media
Wide reach, high engagement potential
Compression may reduce quality
Portfolio Website
High control over presentation and quality
Requires maintenance and hosting
Online Galleries
Easy to update and share
Limited customization options
Prints
Tangible, high quality
Limited reach, higher cost for production
By analyzing image engagement data, you can optimize how your rain effect pictures reach and resonate with your audience.
Sharing on Social Media
When you refine your rain effect images, sharing them on social media elevates your work. People love engaging visual content, especially those with unique effects.
When sharing on social media, using the best mobile photo editing apps can enhance your images effortlessly. These apps help refine your photos before posting, ensuring they look their best.
To maximize engagement, consider these steps:
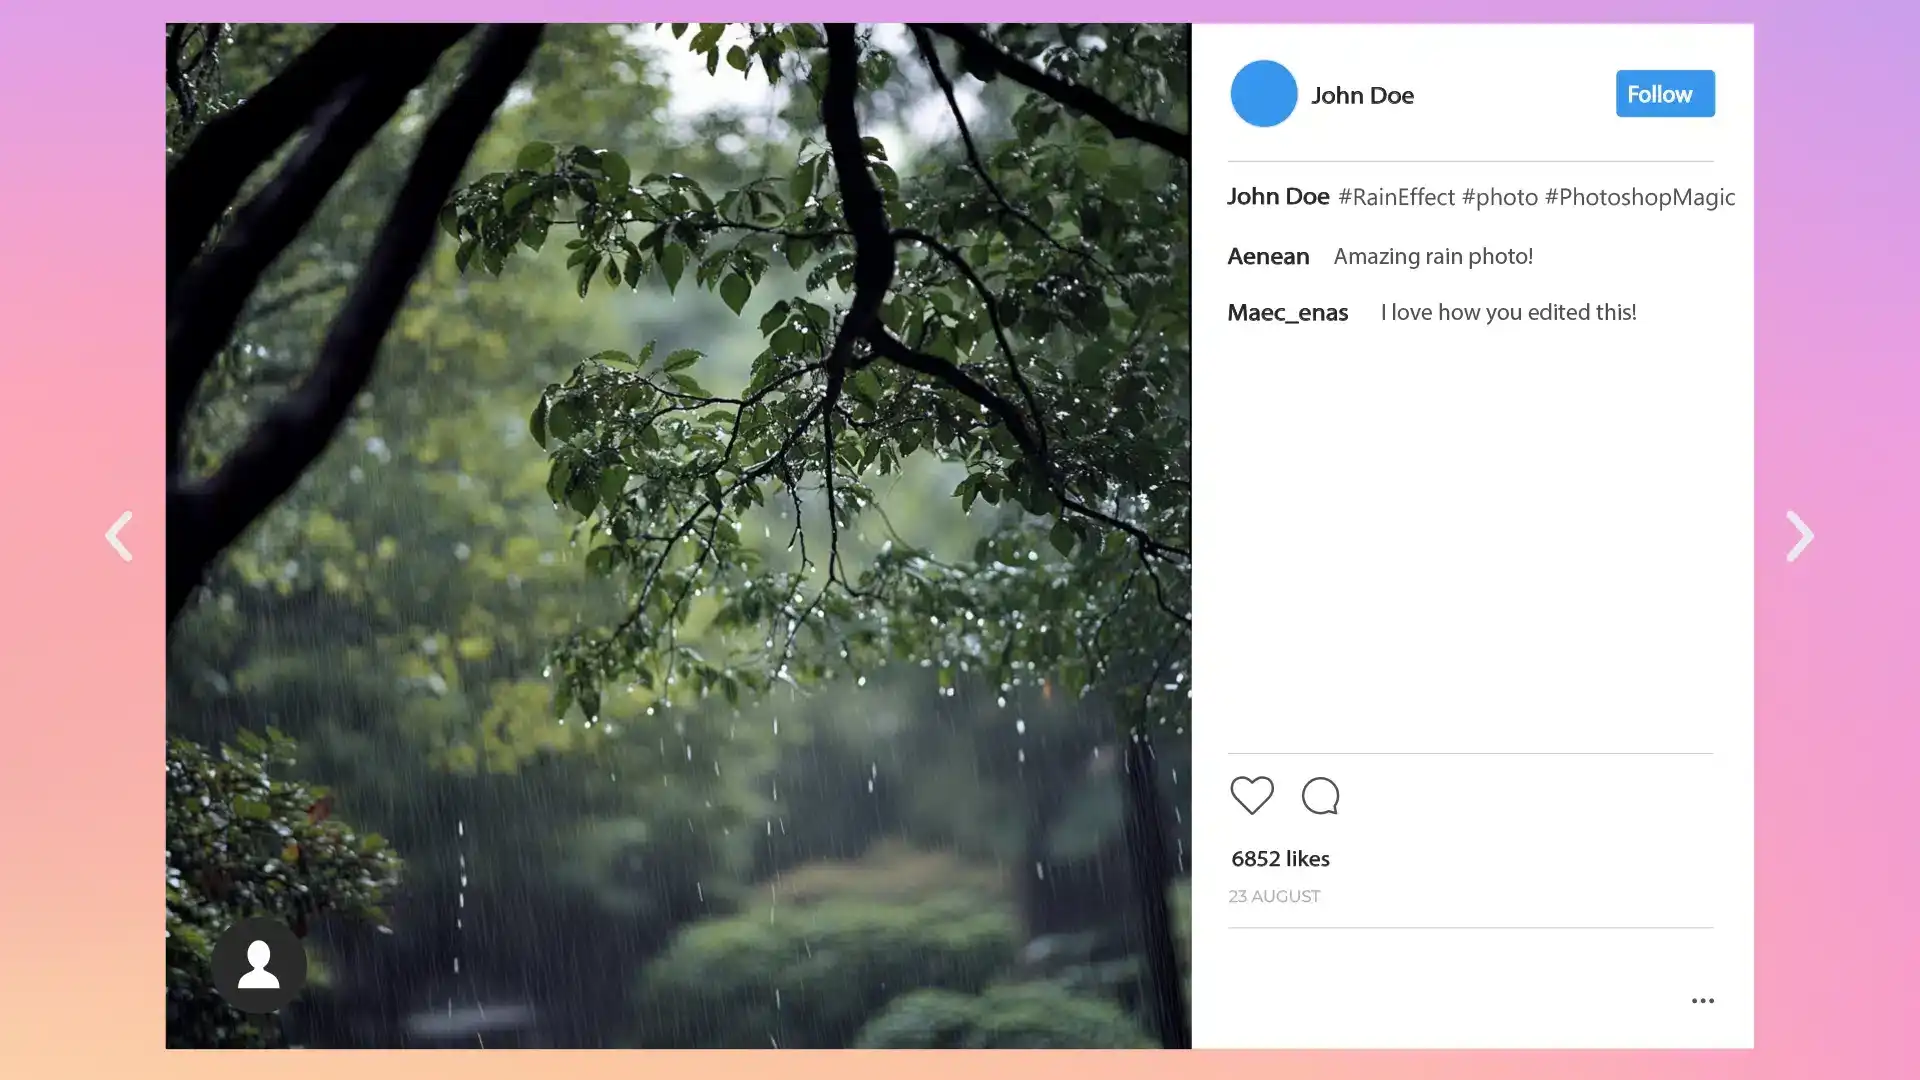
Create captions that intrigue. For instance, "Ever wondered how raining could look this cool? Check it out!" grabs attention.
Use relevant hashtags (#RainEffect, #PhotoshopMagic). These attract the right audience.
Join photography groups or communities. Share your picture and engage with other enthusiasts.
Share a before-and-after comparison of the photo. This demonstrates your editing skills effectively.
Avoid overly technical language. Most people on social media look for interesting content, not complex tutorials.
Building a Portfolio
A well-crafted portfolio is critical for showcasing your skills.
Here’s how you can make your rain effect pictures stand out:
Portfolio Tips:
Choose a variety of pictures. Include landscapes, portraits, and urban scenes to show versatility.
Each image should tell a story. Add brief descriptions to provide context and appeal to viewers' emotions.
Create a user-friendly layout. Ensure each image is easily accessible and viewable.
Include high-resolution pictures. Low-quality pictures distract from your talent.
Update the portfolio regularly. Keep it fresh by adding new works and removing outdated ones.
Having a solid portfolio attracts potential clients and helps establish credibility.
Pro Tip: Always save your original image separately before making any edits. This way, if something goes wrong during the editing process, you’ll have a backup to start from scratch.
When building a portfolio, utilizing tips for Lightroom editing can greatly enhance your collection. These tips help refine your images, showcasing your skills effectively.
Enhancing Your Rain Effect Photos
To make your rain effect pictures even more captivating, consider using essential tools in Lightroom and Photoshop. These tools can help you fine-tune details and achieve the perfect look.
Editing Tips:
Use the Spot Healing Brush Tool in Photoshop to remove any unwanted elements that might distract from the rain effect.
Apply Lens Correction in Lightroom to fix any distortions and enhance the overall quality of your pictures.
Experiment with different blending modes in Photoshop to add unique textures and layers to your rain effect.
By mastering these tools, you can elevate your rain effect pictures to a professional level.
To truly excel at enhancing your rainfall effect photos, mastering raindrops effects in Photoshop is essential. This technique can make your rainfall look more realistic and dynamic.
Frequently Asked Questions
How do I add rain in a photo?
Open your photo editing software or app.
Look for an effect or filter named "rain" or similar.
Apply the effect to your photo and adjust the intensity as needed.
Save the edited photo once you're satisfied with the rain effect.
How do I add rain effect to my iPhone?
Download a photo editing app from the App Store that includes rain effects (e.g., Adobe Photoshop Express, Snapseed).
Open the app and select the photo you want to edit.
Find the rain effect in the app's filter or effects section.
Apply the effect, adjust settings if necessary, and save your edited image.
What app has a rain filter?
Adobe Photoshop Express: Offers a variety of weather effects, including rain.
Snapseed: Includes a range of filters and effects, with options to simulate rain.
Enlight Pixaloop: Specifically good for adding animated rain effects.
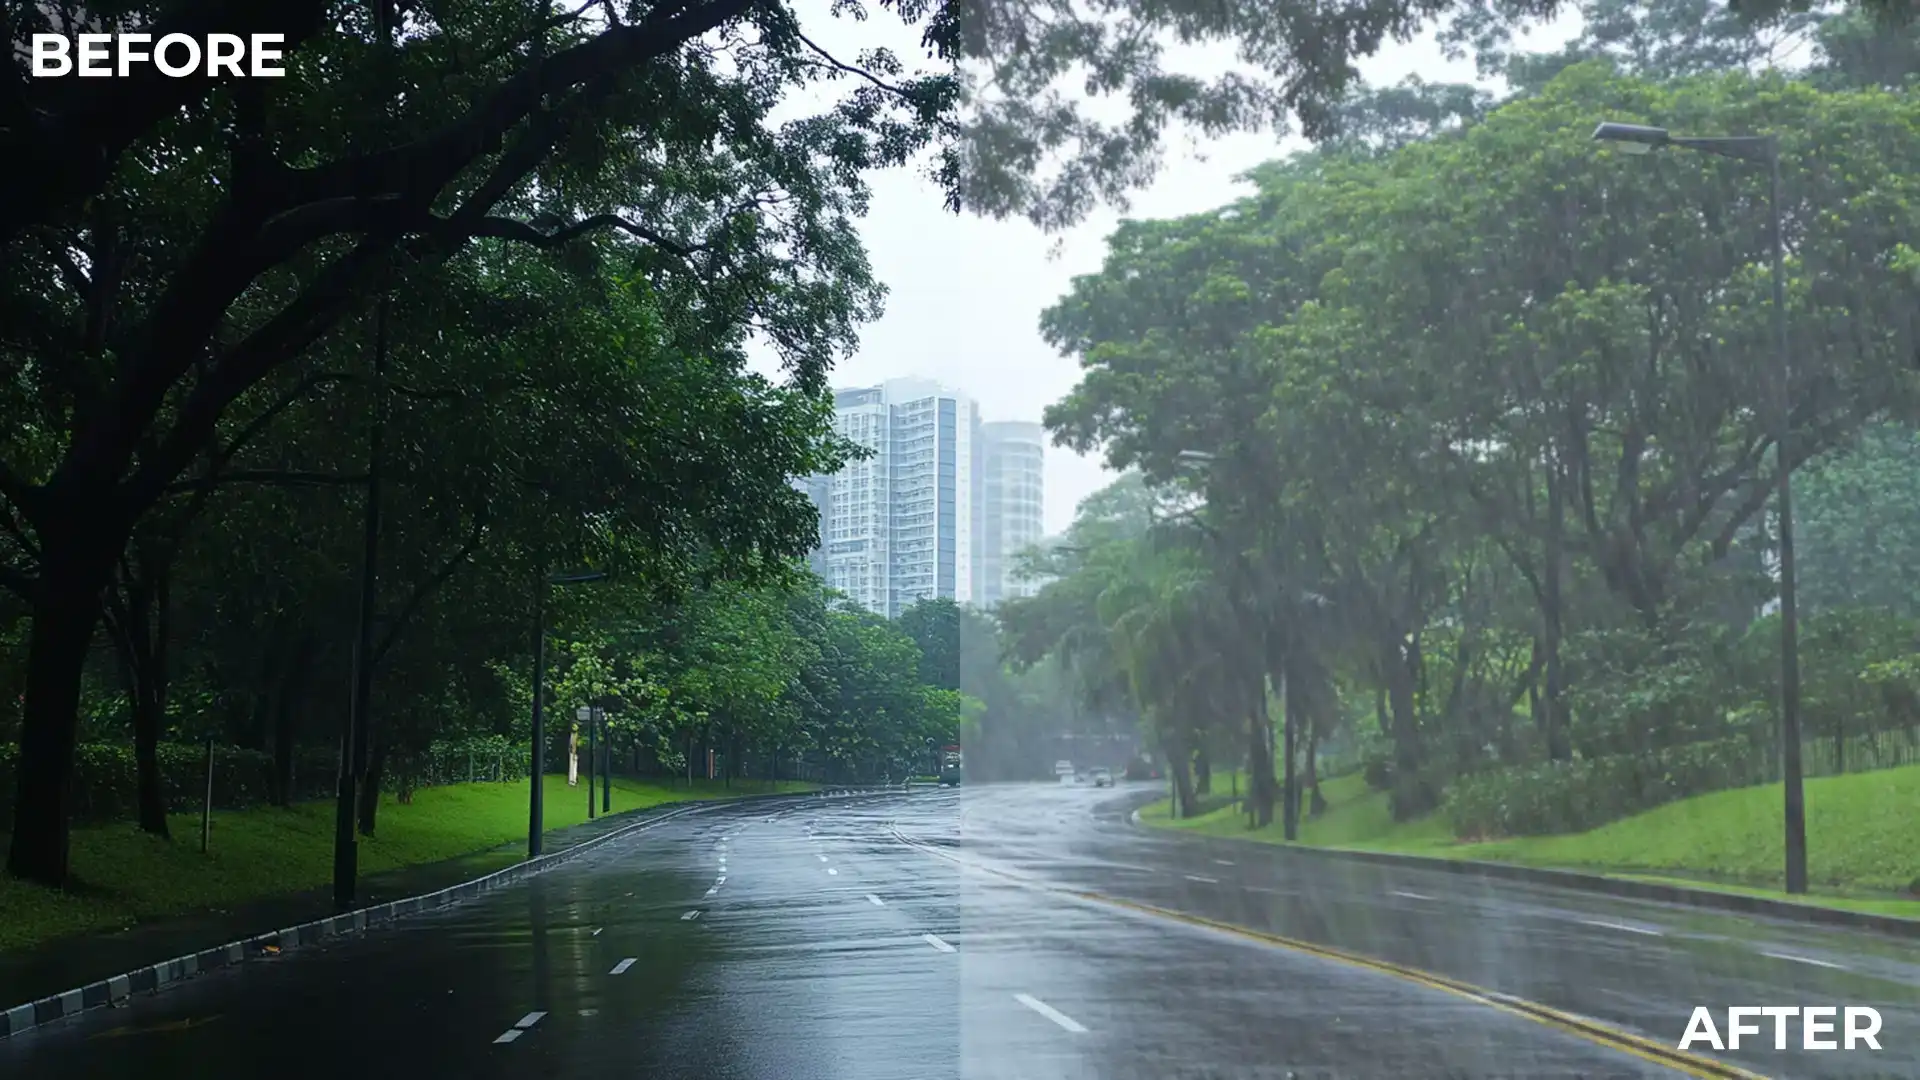
Adding a rain effect to a photo is a fantastic way to transform a sunny scene into a dramatic and captivating image. By following the steps I’ve shared, you can easily create a raineffect that looks both realistic and stunning.
I’ve found that practicing with these techniques can really enhance your photo editing skills and bring a new level of creativity to your work.
If you’re eager to dive deeper into photo editing, consider checking out my Photoshop Course and Lightroom Course. These courses cover a range of techniques that will help you master photo editing.
$2,061.00Original price was: $2,061.00.$1,061.00Current price is: $1,061.00. 27584
Download Your Free Guide Now!
Discover the secrets of photography with our printable guide! Master essential techniques like aperture, shutter speed, and ISO to create stunning images. Get your free printable PDF now and start turning your snapshots into masterpieces!