Understanding 72 Pixels Per Inch: The Ultimate Guide for Web and Print Design
Understanding 72 Pixels Per Inch: The Ultimate Guide for Web and Print Design
When working with digital image, the term “72 pixels per inch” frequently comes up. Have you ever wondered why this specific resolution is important?
In this article, I’ll guide you through the significance of this resolution and how it impacts your digital projects.
You’ll discover how using the right pixel density can make or break the quality of your images, especially when sharing them online.
Ready to take your digital art to the next level?
Let’s dive in and unravel the mysteries behind those 72 pixels per inch!
Table of Contents
Pixel Dimension Explained
The concept of 72 pixels per inch (PPI) originates from the early days of digital design.
Back then, most computer screens had a resolution setting of 72 PPI. This standard was chosen because it closely matched the print resolution of 300 dots per inch when scaled down, making it easier to design for both digital and print formats.
This is why you often see 72 PPI recommended for web images.
72 PPI in Modern Context
Today, display resolution technology has advanced significantly. Modern PC screens and mobile devices often have much higher pixel densities.
For example, screen sizes in high-end monitors now range from 150 to 300 PPI. Despite this, 72 PPI remains a useful benchmark for web images due to its simplicity.
Remember, the original pixel dimensions of your digital image don’t change when you adjust the PPI setting. It merely affects how large or small the image appears on a screen.
Common Misconceptions About 72 PPI
One common misconception is that increasing the PPI improves image clarity.
In reality, PPI only affects how an image is displayed on a screen, not its intrinsic quality. If you have a digital image with poor image resolution to start with, changing the PPI won’t magically enhance it.
Another myth is that 72 PPI is a must for all digital images. In truth, the appropriate PPI setting depends on the intended use of the image, whether it’s for web display or a printed document.
Pro Tip: Always check the final output resolution for your project. Higher PPI is crucial for prints but less so for online content.
For those working in Lightroom or Photoshop, understanding PPI can help you make better decisions about image clarity and display.
So, let’s talk about pixel dimensions. Imagine a mosaic, each tile is a digital pixel, together, they form an image.
The term “pixel dimension” refers to the number of pixels along the width and height of an image.
For example, an image that’s 800×600 means it has 800 pixels for the width and 600 pixels for the height.
This gives you a basic idea of how large or small your digital image can appear on your screen size.
How Pixel Dimensions Affect Image Quality
Now, why do pixel dimensions matter? More pixels usually mean better image resolution. Think of screens. A higher pixel size can make the image look sharp.
But a low-resolution image stretched to fill a bigger screen size? It looks blurry, right? That’s because stretching reduces pixels per inch.
On the other hand, a high-resolution image maintains its sharpness even when resized.
Higher pixels per inch give you better quality. But, it means a larger image file, too.
Balance is key.
Calculating Pixel Dimensions
You’re probably wondering, “how much pixels do I need”?
Let’s break it down:
Pixel dimension is calculated by multiplying the display resolution (PPI) by the image size.
For instance, you have a 300 PPI resolution setting and you want an image to be 4 inches wide. Multiply 300 (PPI) by 4 (width in inches). You need a linear inch dimension of 1200 pixels.
Multiply height the same way for full pixel dimensions.
This gives you a clear idea of print size and quality. So your printed page will have accurate detail and sharpness that reflects the intended design, ensuring high-quality results.
Pro Tip: In Lightroom and Photoshop, use ‘Export’ settings to adjust PPI. This feature helps you balance quality and file size efficiently.
How Many Pixels Do You Need?
So, you’re diving into digital photography and wondering about the magic number of pixels you need.
The right number of pixels depends on how you plan to use the image:
For web images, 72 PPI often works because images on the internet don't need to be super detailed.
If you're getting something printed, especially large prints, you need a higher pixel density.
To figure out how many pixels you need, start by considering your desired print size.
Multiply the print size by the desired print resolution in pixels per inch.
For example, if you want a print that’s 10 inches wide at 300 PPI, you need 3000 pixels for the width. This kind of clarity ensures your image looks sharp in print.
Pixels for Different Screen Resolutions
Screen resolution varies across different devices. A modern computer screen can have a resolution that’s way beyond 72 PPI.
For instance, many new monitors boast 150 to 300 pixels per inch. Here’s a quick tip: always aim for higher pixels per inch for sharper images on better screens. Think of it like sharpening a pencil, more pixels mean finer details.
Also, remember that an image’s full pixel dimensions (width x height) drastically affect its display quality. Higher screen resolution means more pixels are packed per inch, resulting in a sharper picture.
But stretching a small image over a large screen size can make it blurry.
Balancing Pixels and File Size
When you design your images, balancing pixels per inch and file size is crucial.
High-resolution images with lots of pixels per inch look great but can slow down your computer or website due to their large file size.
Think of it like this ,you wouldn’t carry a heavy backpack if you’re going for a short walk.
To keep things running smoothly, optimize the PPI setting:
Reduce the number of pixels per inch when creating web images to save space.
If you’re getting something printed, don’t skimp on the PPI. The better the print resolution, the sharper your large prints will appear.
Pro Tip: Always match your pixel width and print size to the final output medium. For crisp prints, use higher PPI settings.
For web, moderate PPI works just fine.
Mastering layer color swap techniques and understanding 72 PPI are essential for creating vibrant, web-ready images that look great on any screen.
Editing and Enhancing Your Images
Once you’ve determined the right pixel size, it’s essential to know how to enhance your images using tools like Photoshop and Lightroom.
These tools help you maintain high-quality images without compromising on detail.
Enhancing Image Quality with Pixel Dimensions
The difference in image quality can often make or break how your photo is perceived, especially if you plan to show it off online or print it out.
Several factors come into play:
Image resolution: Indicates how detailed your image is. Higher resolution equals sharper and clearer images.
Inch resolution: Tells you how many pixels exist per inch in your image. For web use, a 72 PPI setting is common. Print usually needs around 300 PPI, at least.
Lighting, focus, and camera settings: Even the best software won't fix a poorly lit, out-of-focus shot. Get these basics right at the photo-taking stage to save yourself headaches later.
Improving Image Quality with Pixel Dimensions for Web
So, let’s talk about the web. Your image should look sharp but not slow down the page. Start by resizing for the right screen size.
An enormous image shrinks load speed. Resize it to fit the specific element on your website.
The next big step?
Optimize for web use. Tools like Photoshop and Lightroom let you change the image size without losing too much quality.
This involves compressing the image.
Don’t worry, it’s simple. Go to the export settings and adjust the file size while checking how it looks. The export settings are important when you are adjusting your image’s size for printing all different sizes.
Generally Speaking of tools, let’s get into Photoshop and Lightroom. These software tools offer various techniques to improve image quality:
Cropping, resizing, color correction, and sharpening are vital functions here.
The Patch Tool fixes small imperfections, and the Healing Brush works wonders on minor blemishes.
Lightroom's Develop module is your best friend for color correction and exposure adjustment.
Use filters sparingly to enhance natural details. Too many filters can make an image look artificial.
Simple tweaks in Photoshop or Lightroom can transform your photo from “meh” to “wow”!
Pro Tip: For print images, always use a resolution of at least 300 PPI. For web images, aim for images at a ppi setting of 72 PPI to balance quality and loading speed.
Conversion Factor and Screen Viewing
When discussing digital imagery, understanding the conversion factor between pixel dimension and screen viewing is essential.
The effective PPI (pixels per inch) can vary based on the device’s display resolution and pixel density, affecting how images appear on different screens.
Smaller pixels contribute to higher PPI, leading to more detailed and sharper images.
While there’s no single “absolute” PPI for all digital contexts, it’s crucial to grasp that adjusting the pixel dimension and PPI can significantly impact images quality.
In essence, while increasing PPI might seem like it could improve image clarity, in reality, it often does “absolutely nothing” if the underlying pixel dimension are insufficient.
Next, let’s walk you through something pretty cool ,screen resolution. You see, display resolution is basically the clarity of what you see on your computer screen.
It’s like a mosaic, where each little tile makes up the bigger picture. Higher resolutions mean more tiles, so everything looks sharper and clearer.
Screen Resolution
Pixel Dimensions
Image Quality
Best For
72 PPI
1920 x 1080
Web Displays
Websites, Online Media
150 PPI
2560 x 1440
High Definition
High-End Monitors
300 PPI
3840 x 2160
Print Quality
Professional Printing
600 PPI
7680 x 4320
Ultra High Def
Large Prints, Fine Art
So why should you care? Well, if you’ve ever squinted at a blurry image or struggled to read tiny text online, you’ve felt the effects of low screen resolution.
Think of it like reading a book with well-printed text versus one with smudged ink.
Screen Resolution vs. Image Resolution
Now, let’s talk about the difference between screen resolution and image resolution.
Screen resolution refers to the overall clarity of your display, while image resolution deals with the clarity of a specific picture. Take a high-res photo with your phone, its resolution is determined by how many pixels fit within an inch (we call this inch resolution).
If your display resolution is lower than your image resolution, the picture might appear blurry. It’s like trying to pour a gallon of water into a pint-sized glass, some detail will spill over.
So, tweaking your images to match your screen can make a world of difference.
Optimizing Images for Different Screen Resolutions
Alright, onto the fun part, optimizing images for different screen resolutions. Start with knowing your audience.
Are they viewing your images on large monitors, tablets, or phones?
Each device comes with its own resolution, and understanding this helps you tailor how your images look.
If you’re using Photoshop or Lightroom, you’ve got some powerful tools at your disposal. Adjust and resize the image before exporting.
This ensures you’re not sending a heavy file to a low-resolution screen, wasting time and bandwidth.
Now, here’s a quick workflow:
Open your image in Photoshop.
Resize it to fit the typical resolution of your target screen.
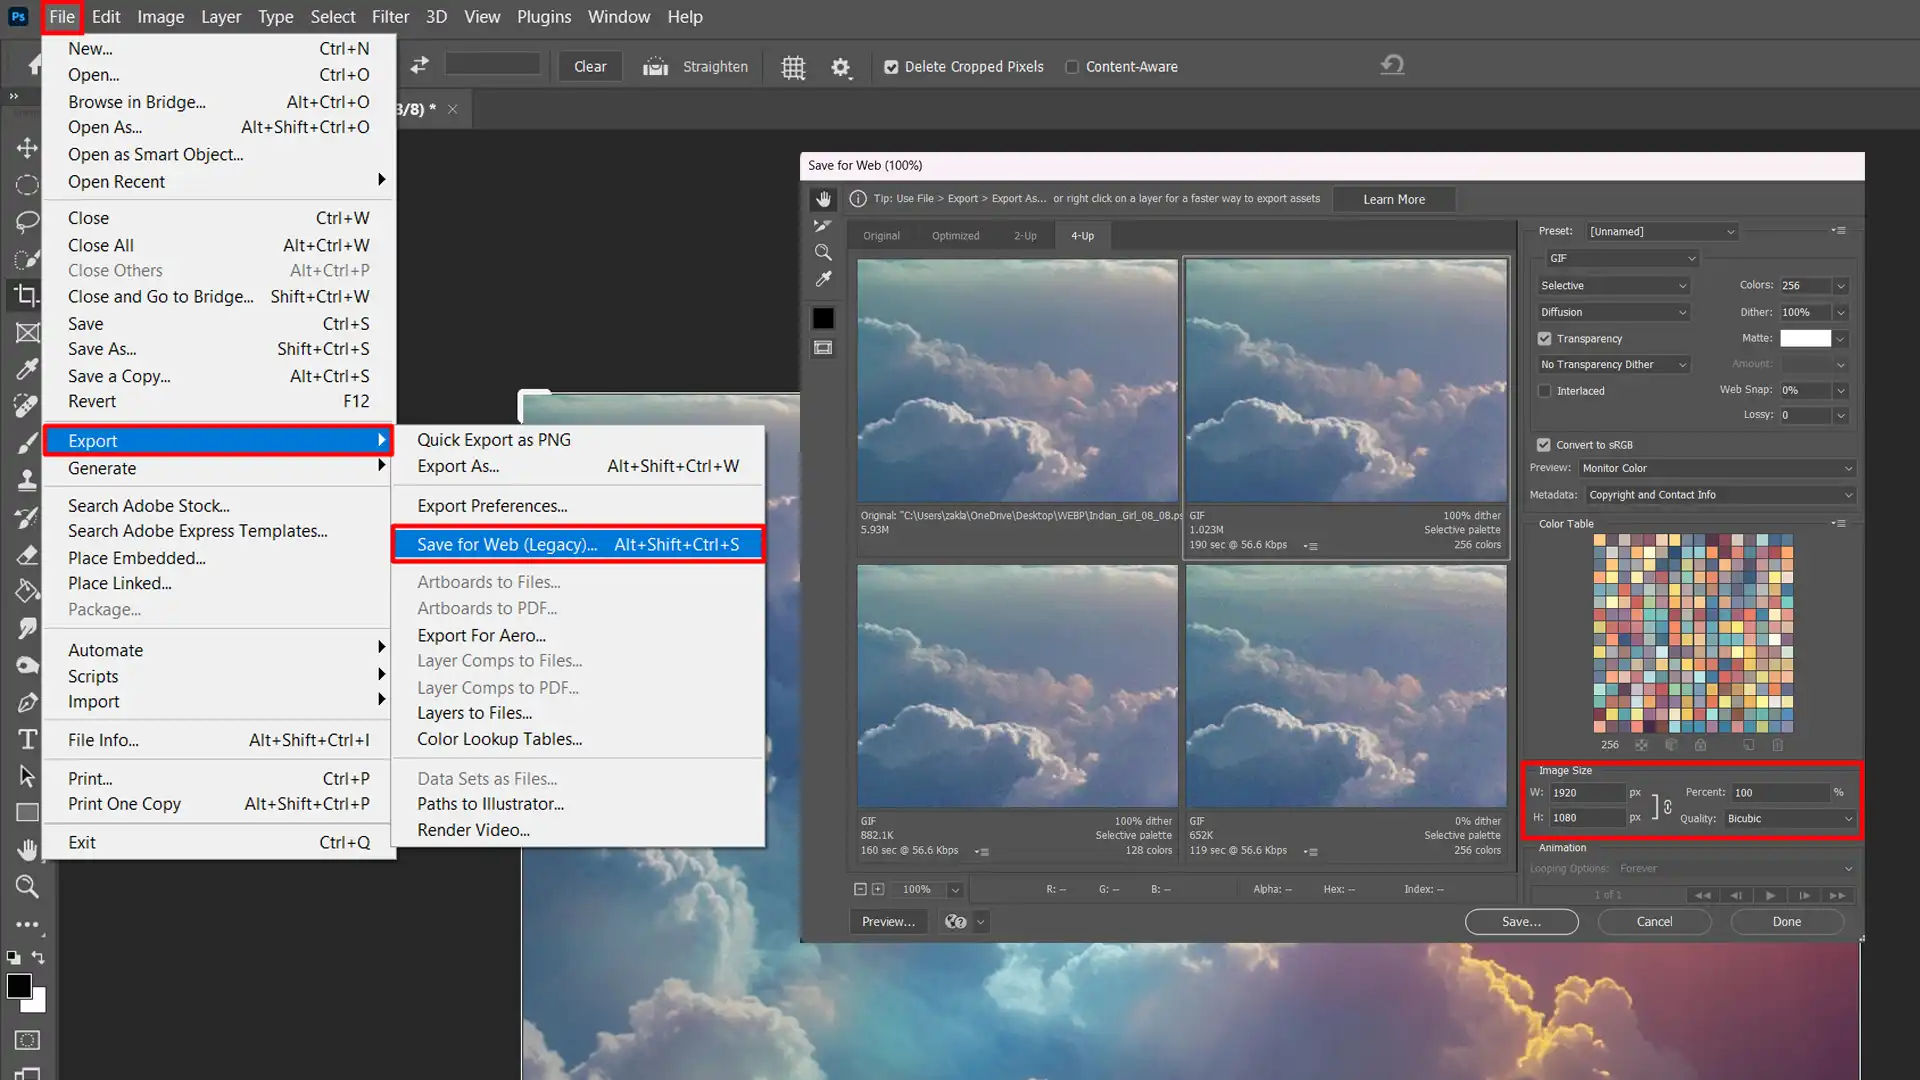
Use the "Save for Web" option to compress the image just right, maintaining good quality while reducing the file size.
For Lightroom fans, the export settings are your best friend. You can adjust dimensions and resolution straight from Lightroom, making things smooth and efficient.
Remember, less is more when it comes to file size, your viewers and website speed will thank you.
Pro Tip: Always test your final image on multiple devices. A quick look will ensure it looks great everywhere, keeping your audience impressed and engaged.
Frequently Asked Questions (FAQs)
Is 72 PPI good for printing?
Generally, 72 pixels per inch (PPI) is considered low for printing. This resolution is more suitable for web images and not ideal for producing high-quality printed materials.
What is the resolution of 72dpi in pixels?
The term 72dpi means 72 dots per inch, where each dot represents a pixel. Therefore, 72dpi translates directly to 72 pixels per inch.
What resolution is 72x72?
A resolution of 72x72 means that the image or document has 72 pixels in both its width and height, resulting in a total of 5,184 pixels.
How to convert 72dpi to 300dpi?
To convert an image from 72dpi to 300dpi without changing the dimensions, you need to increase the dot per inch setting in an image editing software while keeping the total pixel dimensions unchanged. This will enhance the image's resolution suitable for high-quality printing.
Understanding 72 pixels per inch can really make a difference in your digital projects. From my own experience, I’ve found that while 72 PPI is a standard for web images, it’s not always the best choice for every scenario.
The key is knowing when to use it based on your project needs. If you’re looking to improve your skills, check out my Photoshop course and Lightroom course.
$2,061.00Original price was: $2,061.00.$1,061.00Current price is: $1,061.00. 27584
Download Your Free Guide Now!
Discover the secrets of photography with our printable guide! Master essential techniques like aperture, shutter speed, and ISO to create stunning images. Get your free printable PDF now and start turning your snapshots into masterpieces!