Remove Double Chin Photoshop: Techniques for Flawless Images
Remove Double Chin Photoshop: Techniques for Flawless Images
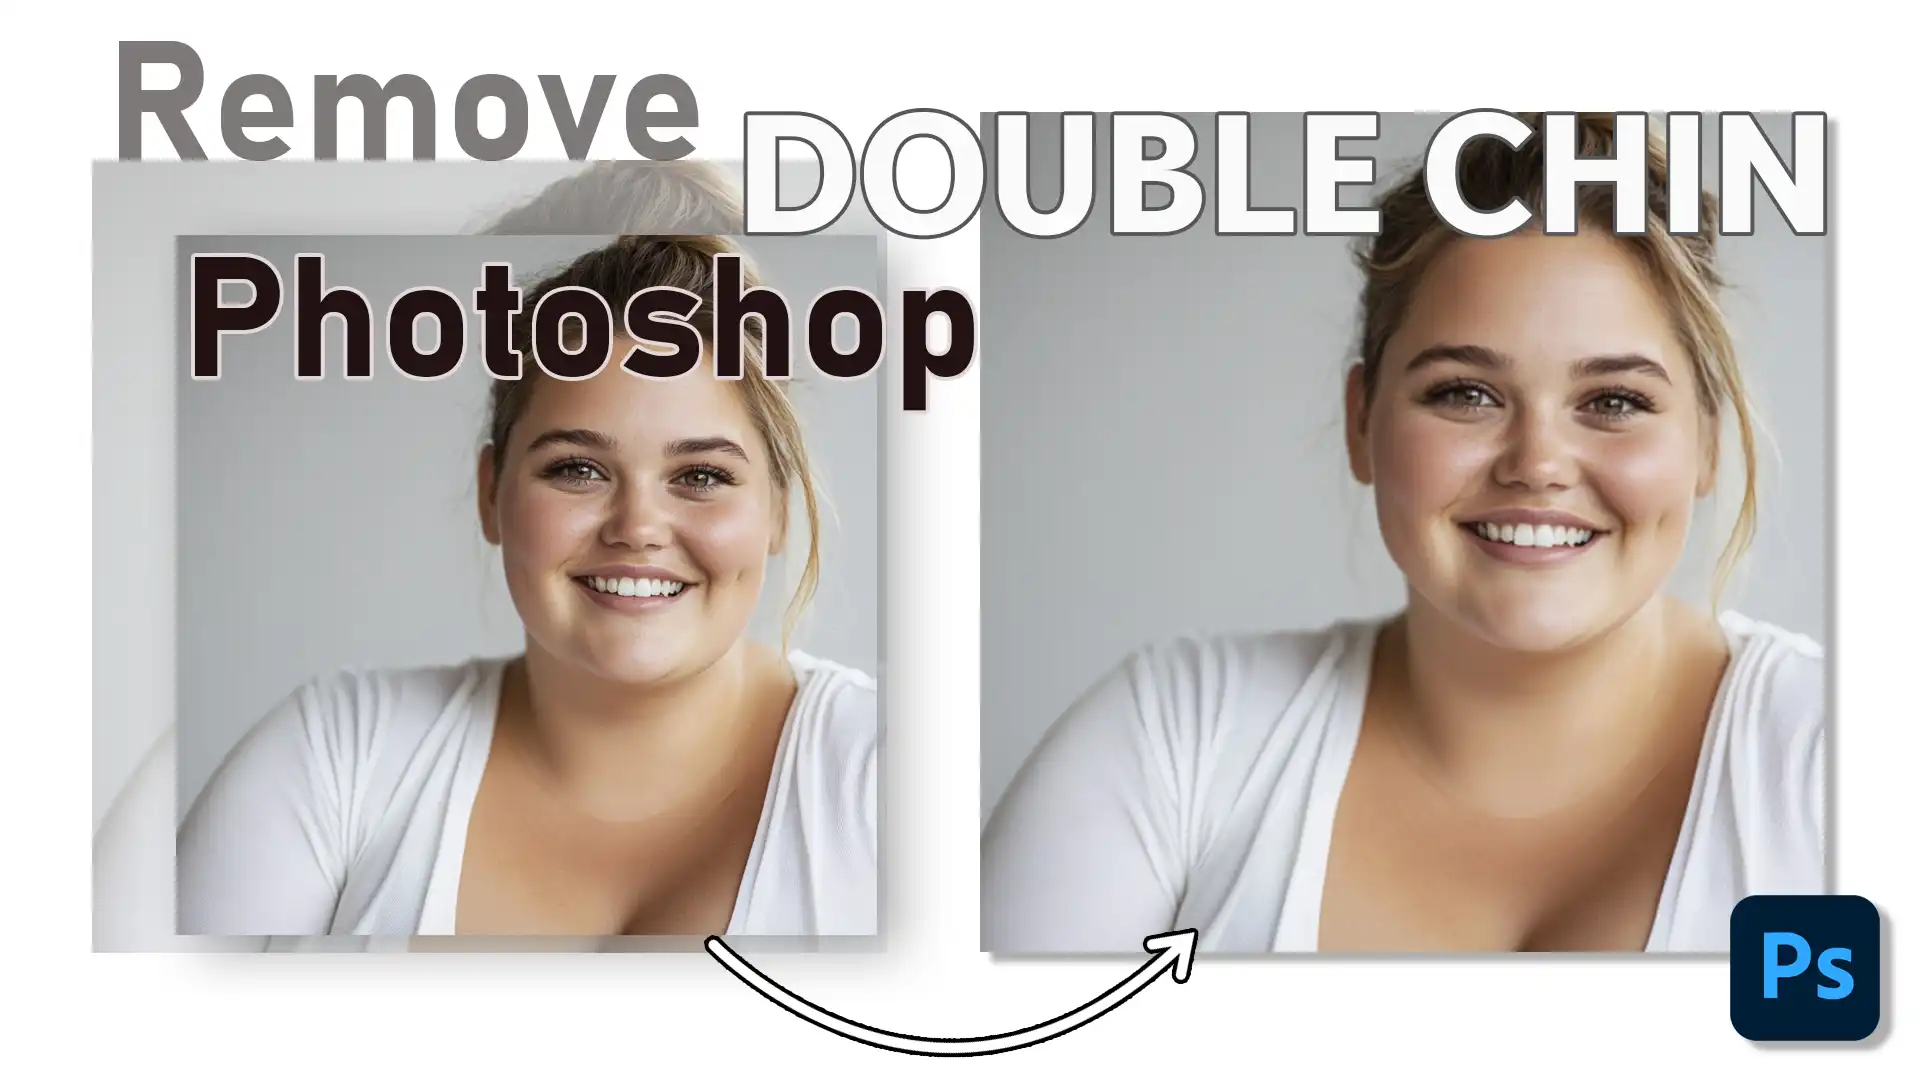
Have you ever wondered how to remove a double chin in Photoshop to achieve that perfect portrait? You’re not alone. I’ve spent countless hours exploring this digital magic, and I’m excited to share the secrets with you.
Imagine looking at your photos and seeing a more confident, polished version of yourself.
This isn’t just about altering images; it’s about boosting self-esteem and making memories that truly reflect how you feel.
In this article, I’ll guide you step-by-step through the process, ensuring you grasp every detail.
From selecting the right tools to applying the finishing touches, you’ll transform your skills and your pictures. Ready to dive in and elevate your photo-editing game? Let’s get started!
Table of Contents
Understanding Double Chin Photoshop
Let’s be honest: double chins often appear in photos, catching us off guard when we look at images of ourselves or others.
While this is a common occurrence, it can be frustrating. The good news is that we can easily address this issue by using techniques to remove double chin Photoshop.
What Causes a Double Chin?
Acknowledging the factors that contribute to a double chin can help you address it effectively in your photos. Here are some common causes to consider:
A double chin emerges due to several factors like genetics, posture, or weight gain.
Cameras play a role; certain angles and lighting conditions highlight the chin area differently, exaggerating the presence of double chins.
Even with perfect posture, pictures can still reflect a double chin.
Understanding what causes them helps us in avoiding them the next time someone takes a photo. A little tilt of the neck or rethinking the camera angle reduces its likelihood.
Impact on Photographic Aesthetics
The impact of a double chin on photographic aesthetics is undeniable. It can draw attention away from other features.
In portraits, it may affect the image’s balance and shadow distribution.
When the focus turns towards an unintended shadow or chin area, the intended beauty of the picture might be compromised.
To restore the authentic appearance of our portraits, removing the double chin in Photoshop becomes important.
Removing Double Chin using Photoshop
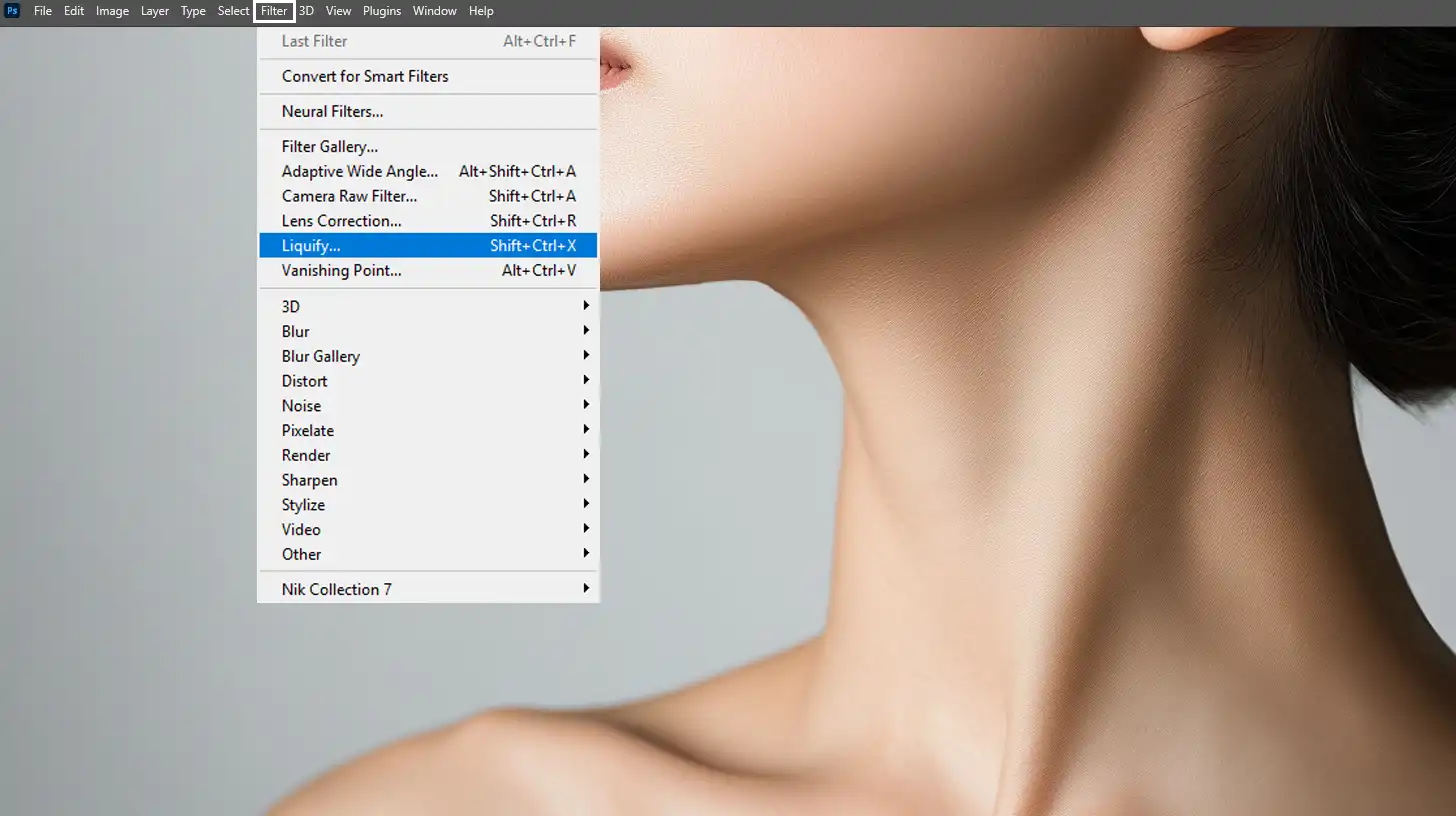
Now, let’s explore how to remove double chin Photoshop. One effective method is to use the liquify tool. You can adjust the facial contours by carefully modifying the chin area for a more refined appearance.
Open Adobe Photoshop and load your image.
In the menu bar, select Filter, then Liquify.
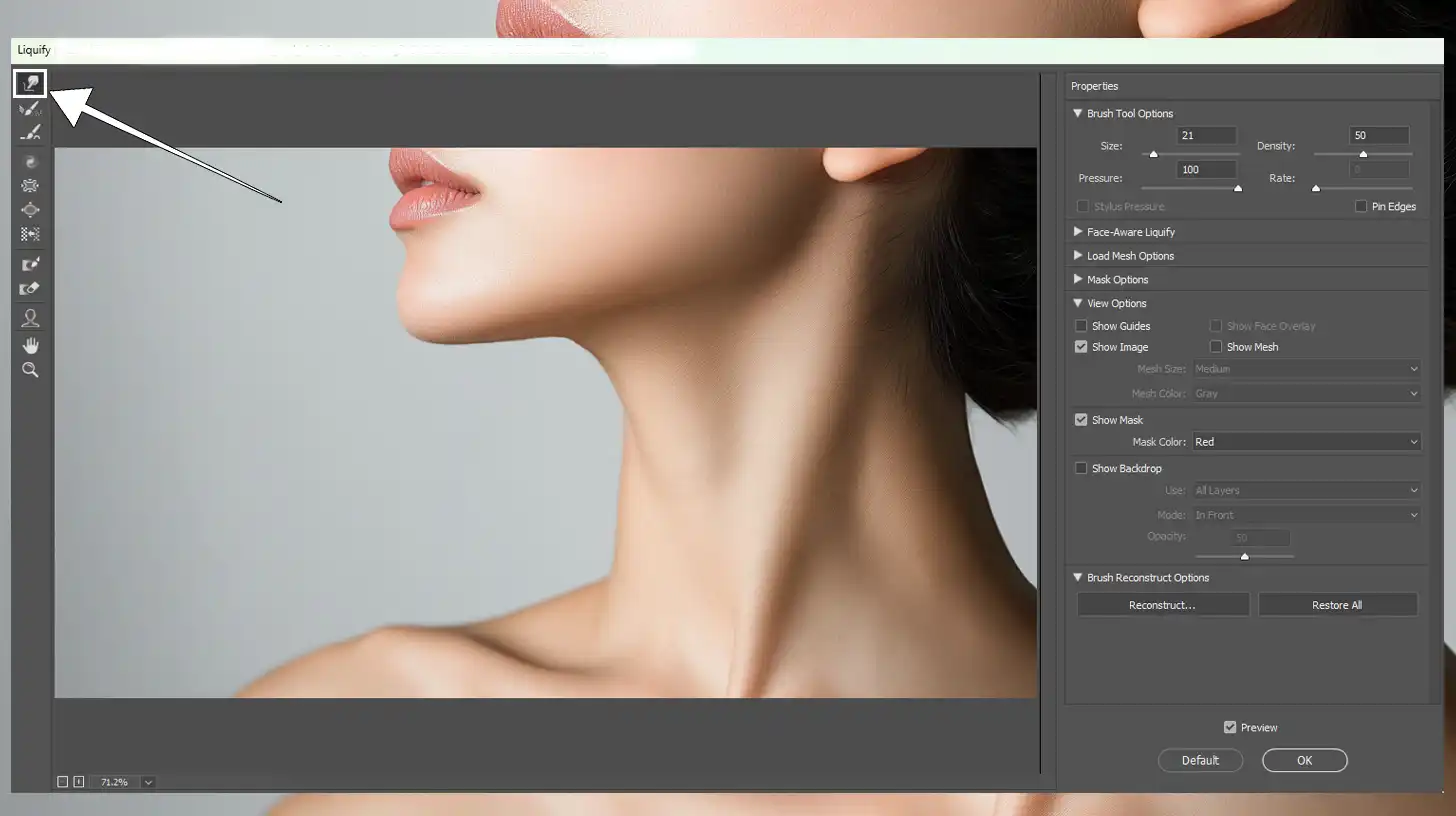
Use the forward warp tool to gently push the chin upwards.
Make sure to create a natural-looking result, not altering the original image too much.
An additional method involves creating a new layer to serve as a base for adjustments. Use thepen tool to select the chin and proceed:
On the layers panel, click the new layer button.
Select the pen tool and designate the first anchor point on the outline of the chin.
Continue around the chin area, ending back at the initial point to close your selection, as if you are outlining where you want to lose weight for a more defined look.
Right-click and make a selection, then duplicate the layer for editing. The selection helps focus specifically on the chin area.
Here, you add aclipping mask to protect other parts of the photo. Next comes photo touch-ups: Utilize the eraser tool to blend edges smoothly or clone tool to fill specific sections.
Pro Tip: Keep it real by balancing edits. Aim for subtle changes to preserve a natural look. This approach keeps the uniqueness of your pictures intact while allowing you to remove double chin Photoshop aspects efficiently.
For those interested in further enhancing their skills, learningPhotoshop shortcuts can significantly speed up your workflow.
As a dedicated writer who also enjoys simplicity, I often seek effective methods to efficiently remove double chin in Photoshop.
This task may seem challenging at first, but it really comes down to knowing the right tools and techniques to remove double chin. Let’s explore Adobe Photoshop together and learn how to easily address that stubborn double chin.
Quick Fixes for Double Chin
Getting rid of a double chin could be as simple as editing with a few tricks:
Open your picture and zoom in to focus on the chin area.
Use the liquify tool – an all-time favorite for quick touch-ups.
Gently drag the area around your chin and neck to attain a more defined look.
Remember, subtle changes often result in a more natural-looking result rather than drastic alterations.
Using Photoshop Tools Effectively to Eliminate Double Chin in Photoshop
Effective usage of Photoshop requires familiarity with its myriad of features. To remove double chin Photoshop, let’s focus on a couple of fundamental techniques:
Layer Mask Techniques
To achieve precise edits with layer masks, follow these techniques. These steps will help you work non-destructively and ensure your adjustments look seamless:
Work non-destructively, meaning any mistakes can easily be fixed.
Use layer masks to selectively edit your images, offering excellent control over which parts are altered.
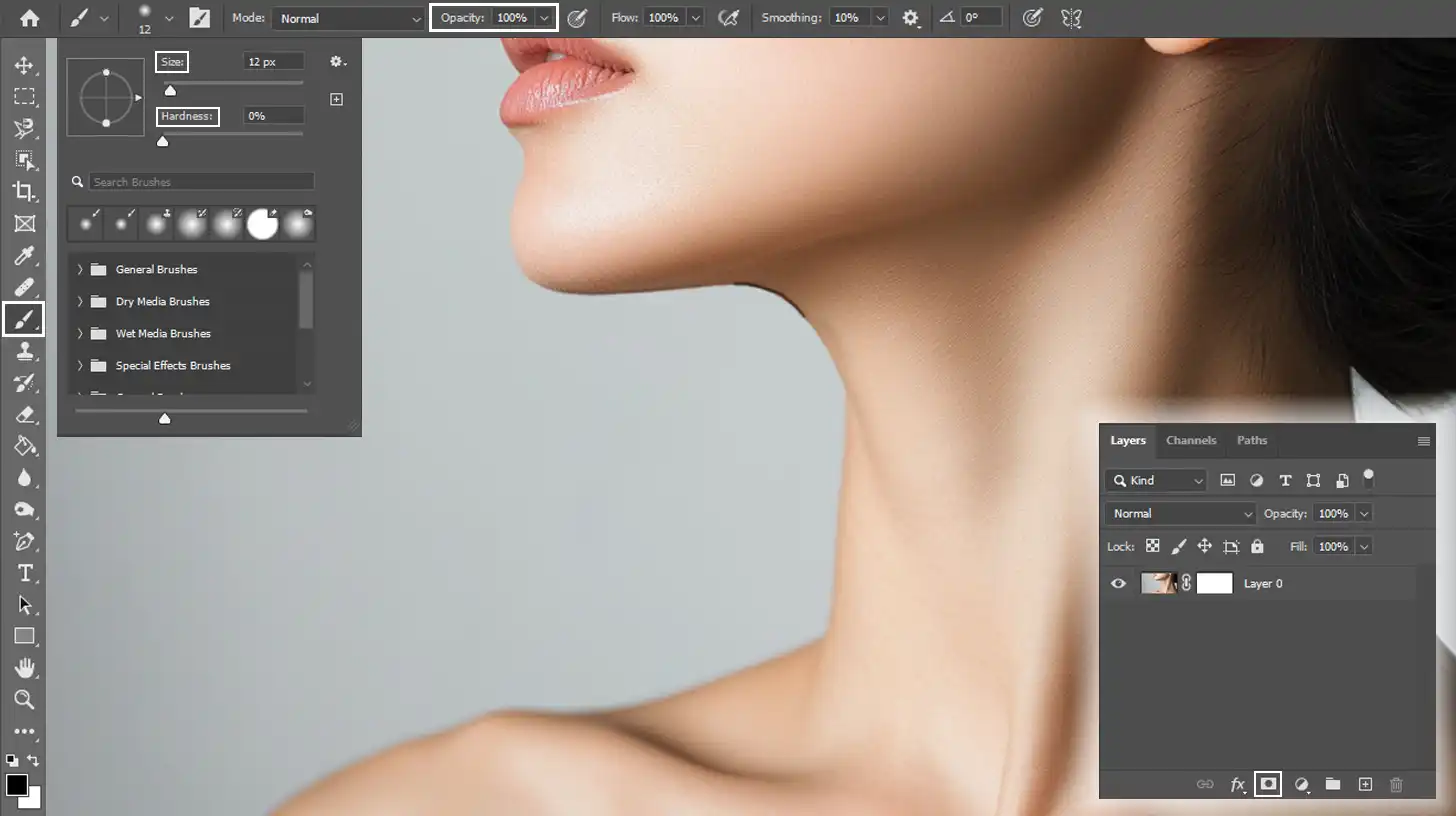
To refine the shape of the chin, use a soft brush to paint over the mask, adjusting the opacity as needed.
This technique can produce smooth, subtle transitions, culminating in a polished edit.
Mastering the Eraser Tool
The eraser tool is a staple in every editor’s toolkit. The essence lies in finesse:
After making slight adjustments, use this tool to remove tiny imperfections.
Work gently to maintain a seamless look.
Keep an eye out for any harsh lines that might betray your editing efforts.
Pro Tip: To remove double chin in Photoshop, always reserve some time to save your project as a PSD file with layers intact. This allows you to return and make further edits without starting from scratch.
Additionally, familiarize yourself with the Photoshop remove tool, which can help with precise adjustments. For those interested in more complex edits, learning how to Photoshop someone out of a picture can further enhance your skills and open up new creative possibilities.
Advanced Techniques for Photoshop Double Chin Removal
Let’s be honest: addressing a double chin in photos can seem challenging. However, today, we will explore advanced techniques to assist you.
Our focus will not only be on minor adjustments but on achieving seamless and realistic edits.
We’ll begin with precision editing using layer masks and then discuss how to combine various tools for effective results to remove double chin Photoshop.
The following table outlines various aspects of this process, providing a clear overview of each method and its significance.
Aspect
Overview
Understanding the Liquify Tool
Learn how to use the liquify tool to adjust facial contours and remove double chin effectively.
Layer Mask Techniques
Use layer masks for non-destructive editing, allowing for precise control over adjustments.
Combining Tools for Best Results
Blend multiple tools, such as liquify and clone stamp, for seamless and polished edits.
Maintaining a Natural Look
Focus on subtle changes to avoid unnatural results and maintain the subject’s original features.
Regular Practice
Consistent practice helps sharpen your editing skills and confidence in using Photoshop.
Precision Editing with Layer Mask
The masking layer is a powerful tool in Adobe Photoshop. It helps you work non-destructively, which means your original work stays intact. This is important when attempting to remove double chin. Here’s how we do it:
Create a duplicate of your image layer. This ensures that you always have the original untouched.
Use the layer mask icon at the bottom of the layers panel. Think of this as your clean slate.
Now, gently brush over the chin area. It should be a subtle touch, not a rough swipe.
Use black to conceal parts of the layer, revealing only what you want to show. This process allows for precision.
If you're not happy with the changes, simply paint white on the layer to recover the details.
By doing this, you control exactly where and how the edits apply. A precise touch-up helps create a natural look by shaping the chin without harsh lines.
Combining Tools for Best Results
Creating an enhanced photo doesn’t solely rely on one tool. It’s about blending techniques:
Start with the liquify feature to gently drag the skin in the neck area upwards. This removes double chins subtly.
Reinforce this with an adjustment layer to tweak the brightness and contrast. Adjust till it fits just right.
The clone stamp can aid in smoothing out any remaining bumps or shadows
Combining these actions offers a clean finish. Remember, each tool works best when used together with others. The liquify feature serves as your anchor point for adjustments, guiding the overall look of your edits.
These steps should give you the confidence to remove double chin Photoshop. Adjusting a different layer effectively allows for a more refined result.
Pro Tip: Regular practice and experimenting with different images is important. The more variety, the sharper your skills become.
Soon, you won’t just remove double chin; you’ll Photoshop your way to the perfect picture, transforming your images into masterpieces.
Tips and Tricks for a Natural Look
To achieve a natural look in your edits, it’s important to be mindful of common pitfalls.
By understanding these mistakes, you can refine your technique and ensure that your adjustments, such as how to remove double chin Photoshop, blend seamlessly into the original image.
Let’s explore some practical tips to help you enhance your photos without sacrificing authenticity.
Avoiding Common Mistakes
Removing double chin in Photoshop isn’t as hard as it sounds. Here are some steps to consider:
Create a duplicate of the background layer to keep your initial image safe.
Avoid rushing; plan carefully which areas you want to adjust before using tools like the clone stamp or liquify filter.
Use the pen tool for precise control to ensure subtle adjustments without making the person look unrecognizable. This serves as your anchor point for maintaining the integrity of the image.
Consider lighting and shadows, as they give shape and definition to the face. Ensure reducing the double chin does not eliminate other natural shadows.
Always check your progress against the base image for consistency.
Enhancing Overall Photo Quality
To enhance overall photo quality, follow these tips:
Add a new adjustment layer to fine-tune colors and contrast without altering the actual pixels. Begin by adjusting the contrast to make features pop.
Use a clipping mask for adjustments affecting specific areas, like the neck or chin. Adding an anchor point with precision gives better control over changes.
Manipulate levels to ensure natural light distribution. Avoid overdoing brightness to prevent white-washed sections.
Ensure the fill for the background layer doesn’t overpower the subject, maintaining diversity in tones across the skin and background to enhance realism.
Pro Tip: Use feathered selection areas to blur transitions between edited and untouched zones. This technique masks edits, blending them smoothly into the surroundings.
Additionally, if you’re looking to improve your skills further, consider learning photography articles that cover essential tools in Photoshop.
Yes, you can minimize the appearance of a double chin in Photoshop through various tools, such as the Liquify tool, which allows you to subtly reshape areas of a photo.
How do you get rid of a double chin in Photoshop 2024?
In Photoshop 2024, use the updated Liquify feature. It's more intuitive and includes facial recognition to make adjustments easier.
How to hide a double chin in photos?
Aside from using Photoshop, consider adjusting the camera angle. Shooting from a slightly higher angle than usual can naturally help reduce the visibility of a double chin.
What photo editor gets rid of a double chin?
Many photo editors like Photoshop, GIMP, and Lightroom offer tools such as cloning, healing, and liquifying that can help in reducing the appearance of a double chin in photographs.
In my journey with photo editing, mastering the art of “remove double chin Photoshop” has been a game-changer.
I remember the first time I encountered a perfect portrait marred by an unflattering double chin. With a few strategic adjustments, I was able to seamlessly enhance the image, bringing out its true potential.
If you’re looking to refine your skills further, I highly recommend checking out my Photoshop Course and the Lightroom Course. These resources have been essential in my growth as an editor.
Whether you’re a beginner or a professional, mastering how to remove double chin in Photoshop can elevate your work.
It allows you to create portraits that tell the story you want to convey. For those ready to get started, consider exploring Adobe Photoshop and Adobe Photoshop Lightroom to enhance your editing journey.
If this article has helped you, then Like and Share it with your friends
$2,061.00Original price was: $2,061.00.$1,061.00Current price is: $1,061.00. 27583
Download Your Free Guide Now!
Discover the secrets of photography with our printable guide! Master essential techniques like aperture, shutter speed, and ISO to create stunning images. Get your free printable PDF now and start turning your snapshots into masterpieces!