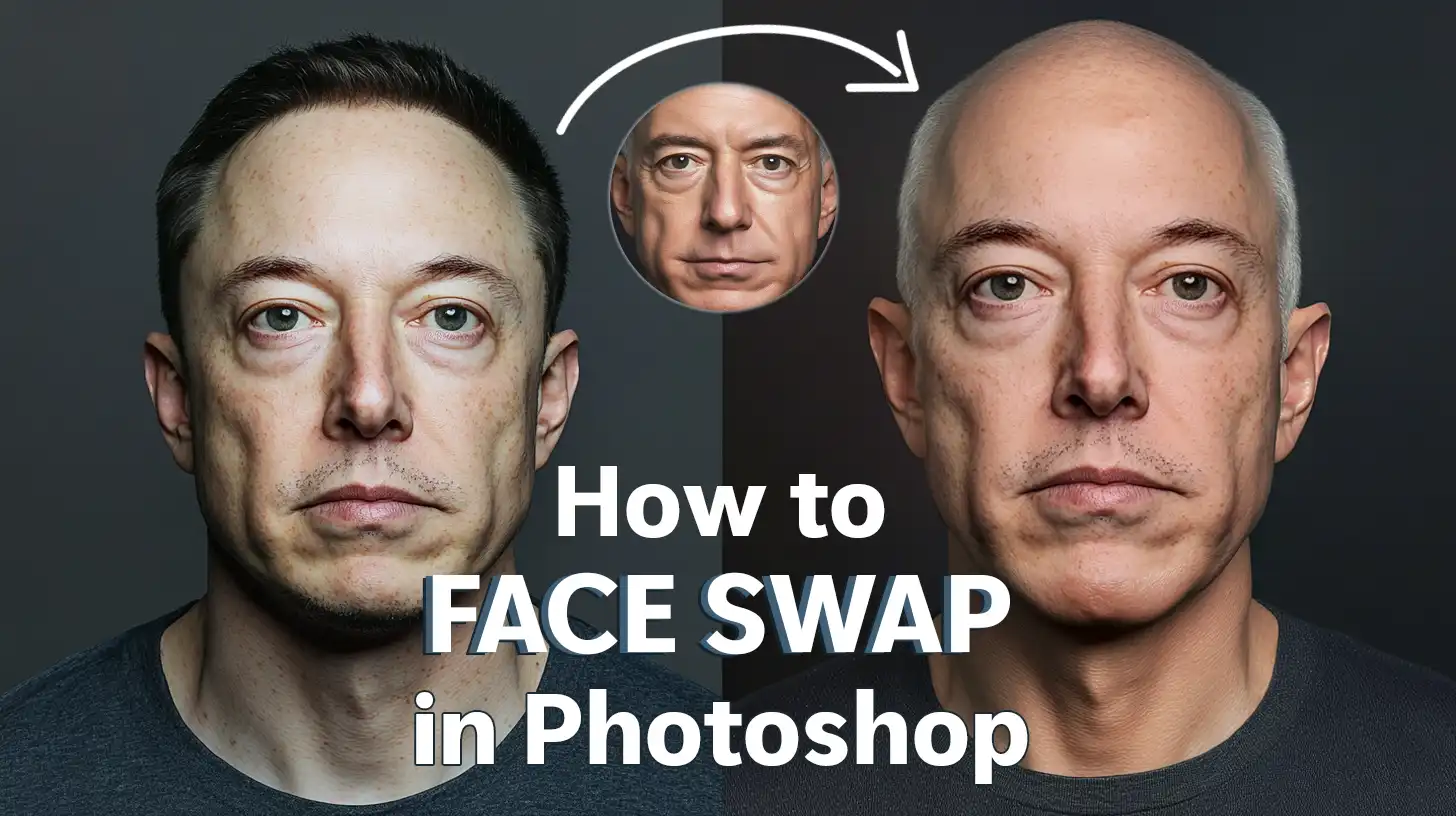
Ever wondered how to face swap in Photoshop effortlessly? You’re in the right place. Imagine the fun and creative possibilities of seamlessly blending faces in your photos.
Whether you’re looking to create a hilarious meme or a sophisticated photo montage, mastering face swapping can take your Photoshop skills to the next level.
In this guide, I’ll walk you through each step, making it easy for beginners and seasoned users alike. Stick around and discover how you can transform ordinary photos into extraordinary creations!
Table of Contents
What is a Face Swap?
Face swap, also known as face swapping, involves interchanging the faces of individuals in photos. It’s a fun activity and has practical uses in photo editing.
When you swap faces, you align one face with another, ensuring the new face fits the original image seamlessly. The goal is that it appears natural and undetectable.
Benefits of Face Swapping in Photoshop
Face swapping in Photoshop comes with several benefits:
- Creativity: It unleashes your creative potential. You can play around with different faces on various bodies, creating engaging images.
- Correction: Face swap can correct group images. If someone blinks or looks away, you can easily swap heads to fix it.
- Entertainment: On a lighter note, it’s just plain fun. Imagine swapping faces with celebrities or your pet for humorous outcomes!
Quick Steps on How to Face Swap in Photoshop
To get started with face swapping in Photoshop, follow these steps:
- Step 1: Open both the face photo and the body photo you want to use.
- Step 2: Select the Lasso tool. Use it to draw around the face in the face photo.
- Step 3: Copy the selected face area by pressing Ctrl+C.
- Step 4: Go to the body photo. Press Ctrl+V to paste the copied face.
Aligning the Face Photo
To align the face to the desired destination, follow these steps:
- Position the new face using the Move tool. Adjust until it fits the body photo's face seamlessly.
- Use the Transform tool (Ctrl+T) to resize and rotate if necessary. Make sure it aligns perfectly.
Blending Layers
Tools to achieve a seamless look:
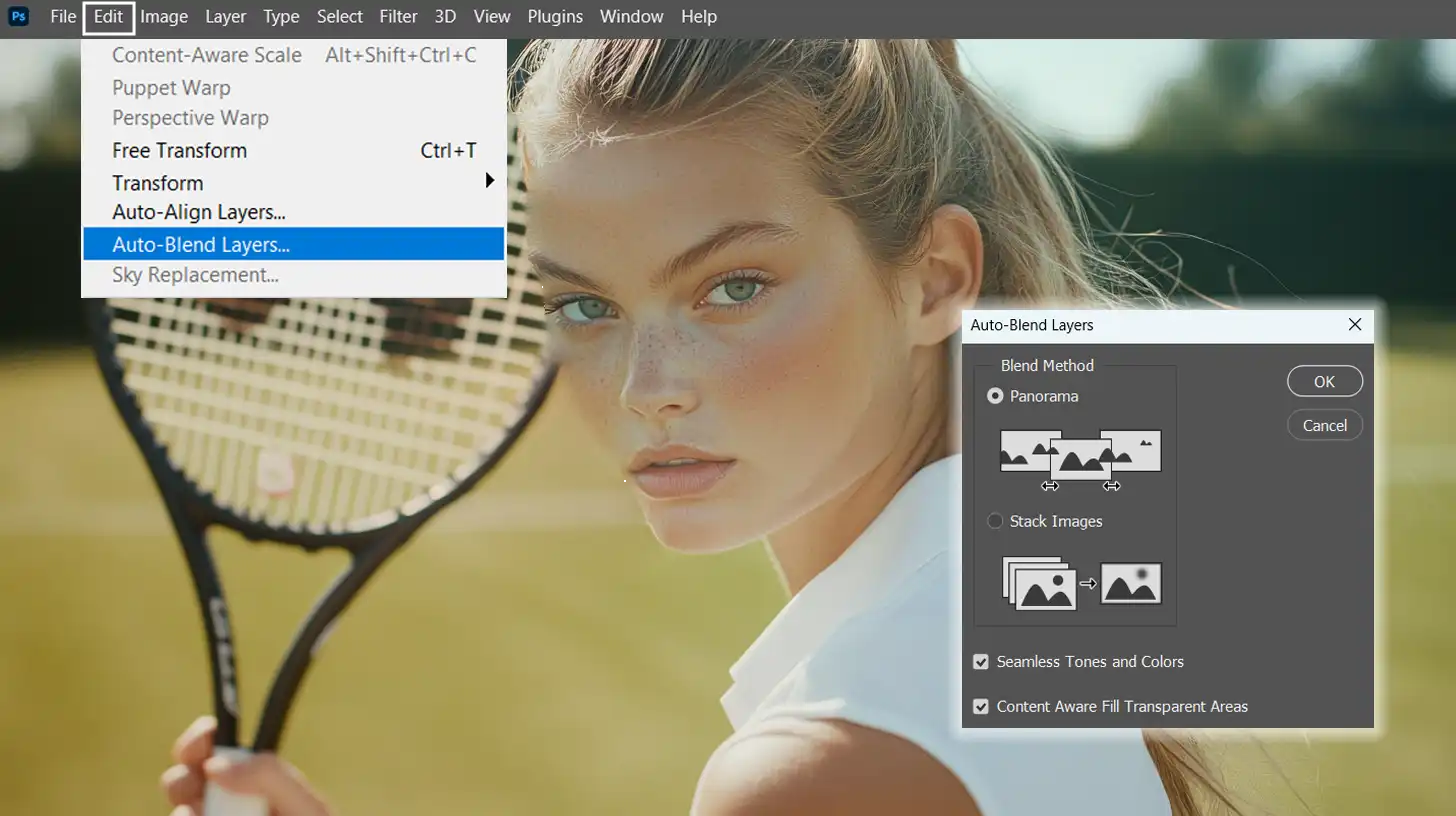
- Use the Auto Blend Layers feature. It helps blend the edges of the new face with the body photo.
- Adjust the opacity of the face layer. Gradually blend it with the underlying body layers.
- Use the Eraser tool or Brush tool to refine the edges, ensuring the tones match seamlessly.
To finish your face swap:
- Zoom into the areas that need extra attention. Use the Brush to blend colors better.
- Save your photo. Always save it as a new image to keep the original body photo intact.
Pro Tip: Always keep a backup of the original image before you begin editing. This way, you can revert to it if need be.
For even better results, consider using Photoshop face editing techniques, and explore how to use the content-aware fill in Photoshop or experiment with Photoshop masking to achieve even more seamless results.
How to Face Swap in Photoshop
So, you’ve got a pair of images, and you want to swap faces. Let’s dive into the steps to make that happen using Photoshop. It’s easier than you think, even if it sounds a bit technical.
Step-by-Step Guide to Face Swapping
We’ll start with the basics. Follow these simple steps to swap faces, and you’ll get the hang of it in no time.
Open Two Photos in Photoshop
First, open the photo from which you want to copy the face. Then, open the photo where you’ll paste the new face.

Select the Face
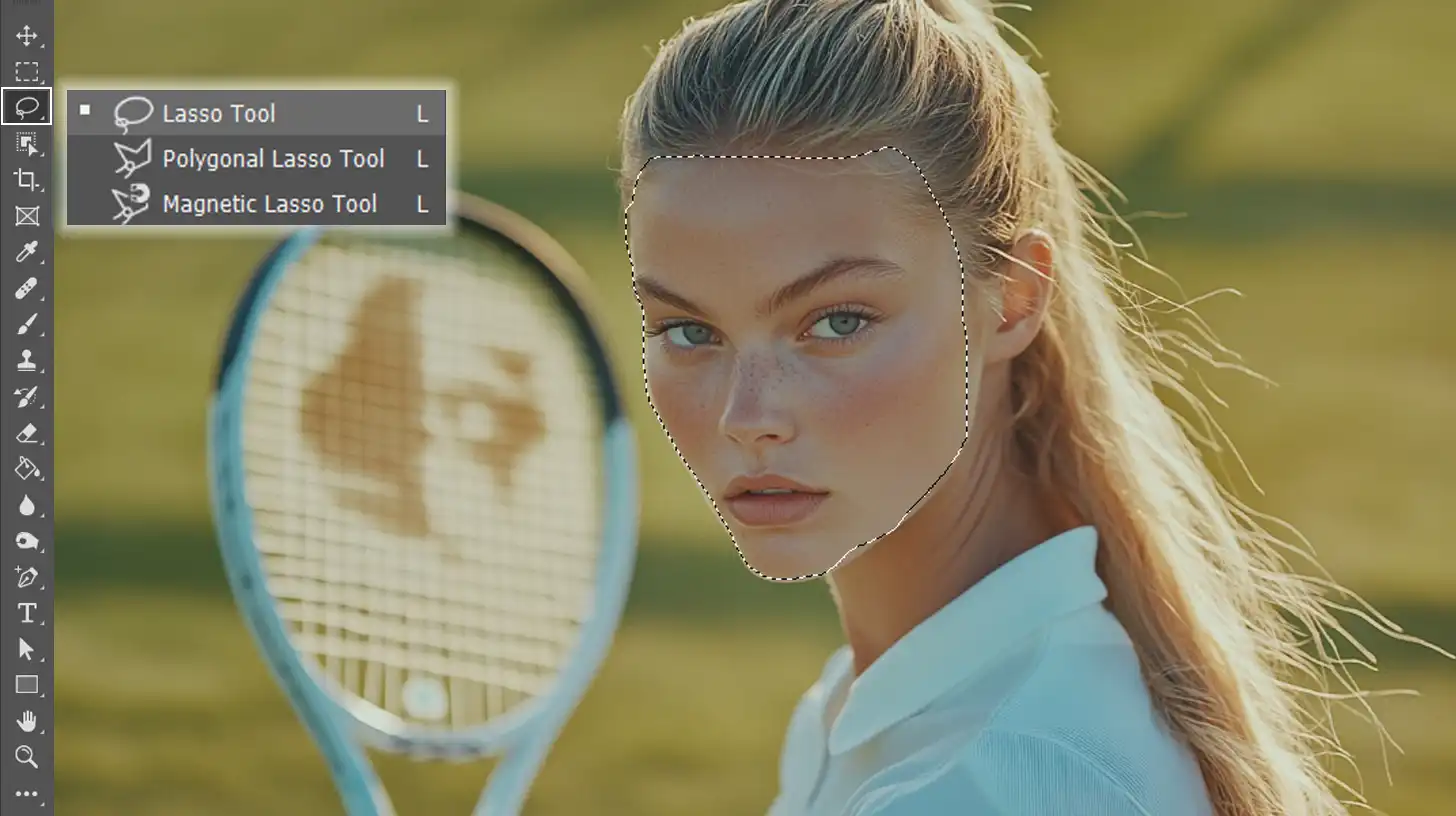
Use the lasso tool to draw around the face you want to use.
Copy and Paste the Face
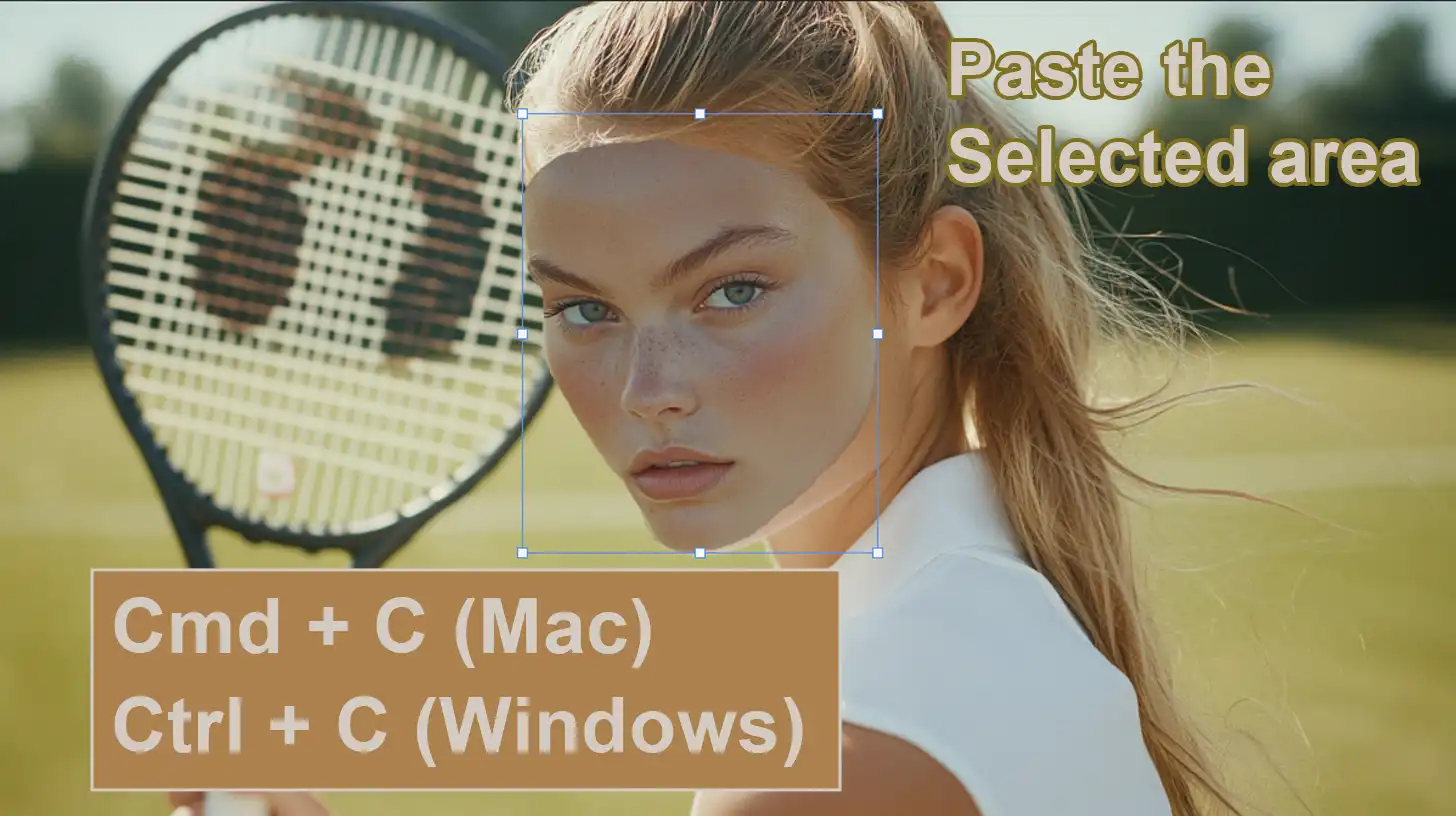
Copy the selected area (Ctrl+C on Windows, Command+C on Mac).

Switch to the second image and paste (Ctrl+V on Windows, Command+V on Mac). This action will create a new layer with the face.
Position the Face
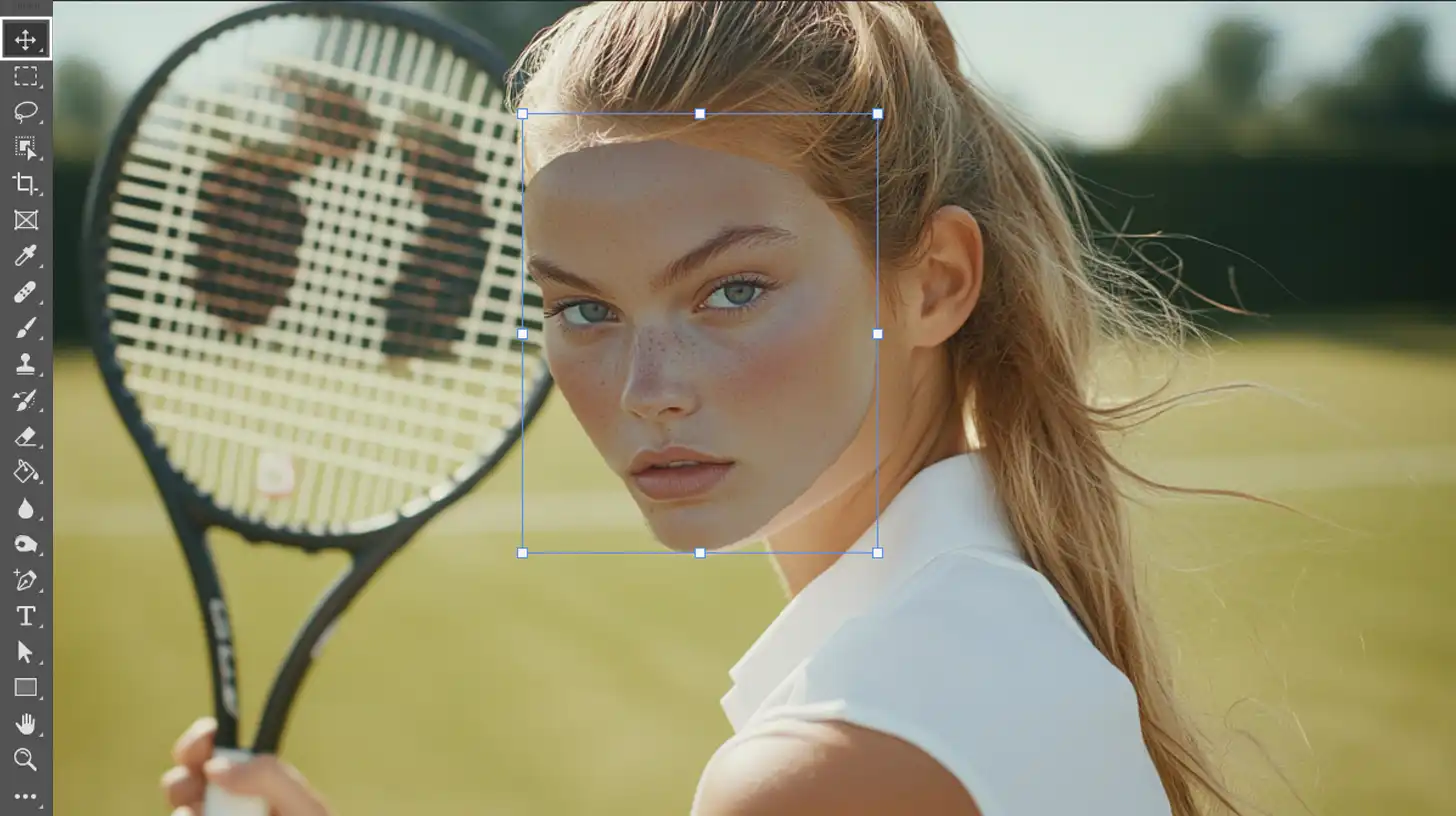
With the Move tool, drag the new face over the head of the person in the second image. You may need to resize or rotate the face to fit perfectly.
Blending Layers
With both the face and body layers active, go to Edit > Auto Blend Layers. This will blend the face into the head for a more natural look. Adjust opacity to further blend the layer.
Final Adjustments
Zoom in to refine the edges and match the skin tones. Use the brush to softly blend the transition areas. Play with colors and shadows to achieve seamless tones.

Common Issues and Solutions
Now, let’s discuss some common problems and how to solve them:
- Misaligned Faces: Ensure that both heads are in similar positions. Use Transform tools (Ctrl+T/Command+T) for fine-tuning.
- Skin Tone Differences: Use an adjustment layer to tweak color balance. Sometimes, adding a slight blur can help blend the face better with the body.
- Visible Edges: Use the eraser with a soft brush to fade the edges along the line. Lower opacity can make edges less noticeable.
Pro Tip: Always back up your original images before starting the swap process.
If you need to adjust colors later, consider using the replace color tool in Photoshop to ensure everything blends seamlessly.
This will help you master Photoshop’s color matching and achieve a more natural look in your edits.
Mastering Auto Blend Layers
In this section, we will delve into the concept of Auto-Blend Layers. Understanding this Photoshop step is important for achieving smooth transitions and creating seamless compositions in your images.
What are Auto Blend Layers?
Auto Blend Layers is one of the fundamental features in Photoshop. It allows you to combine multiple layers seamlessly. This technique is important for creating realistic composite images by matching colors and textures.
Techniques for Perfect Blending
Before diving into the detailed methods, let’s outline a straightforward Photoshop step on how to face swap in Photoshop to help you achieve flawless blending.
Mastering these techniques will allow you to create seamless transitions and elevate your editing skills.
In the following table, you’ll find a comparison of important aspects and techniques related to face swapping in Photoshop.
| Aspect | Overview |
|---|---|
| Understanding Auto Blend Layers | Learn how Auto Blend Layers allows seamless combination of multiple layers for realistic composites. |
| Essential Tools for Face Swapping | Familiarize yourself with tools like the Lasso, Move, and Transform tools for effective face swapping. |
| Refining Blends and Edges | Techniques to refine edges and match skin tones to achieve a natural look in your edits. |
| Common Issues in Face Swapping | Identifying and addressing common problems like misaligned faces and skin tone differences for effective editing. |
Step-by-Step Process
Follow these straightforward steps to successfully swap faces in Photoshop. Each step is designed to guide you through the process, ensuring a seamless and natural result.
- Open a pair of photos in Photoshop.
- Select the face using the lasso.
- Copy and paste the face onto the second photo.
- Position the face using the Move feature; resize or rotate if necessary.
- Blend layers using Automatic Layer blending and adjust opacity.
- Refine edges, match skin tones, and blend transition areas with the brush.
Address common issues like misaligned faces and visible edges using Transform tools and adjustment layers.
Fundamental Tools and Techniques
To achieve successful face swaps in Photoshop, familiarize yourself with these fundamental tools and techniques:
- The Lasso tool: Helps you select specific areas in your photo.
- The Move tool: Positions them just right.
- The Transform tools: Help adjust size and angle. Pretty neat, right?
Advanced Techniques
To elevate your face swapping skills, consider implementing these advanced techniques:
- Refining Edges: Use the brush to smooth out harsh lines and make the face blend in naturally.
- Matching Skin Tones: Adjust the brightness and contrast until the face layer matches the body layer.
- Perfecting Transition Areas: Subtle use of the eraser tool can make all the difference in blending the face layer smoothly into the new image.
Your task becomes easier with practice. When you get the hang of it, you’ll swap faces and layer images like a pro.
Pro Tip: Use adjustment layers for non-destructive editing. This way, you can easily modify any changes without starting from scratch.
Advanced Techniques for Face Swapping
As we explore advanced techniques, it’s important to understand how to face swap in Photoshop to enhance realism in your edits. Each Photoshop step plays a significant role in achieving a natural look, ensuring your edits blend seamlessly with the original photo.
Enhancing Realism in Face Swaps
You’ve got your two photos, but something feels off. Why? Because blending faces isn’t just about copying and pasting. It’s about matching everything from shadows to skin tone.
Steps to Enhance Realism
To achieve a more realistic face swap, follow these steps carefully:
- Begin with selecting the right photo layers. Use the Lasso to cleanly select the face you'd like to swap.
- Paste it onto the body layer of the second image and position it carefully. Resize and rotate using Transform tools to match the alignment perfectly.
- Use Automatic Layer blending to blend the edges of your face swap so they look seamless along the line. Lower the opacity of the face layer slightly before blending to see both layers during the blending process.
- Refine edges with the Brush to ensure the transition looks natural.
- Match skin tones using Adjustment Layers to tweak brightness, contrast, and colors. Focus on the subtle variations in skin color, shadows, and lighting.
- If the tones still don’t match, use the Brush tool to paint subtle nuances.
Creative Applications of Face Swap
Face replacement isn’t just for fun, it can be very useful. Think about enhancing a group photo where someone blinked. A well-executed face swap can save the moment.
Creative Uses:
Explore the creative possibilities of face swapping with these innovative ideas.
- Design surreal art by swapping heads from another image.
- Create a vintage photograph look by swapping modern faces with those from historical images.
- Experiment with different expressions or swap heads to animate characters in your creative projects.
When you incorporate artificial intelligence tools available in advanced versions of Photoshop, you can make these swaps more quickly and accurately.
Remember, these quick fixes should always complement manual tweaks to ensure the highest quality.
Pro Tip: Save your work frequently and always keep a backup file. Nothing’s more frustrating than losing hours of hard work over a simple mistake.
As you Photoshop your way to the perfect face swap, remember to pay attention to the eyes. They’re the window to the soul and can make or break your face swap project.
Additionally, just like how to choose which camera lens to buy affects your photography, ensuring the eyes are aligned and blended perfectly will significantly enhance the realism of your edit.
Frequently Asked Questions

What are the steps to swap faces in Photoshop?
- Open both images in Photoshop.
- Select the face you want to swap using the Lasso Tool.
- Copy the selected face by pressing Ctrl+C (Cmd+C on Mac).
- Paste the copied face onto the other image by pressing Ctrl+V (Cmd+V on Mac).
- Adjust the pasted face using the Free Transform tool (Ctrl+T or Cmd+T) to align it properly.
- Use the Eraser Tool to blend edges and the Clone Stamp Tool to match textures.
How do I insert a face into another picture?
- Open the picture where you want to add the face and the picture with the face in Photoshop.
- Use the Lasso Tool to select the face from the second picture.
- Copy the face selection and paste it into the first picture.
- Use the Move feature to position the face correctly.
- Utilize the Transform options to scale and rotate the face for a natural look.
- Apply layer masks and use soft brushes to blend the face seamlessly into the picture.
What is the best way to swap faces perfectly?
- Start by accurately selecting the faces using the Polygonal Lasso Tool for precision.
- Copy and paste the face from one image to the other.
- Ensure the color, lighting, and scale match by adjusting Brightness/Contrast and Hue/Saturation.
- Use the Warp tool to fine-tune facial feature alignment.
- Refine the edges with a soft brush on a layer mask to blend the faces smoothly.
How do you make a picture face the other way in Photoshop?
- Select the image layer you want to flip.
- Go to Edit > Transform > Flip Horizontal to make the face look in the opposite direction.
- Use the Transform tool to adjust any disproportions after flipping.
Conclusion
Learning how to face swap in Photoshop has been a game-changer for me. It opened up endless creative possibilities and allowed me to produce fun, engaging content.
By mastering this technique, I was able to enhance my photo editing skills and make my work stand out.
If you’re interested in enhancing your own editing abilities, I highly recommend exploring more about Photoshop and Lightroom. The Photoshop course and Lightroom course have been invaluable resources for me. They provide detailed lessons that can help elevate your skills to new heights.
Also, don’t forget to check out Adobe’s tools, including Photoshop and Lightroom, as they offer great features that complement your learning. Embrace the journey and enjoy the creativity that comes with editing.
Read more about Photoshop:


