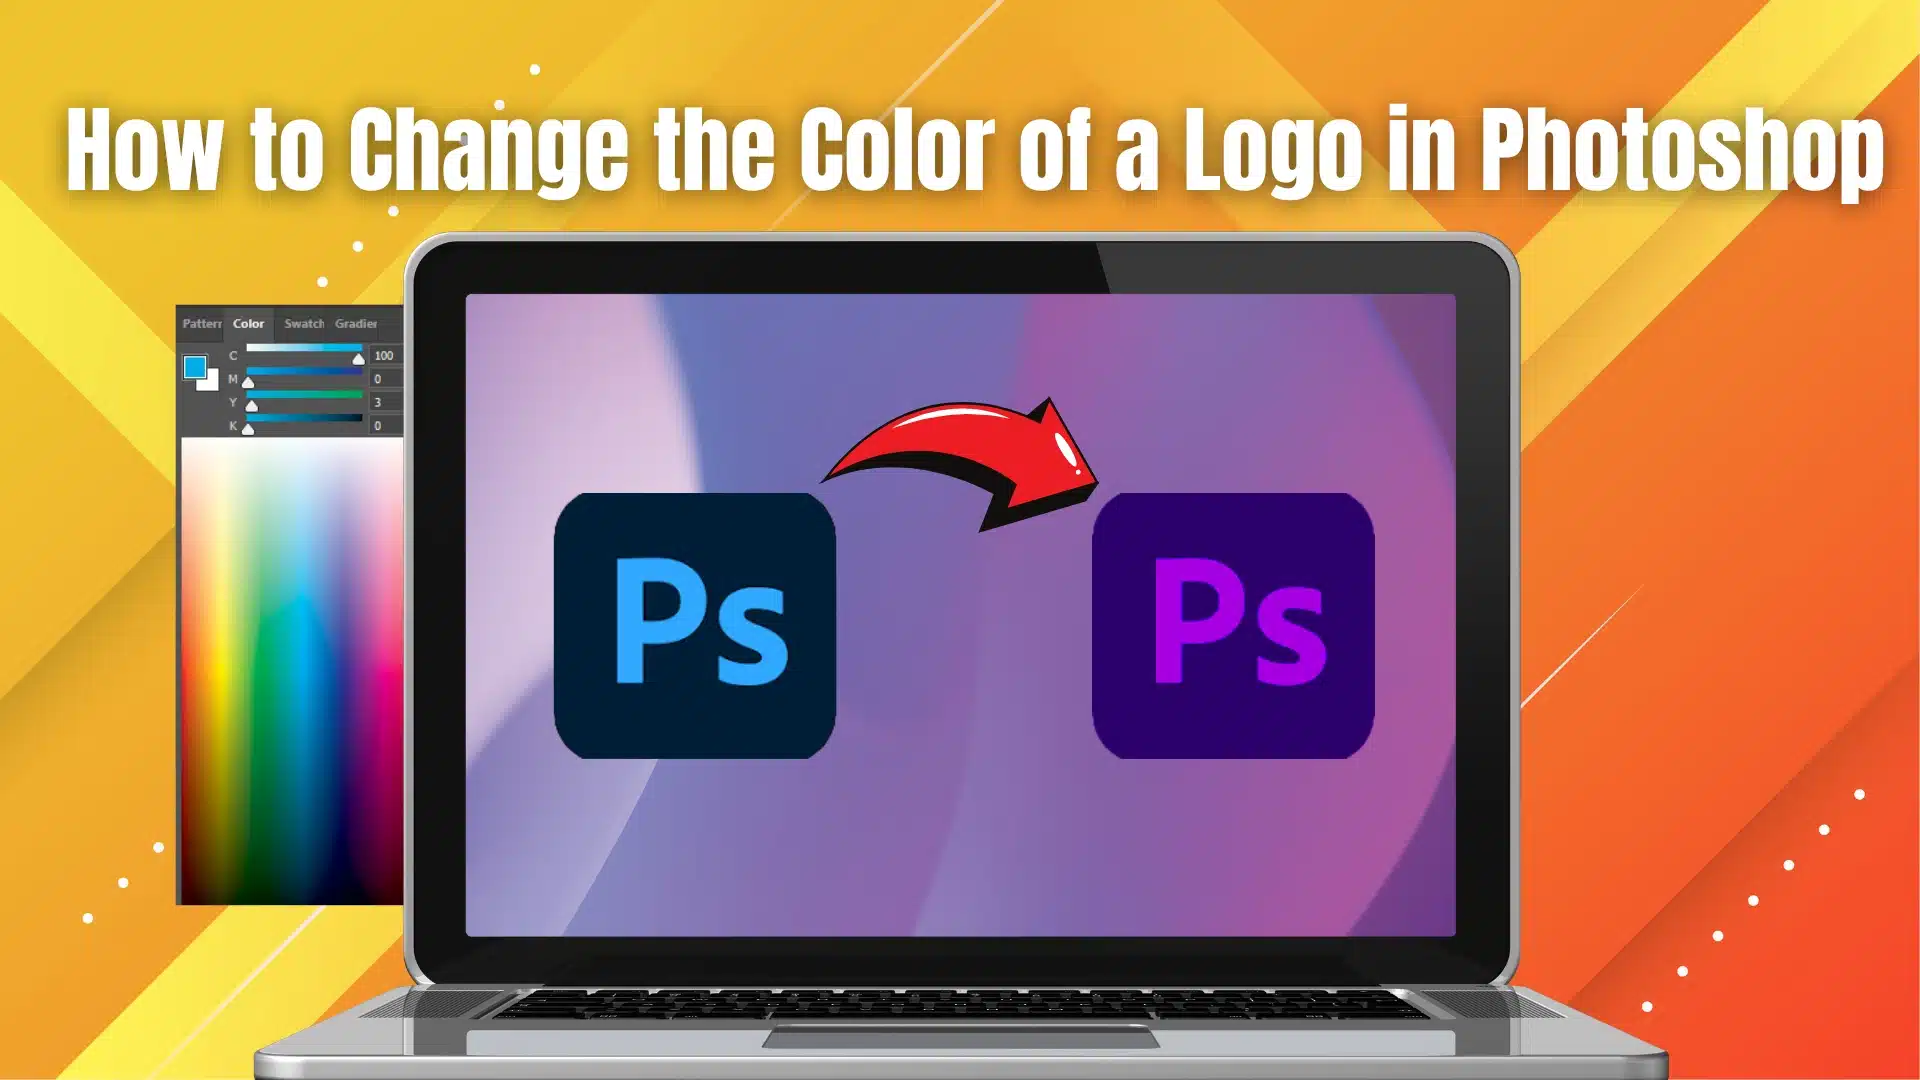
Changing the color of a logo can transform its look and feel. How to Change the Color of a Logo in Photoshop is a simple process with the right steps. This skill helps designers update branding or match a logo to a new theme. It’s quick, creative, and saves you from starting over with a new design.
This article will guide you through everything you need to know. You’ll learn step-by-step methods and tips for perfect results. Let’s get started!
Table of Contents
Why Change the Color of a Logo in Photoshop?
Changing the color of a logo can completely transform how it looks and feels. It helps businesses adapt logos to seasonal campaigns, special events, or even rebranding. For example, Coca-Cola often changes its logo color to green during environmental campaigns. Customizing colors can also make logos fit better on different backgrounds, like a white background or a transparent background for websites and digital media.
When designers need flexibility, Photoshop is their go-to tool. It lets you work with the logo layer and make adjustments without starting from scratch. Using tools like adjustment layers, hue/saturation, and overlay textures in photoshop, designers can create endless variations. This is particularly useful for complex logos or multi-colored designs.
Benefits of Changing Logo Colors
- Brand Adaptation: Match the logo's colors to fit specific campaigns or seasonal themes.
- Flexibility: Create logos for light and dark modes, or adapt for transparent backgrounds.
- Cost-Effectiveness: Avoid the expense of designing a new logo from scratch.
- Creative Freedom: Experiment with fresh looks while keeping the original design intact.
Real-World Examples
- Nike: Uses different color combinations to match campaigns like "Black Lives Matter" or Pride Month.
- Starbucks: Adapts its green logo to black and white for certain merchandise.
- Instagram: Changed its logo to vibrant gradients to align with app updates.
Steps to Change the Color of a Logo
- Open the Logo File: Use a PNG file for high-quality edits and transparency.
- Select the Logo Layer: Go to the Layers Panel and ensure the correct layer thumbnail is selected.
- Add an Adjustment Layer: Click the drop-down menu and select Hue/Saturation Adjustment.
- Adjust the Hue/Saturation Sliders: Slide the hue to choose a new color. Use the lightness slider for brightness control.
- Refine with Layer Masks: Use the Brush Tool to edit specific areas, especially for complex logos.
- Save the Updated Logo Color: Click Save as a PNG file to preserve quality and transparency.
By following these steps, designers can keep the logo professional while matching any creative vision. This flexibility makes Adobe Photoshop an essential tool for modern branding. Let’s explore in detail.
How to Change the Color of a Logo in Photoshop: A Step-by-Step Guide
Changing a logo’s color in Adobe Photoshop is straightforward if you follow these simple steps. With the right tools and techniques, you can give your logo a fresh and customized look.
1. Open and Set Up Your Logo
- Open the File: Launch Photoshop and open your logo file. If the file is an SVG, it ensures high-quality results for resizing and edits.
- Check the Layers Panel: Go to the layers panel to ensure your logo is on a separate layer for better control.
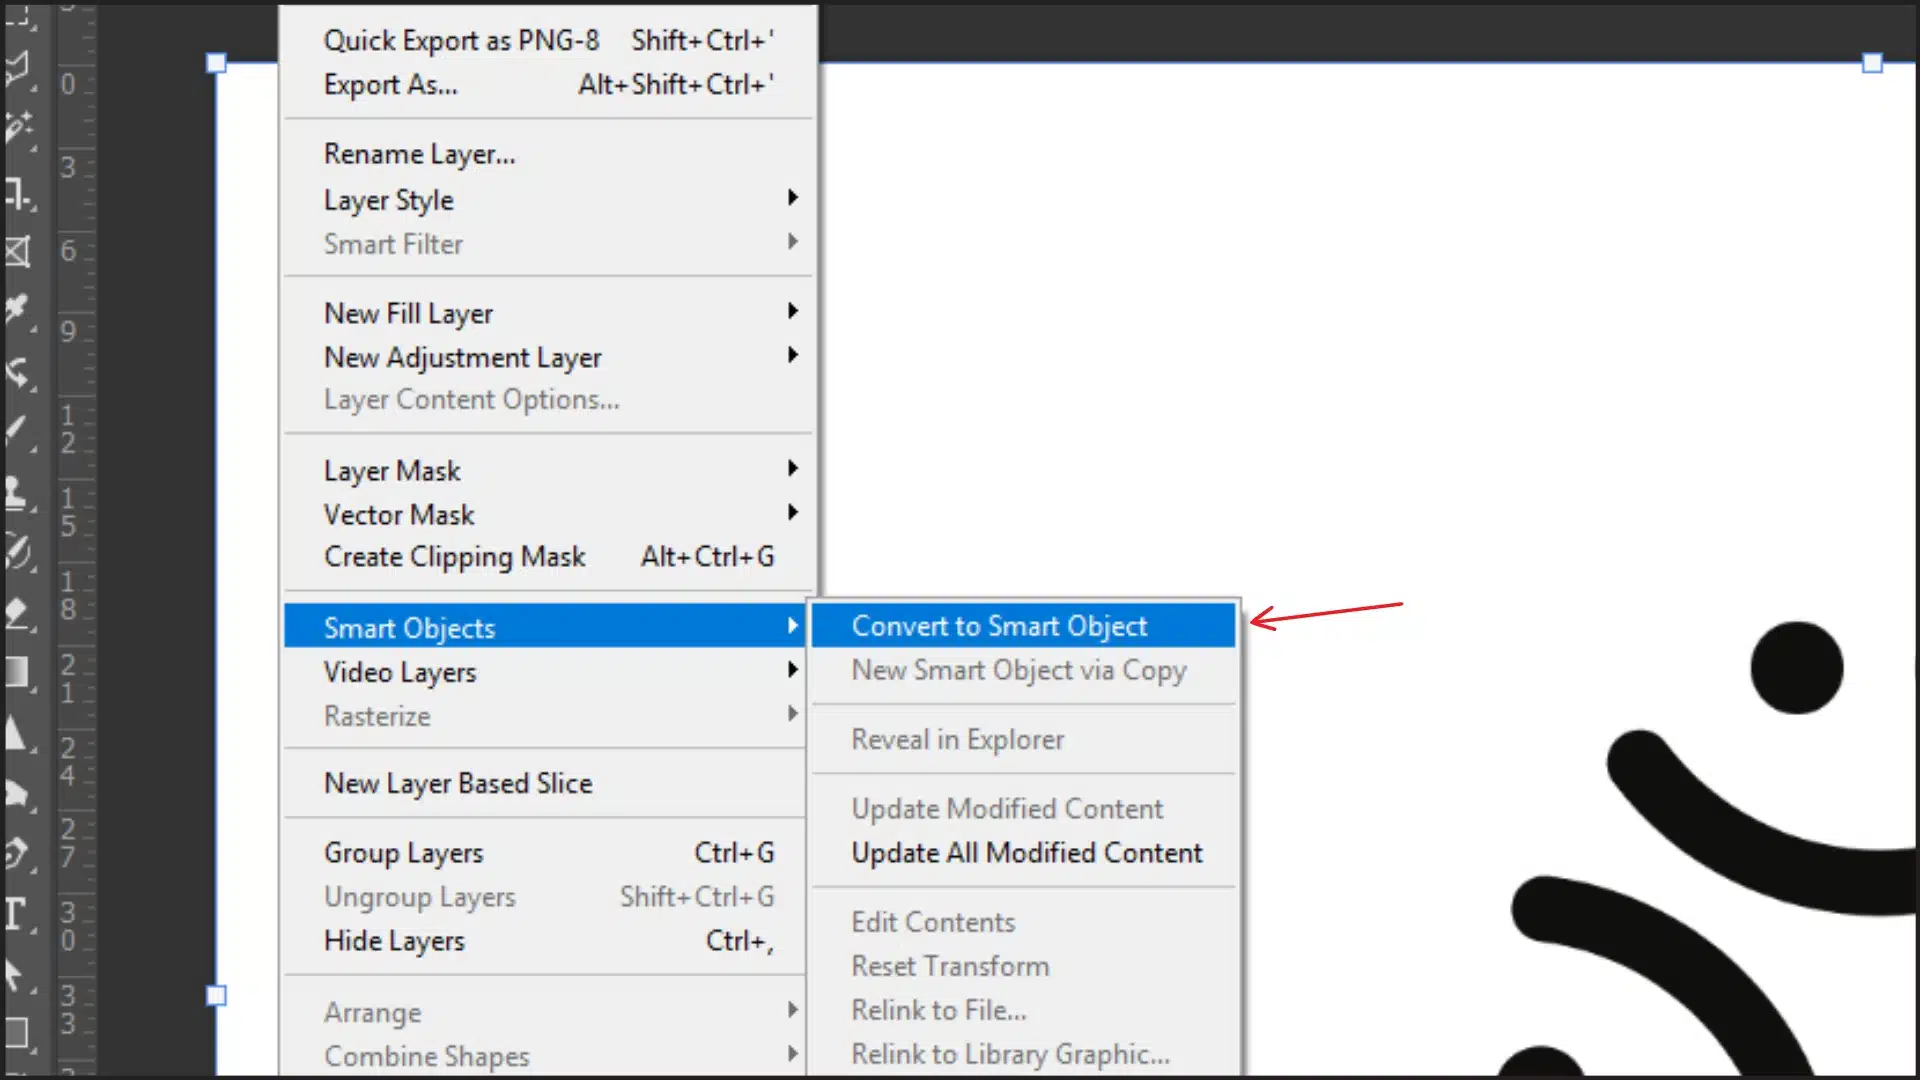
- Convert to Smart Object: Right-click the layer and choose "Convert to Smart Object." This step allows non-destructive changes.
2. Select the Area to Change
- Use Selection Tools: Choose the Quick Selection Tool or Magic Wand Tool to isolate the parts of the logo you want to adjust. For logos with sharp edges, refine the edges using the anti-alias setting.
- Mask Unselected Areas: Apply a layer mask to hide parts of the design you don’t want to modify.
3. Add Color Adjustments
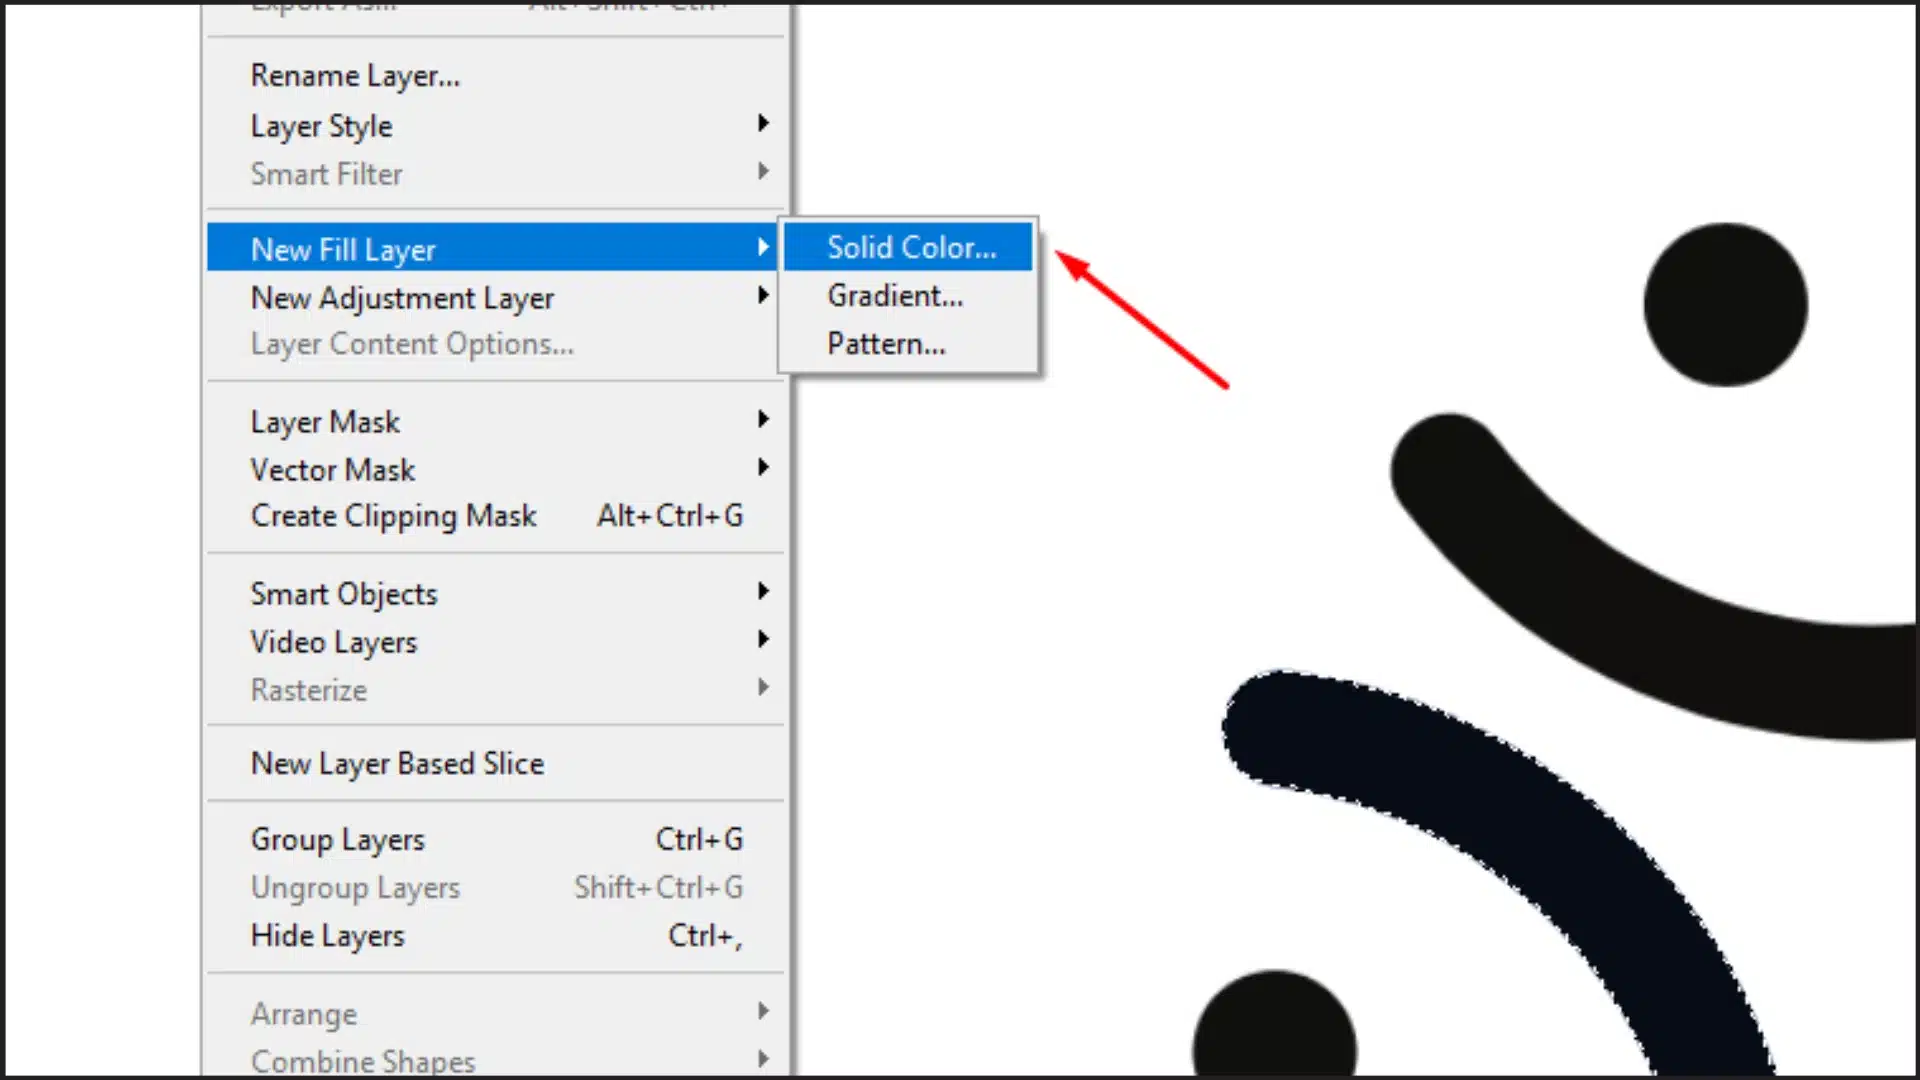
- Apply an Adjustment Layer: Go to the top menu and create an adjustment layer. Choose "Solid Color" or "Hue/Saturation Adjustment" depending on the effect you need.
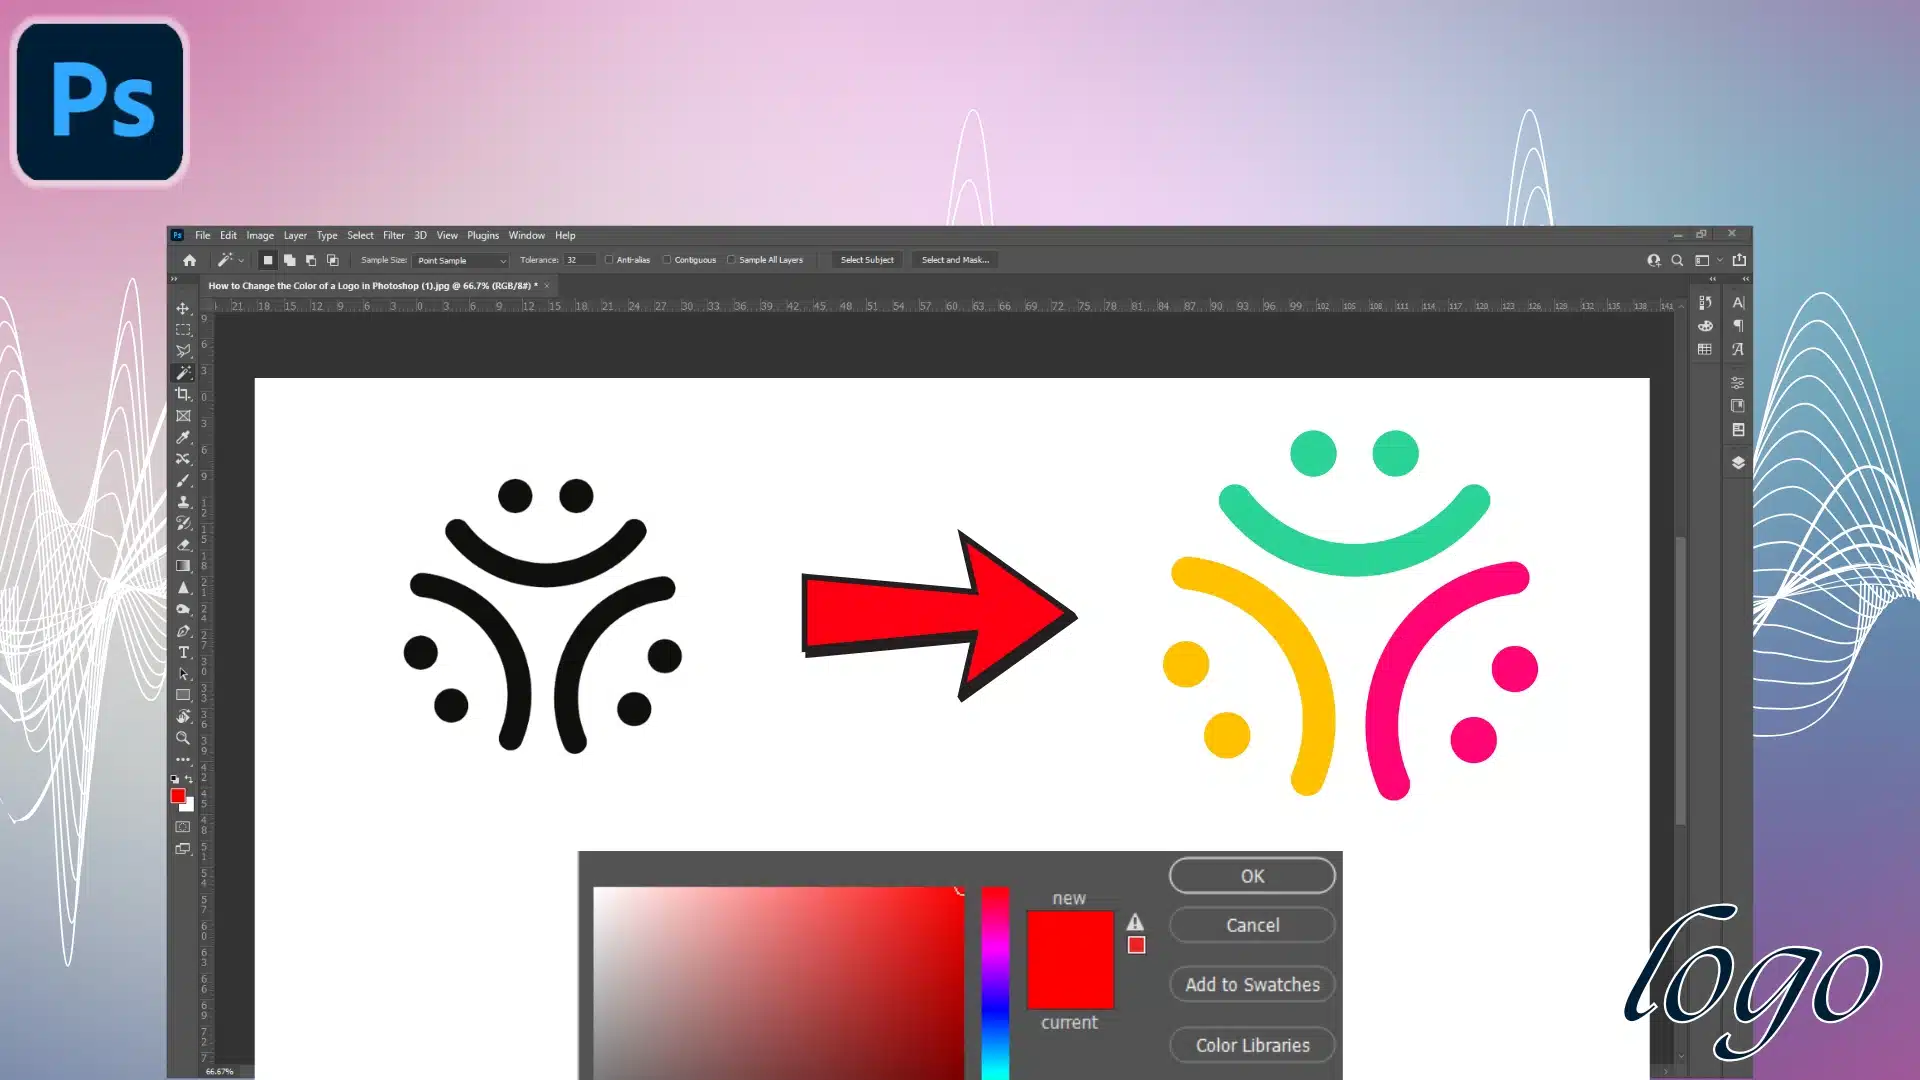
- Choose a New Color: Use the color picker to select the color you want. For example, you can try a blue shade to give your logo a calm and professional look.
- Refine Saturation: Adjust the saturation to make the color more vibrant or muted, depending on your branding needs.
4. Enhance with Layer Styles
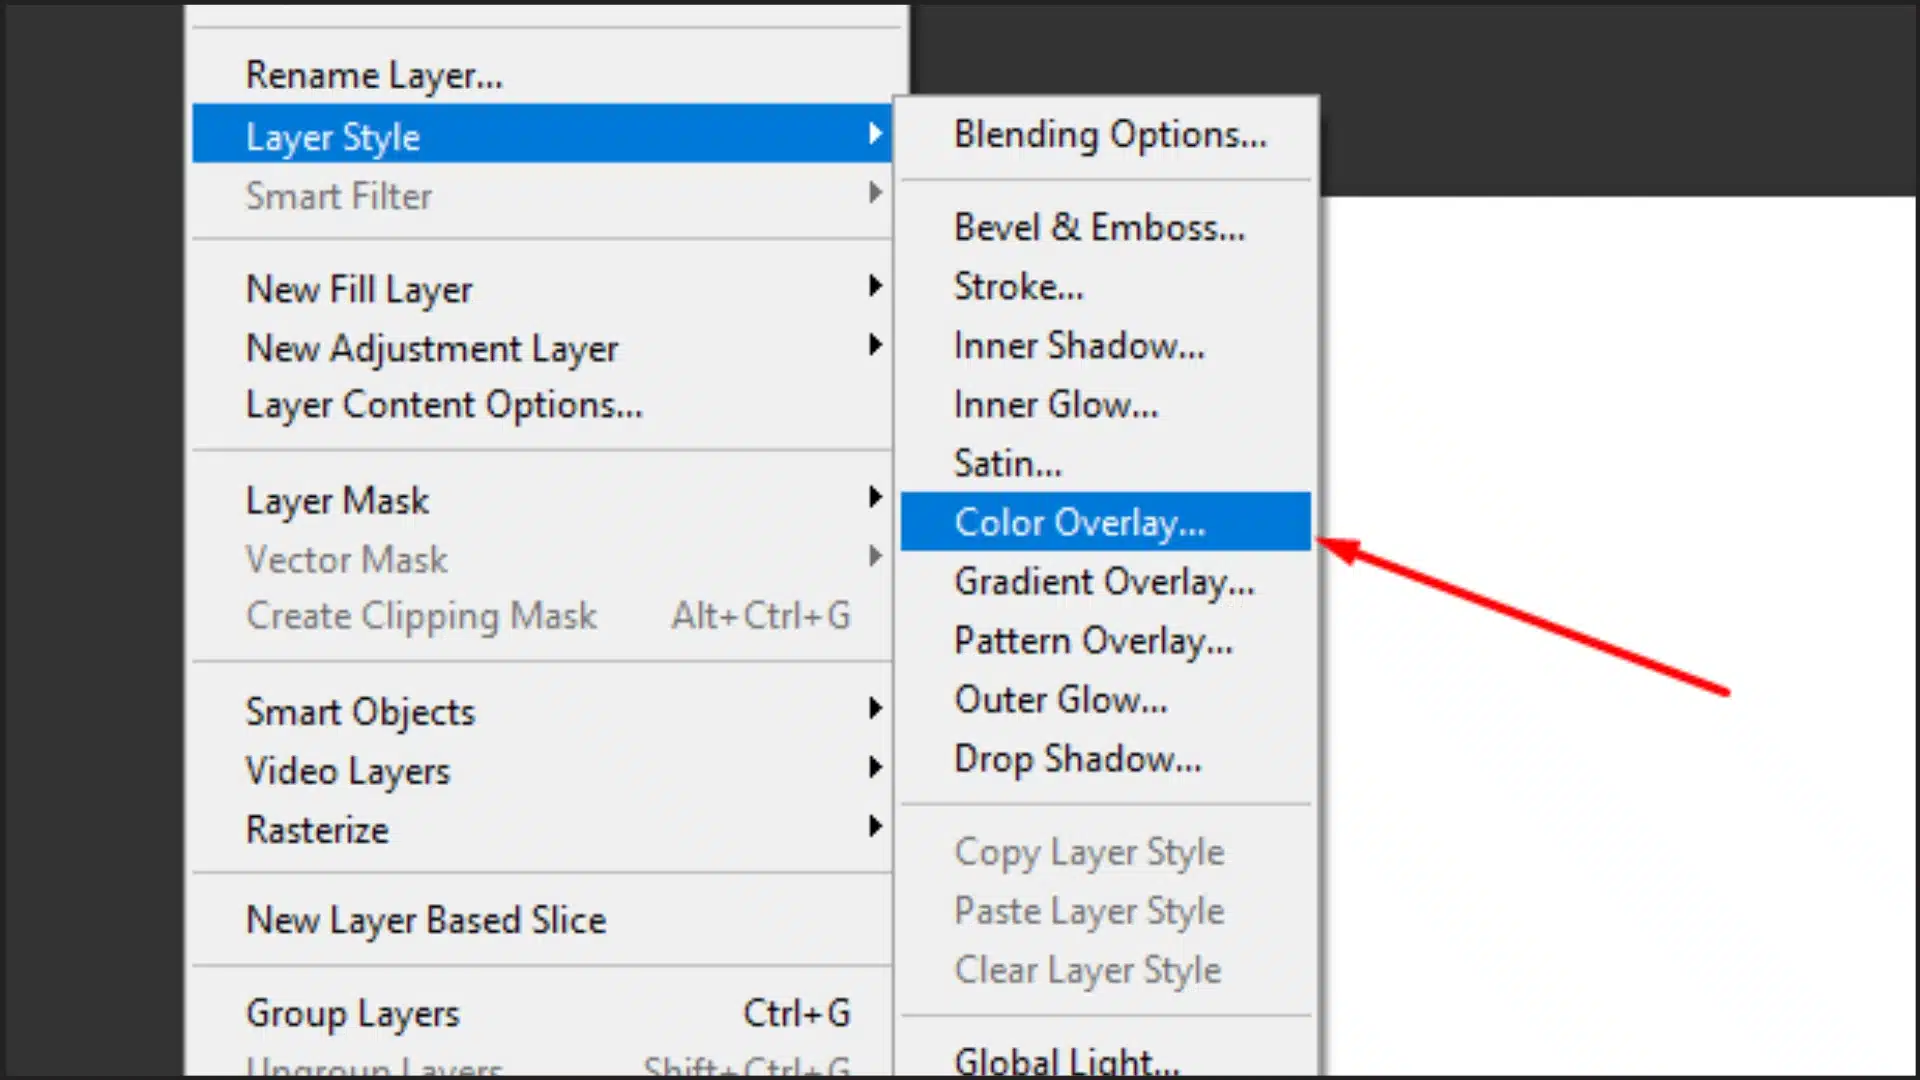
- Add a Color Overlay: In the layer style menu, apply a color overlay for a bold and uniform look.
- Experiment with Blend Modes: Use the blending mode options like "Multiply" or "Overlay" to blend the new color with the logo’s texture.
- Adjust Opacity: Control the opacity to achieve subtle or striking results.
5. Finalize and Save
- Preview Your Work: Use the preview on your screen to ensure the color change looks as intended on different backgrounds, like a white background.
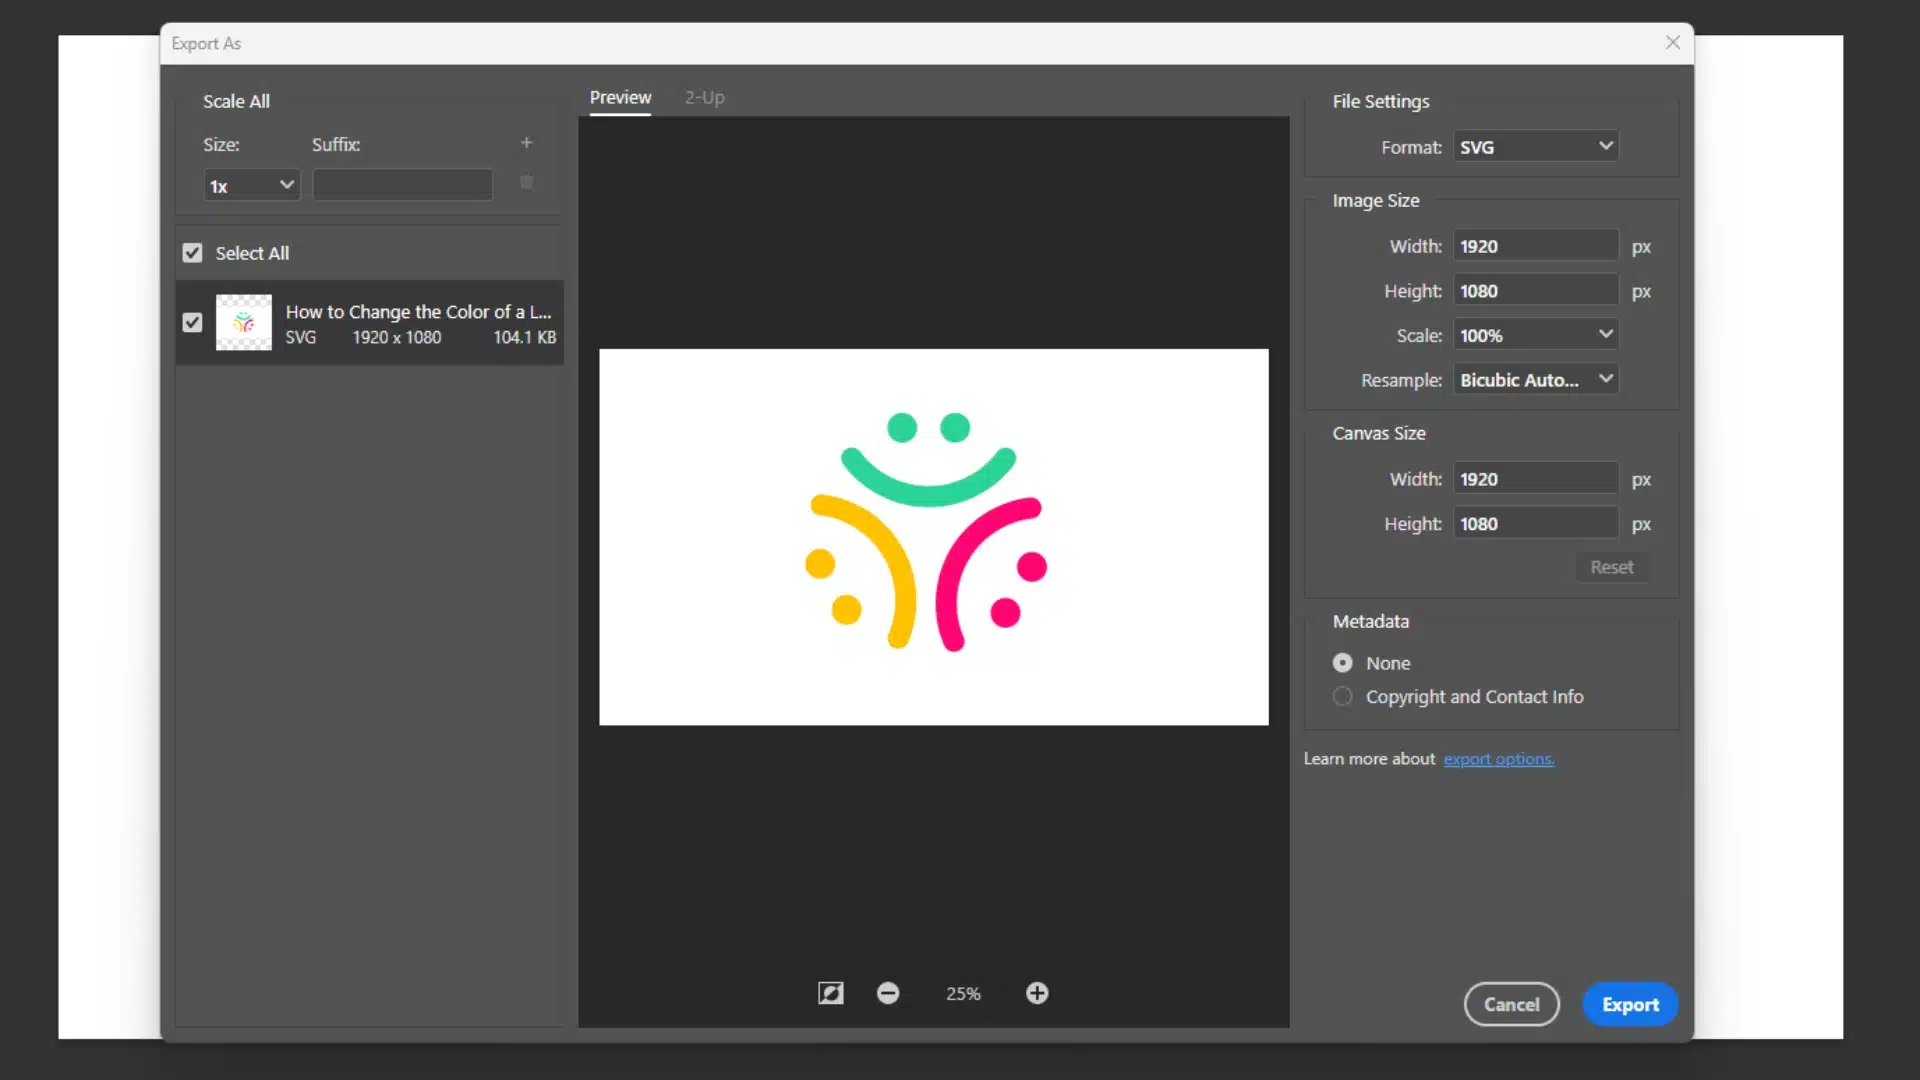
- Save Your File: Save the file in a high-quality format, like SVG, to maintain resolution and flexibility for future edits.
Example Use Case
Imagine a logo for a coffee shop. If the original logo was brown, changing it to blue for a summer campaign can give it a fresh, cool vibe. This adaptability is what Photoshop makes simple and effective.
By following these steps, you can change your logo’s look without compromising quality or professional appeal.
Common Techniques for Recoloring Logos in Photoshop
Recoloring a logo in Adobe Photoshop can be done in multiple ways, depending on the design and purpose. These techniques are versatile, efficient, and widely used by designers to meet various branding needs.
1. Using the Color Overlay Option
This is one of the simplest methods for recoloring. It’s best for logos with flat, uniform colors.
- Open Your File: Load the image in Photoshop and ensure the logo is on a separate layer.
- Access Layer Style Options: Right-click the layer and choose "Blending Options" from the menu.
- Apply Color Overlay: In the dialog box, check the Color Overlay option.
- Pick a Color: Use the color picker to select the desired shade. You can adjust the intensity to achieve the perfect tone.
- Blend and Save: Experiment with the blend mode options like “Overlay” or “Multiply” for unique effects.
2. Replacing Colors
This technique is excellent for modifying specific sections of the logo while keeping the rest intact.
- Select the Target Area: Use the Magic Wand Tool or another selection tools in photoshop to highlight the part you want to adjust.
- Access Replacement Color: Go to the menu and select "Replace Color" under the Image Adjustment settings.
- Adjust the Replacement: In the dialog box, pick a different colour for the selected area.
- Refine the Edges: Use the Brush Tool to clean any rough edges or missed spots.
3. Working with Blend Modes
Blend modes provide a creative way to merge new colors with existing textures in the design.
- Choose Your Layer: Open the image and make sure you’re working on the correct photoshop layer.
- Apply a New Foreground Color: Set a fresh foreground color that matches your vision.
- Experiment with Blending Modes: In the top bar, explore options like “Soft Light” or “Screen” for dynamic effects.
- Preview and Save: Check the result on a white background or other colors to ensure compatibility.
4. Painting with Brush Tool
This method is ideal for freehand recoloring or custom touches.
- Pick the Brush Tool: Select the Brush Tool from the toolbar and adjust its size and opacity.
- Choose a New Color: Set your desired shade using the color picker.
- Paint on the Target Area: Carefully drag the brush over the area you want to recolor.
- Refine with Layer Settings: Adjust the blend mode or opacity for a polished look.
Practical Applications
- Rebranding Campaigns: Quickly recolor logos for seasonal promotions or new product launches.
- Web Compatibility: Modify colors to ensure visibility on web pages with varied backgrounds.
- Icon Adjustments: Update icons and smaller design elements without starting from scratch.
By using these techniques, Photoshop makes recoloring easy and efficient. Whether it’s a flat design or a textured logo, these methods help achieve professional results.
Which Tool to Use for Logo Color Adjustments
Choosing the right tool in Adobe Photoshop makes logo color adjustments easy and precise. Different tools in photoshop serve different purposes, depending on your design needs. Below, we’ll break down the best tools to help you decide.
| Tool Name | When to Use | Key Features |
|---|---|---|
| Color Picker | For selecting a specific color to apply. | Easy to use, choose any shade. |
| Blending Mode | To merge new colors with textures or gradients. | Multiple effects like Overlay or Soft Light. |
| Brush Tool | For freehand coloring or precise touch-ups. | Adjustable size and opacity for control. |
| Replace Color | To swap one color for another in the logo. | Works well for sections or details. |
| Hue/Saturation Sliders | For global color changes across the logo. | Adjust lightness sliders for brightness. |
How to Use These Tools
- Color Picker: Select this tool and double click the foreground box to choose a new color.
- Blending Mode: Apply a new layer and set the blending mode to achieve the desired look.
- Brush Tool: Change the brush color , size and opacity in photoshop to paint over the desired area.
These tools make adjusting colors easy and versatile for any logo design. Each has its strengths, so pick the one that fits your project best when you need to change the color of a layer in photoshop!
Frequently Asked Questions : How to Change the Color of a Logo in Photoshop
How do I recolor a logo in Photoshop?
To recolor a logo in Photoshop, open the logo file and select the area you want to change. Use tools like the Color Picker or the Hue/Saturation sliders to apply a new shade. You can also add a Color Overlay through the Layer Style options for a uniform color change.
How do I change the color of my logo?
To change your logo’s color, load the logo into Photoshop and choose the Replace Color option from the menu. Select the area you want to change, pick a new shade using the Color Picker, and adjust it with tools like Blending Modes for added effects.
What is a logo without a background called?
A logo without a background is called a transparent logo. It allows the logo to blend seamlessly on any surface, like websites or images. Formats like PNG are commonly used for this purpose. To achieve this, simply remove the background in your editing software.
How to change logo background color in Photoshop?
To change the background color of a logo, first unlock the background layer. Then, select the background area using tools like the Magic Wand Tool or Selection Tool. Fill the selection with a new shade using the Paint Bucket Tool or add a solid color fill layer for a cleaner look.
How to change icon color in Photoshop?
To change an icon’s color in photoshop, select the icon using the Selection Tool or Magic Wand Tool. Apply a Color Overlay from the Layer Style options or adjust the colors with the Hue/Saturation sliders. For precise edits, use the Brush Tool to paint over specific areas.
Conclusion : How to Change the Color of a Logo in Photoshop
Changing a logo’s color in Photoshop is simple and can elevate your design. I once helped a friend adjust her bakery logo to match her pastel-themed website. Using tools like Hue/Saturation Adjustments and blending modes in photoshop, we achieved a perfect fit in minutes.
Want to learn how to do this yourself? Enroll in our Photoshop course or Lightroom course to master these techniques and create professional designs effortlessly!
If “How to Change the Color of a Logo in Photoshop” article has helped you, then Like and Share it with your friends
Have a nice photoshoot!
Read more about: Photo Editing with Lightroom and Photoshop