3D Glasses Effect in Photoshop: Creating Dimensional Visuals
3D Glasses Effect in Photoshop: Creating Dimensional Visuals
Want to create a stunning 3D glasses effect in Photoshop?
You’ve come to the right place! In this article, I’ll guide you step–by–step on how to achieve this eye-catching effect that will make your images pop.
Don’t miss out on learning this exciting technique that can transform your photos into something truly special. Ready to dive in? Let’s get started!
Table of Contents
How to Create a 3D Glasses Effect Photoshop
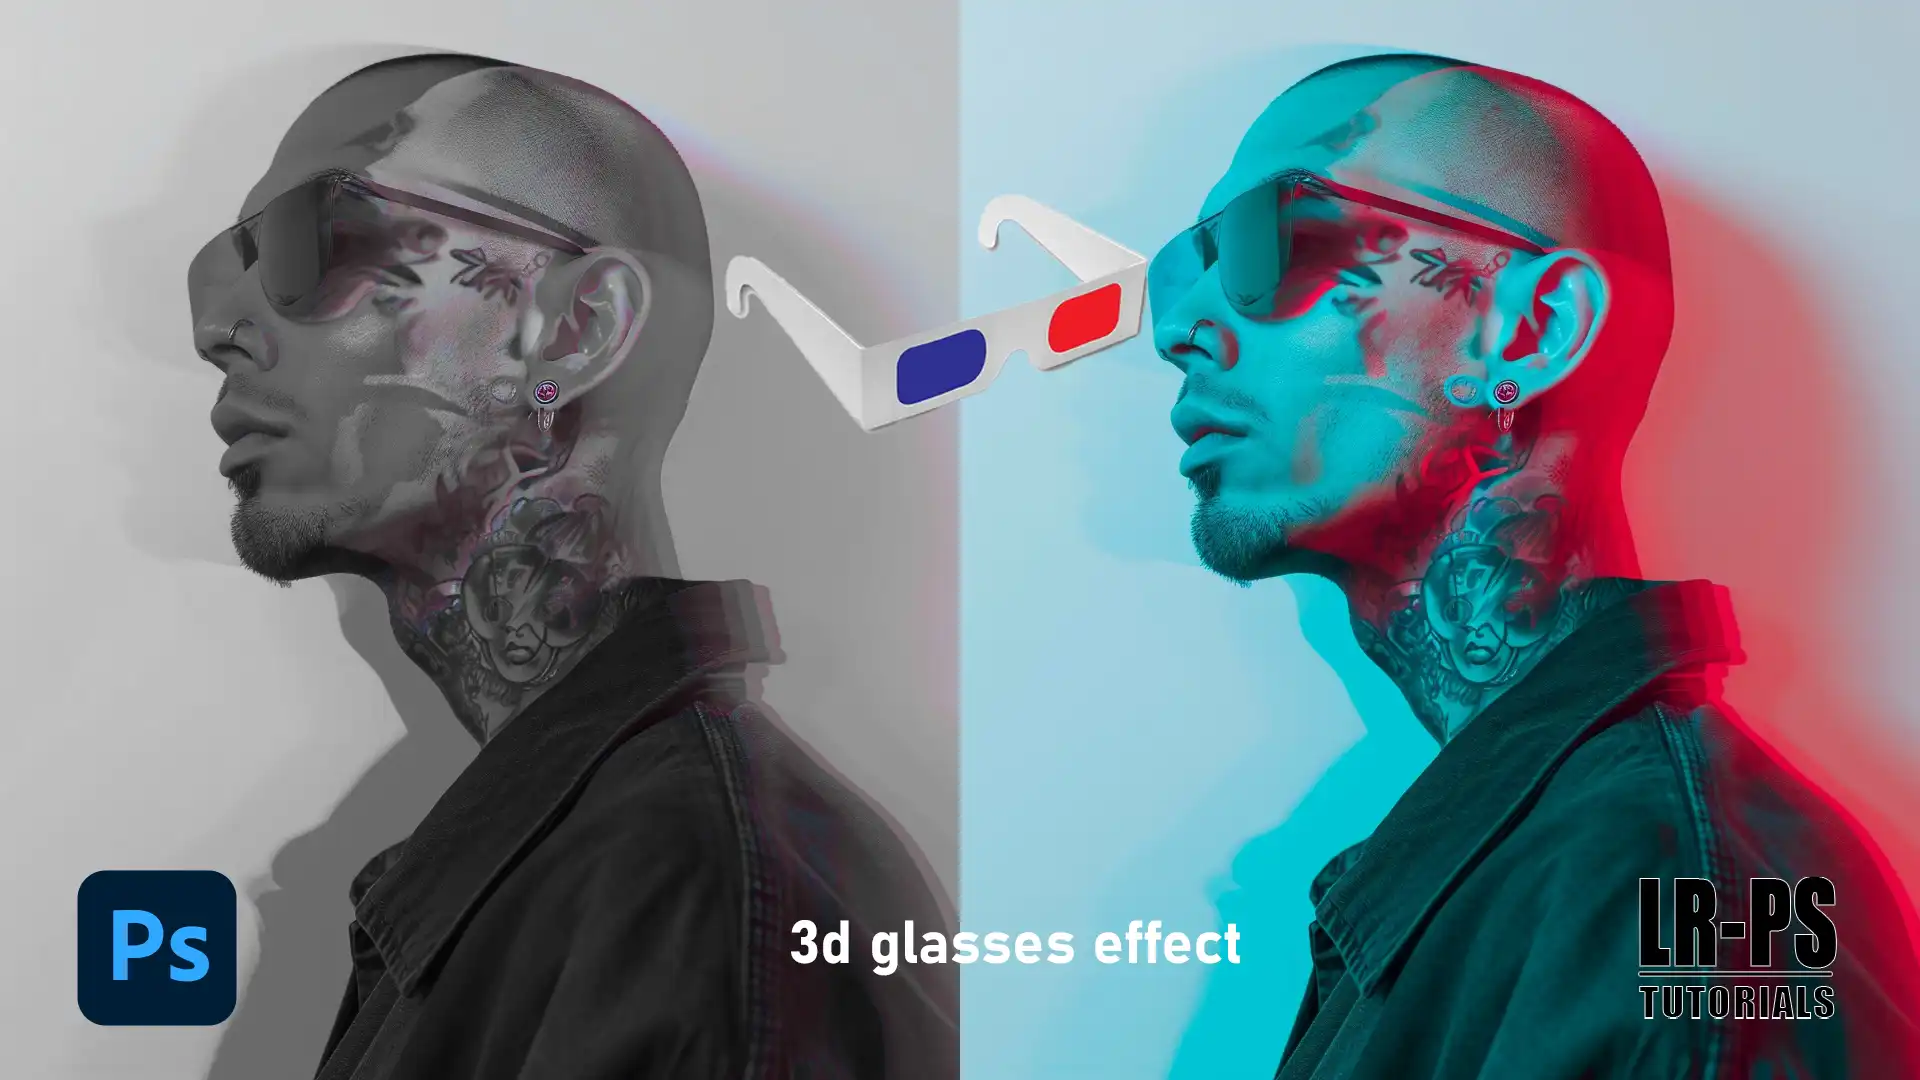
One of the most fascinating and fun effects I’ve experimented with in Photoshop is the 3Dglasseseffect.
This technique mimics the nostalgic look of old-school 3D movies, where red and blue lenses create a sense of depth and dimension.
Step-by-Step Guide
Duplicate the Background Layer
Press Ctrl+J (Windows) or Cmd+J (Mac) to duplicate the background layer. You'll need two layers to work with.
Open Blending Options
Click on the new layer. This will open the Blending Options.
Adjust Green and Blue Channels
In the Blending Options, go to the channels section. Uncheck the green and blue channel, leaving only the red channel checked. Click OK to apply.
Use the Move Tool
Select the Move Tool from the toolbar or press V on the keyboard. Drag the image slightly to the left to create the offset needed for the 3D effect.
Merge Layers
After adjusting, merge the two layers by selecting both layers in the layers panel, then pressing Ctrl+E (Windows) or Cmd+E (Mac).
Finishing Touches to your 3D Effect
Add some final adjustments to your 3D effect. Use the Crop Tool to remove any unwanted edges around your image. Save your work, and you’re done!
To create a stunning 3D effect in your photos, you can experiment with different types of filters available in Photoshop, each offering unique enhancements to your images.
Pro Tip for 3D Effects: For extra depth, experiment with different colors in the blending options.
Using a combination of the red and cyan channels can create an even more striking effect.
For a deeper dive into essential Photoshop techniques, selective color is a technique in Photoshop that can help you to emphasize specific colors in 3D image while converting the rest to black and white or desaturated tones.
Additional Tips for 3D Effects
If you want to refine your image further, consider using the content-aware to remove any distracting elements such as removing glare.
Additionally, make sure to familiarize yourself with Photoshop shortcuts in order to speed up your workflow.
Also knowing about the glossary of photography provides definitions and explanations of key terms and concepts used in the field of photography.
Setting Up Your Document
Before diving into the creative process of applying effects and filters, it’s crucial to set up your document properly in Photoshop.
A well-prepared document ensures that you can work efficiently and achieve the best results.
Choosing the Right Image for the 3D Effect
First, pick an image. Open Adobe Photoshop and drag the image into the workspace. Make sure it’s high–quality.
Use the layers panel to keep everything organized.
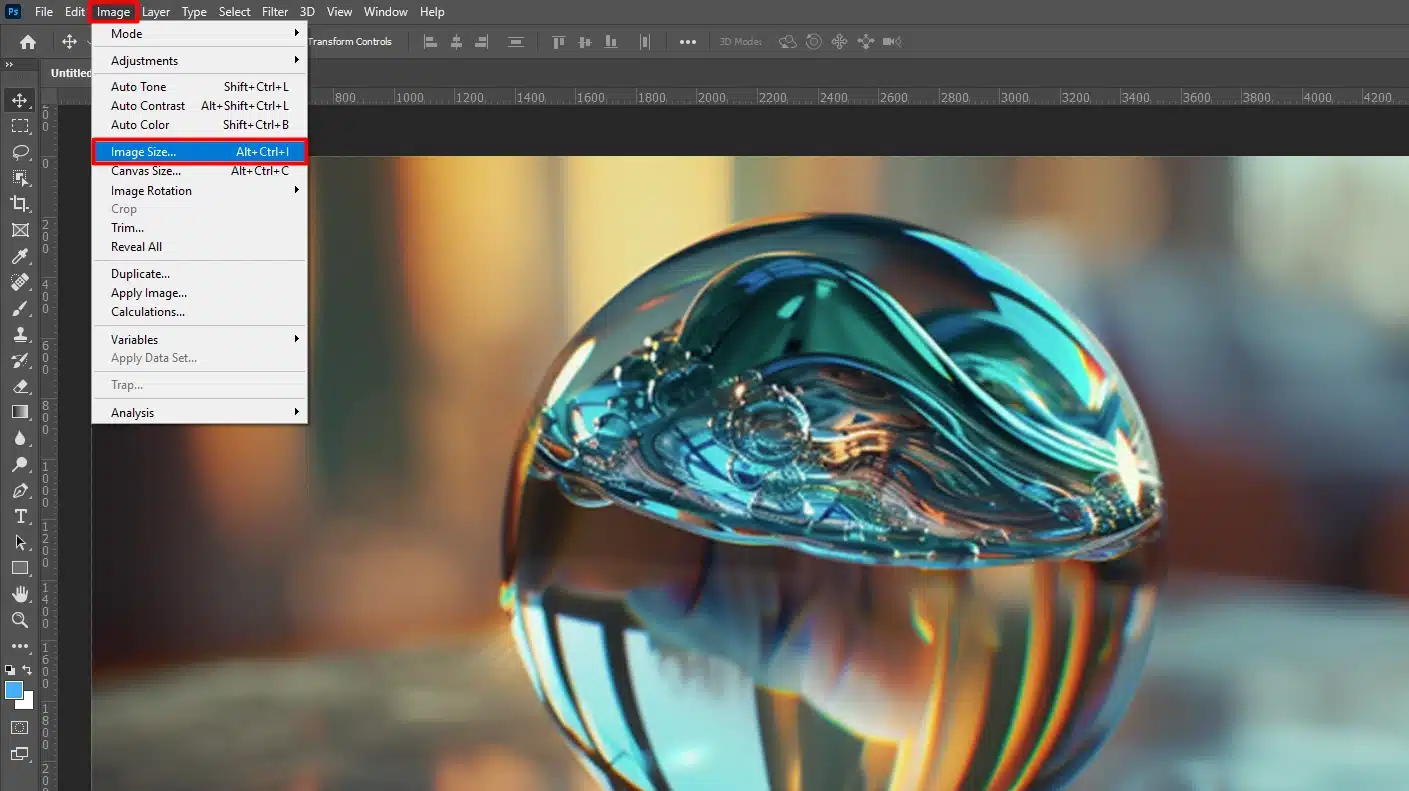
Adjusting Image Size and Resolution
Adjust the image size and resolution for better results. Go to “Image” in the top menu and select “Image Size.” Set the resolution to 300 PPI.
If needed, use the crop tool to frame key elements better. For more precise adjustments, you can also use Lightroom shortcuts to streamline your workflow.
For more insights, comparing Photoshop vs Illustrator reveals their distinct strengths: Photoshop excels in raster-based image editing, while Illustrator is ideal for vector graphics creation and editing.
Step-By-Step Guide on setting up your document
These steps will show you how to set up a document:
Duplicate the background layer by pressing Ctrl+J (Windows) or Cmd+J (Mac).
In the Layers Panel, double-click on the duplicated layer to open Blending Options.
Uncheck the Red Channel while leaving the Green and Blue channel checked.
Select the Move Tool (V) from the toolbar. Slightly drag the image to the left using the Left Arrow Key.
Merge the layers by selecting both layers and pressing Ctrl+E (Windows) or Cmd+E (Mac).
Use the Crop Tool again to remove any unwanted edges.
Save your finished photo with a new name to keep the original image.
Creating the 3D Anaglyph Effect in Photoshop
To use blending options:
Open Blending Options by double-clicking on your new layers.
Experiment by unchecking various color channels to see different results.
Repeat steps to create nuanced depths for each layer.
Pro Tip: When creating a 3D effect, less is more. A slight shift goes a long way. Don’t overdo it. Focus on quality, not quantity.
Additionally, using the content-aware fill can help you seamlessly blend elements for a more polished look.
Creating the 3D Effect
We all love adding that wow factor to our photos, right? One way is by creating a 3D effect.
Let’s dive into how to create it.
Pro Tip: It’s important to note that removing shadows in Photoshop can significantly alter the lighting and mood of a photograph, enhancing clarity and focus on the subject.
Duplicating the Layer
First, we need to duplicate the background layer. Simply press Ctrl+J or Cmd+J. This step creates a second layer that we will work with.
In the Layers Panel, this new layers pops up as “Layer 1, Layer 2, etc“.
Notice the layer icons beside it – you’ll see it often.
Adjusting the Red and Cyan Channels
Next, we adjust the red and cyan channels. Double click on “Layer 1” to open the Blending Options.
In the Channels section, uncheck the Redchannel. Leave the green and blue channels checked. This adjustment is crucial for the 3D anaglyph effect.
Offsetting the Layers With Left Arrow Key
Now, let’s make the magic happen! Select the MoveTool by pressing V. Use the arrow key to shift the left layer slightly to the left. This movement creates the 3d glasses effect photoshop.
Merge both left and right layer using Ctrl+E or Cmd+E. Finally, if there are unwanted edges on the top left corner or other corners, crop them out using the crop tool.
Pro Tip: Experiment with minimal shifts first. This will ensure depth while keeping the images crisp. And there you have it! Creating a 3Danaglypheffect is simpler than it seems.
Follow these steps in your next projectand watch your images pop!
Fine-Tuning the 3D Effect
To create stunning 3D effects in Photoshop, follow these steps to ensure your images stand out with depth and realism.
Each step focuses on a different aspect of the process, from blending modes to subtle adjustments for depth enhancement.
Step
Description
Blending Modes
Experiment with blending modes such as ‘Lighten’ to enhance the 3D effect.
Layer Masks
Use layer masks to refine the 3D contours by selectively revealing or concealing portions of the image.
Adding Noise for Authenticity
Apply noise using Filter > Noise > Add Noise to mimic imperfections and enhance the realism of your 3D anaglyph effect.
Pro Tip
Shift layers subtly for depth enhancement. Focus on minimal adjustments to maintain image clarity while achieving a noticeable 3D effect.
Alright folks, now that we’ve got the basic 3Deffectdown, let’s really dive into fine-tuning.
This part will make your twoimages stand out with that authentic look.
Blending Modes
Blendingmodes are where the magic happens. To access these, right–click on your duplicated layer and choose BlendingOptions.
Here, you can uncheck the red or cyan color channels to shift the colors slightly. This small tweak helps create that sweet 3D anaglyph effect.
Understanding blending modes in Photoshop allows you to creatively combine layers and adjust the interaction between them to achieve different visual effects.
Layer Masks
Next up, layer masks. They are like wizard hats for your layers.
Click the new layer icon, then add a layer mask to your duplicatedlayer. By painting white or black on the mask, you can keep or remove portions of your image, thus refining the 3Dcontours.
To give that final touch, we’ll add some noise. Go to Filter > Noise > Add Noise. A little bit of noise can make your photo look more convincing.
It mimics the tiny imperfections found in traditional 3Danaglyphphotos. Adjust the amount until it looks just right.
If you ever feel lost, don’t worry! These steps might sound tricky, but each click gets easier.
Pro Tip: When shifting the duplicated layer, try moving it to the left by just a couple of pixels. This small shift enhances depth without messing up the background image.
Want more tips and tricks? You can find a variety of helpful tutorials that will teach you everything from basic editing to advanced techniques in Photoshop.
Frequently Asked Questions
How to make 3D glasses with Photoshop?
Open your image in Photoshop.
Duplicate the background layer twice.
Label the top layer as 'Red' and the bottom layer as 'Cyan'.
Turn off the visibility of the middle layer and select the 'Red' layer.
Go to Image > Adjustments > Channel Mixer. Adjust the Red and Blue, Red channels to 0% and Blue to 100%.
Turn on the visibility of the 'Cyan' layer and select it.
Go to Image > Adjustments > Channel Mixer. Adjust the Red channel to 100% and Blue to 0%.
Change the blending mode of the 'Red' layer to 'Lighten'.
Align the multiple layers using the Move Tool for the 3D effect.
How to get the 3D effect in Photoshop?
Follow the steps above to create separate 'Red' and 'Cyan' layers.
Adjust the placement of the layers slightly to enhance the 3D effect. Experiment by moving them horizontally.
Use the opacity slider to adjust the intensity of the effect.
What is the 3D glasses effect?
The 3D glasses effect, also known as anaglyph 3D, creates an image that appears to have depth when viewed with 3D glasses.
The effect uses two colored images, typically red and cyan, superimposed but slightly offset to produce a 3D visualization.
How to make anaglyph effects in Photoshop?
Create two duplicate layers of your original image as mentioned in the first question.
Apply the Channel Mixer adjustment to each layer accordingly (Red 100% and 0% on Cyan for one, and vice versa).
Set the top layer’s blend mode to 'Lighten' to blend both layers into a single anaglyph image.
These courses have helped me enhance my skills and I’m confident they’ll do the same for you. Also, don’t miss out on Adobe’s powerful tools for Photoshop and Lightroom.
Happy editing!
If this article has helped you, then Like and Share it with your friends
$2,061.00Original price was: $2,061.00.$1,061.00Current price is: $1,061.00. 27584
Download Your Free Guide Now!
Discover the secrets of photography with our printable guide! Master essential techniques like aperture, shutter speed, and ISO to create stunning images. Get your free printable PDF now and start turning your snapshots into masterpieces!