Masking in Lightroom to Enhance Your Photography

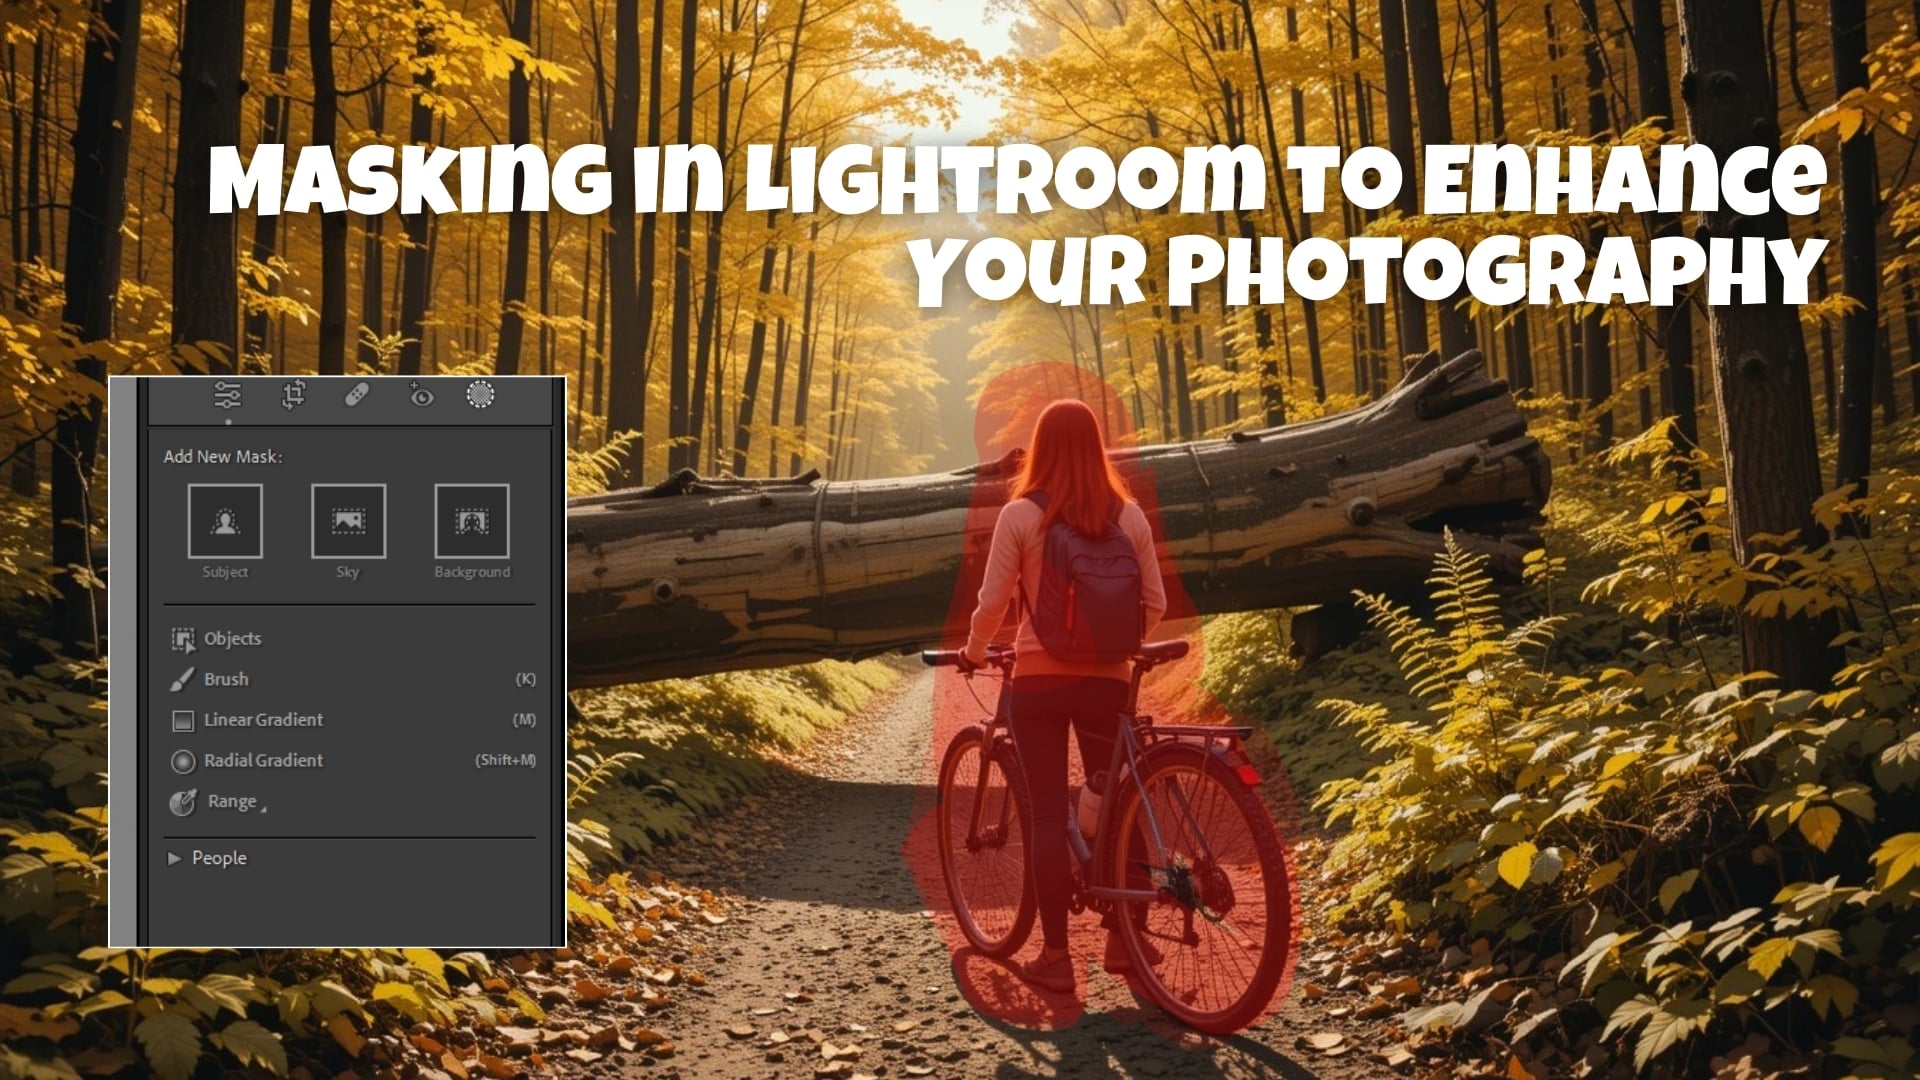
Masking in Lightroom is a powerful tool for editing photos with precision. It helps you adjust specific areas of your image without changing the whole picture. This feature is a favorite among photographers because it makes editing easier and more creative.

In this article, we’ll explore everything about masking in Lightroom. You’ll learn its purpose, how to use it, and advanced techniques for stunning edits. Whether you’re a beginner or an expert, this article has something for you!

Table of Contents

Why Masking in Lightroom is Important?

Ultimate-Lightroom-Course-Detailed-Image-Adjustments

Masking in Lightroom is an essential feature for precise photo editing. It allows photographers to make changes to specific parts of an image without altering the rest. For example, you can lighten a dark foreground while keeping the bright sky untouched. This ability to adjust targeted areas makes masking a powerful tool for creative and professional results.

Using masking tools, like the radial gradient, brush tool, and linear gradient, you can enhance specific details in your photos. For instance, a luminance range mask can brighten shadows or darken highlights based on their brightness, creating balanced contrast. Similarly, a color range mask lets you adjust only one color swatch without affecting others, perfect for boosting a sunset’s orange hues.

Like Lightroom’s color adjustments, Color Range in Photoshop lets you easily select and edit specific colors. It helps refine tones, isolate colors, and make precise corrections while keeping the image natural.

Benefits of Using Masking in Lightroom

Here’s why Lightroom masking is a game-changer for photo editing:

How Masking Tools Enhance Editing

Let’s look at masking tools and their uses:

Brush Tool:

Linear Gradient:

Radial Gradient:

Color Range Masks:

Luminance Range Masks:

Real-Life Example of Masking in Lightroom

Imagine you’re editing a portrait in lightroom where the sky looks dull. Use the select sky feature in the new mask panel to isolate it. Then, apply a linear gradient to bring out its vibrance. You can also use the subtract buttons to exclude parts of the selected mask or subtract areas with brush strokes for a cleaner result. Finally, refine the mask overlay using the settings panel for smooth transitions.

By mastering Lightroom masking, you can take your editing skills to the next level. It’s not just about making photos better; it’s about making them stand out. For even more control, explore Photoshop Masking to refine selections and enhance details.

Step-by-Step Guide to Using Masking in Lightroom

Masking in Adobe Lightroom helps focus adjustments on specific parts of an image. This guide will walk you through how to use masking tools effectively. Each step explains how to apply and refine masks for professional results.

Getting Started with Masking

A screenshot of Lightroom's masking panel with red arrows highlighting the mask selection and adjustment tools.

Access the Masking Panel

Create Your First Mask

Types of Masks and How to Use Them

Lightroom masking panel showing options like Objects, Brush, Linear Gradient, Radial Gradient, and Range with a highlighted section.

1. Radial Gradient:

2. Linear Gradient:

3. Luminance Range Masks:

4. Color Range Masks:

Refining Your Masks

Lightroom masking panel showing a selected subject mask with a red color overlay and options for refining the mask using overlay settings.

View Mask Overlay:

Intersect Mask:

Depth Range Adjustments:

Applying Advanced Features

Lightroom masking panel highlighting the "Select Sky" option with a red box and arrow, showing advanced selection tools.

Select Sky and Select Objects:

Save Time with Auto Sync:

By mastering all the masks and Tools in Lightroom, you can enhance your image edits to a new level of professionalism.

Advanced Masking Techniques for Professional Edits

Mastering advanced masking tools in Lightroom can transform your photos into stunning works of art. These techniques go beyond basic adjustments, offering precise and creative ways to enhance images. Here’s a deep dive into advanced methods for selective edits and professional results.

Using Multiple Mask Components for Better Control

When working with Lightroom Classic, combining mask components is key to achieving precision:

Create a New Mask:

Add or Modify Mask Components:

Edit the Selected Mask:

Advanced Use of Depth Range

The depth range feature is especially useful for photos with depth data, such as those taken on certain cameras:

Initial Selection:

Refine the Mask Area:

Combining Local Adjustments with Masking in Lightroom

Local adjustments can add creative layers to your mask created:

Step 1: Select Subject for Precision:

Step 2: Layer Local Adjustments:

For those looking to expand their skills beyond Lightroom, exploring Photoshop Layering Tutorials can provide even more advanced techniques for blending masks and adjustments seamlessly.

Making Creative Use of Invert Options

The invert option flips the selected area of your mask, allowing for innovative effects:

Invert a Mask Area:

Layer Adjustments:

Exploring New Features for Precision

Stay updated with new features in Lightroom for even more control:

Enhanced Masking Panel:

Save and Reuse Existing Masks:

Pro Tips for Professional Edits

By applying these advanced masking tools, you can achieve stunning results that make your images stand out. Professional editing starts with mastering these detailed techniques! Don’t forget to explore the Lightroom Selection Tool for precise adjustments and seamless editing.

Common Mistakes to Avoid When Masking in Lightroom

Even experienced editors can make errors while using masking in Lightroom. These mistakes can affect the quality of the final image. By knowing what to avoid, you can save time and improve your selective edits. Here are the most common pitfalls and how to fix them.

Overlapping Edits

Applying a radial gradient or other masks over the same area repeatedly can lead to unnatural results. This happens when edits stack up without proper blending.

How to Avoid It:

Forgetting to Refine Edges

When using masks, edges between the selected and non-selected areas might look abrupt. This can make the mask created look obvious and unnatural.

How to Fix It:

Ignoring the Impact on Overall Image

Sometimes focusing on specific areas with masking can cause you to overlook the whole photo. Over-editing one part may create imbalance in the image.

Tips to Prevent This:

Relying Too Much on Automated Tools

While Lightroom offers smart tools, relying solely on them can limit your creativity. Automated features may not capture the nuances of every photo.

What to Do Instead:

Not Saving Time with Reusable Masks

Many users forget they can save masks for similar edits in future projects. Creating new ones every time can waste valuable time.

How to Save Time:

Pro Tips to Avoid Mistakes

Avoiding these common errors will help you use masking effectively and create polished, professional-looking photos.

Pros and Cons of Masking in Lightroom

The table below outlines the strengths and weaknesses of masking in Lightroom Classic to help you understand its advantages and limitations.

FeatureProsCons
Ease of UseEasy to use for beginners.Lacks some advanced editing options.
Quick AdjustmentsOffers quick adjustments with the brush.May require more precision for detailed edits.
IntegrationSeamlessly integrates with other Adobe apps.Limited compared to highly detailed software.
Batch EditingGreat for batch edits and consistency.Not ideal for pixel-level fine-tuning.
Time EfficiencySaves time with an intuitive interface.Requires practice for complex edits.
Learning CurveEasy to get started with basic edits.Steeper learning curve for advanced techniques.

This balanced view helps you decide if Lightroom Classic fits your editing needs.

Frequently Asked Questions on Masking in Lightroom

Photoshop-Masterclass-Advanced-Editing-Layer-Manipulation

What is the purpose of masking in Lightroom?

Masking in Lightroom helps you edit specific parts of a photo without changing the whole picture. It allows you to brighten, darken, or enhance areas like a person’s face or the background. This makes your photos look more professional and focused.

Where is the masking slider in Lightroom?

In Lightroom, the masking options can be found in the adjustment toolbar. Once you select a masking tool like the brush, sliders for brightness, color, or sharpness appear on the side to adjust your edits.

Is masking in Lightroom free?

Yes, masking is included in Lightroom subscriptions. If you use the free trial, you can also access this feature during that time. However, you’ll need a paid version to continue using it after the trial.

What is the use of the masking feature?

The masking feature helps you focus on specific details in a photo. For example, you can sharpen a person’s eyes or make the background softer using tools like the brush. This feature is great for creating eye-catching edits that stand out.

Conclusion : Masking in Lightroom

Side-by-side comparison of a city street before and after Lightroom editing, showing improvements in lighting, contrast, and clarity.

When I first used masking in Lightroom, I struggled to get it right. But with practice, I learned how to enhance specific areas, like brightening a subject while keeping the background natural. It transformed my editing process and made my photos stand out.

Want to master these techniques? Join our Lightroom Course or Photoshop Course and take your photo editing to the next level. Start creating stunning images today!

If “Masking in Lightroom to Enhance Your Photography” article has helped you, then Like and Share it with your friends

Facebook
Twitter
LinkedIn
Pinterest

Have a nice photoshoot!

Read more about: Photo Editing with Lightroom and Photoshop

Download Your Free Guide Now!

Discover the secrets of photography with our printable guide! Master essential techniques like aperture, shutter speed, and ISO to create stunning images. Get your free printable PDF now and start turning your snapshots into masterpieces!