Have you ever wondered how to elevate your photo editing skills using the Lightroom Golden Ratio?
If you’re eager to create visually stunning images that captivate your audience, you’re in the right place. In this article, I’ll guide you through the magic of the Golden Ratio in Lightroom, a technique that can transform your photo from ordinary to extraordinary.
By the end of this read, you’ll have practical tips and insights that will make your photo stand out.
Ready to discover the secrets of professional photo editing?
Let’s dive in and unlock the potential of your creativity!
Table of Contents
Understanding the Lightroom Golden Ratio
Understanding the Lightroom Golden Ratio allows you to leverage compositional principles for more visually compelling images, enhancing your editing workflow in the latest version of the software.
In the latest version of Lightroom, understanding the Golden Ratio is simplified with the Shift + O shortcut, which lets you easily shift between different compositional guides.
What is the Golden Ratio?
The golden ratio, known as 1.618, appears often in nature and art. Mathematically, it’s derived from the Fibonacci sequence. In photography, it guides composition, helping images appear balanced.
An image divided by the golden ratio feels more natural to the eye.
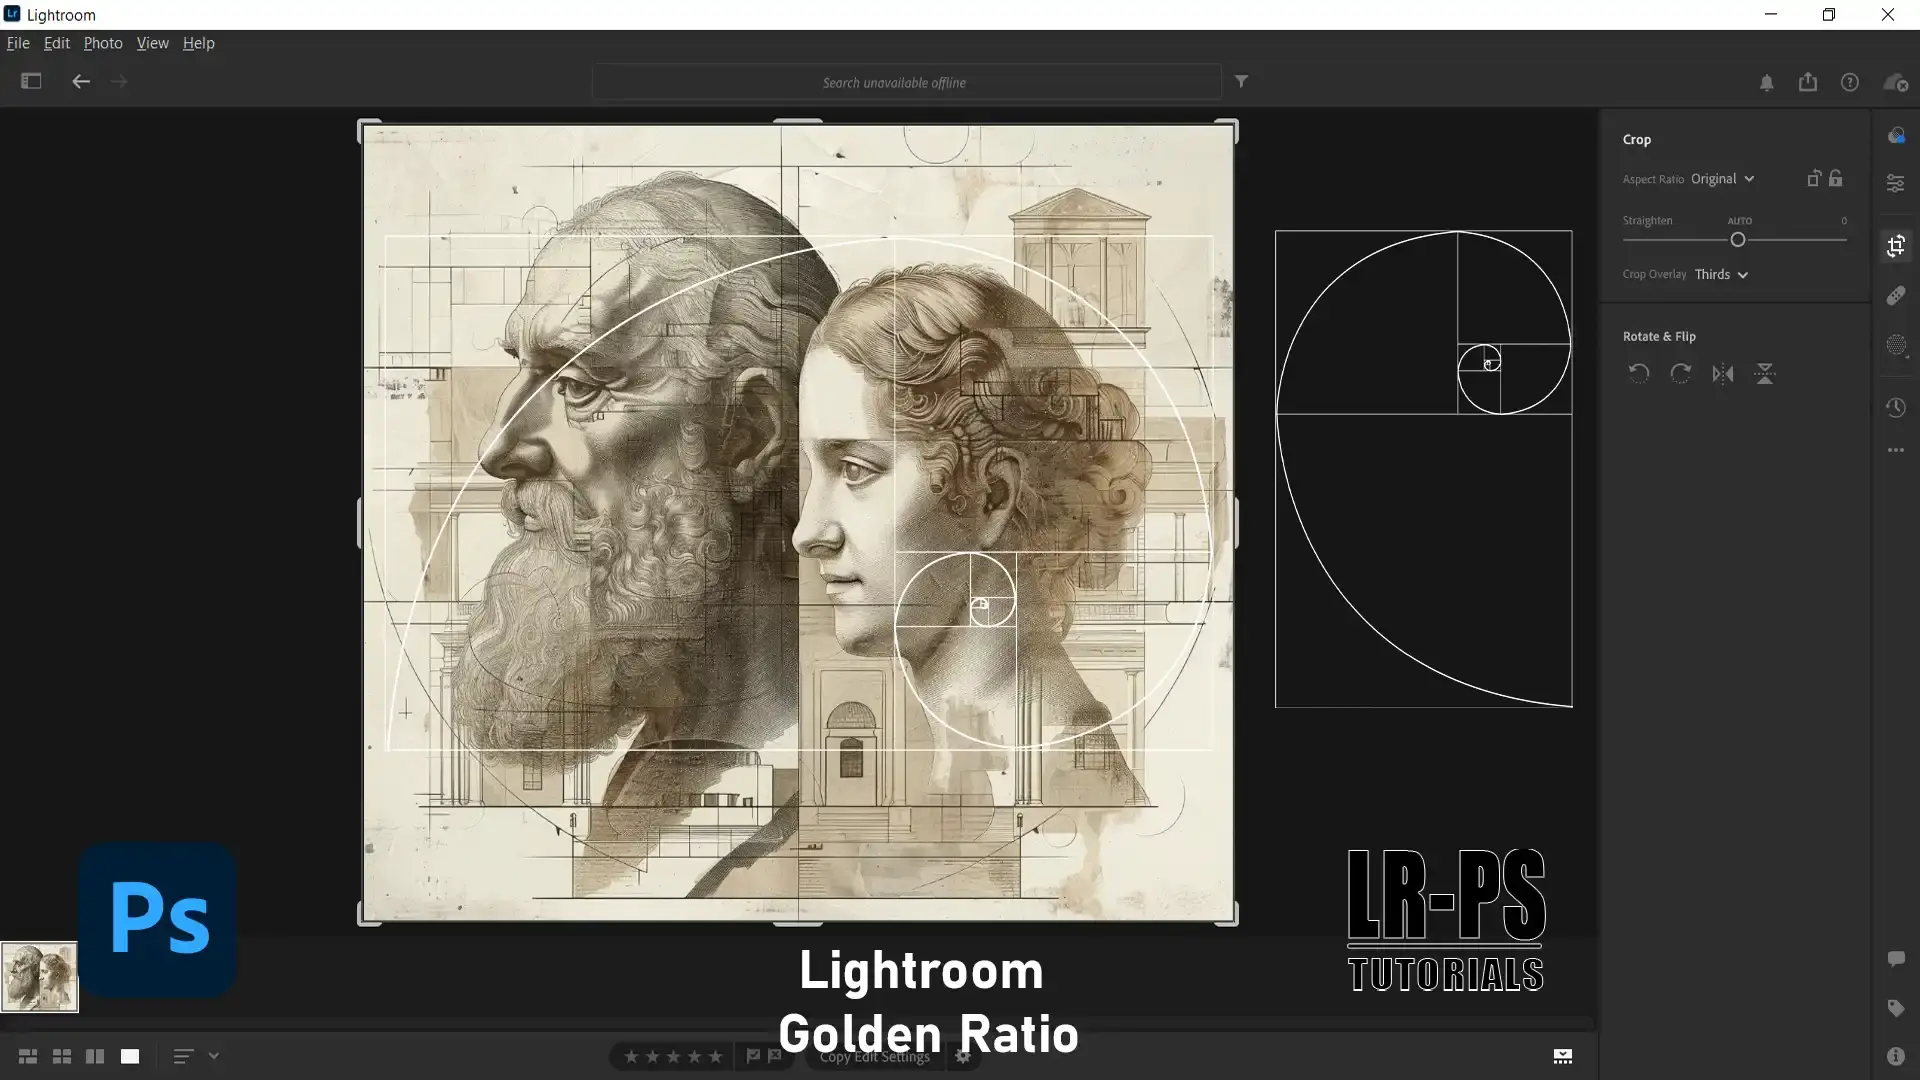
When you use Lightroom, you can apply the golden ratio using the crop tools. The crop guide overlay offers several options, including the golden spiral and the rule of thirds.
By pressing the O button, you can cycle through these overlays. For those looking to refine their skills, exploring Lightroom training can be highly beneficial.
Importance of Golden Ratio in Photography
The golden ratio prioritizes main elements in your photo, making it more engaging. By placing subjects along the golden spiral or other grid overlays, your photo becomes dynamic. The golden ratio isn’t a strict rule, it’s an aid for better compositions.
Professional photographers often use the golden ratio to draw viewers’ eyes naturally to important elements. This helps in avoiding the dead center placement, which can sometimes feel static.
Examples of Golden Ratio in Famous Images
You’ve probably seen the golden ratio in action without realizing it. Many iconic photos utilize the golden ratio, placing key subjects along the golden spiral or within golden sections.
Next time you look at a famous photo, notice how your eyes move across the image.
Load your photo into Lightroom Classic or Lightroom CC, then use the crop tools and select the crop overlay. Experiment with the different options, like the golden spiral and grid overlays, to see which composition works best.
Pro Tip: When the crop tool is active, try using the aspect ratios to experiment with different overlays. This allows for additional refining in your photo composition.
How to Use the Crop Tool in Lightroom
Learn how to use the tool in Lightroom to precisely adjust your image, ensuring optimal composition and framing with ease.
Accessing the Crop Tools
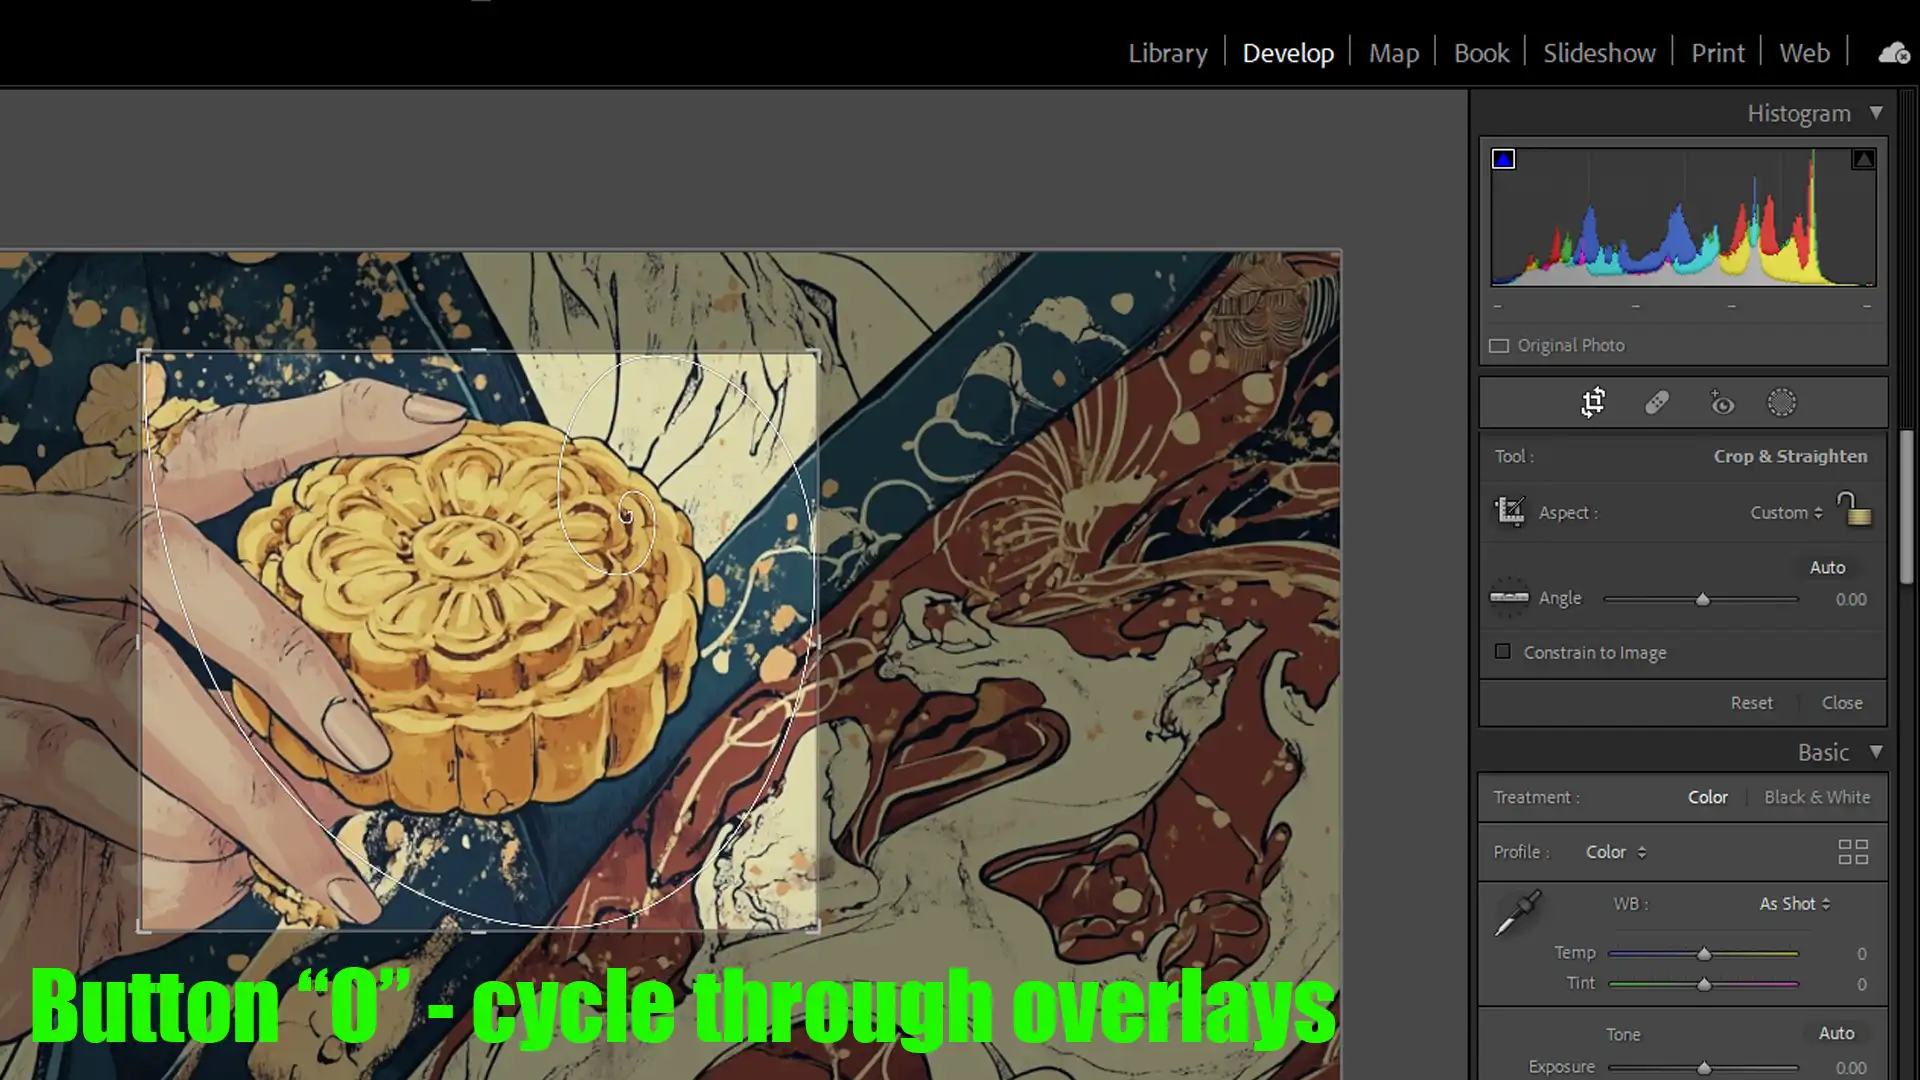
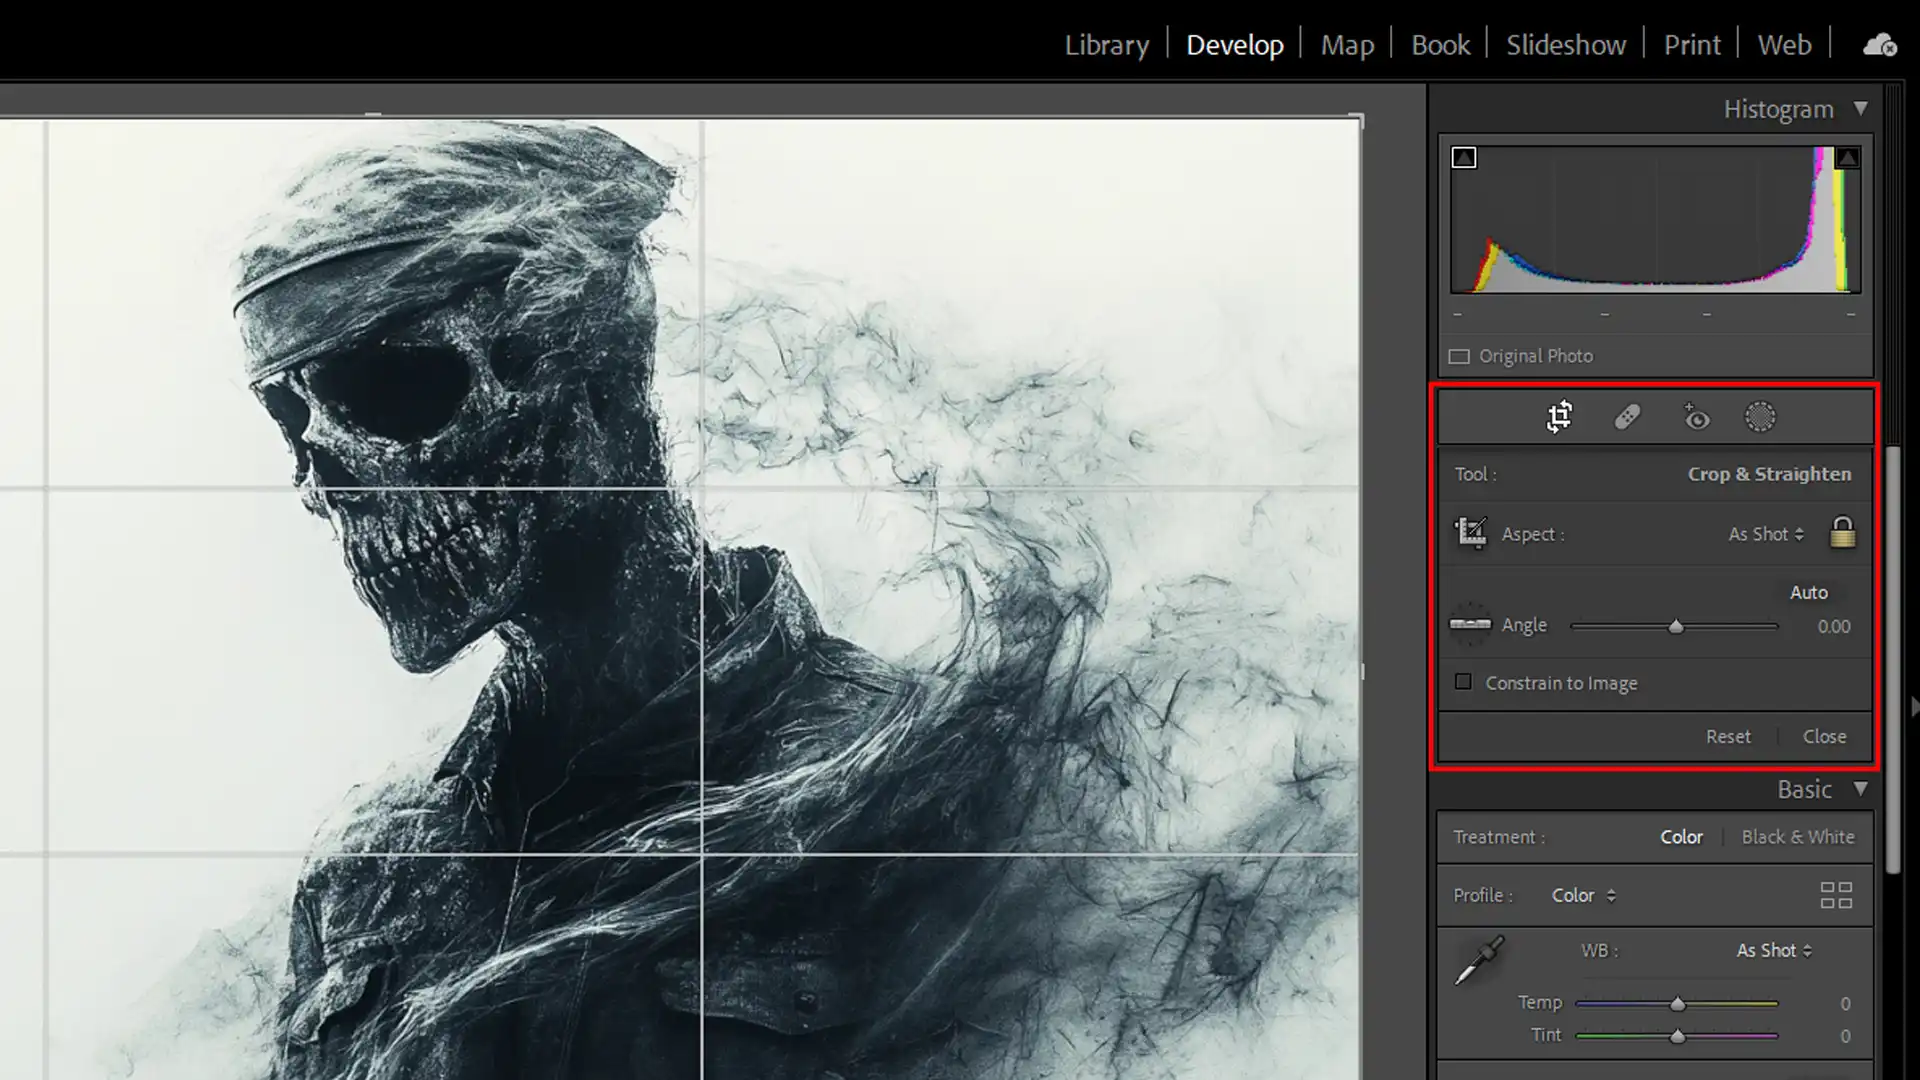
To begin, launch Lightroom and open the Develop panels. This module contains all the editing features you need. Find and select the crop tools. You can activate this tool by pressing the ‘R’ key on your keyboard.
Once the crop tools is active, a tool overlay will appear over your photo. This overlays provides guides to help you crop precisely. The basic grid overlays include:
Rule of thirds
Diagonal lines
Golden spiral
Basic Crop Adjustments
In this section, we’ll cover how to make basic crop adjustments:
Click and drag the corners of the crop overlay to adjust the size and shape.
Rotate the image by moving the mouse cursor outside the corner of the overlays and then clicking and dragging. In the latest version of the software, you can also use the shortcut key Shift + O to quickly adjust the rotation.
The aspect ratios available in Lightroom are critical for achieving a balanced composition.
By using the drop-down menu, you can select aspect ratios such as:
1:1
4:5
16:9
These presets help in maintaining consistency while editing. By selecting the aspect ratio overlay, you can quickly switch between aspect ratios. This feature is useful when fine-tuning your composition.
Press the ‘O’ key to cycle through a few different options of available overlays.
Advanced Crop Techniques
Now, let’s dive into advanced crop tools techniques. Lightroom Classic offers an array of crop overlays to refine your images:
When using the golden spiral, position the key elements of your photo where the spiral ends, naturally guiding the viewer's eye.
The rule of thirds remains a popular choice for creating balanced images. Align your subjects with the intersections of the thirds grid overlay to enhance visual interest. This technique avoids the dull effect of centered compositions.
Enable the crop guides overlay for more precision. The crop guides overlay includes various options like the golden rule and grid overlay. Use these features to experiment and improve your compositions.
Don’t forget that aspect ratios help in delivering images in different formats. Understanding how to leverage these ratios can elevate the quality of your work significantly.
Pro Tip: Remember, experimenting is key. Regular use of Lightroom’s advanced crop overlays will hone your skills and make complex composition decisions second nature.
Mastering the Crop Overlays in Lightroom
Welcome to the journey of mastering crop overlays in Lightroom!
If you’ve ever wondered how to achieve that perfect crop for your images, you’re in the right place.
We’ll break down what crop overlays are, the different types you can use, and how to leverage them for better photo composition.
What is Crop Overlays?
When you activate the crop tools in Lightroom by pressing ‘R’, an overlay appears on your image.
This tool overlay contains various guides that help you fine-tune your composition. You can adjust size, shape, and rotation while the crop tool is active, making it a valuable asset for photographers aiming for precision.
Types of Crop Overlays
Lightroom offers several crop overlays to choose from:
Rule of Thirds: Divides the image into nine equal sections, improving composition by placing key elements along these lines.
Diagonal Lines: Enhances the sense of direction and movement within your photo.
Golden Spiral: Aids in positioning your subject to create a more dynamic and appealing image.
By pressing the ‘O’ key, you cycle through these various overlays, offering flexibility and creativity in your editing process.
Using Crop Overlay for Better Composition
Now that we know what crop overlays are and the types available, let’s discuss how to use them effectively:
Select the Right Aspect Ratio: Begin by choosing an appropriate aspect ratio. Whether it's 1:1, 4:5, or 16:9, the right aspect ratio sets the foundation for a balanced composition.
Position Key Elements: Use the overlay guides to position crucial parts of your image. For instance, align eyes with intersections in the rule of thirds grid.
Crop with Intention: Always crop with a purpose. Whether you're eliminating distractions or focusing on a subject, your crop decisions should enhance storytelling.
Experimenting with these tools will significantly improve your photography skills, leading to stunning, well-composed images in Lightroom Classic.
Pro Tip: For precise cropping, enable the crop guides overlay and explore the golden spirals. Slight adjustments using this overlay can make a huge difference in your final image.
Remember, the key to mastering crop overlays lies in practice and experimentation. So go ahead, start editing, and watch your pictures transform!
Using Crop Guide Overlay for Perfect Composition
To achieve perfect composition in the latest version, use the crop guide overlays to align your frame and easily toggle between different cropping options by holding down the Shift key
Introduction to Crop Guide Overlay
Cropping your photos may seem simple, but doing it well requires understanding how to use crop overlays.
The crop guides overlay helps you adjust your images for optimal composition. When the crop tool is active in Lightroom Classic, overlays provide a visual guide to balance and enhance your photos.
The rule of thirds is one common overlay used to achieve symmetry.
Benefits of Using Crop Guide Overlay
Using crop overlays offers several benefits:
Improves Composition: Overlays like the rule of thirds help you position key elements in your photos, making them look more balanced and appealing.
Guides Creativity: Different overlays, such as diagonal line and golden spirals, inspire imaginative compositions.
Makes Refining Easier: Crop overlays provide precise guides, aiding in fine-tuning your image without guesswork.
Step-by-Step Guide to Crop Guide Overlay
Let’s walk through using crop overlays step-by-step:
Activate the Crop Tool: Open Lightroom Classic and press 'R' to activate the crop tool.
Select an Overlay: Press 'O' to cycle through different overlays, like the rule of thirds or golden spirals.
Choose Aspect Ratio: Decide on an aspect ratio overlay that suits your photo's intent, e.g., 1:1 or 16:9.
Adjust the Crop: Move and resize the crop box, aligning key elements with the overlay guidelines.
Finalize the Crop: Once satisfied, press Enter to apply the crop.
Experimenting with these steps in Lightroom Classic ensures better composition and more visually satisfying photos.
Pro Tip: Practice using different overlays to discover which best suits your style. Remember, the rule of thirds is a great starting point for balanced images.
Practical Tips for Using Golden Ratio in Lightroom
If you’re looking to take your photos to the next level, understanding the golden ratio in Lightroom is a game-changer.
Let’s dive in and explore practical tips for mastering this powerful technique.
Tip
Golden Ratio Method
Common Mistake to Avoid
Activation
Press ‘R’ to activate the crop tool. Press ‘O’ to cycle to Golden Ratio overlay.
Forgetting to activate the overlay or using the wrong tool.
Placement
Align key elements along the spiral or grid lines for balanced composition.
Placing too many elements along the spiral, making the photo cluttered.
Adjustment
Fine-tune the composition by aligning focal points with the Golden Ratio.
Ignoring the natural flow of the image and forcing elements into position.
Overall View
Zoom out to see the full picture and ensure the composition works well overall.
Focusing too much on details and missing the bigger picture.
To photograph a sunset using the golden ratio, align the horizon with one of the grid lines and position the sun or key elements along the golden spiral.
This technique creates a balanced and visually striking composition
Setting Up Golden Ratio in Lightroom
First things first, setting up the golden ratio in Lightroom is straightforward:
Activate the crop tool by pressing ‘R’. This is one of the essential Lightroom shortcuts that can speed up your workflow.
Once the crop tool is active, press 'O' to cycle through the overlays until you find the golden ratio.
This overlay provides guidelines to help you position key elements in your frame more effectively. With the crop tool active, you can easily adjust the composition to ensure your subject is perfectly framed.
Align critical parts of your photo along the spiral. This enhances the natural flow and makes your photos visually pleasing. The process adds balance without much effort. It’s remarkable how just a little adjustment can make a big difference.
Common Mistakes to Avoid
Using the golden ratio isn’t fail-safe. Some common mistakes can ruin your composition:
Avoid placing too many elements along the spiral. This can clutter your photo. Keep it simple. Focus on one or two crucial points.
Don't ignore the natural flow of the image. Don't force elements into positions they don't belong. The golden ratio works best when it complements your existing composition.
Don't forget to zoom out and view the whole picture. Sometimes, we get caught up in details and miss the bigger story. Remember, less is often more.
Understanding composition in photography is crucial for stunning shots. Avoid common mistakes to avoid by mastering composition techniques.
By perfecting your approach, you’ll enhance your photo and achieve professional results.
Enhancing Photos with Golden Ratio
Enhancing photos using the golden ratio involves patience and practice:
Start by choosing a strong focal point. This could be a person's face, an eye, or a compelling object. Align it with the curve of the golden ratio to lead the viewer's eye smoothly across the image.
Next, play around with the composition to create a harmonious balance. Move elements subtly along the lines of the golden ratio. This gives your photos depth and intrigue. Trust your instincts, if it looks good, it probably is!
Lastly, always review your work. Use the tool overlay feature to check that elements align correctly. Make small tweaks as needed. Over time, incorporating the golden ratio will become second nature.
Pro Tip: Combine the golden ratio with other compositional techniques. For example, use the rule of thirds grid to get your initial placement right, then fine-tune with the golden ratio overlay.
This layered approach creates compelling images every time.
The golden ratio is a fundamental composition rule in photography that enhances visual appeal by creating balanced and harmonious images.
Ready to transform your photos? Understanding and using the golden ratio in Lightroom opens up a world of creative potential.
Frequently Asked Questions
How do I find the Golden Ratio in Lightroom?
Follow these steps to find the Golden Ratio:
Open an image in the Develop module.
Select the Crop Overlay tool.
Press 'O' on your keyboard to cycle through the overlay options until you see the Golden Ratio overlay.
How do I get Golden Tone in Lightroom?
Easy steps to get the Golden Tone:
Go to the Develop panels.
Adjust the Temperature slider towards yellow to add a warm golden tone.
Enhance the effect by slightly increasing the Exposure and Vibrance.
How do you rotate the Golden Ratio in Lightroom?
Follow these steps to rotate the Golden Ratio:
Select the Crop Overlay tool in the Develop module.
Once the Golden Ratio overlay appears, press 'Shift + O' to rotate the overlay.
How do I make my Lightroom look golden hour?
Step-to-step guide to make Lightroom look Golden Hour:
In the Develop module, tweak the Temperature and Tint sliders to emulate the warm, soft light of the golden hour.
Boost the saturation slightly and lower the Highlights to achieve a softer look typical of the golden hour.
In conclusion, using the Lightroom golden ratio can truly elevate your photo editing skills. By applying this compositional technique, you can make your images more balanced and engaging.
I’ve found that it helps me create photos that really stand out and catch the viewer’s eye. If you want to dive deeper into mastering Lightroom and Photoshop, check out my Photoshop Course and Lightroom Course.
For the latest tools, you can explore Adobe Photoshop and Lightroom on the Adobe’s official website.
Happy editing!
If this article has helped you, then Like and Share it with your friends
$2,061.00Original price was: $2,061.00.$1,061.00Current price is: $1,061.00. 27584
Download Your Free Guide Now!
Discover the secrets of photography with our printable guide! Master essential techniques like aperture, shutter speed, and ISO to create stunning images. Get your free printable PDF now and start turning your snapshots into masterpieces!