Lightroom to Instagram Workflow Tips to Improve Your Editing

The Lightroom to Instagram Workflow helps you turn raw photos into stunning social media posts. It’s a quick process that makes your images look professional. Many photographers and social media users rely on it to improve their Instagram feeds.

In this article, you’ll learn how to prepare, edit, and post photos from Lightroom to Instagram. We’ll cover tips for better quality, and ways to save time. Whether you’re new to Lightroom or looking to enhance your workflow, this guide has everything you need.

Table of Contents

Understanding the Lightroom to Instagram Workflow

A Lightroom editing interface alongside an Instagram interface on a smartphone, showing a beautifully edited autumn landscape photo prepared for Instagram posting.

The Lightroom to Instagram workflow is all about making sure your photos look amazing on Instagram. By following a clear process, you can enhance image quality, apply consistent edits, and export files correctly to match Instagram’s requirements. This workflow saves time, keeps your style consistent, and improves your social media presence.

Why Use Lightroom for Instagram?

Lightroom is one of the best tools to edit photos for Instagram. Here’s why it stands out:

Using Lightroom means you can create professional-quality images that stand out in the Instagram app.

Choosing Between Lightroom Classic and Lightroom Mobile

Depending on your setup, you can use either Lightroom Classic on your computer or Lightroom Mobile on a mobile device. Here’s a quick comparison:

Example: A photographer may use Lightroom Classic at home for high-quality edits, then use Lightroom Mobile to make quick adjustments and post straight from their phone.

Organizing Your Lightroom Catalog for Instagram

Efficient organization is essential for a smooth workflow. Here’s how to keep your Lightroom Classic catalog tidy:

A well-organized catalog helps you find photos quickly, making the editing and uploading process much faster.

Editing Basics for Instagram Aesthetics

Lightroom Editing allows you to bring out the best in each photo. Follow these steps for basic adjustments:

These simple edits create visually appealing photos that look great in your Instagram grid.

Exporting for Instagram Posting

Getting the export settings right is crucial for high-quality posts. Here’s a step-by-step guide:

This export process ensures that your photos are ready for Instagram with minimal loss of image quality. By optimizing lightroom export quality, you can achieve the best results for your images.

By following these steps, you can build an efficient Lightroom to Instagram workflow that produces stunning photos every time.

Preparing Your Photos in Lightroom for Instagram

Ultimate-Lightroom-Course-Detailed-Image-Adjustments

Preparing your photos in Lightroom for Instagram involves a few steps that make your images look polished and professional. Whether you’re sharing nature shots, portraits, or event photos, these steps help you get the best results. This section covers essential adjustments, from image sizing to final touches, so your photos shine on Instagram.

Adjusting Image Size and Aspect Ratio

When preparing your photos, image sizing is important for clear, high-quality uploads. Instagram favors specific dimensions, so resizing is key.

For instance, travel photographers often use the 4:5 ratio to capture vertical landscapes that look stunning in an Instagram account feed.

Final Touches with Lightroom’s Editing Tools

Once the basics are in place, you can fine-tune with additional tools:

These steps let you achieve professional edits with minimal effort, helping you develop a strong and recognizable style.

Preparing for Posting with Captions and Hashtags

A good Instagram caption enhances your post and encourages engagement. Prepare your caption in advance to ensure it matches your photo’s vibe:

By planning your posting details, like captions and hashtags, you’re all set to share your best work with ease.

Following these steps ensures that your photos are high-quality, vibrant, and ready for Instagram. This approach gives you a smooth current workflow, making the Lightroom to Instagram process a true game changer for your social media presence.

How to Export Photos from Lightroom for Instagram

Screenshot of Lightroom’s export settings panel showing options for export location, file naming, and subfolder creation.

Exporting photos from Lightroom for Instagram requires a few important steps to ensure that your images look crisp and vibrant on Instagram. This section will guide you through optimizing your photo output, from setting pixel dimensions to managing details like layout and captions, so you can seamlessly share high-quality images on your Instagram account.

Setting the Right Dimensions and Output Quality

For Instagram, photos need to be properly sized for clarity and visual impact. Choosing the right dimensions is critical.

A landscape photographer, for instance, may use these settings to ensure wide shots look detailed on smaller screens.

Preparing the Photo for Upload with Final Edits

Before sending your photo to Instagram, make final tweaks to maximize impact.

These last-minute edits ensure your photo has a professional finish that stands out.

Saving the Photo for Easy Access on Your Device

Once the photo is ready, save it in a location that’s easy to access on your phone.

Saving to your device means you’re just a few steps away from sharing your photo.

Uploading to Instagram with Captions and Hashtags

When your photo is ready, follow these steps to complete the process:

Including an engaging caption and appropriate hashtags can help your photo get more likes, comments, and shares.

Following these steps ensures that your photos are optimized for Instagram, from initial output to final post. This attention to detail makes your Lightroom to Instagram process efficient, helping you build a stunning Instagram feed that reflects your style and vision. Explore how to export from photoshop to lightroom for a seamless editing experience.

Lightroom Mobile vs. Desktop for Instagram: A Feature Comparison

When deciding between Lightroom Mobile and Desktop for Instagram, it’s helpful to understand how each version supports different needs. Here’s a quick comparison of key features to help you choose the best option.

Feature Lightroom Mobile Lightroom Desktop
Ease of Use Simple for quick edits on-the-go Advanced tools for detailed adjustments
Device Compatibility Works on phone and tablet Works on computer
Preset Application 
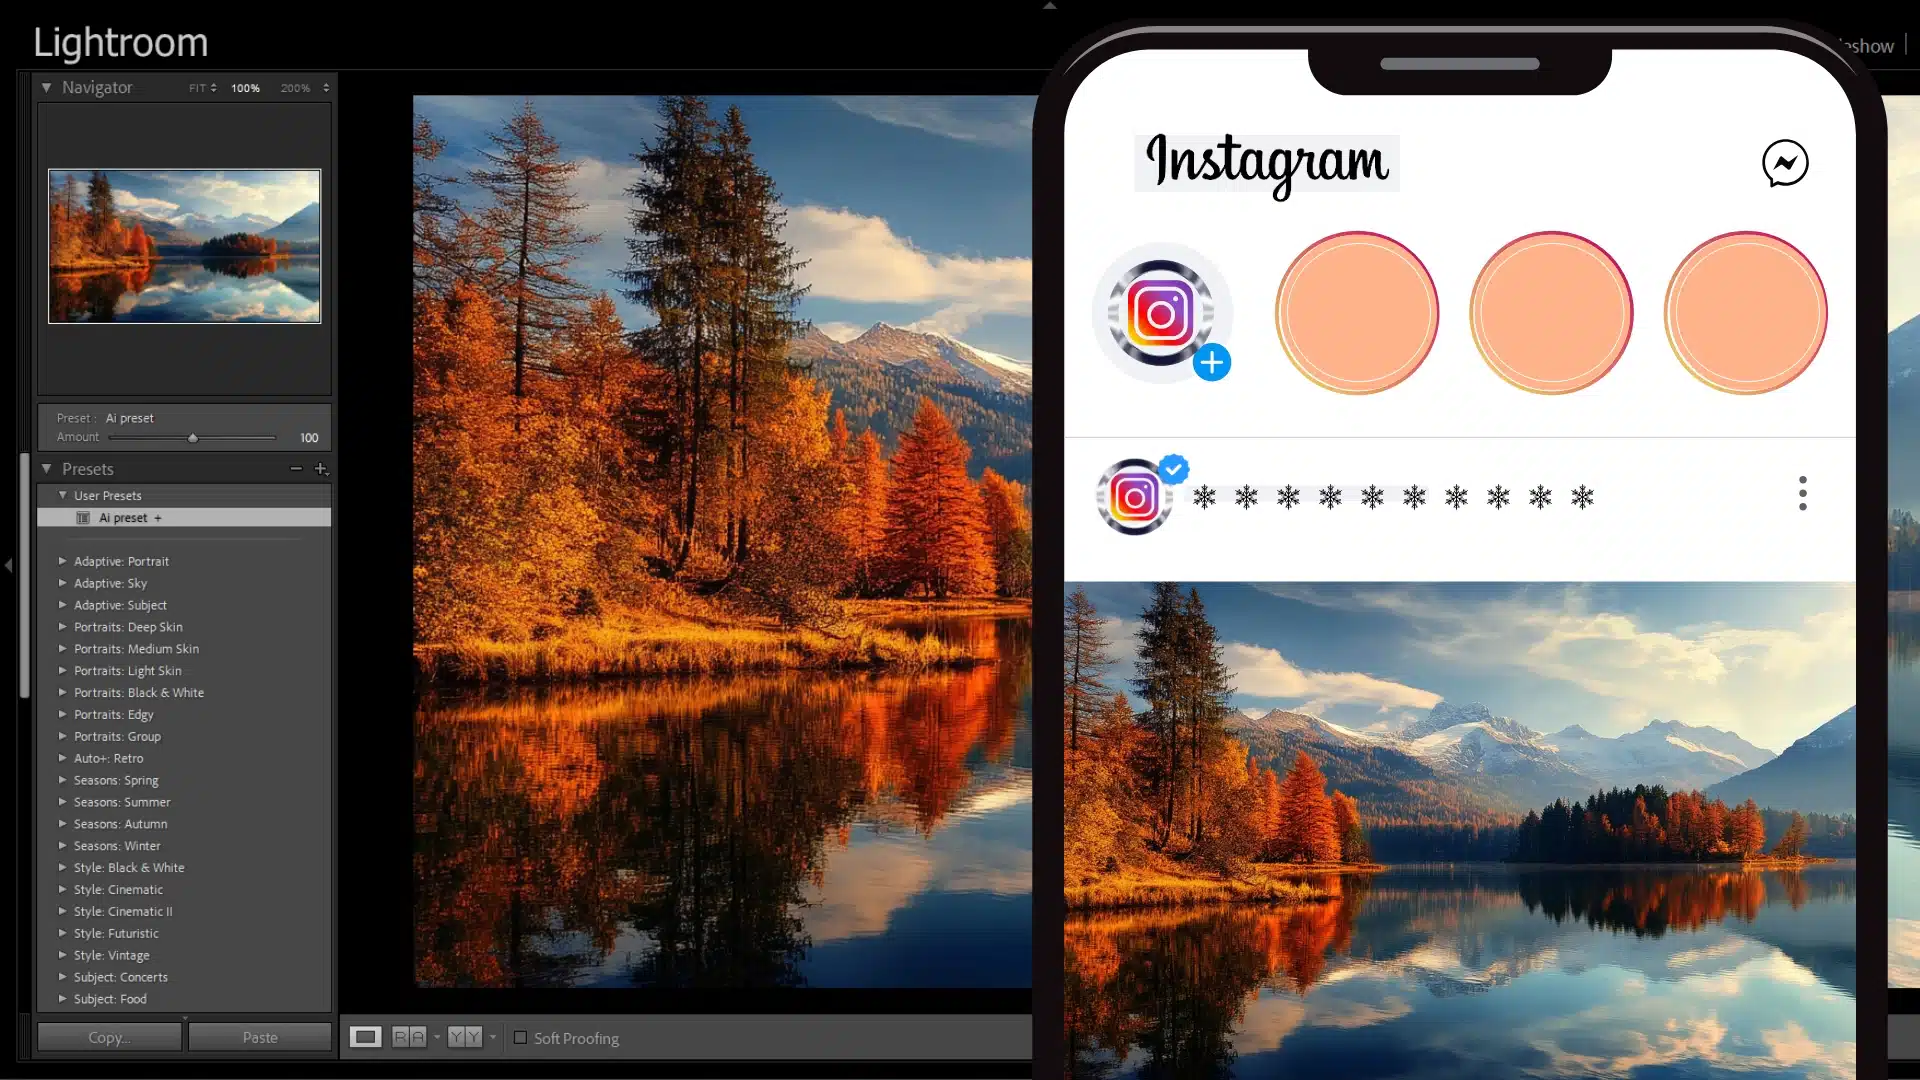
Easy to apply presets; great for a consistent style More control over preset customization
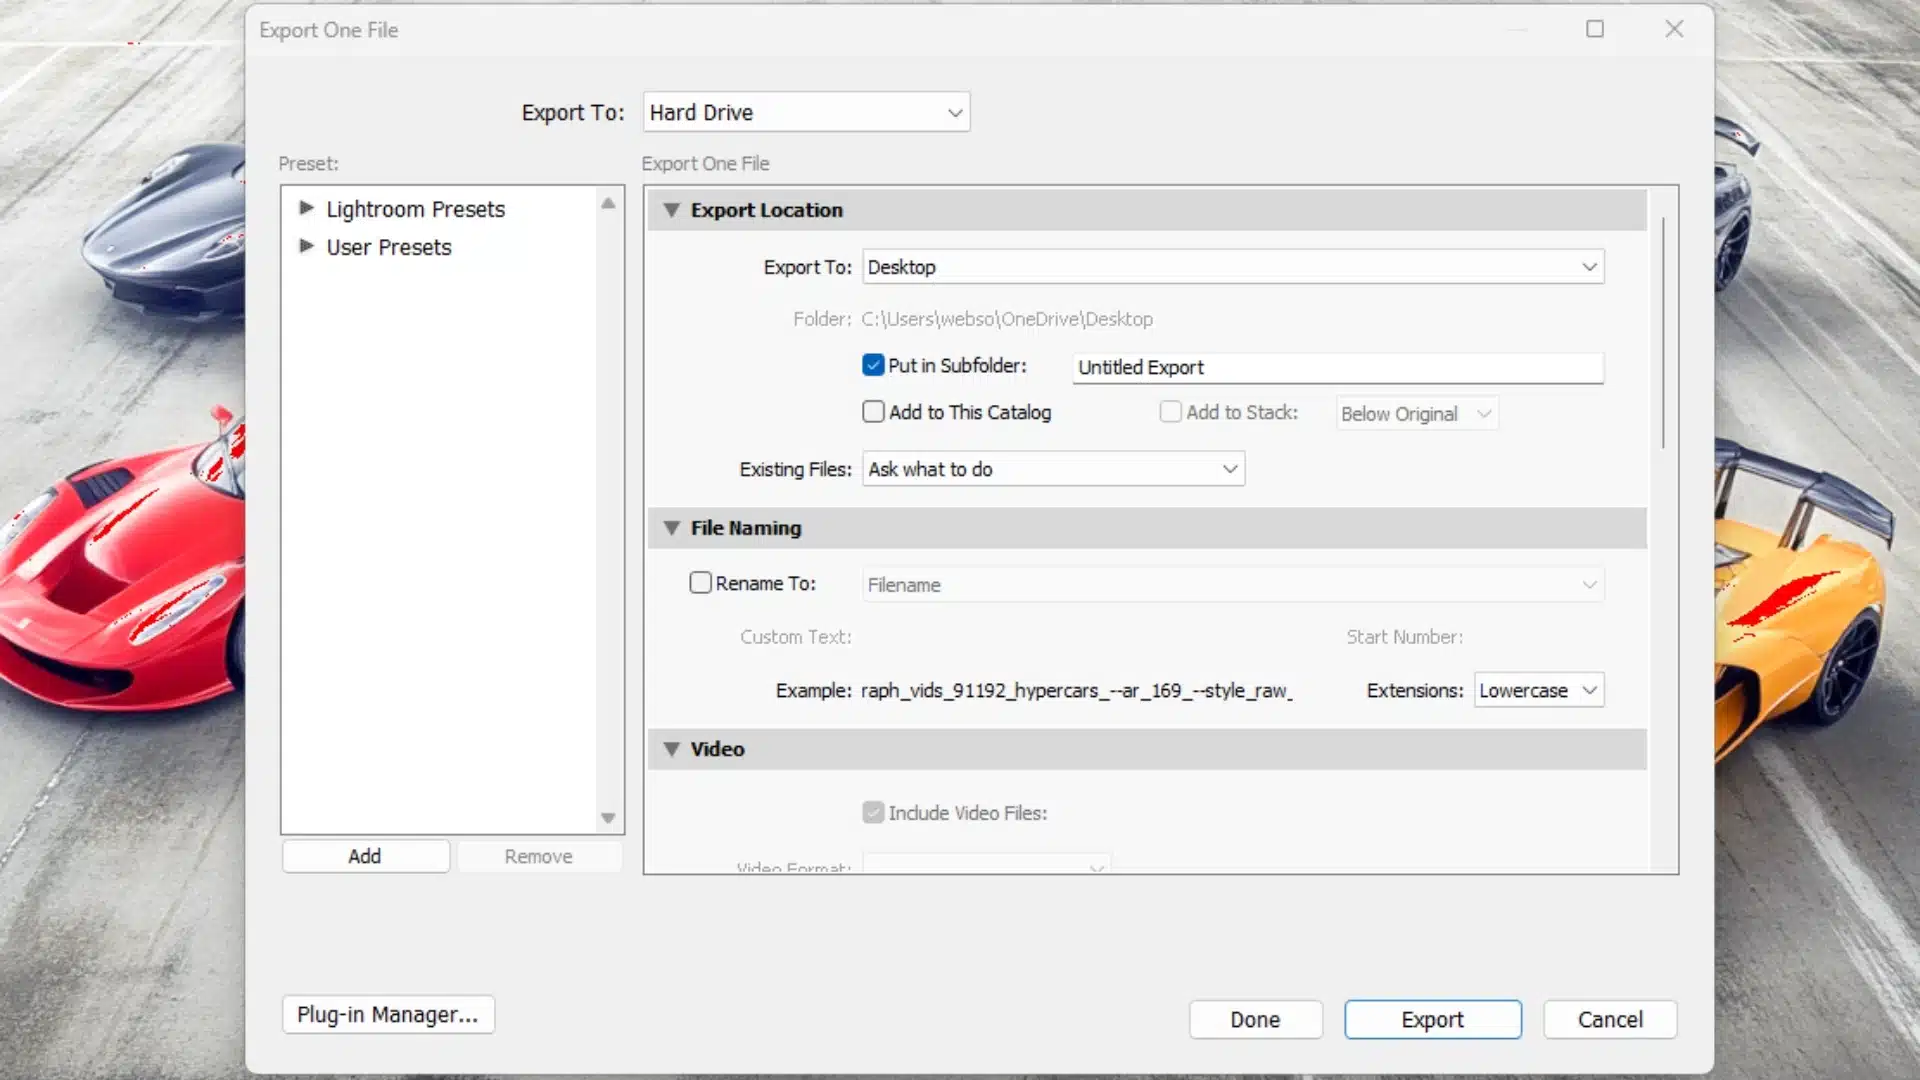
Image Export 
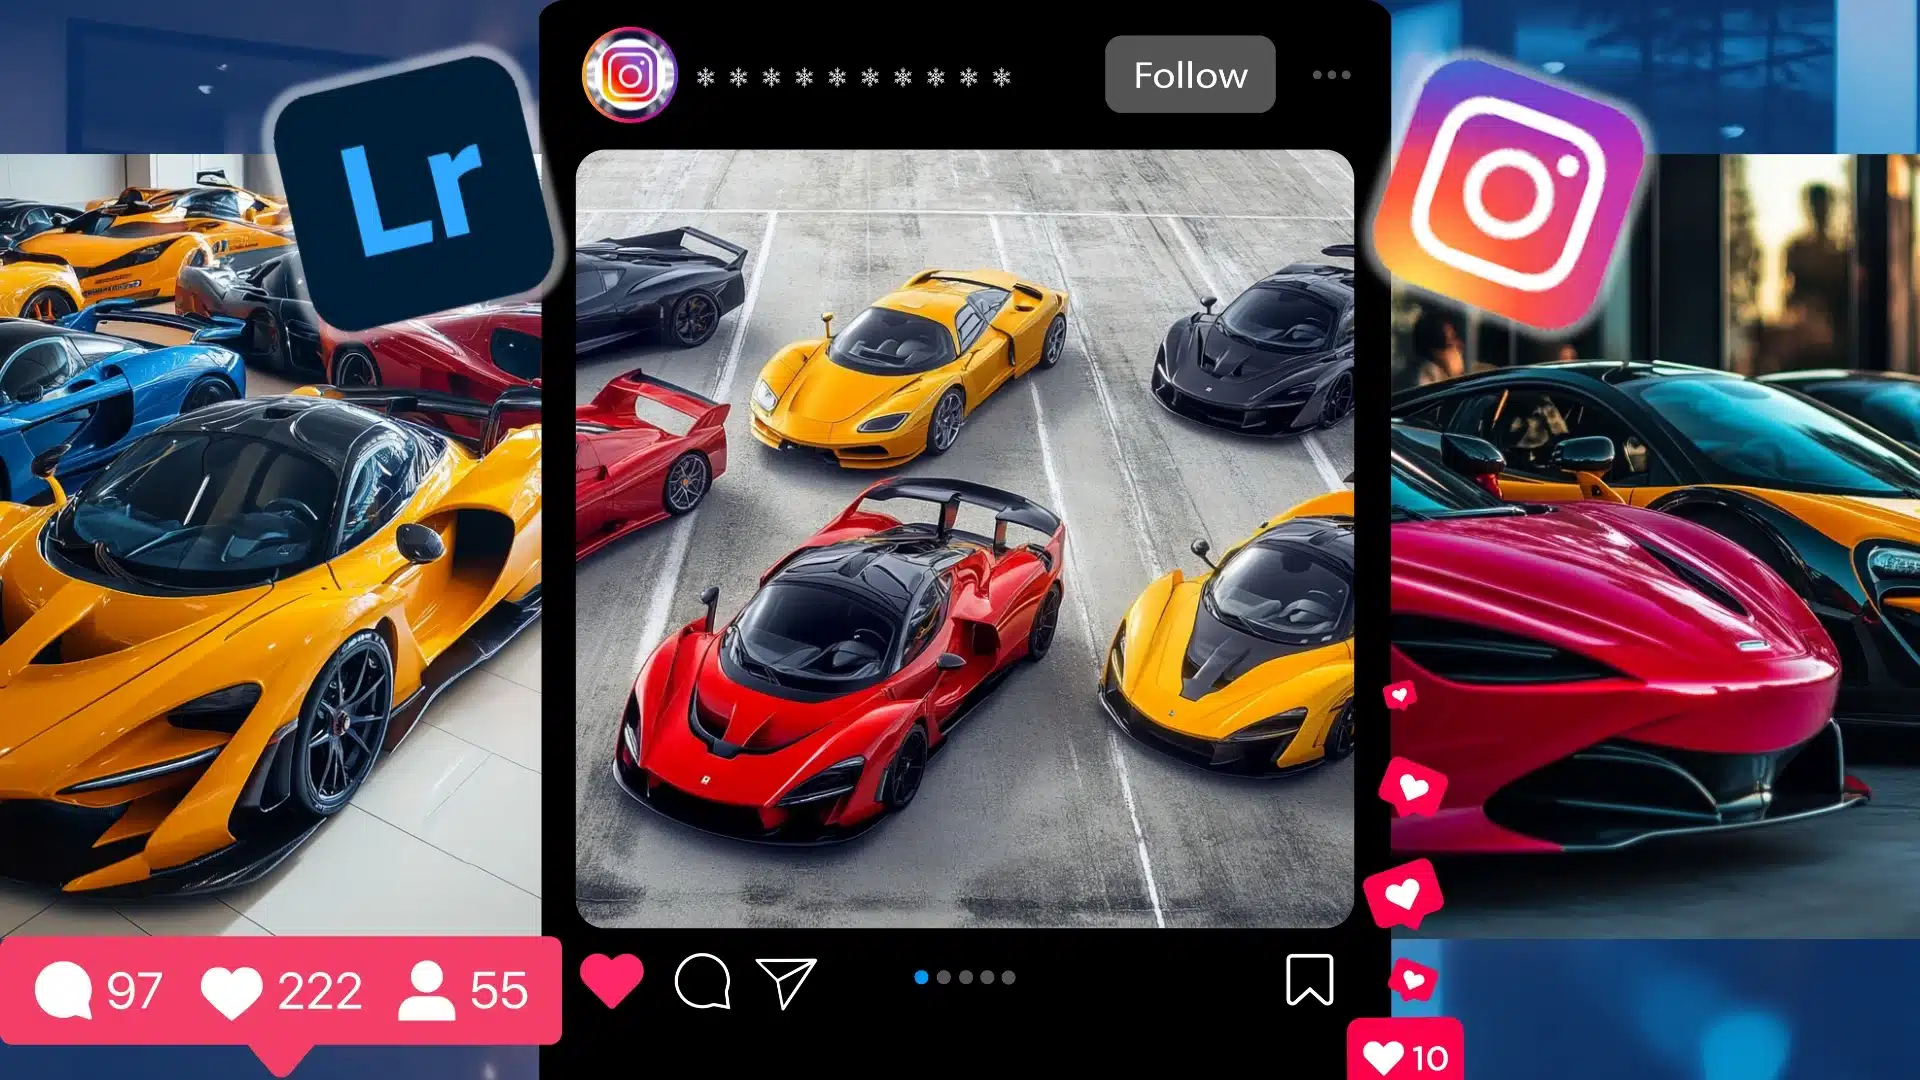
Directly share to Instagram High-quality output with more file options
Storage Cloud-based, saving space on device Uses computer storage; ideal for larger projects
Editing Options Basic adjustments like color and brightness Advanced features like selective edits and plugins

Both versions of Lightroom have unique strengths, so choose the one that best fits your editing style and Instagram posting needs.

Tip: Use Movie Poster in Photoshop to create stunning designs that stand out on social media.

Frequently Asked Questions : Lightroom to Instagram Workflow

Photoshop-Masterclass-Advanced-Editing-Layer-Manipulation

How do I post from Lightroom to Instagram?

To post from Lightroom to Instagram, first export your photo to your phone or camera roll. Then, open Instagram, start a new post, and select your saved photo. Add your caption and any hashtags, then share it with your followers.

What is the best format to export from Lightroom for Instagram?

The best format is JPEG, as it keeps image quality high without making the file too large. Set the width to 1080 pixels to fit Instagram’s standards and use sRGB as the color setting. This ensures colors look accurate on mobile screens.

How do you split photos in Lightroom for Instagram?

To split photos, use the print module in Lightroom. Arrange your image to create even sections, then save each section as a separate photo. You can also use third-party apps if you want an easier method. After splitting, upload each piece in order for a seamless look on your feed.

What is your Lightroom workflow?

A basic Lightroom workflow involves these steps:

This workflow keeps your photos organized and ready for quick posting on Instagram.

Conclusion : Lightroom to Instagram Workflow

Lightroom editing interface showing adjustments for temperature, tint, exposure, and contrast to improve image quality and colors.

Mastering the Lightroom to Instagram workflow has made sharing high-quality photos much easier for me. With the right settings and simple edits, I can now create posts that look professional and eye-catching.

If you want to elevate your Instagram game and learn how to make every photo shine, explore our Photoshop Course and Lightroom Course.

If “Lightroom to Instagram Workflow” article has helped you, then Like and Share it with your friends

Facebook
Twitter
LinkedIn
Pinterest

Have a nice photoshoot!

Read more about: Photo Editing with Lightroom and Photoshop

Download Your Free Guide Now!

Discover the secrets of photography with our printable guide! Master essential techniques like aperture, shutter speed, and ISO to create stunning images. Get your free printable PDF now and start turning your snapshots into masterpieces!