| Primary Tool |
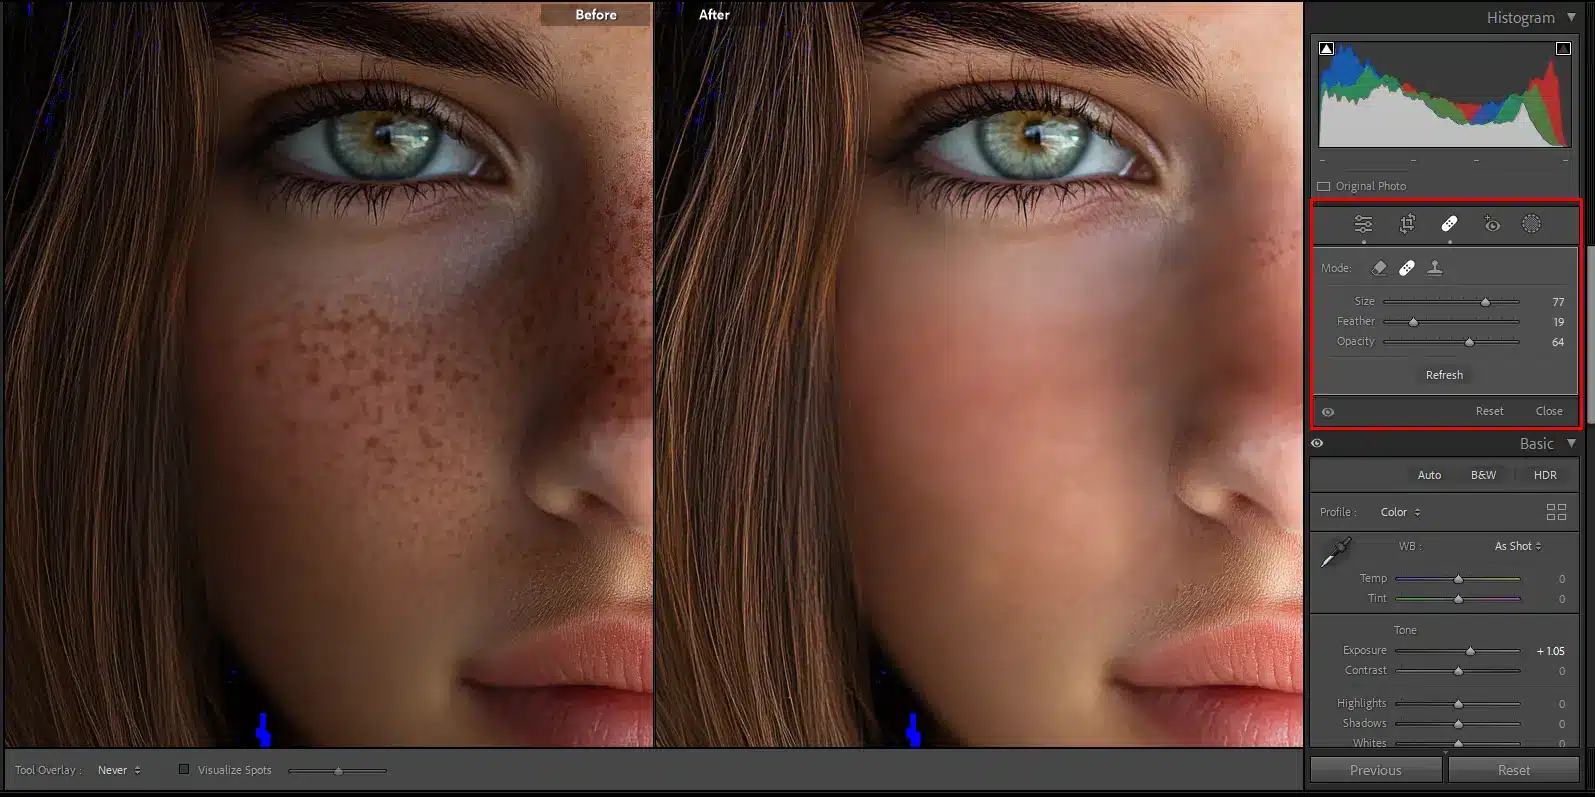
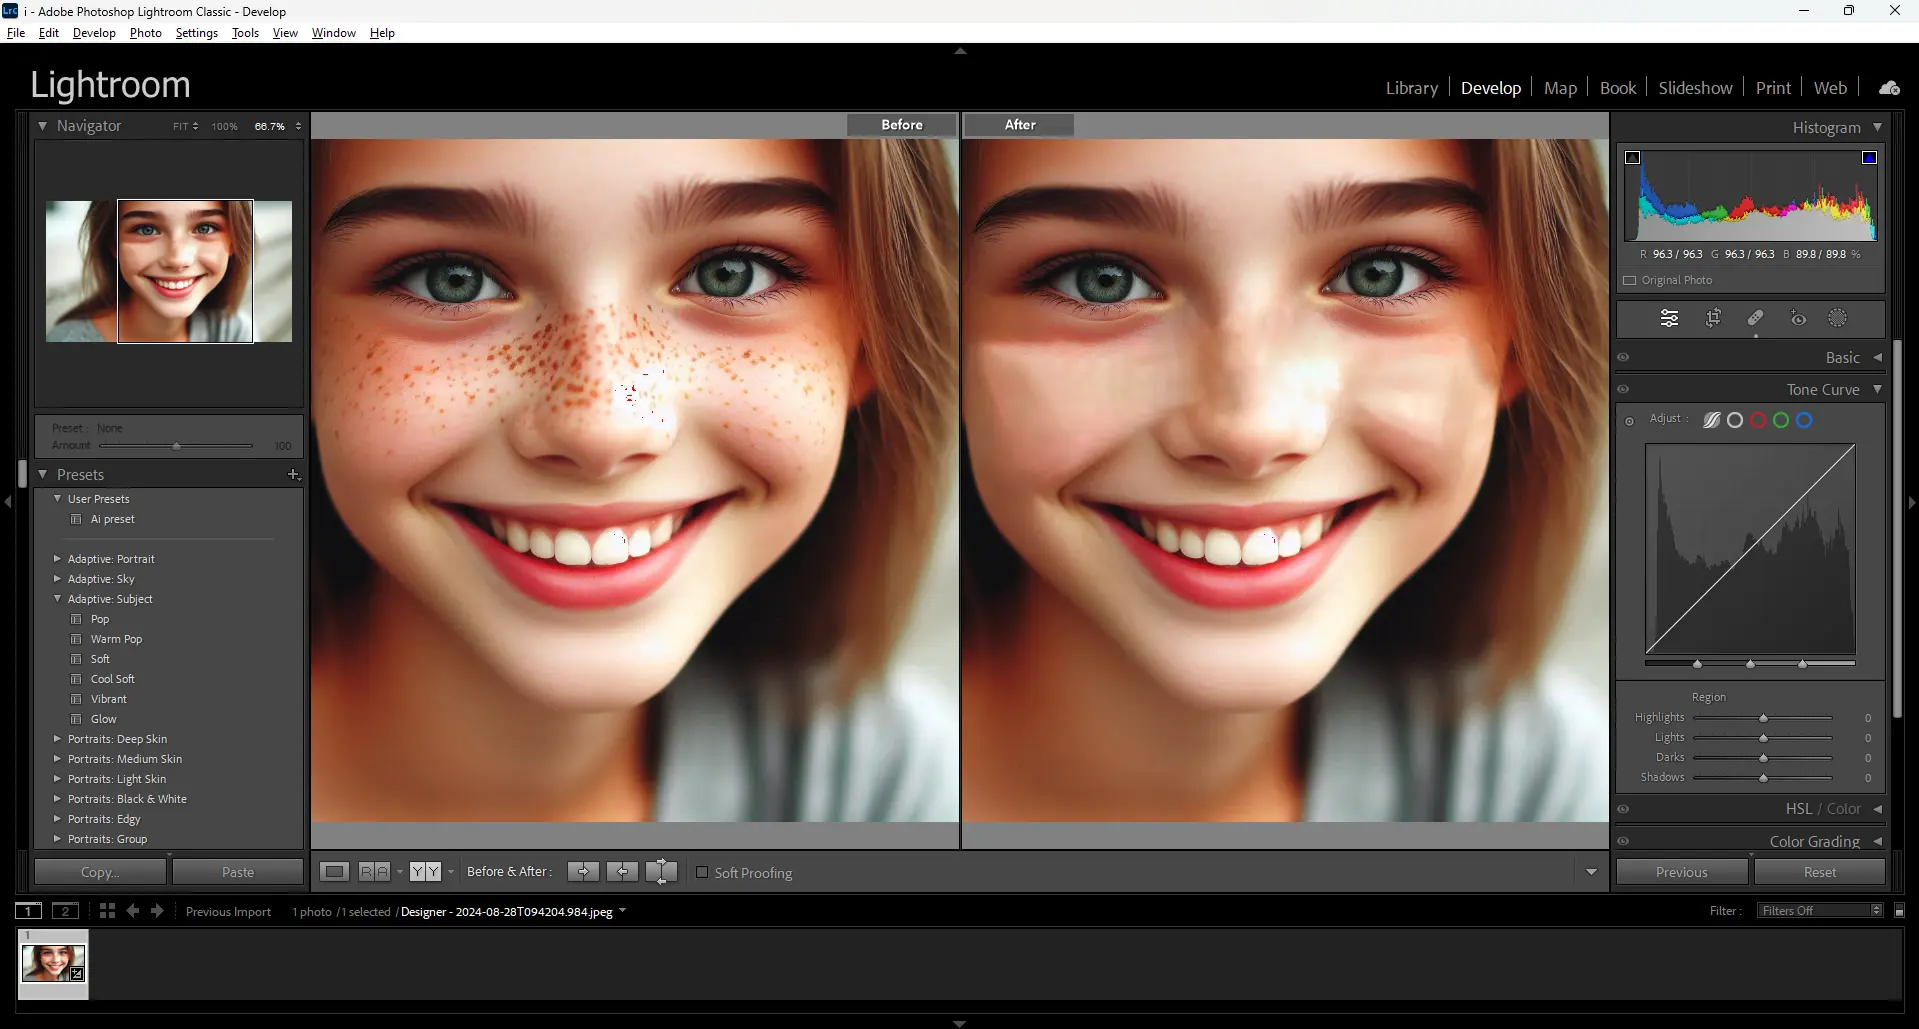
Spot Removal Tool (Heal Mode) |
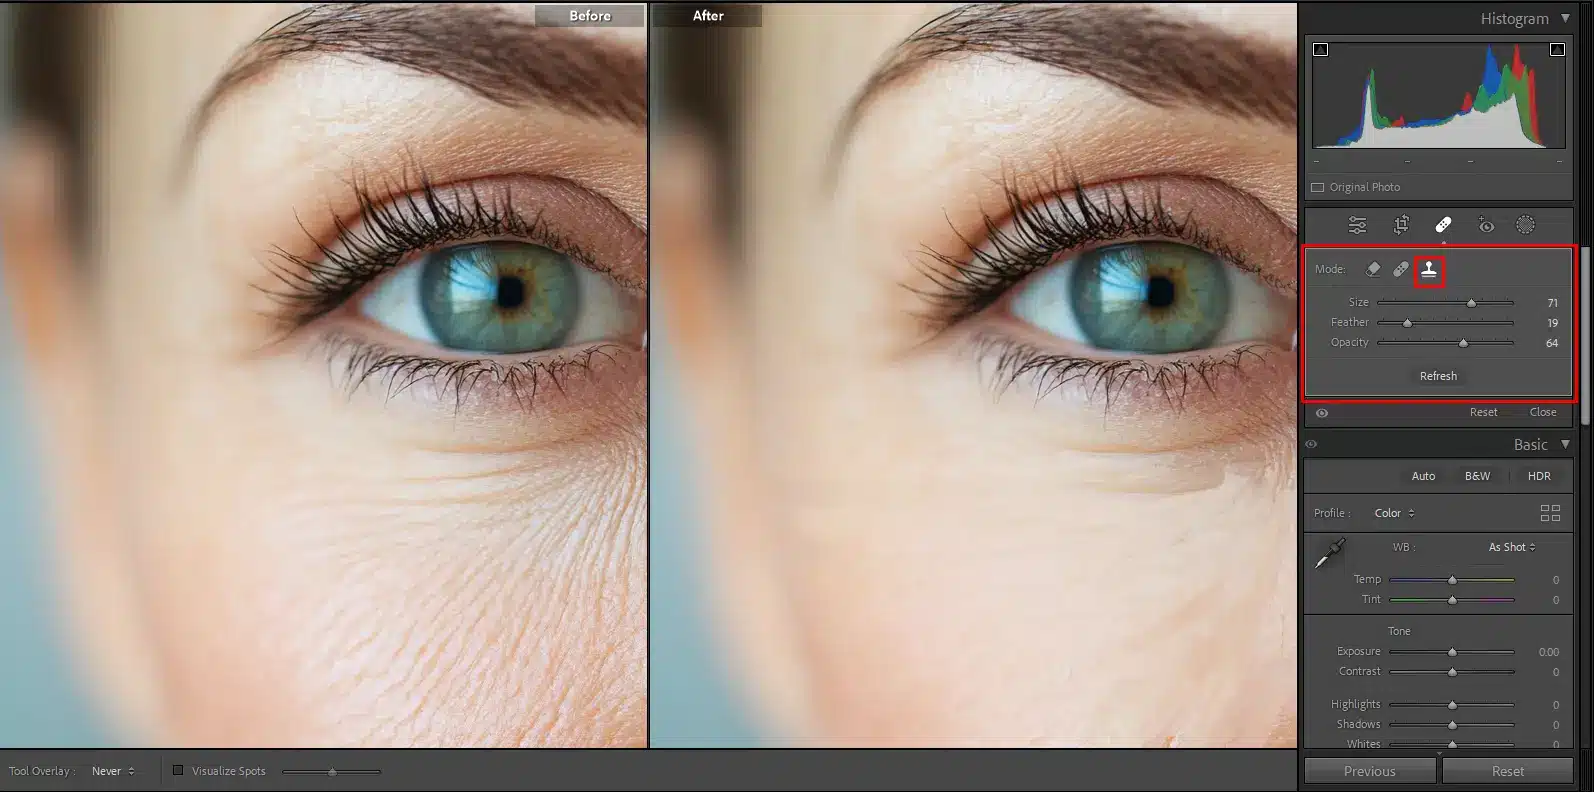
Spot Removal Tool (Heal Mode) & Adjustment Brush |
| Technique |
Single clicks to target small, isolated imperfections |
Long, gentle strokes to soften wrinkle lines |
| Brush Size |
Slightly larger than the blemish |
Adjusted to cover entire wrinkle length |
| Opacity Adjustment |
Moderate opacity adjustment to blend corrections seamlessly |
Lower opacity (around 40-50%) to soften wrinkles without over-correction |
| Sampling Area |
Manually adjust if Lightroom’s auto-selection isn’t ideal |
Frequently reposition sampling area for better results |
| Final Touches |
May require further adjustment with the Adjustment Brush |
Further refining with Adjustment Brush, focusing on Clarity and Texture sliders |
| Best Practices |
Use small brush size for precision; avoid over-correction |
Apply gradual adjustments to maintain natural skin texture |
| Result |
Flawless skin with no visible blemishes |
Softer, less pronounced wrinkles that retain natural appearance |