Sky Replacement Photoshop Techniques for Stunning Images
Sky Replacement Photoshop Techniques for Stunning Images
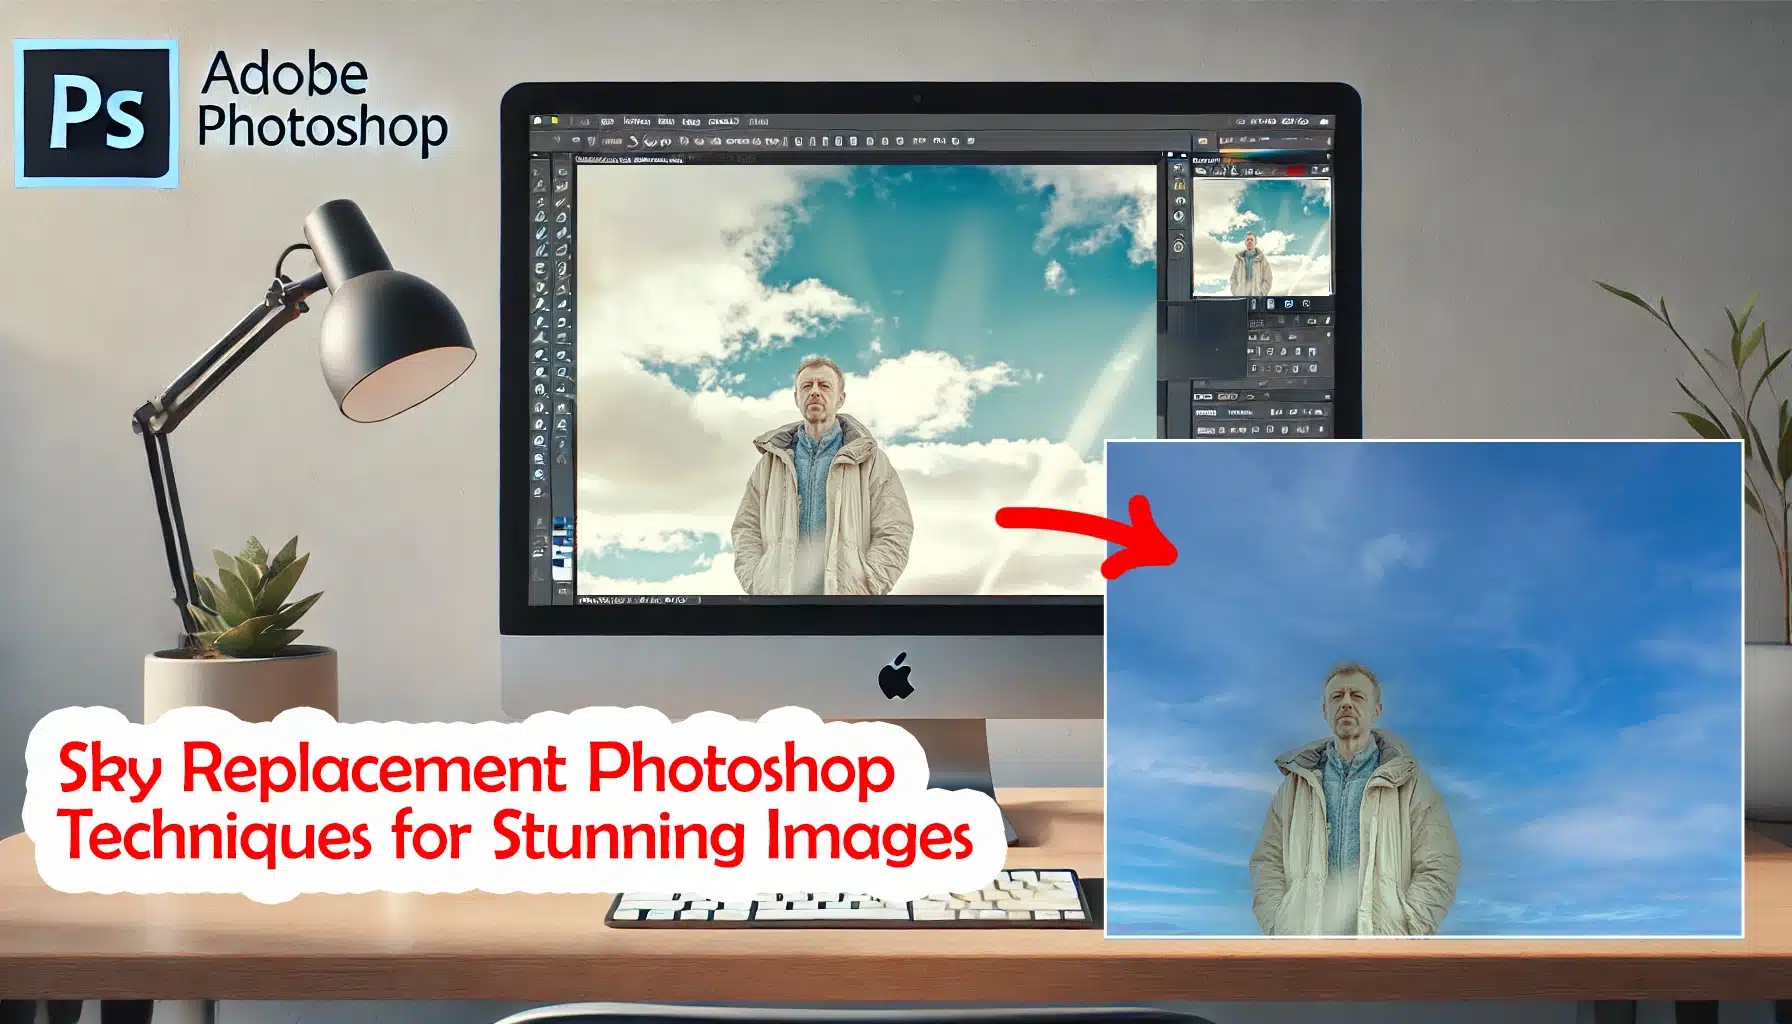
Sky replacement in Photoshop is a game-changer for photographers and graphic designers looking to elevate their images with stunning new skies. Transform a dull, overcast sky into a vibrant sunset or clear blue sky with just a few clicks.
In this guide, we’ll walk you through the easy process of sky replacement in Photoshop, helping you enhance your photos effortlessly.
Let’s dive in and make your images stand out!
Table of Contents
Why Use Sky Replacement?
Whenever we take photos, the sky often doesn’t play along with our creative vision.
Have you ever captured a perfect sky picture but found the dull or overcast? This is precisely where the idea of sky replacement becomes invaluable.
Replacing the sky can drastically change not just the mood but the overall quality of your images. You see, sometimes all it takes is a vibrant sky to elevate your photo from ordinary to extraordinary.
Fascinating, isn’t it?
By using the sky replacement feature in Photoshop, we unlock new dimensions of creativity without needing to wait for ideal weather conditions.
Benefits of Photoshop Sky Replacement Feature
Now, let’s look at some of the main benefits of using the feature to replace sky in Photoshop.
Automated Process
The Photoshop sky replacement feature offers an automated process, thanks to artificial intelligence. You can now click a button and watch magic unfold.
The AI identifies skies in your images and seamlessly integrates a new sky of your choice, which means you spend less time fiddling and more time creating.
Remember those days of endlessly trying to blendskies using multiple layers manually?
Well, they’re over!
Precise Control
The sky replacement tool offers precise control over the transition between the original image and the new sky.
Adjusting the fade edge ensures that your photos look realistic and natural. Additionally, choosing from a library of more skies gives us flexibility.
We can easily swap out a bland sky for one that will add drama to our image.
Plus, features like shift edge and manipulating the opacity slider allow us full customization capabilities. Whether you’re aiming for vibrant, dramatic, or subtle sky colors, the possibilities are endless.
Enhanced Drama
Looking to add more drama to your captures?
The blending mode lets your new sky interact flawlessly with different lighting conditions in your photo. This way, the replaceskies harmonize beautifully with the rest of the elements.
Now you have the ultimate power to reshape and redefine stories your photos convey. Tools in Adobe Photoshop have this transformative power in their latest version, making the editing process quicker and more intuitive than ever before.
Pro Tip: Always ensure your selected sky matches the lighting in your original image. This will provide cohesion without drawing attention away from your intended focal points.
Skies aren’t just about replacing an element; they can enhance and emphasize subjects, telling stronger visual stories.
Here, we will talk you through the step by step process for when you replace the sky in Photoshop:
How to Use Sky Replacement in Photoshop
Step-by-Step Guide to Sky Replacement
Alright, let’s dive into the magic of sky replacement in Adobe Photoshop. Follow these steps:
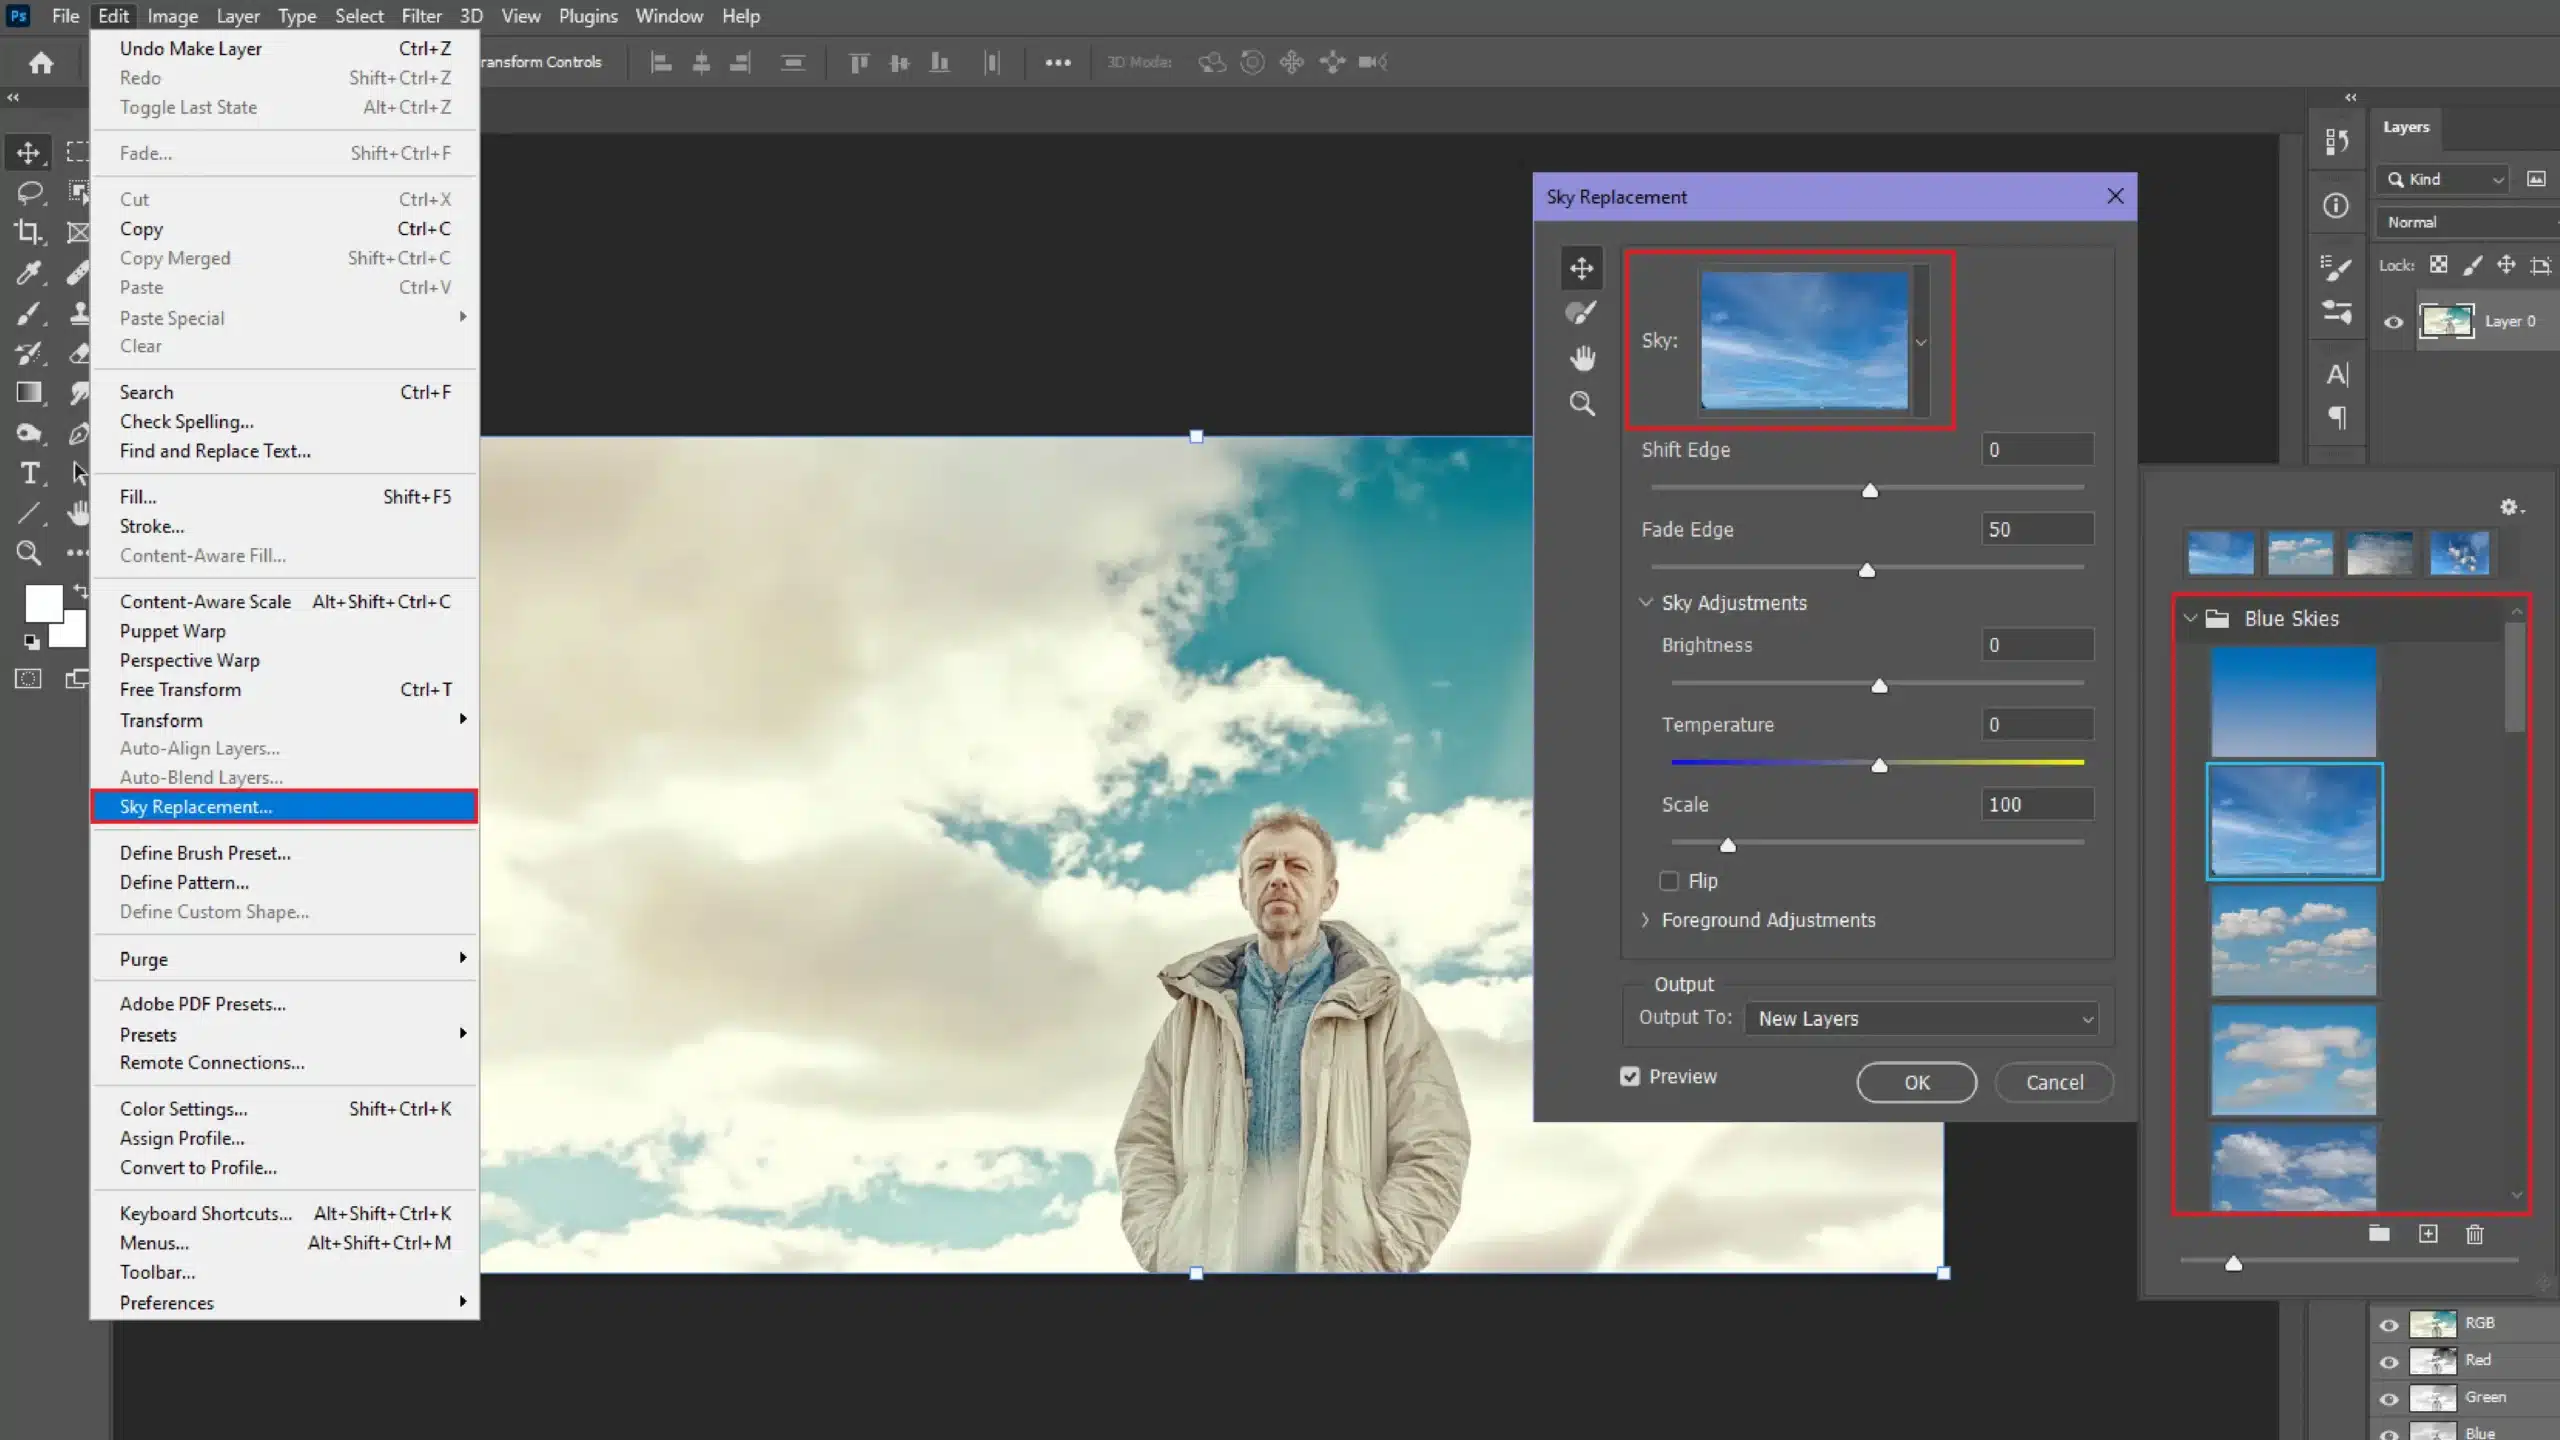
Open your image in Photoshop. Ensure you have a clear sky in the area you want to change.
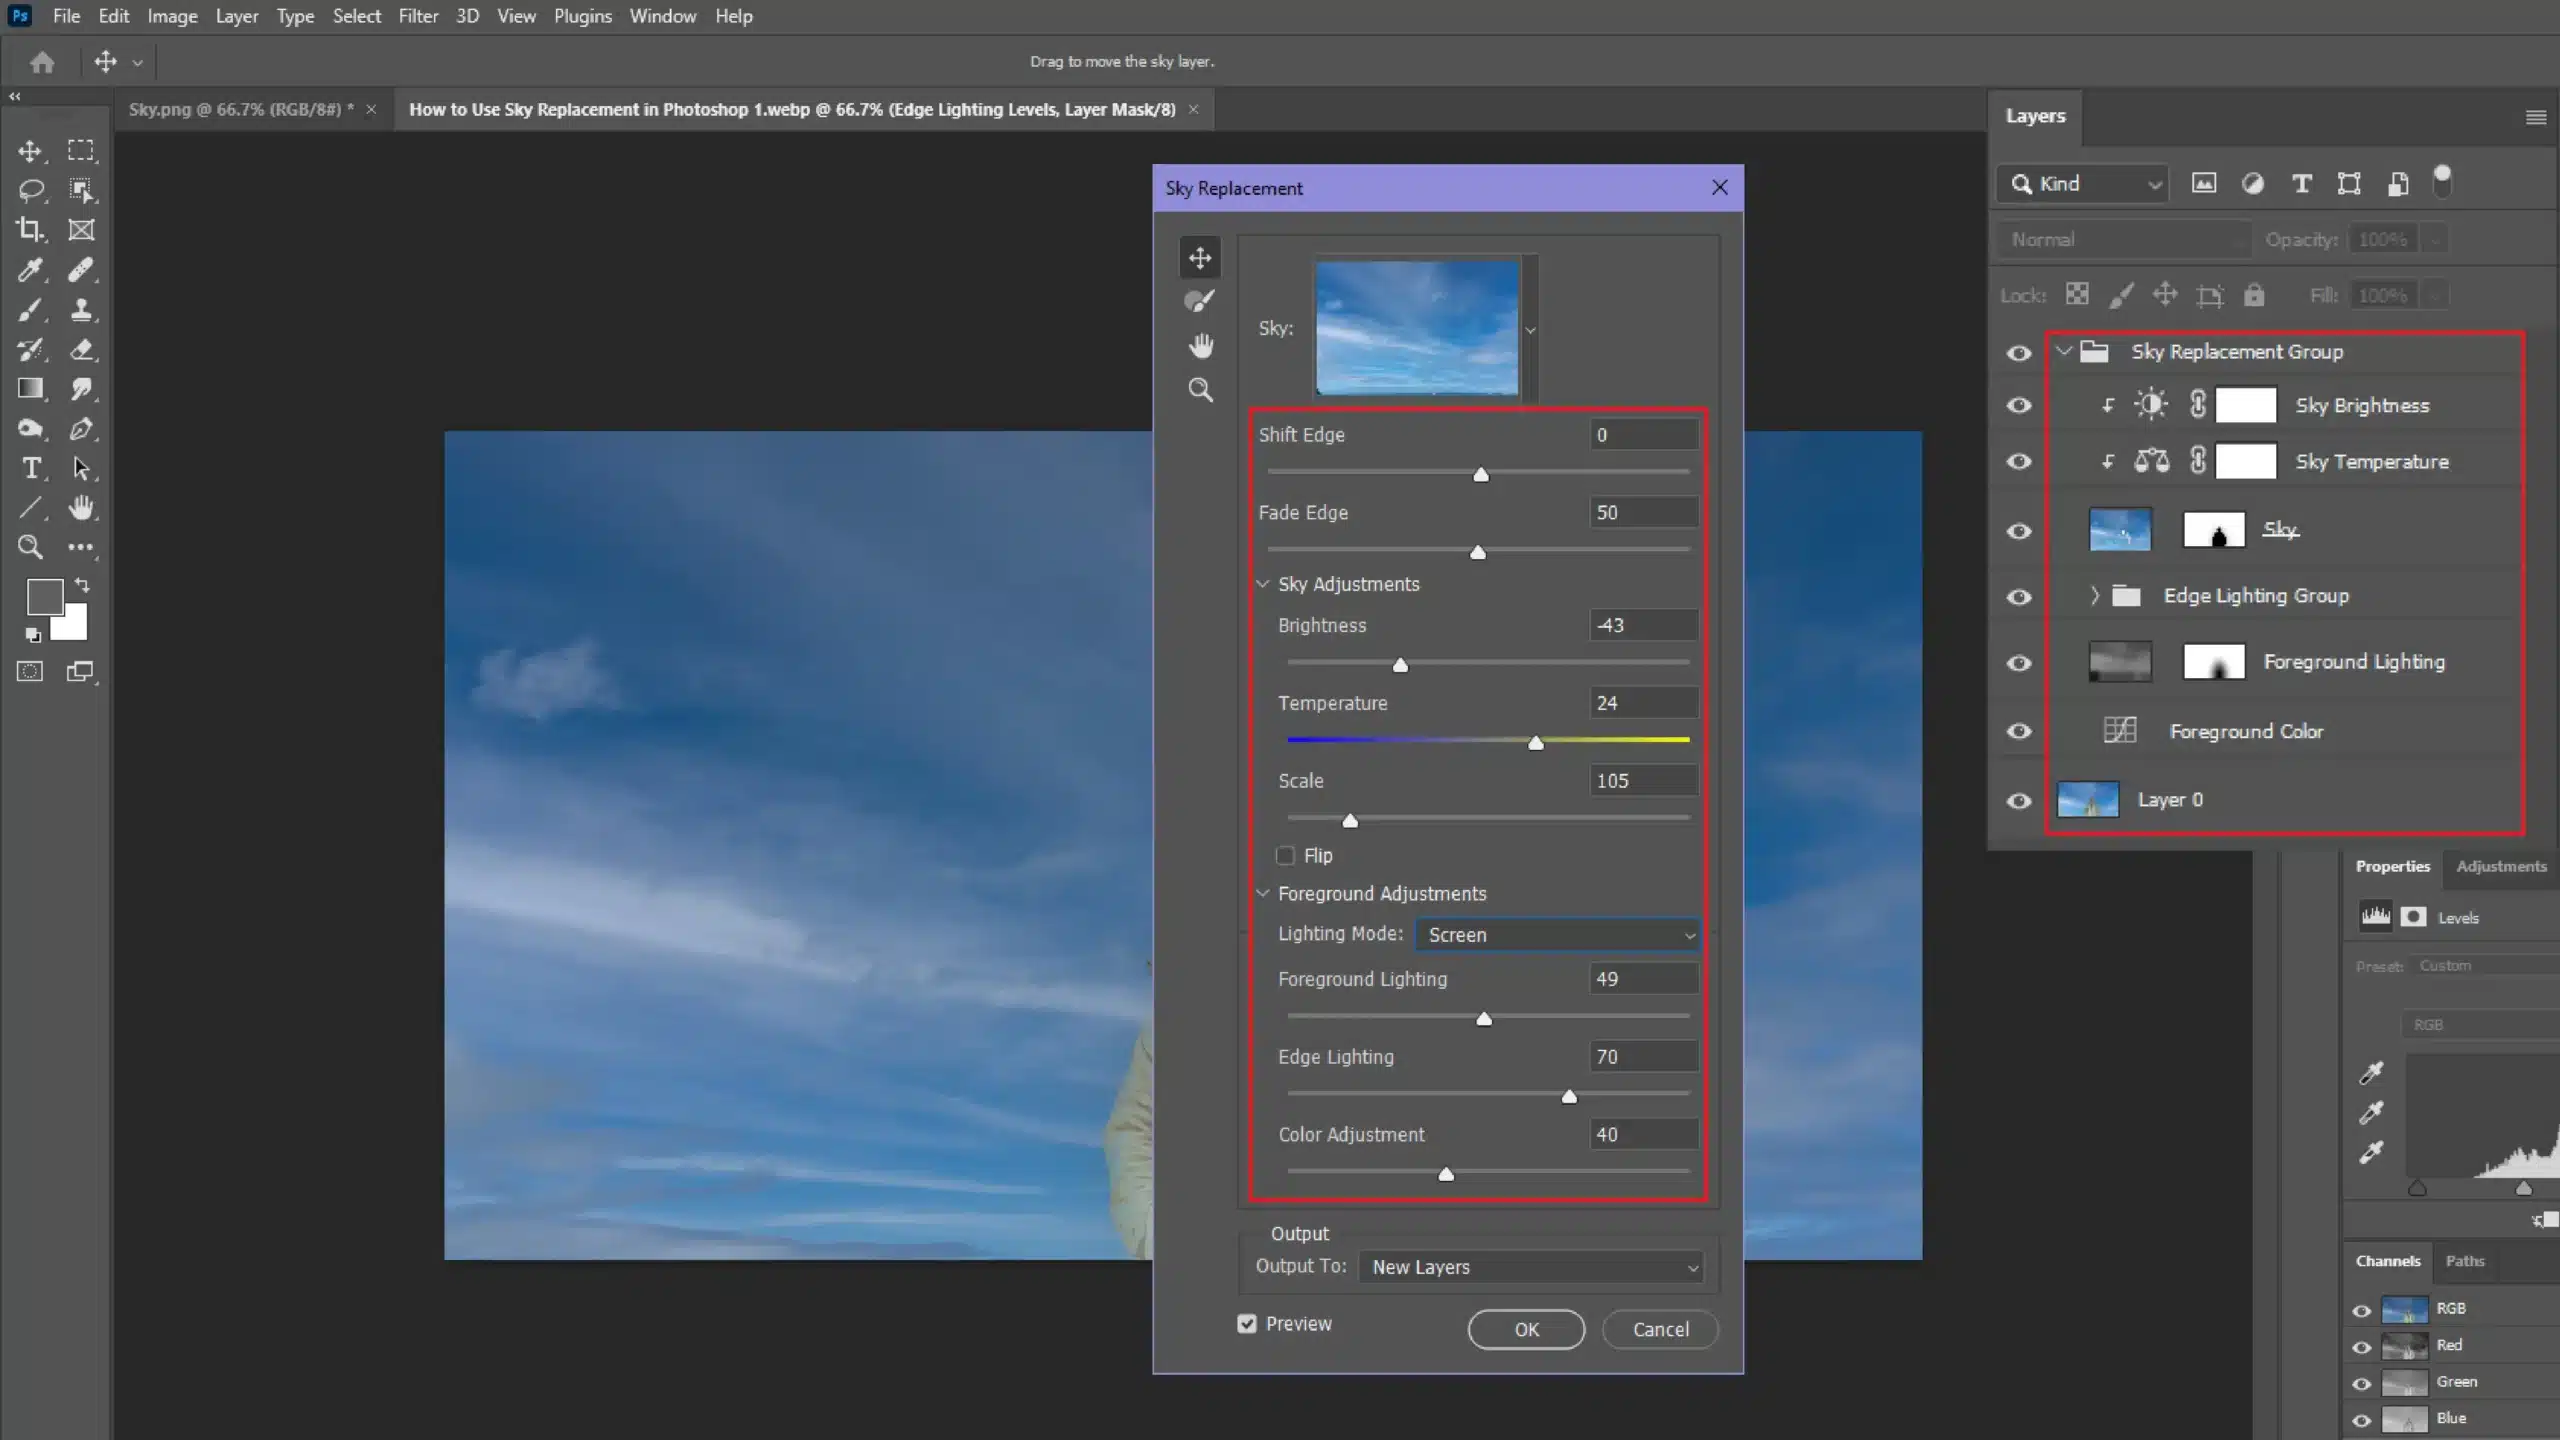
Go to Edit, then look for Sky Replacement. A dialog window will pop up, showing a preview of different skies along with your chosen image.
Select your perfect sky from the options or upload your own sky overlay. Photoshop automatically creates new layers to make the blend seamless.
Adjust the sliders for lighting and color. This step is crucial to ensure the new sky blends well with the existing lighting in your image.
Tips for Effective Sky Replacement
Creating a flawless transition between your original photo and the new sky in Photoshop is key. Use the Brush Tool as needed to refine the edges where the sky meets the rest of your image.
Always aim to match the sky's mood with that of the original scene to add drama. This small detail truly elevates your image into an art piece instead of just another edited photo.
Consider using the Content-Aware Fill in Photoshop to remove any unwanted elements before replacing the sky for a cleaner look.
Common Mistakes to Avoid
Folks often forget to pay attention to the sun position. Always match the lighting direction in the sky with your image’s existing light for cohesion.
Avoid using overly dramatic skies in photos that don't have the right environment, or your images may miss their mark.
Some might skip refining the edges. That little skip makes the sky change obvious and unrefined. Don’t rush; every detail counts.
Pro Tip: To add drama, experiment by using more skies available in the sky replacement feature. Use them to find a balance between realism and creativity. It’s a simple yet effective way to replace skies without overcomplicating the process.
Understanding the Photoshop Sky Replacement Tool
Let’s talk about one of my favorite tools to change the sky in Photoshop: the Sky Replacement tool.
Does your image lack an exciting backdrop? This tool might just be your hero.
We all love a good sky shot, don’t we? Thankfully, Photoshop makes it easier than ever to swap out dull skies for ones that add impact.
Features of the Sky Replacement Photoshop Feature
This tool replaces dreary skies with attractive ones. Handy if you’re in a rush or the weather doesn’t cooperate. You no longer have to pray for a perfect sky.
Simply select the Sky Replacement feature and voila, you’ve got more skies to choose from than you can imagine. It even adjusts the lighting and color balance to make sure everything fits.
Worried about harsh edges? The Sky Replacement feature allows you to soften and blend your new sky seamlessly.
It’s like magic but more tangible and you didn’t even have to get out of bed early for a sunrise!
Who doesn’t love the idea of strolling through a new group of skies while sipping coffee?
Advanced Techniques
Once you’ve mastered the basic swap, let’s take it up a notch.
Use the duplicate layer technique to isolate edits. This moves beyond a simple replace and into creative sky manipulation.
Whether you want to add drama or make subtle tweaks, Photoshop lets you play endlessly with these images.
Have a scene in mind? Choose new skies that fit its tone.
Adjust the lighting to match the direction and shadow of the elements on your image. It’s about keeping everything believable while indulging in creativity.
Want to explore further? Consider sky overlays that introduce multiple layers of texture and depth into your photo.
Always keep an eye on color temperature. Sky Replacement isn’t just about swapping a bland sky with a vibrant one as harmony is key.
Pro Tip: When working with sky in Photoshop, always check your foreground elements. Ensure that any changes in the sky don’t clash with them.
Practice may not make perfect, but it does make those skies shine!
For those looking to enhance their skills further, understanding the Difference Between Photoshop and Lightroom can be invaluable. Each software offers unique features that can complement your Sky Replacement endeavors.
Additionally, exploring Lightroom Shortcuts can streamline your workflow, making the editing process even more efficient.
Frequently Asked Questions (FAQs)
How do I replace the sky in Photoshop?
Open your image in Photoshop.
Go to the 'Edit' menu and select 'Sky Replacement'.
In the dialog box that appears, choose a sky preset or upload your own sky image.
Adjust the settings as needed to blend the new sky with your original image.
Click OK to apply the sky replacement.
What is the shortcut for sky replacement in Photoshop?
The shortcut to quickly access the Sky Replacement feature is to press 'Alt+Ctrl+R' (Windows) or 'Option+Cmd+R' (Mac).
Why is Sky Replacement unavailable in Photoshop?
Sky Replacement might be unavailable if you are using an older version of Photoshop that does not support this feature.
Ensure your document is in RGB color mode, as Sky Replacement does not work in other modes.
Check if the layer you are working on is unlocked and is a background layer.
How to fix a blown out sky in Photoshop?
Duplicate the original image layer for non-destructive editing.
Use the 'Quick Selection Tool' to select the sky area.
With the sky selected, create a new 'Adjustment Layer' for Levels or Exposure to adjust the blown-out areas.
Adjust the sliders to retrieve details in the sky, reducing the highlights if necessary.
Use a soft brush on the layer mask to blend the adjustments smoothly into the rest of the image.
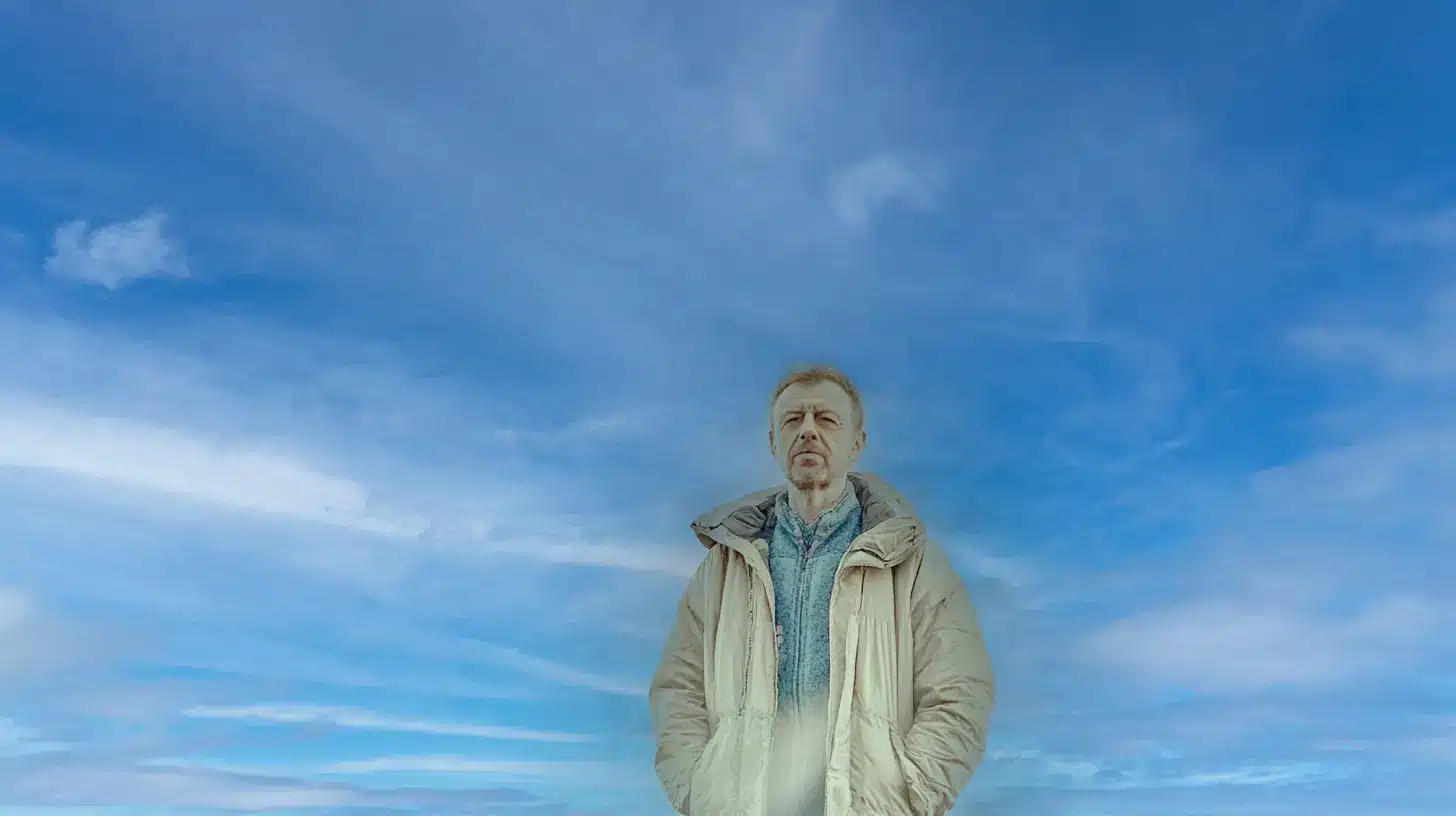
Mastering sky replacement Photoshop has truly transformed my photography journey. Before discovering this feature, I often struggled with dull skies that diminished the impact of my photos.
However, with the sky replacement tool, I can now seamlessly swap out lackluster skies for vibrant ones, instantly enhancing the overall composition and mood of my images. This not only elevates the quality of my work but also saves me countless hours of editing.
If you’re looking to sharpen your skills, I highly recommend checking out this comprehensive Photoshop course and the lightroom course. Both have been instrumental in expanding my editing capabilities and understanding of these powerful tools.
With these courses, you’ll gain valuable insights and techniques that can elevate your photography to new heights.
If this article has helped you, then Like and Share it with your friends
$2,061.00Original price was: $2,061.00.$1,061.00Current price is: $1,061.00. 27584
Download Your Free Guide Now!
Discover the secrets of photography with our printable guide! Master essential techniques like aperture, shutter speed, and ISO to create stunning images. Get your free printable PDF now and start turning your snapshots into masterpieces!