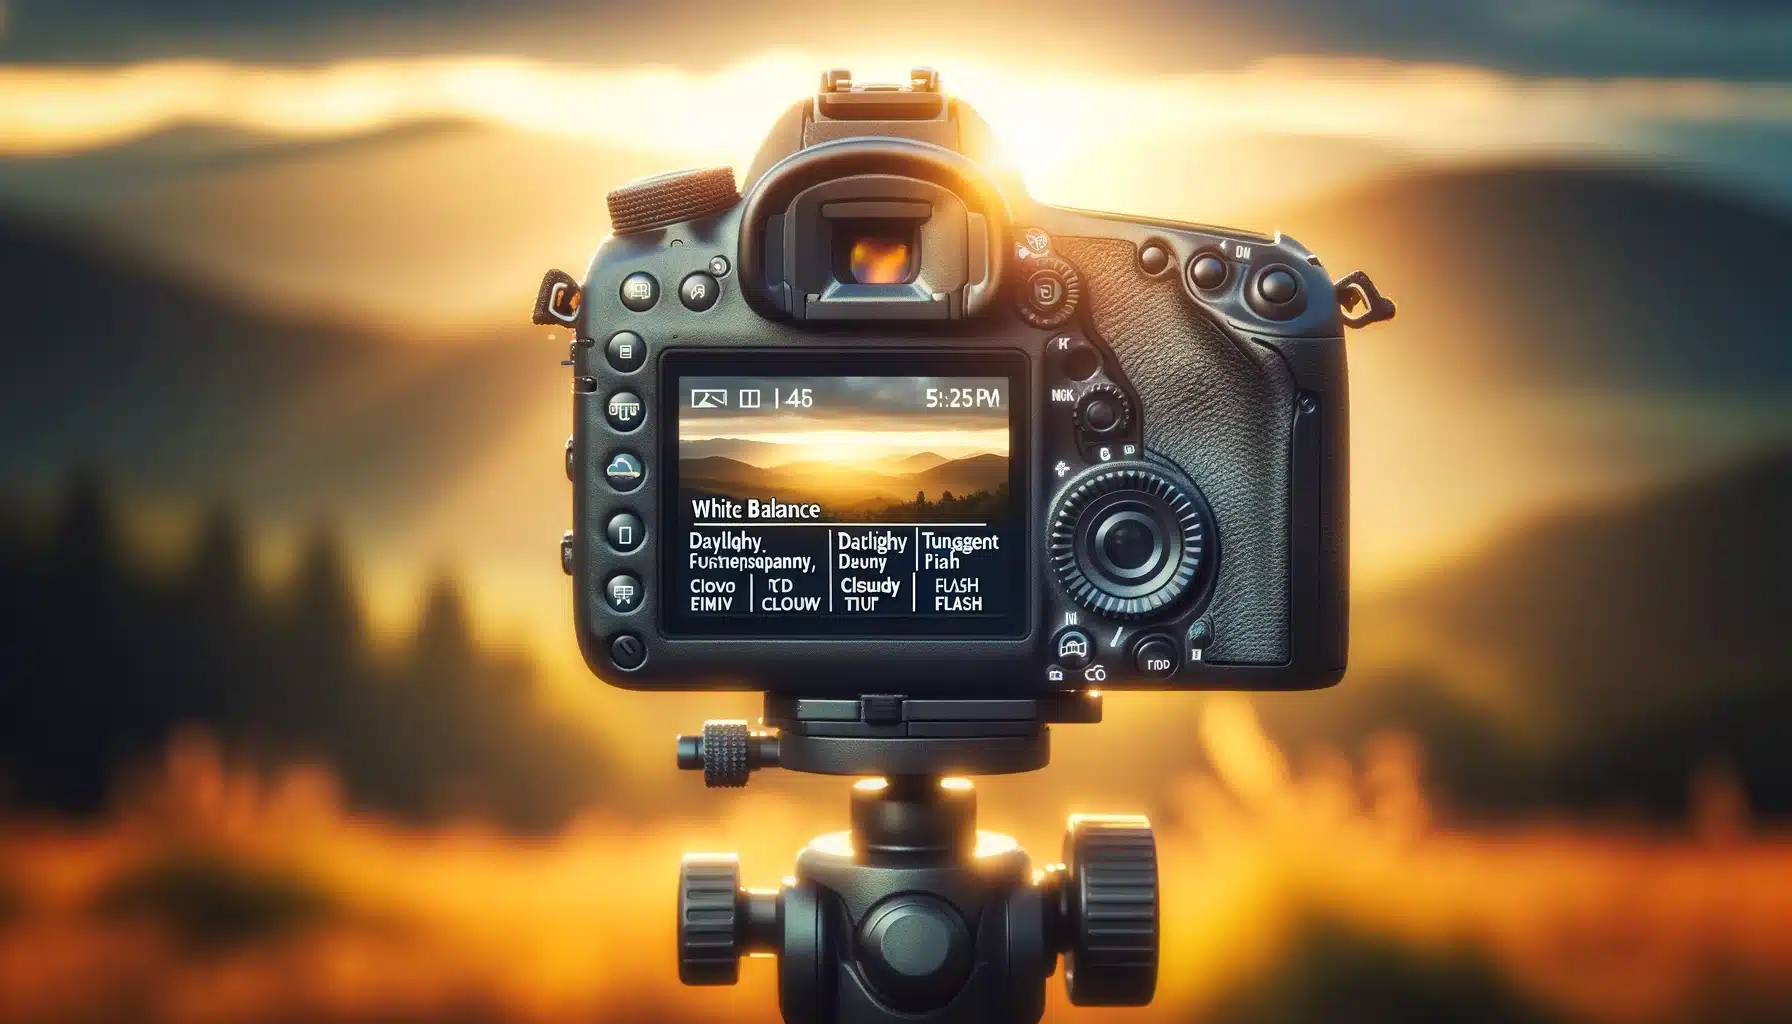
Introduction to White Balance in Photography
White balance in Photography is crucial to ensures the colors in your photographs accurately represent the scene as observed by the human eye. Different lighting conditions can dramatically affect the appearance of white in an image. They make it look bluish (in cooler light) or yellowish (in warmer light). By correctly adjusting the white balance, photographers can achieve color fidelity.
Color temperature refers to the warmth or coolness of a light source. It has a lower Kelvin values representing warmer (more yellow/red) light and higher Kelvin values indicating cooler (more blue) light. For instance, candlelight has a low color temperature (around 1,850K), producing a warm glow. Whereas an overcast sky has a higher color temperature (about 6,500K), casting a cooler, bluer light on the scene.
Table of Contents
Importance of White Balance Photography
White balance plays a pivotal role in ensuring the natural colors of the wildlife and their habitats. It enhances the authenticity and vibrancy of the photograph.
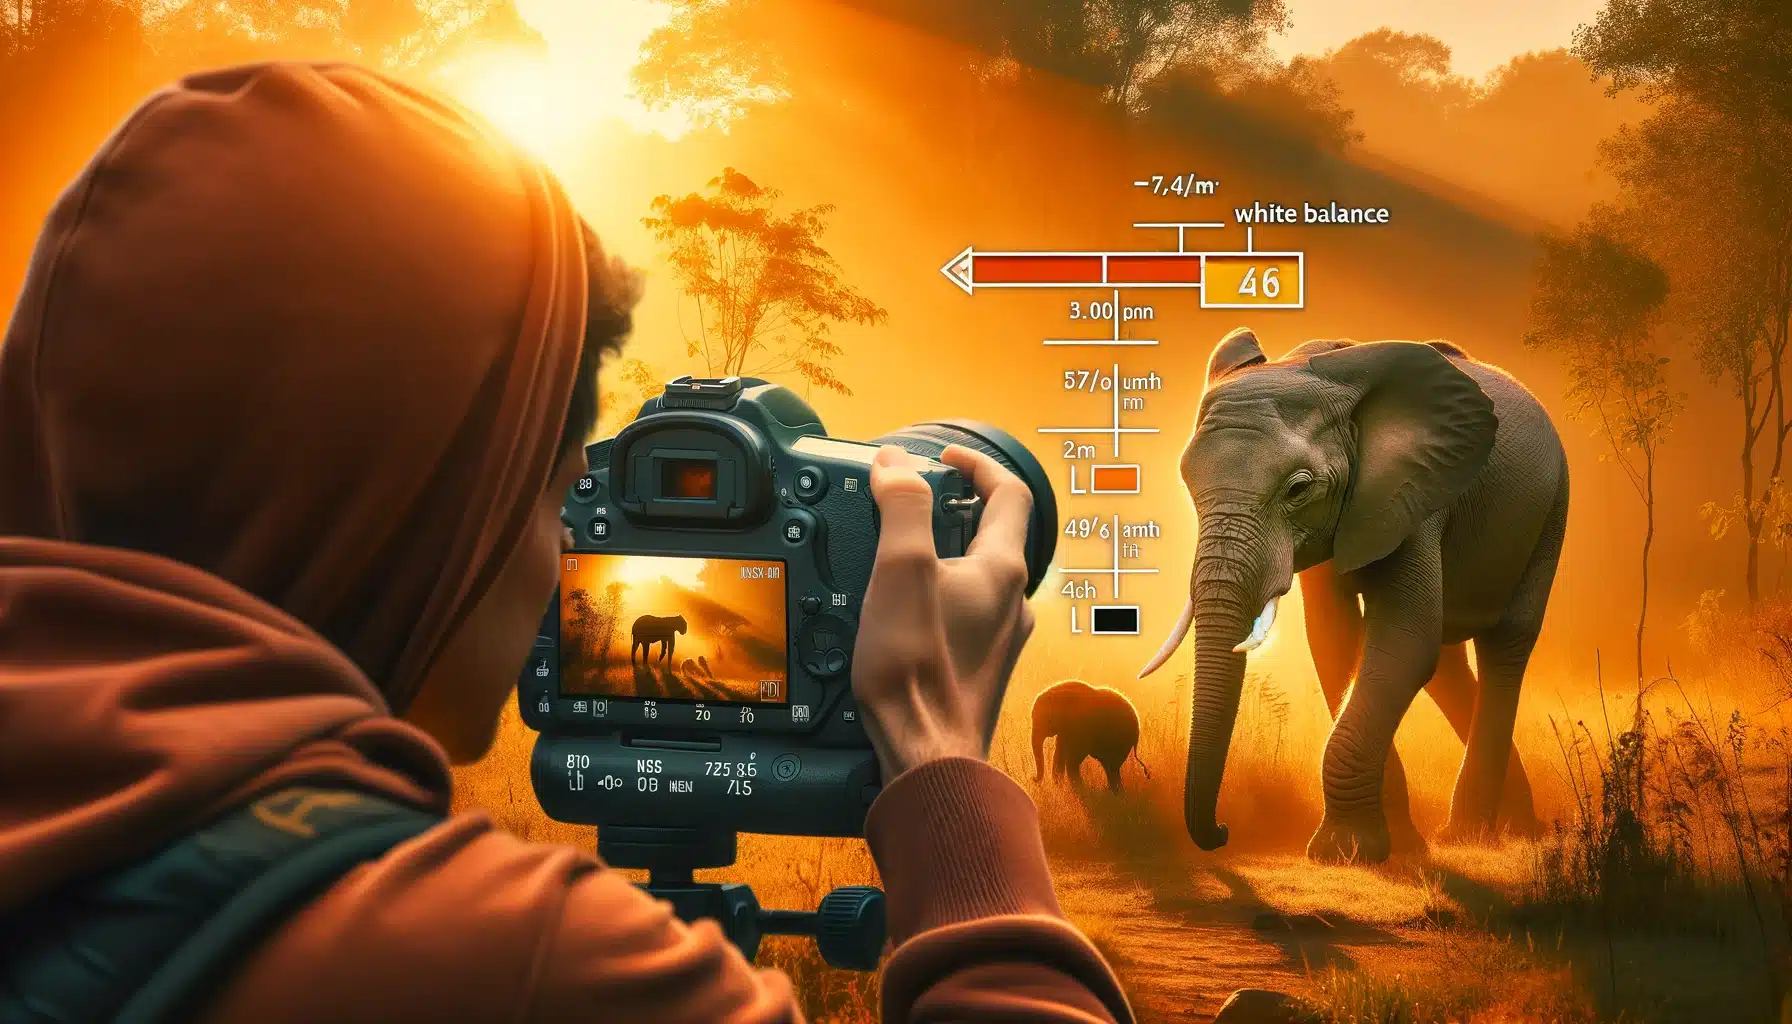
Real-Life Example: Capturing the Golden Hour
One of the most magical moments for wildlife photographers is the golden hour. It is just after sunrise or just before sunset. The light is soft, warm, and golden, offering a unique opportunity to capture stunning wildlife photos. However, this warm light can also cast an unwanted yellow or orange tint on the subjects. By adjusting the white balance to a cooler setting, photographers can neutralize this tint. Therefore, they ensure the animals’ fur or feathers are depicted in their true colors, while still retaining the golden glow of the environment.
Table 1: White Balance Settings for Golden Hour Photography
| Setting | Description | Effect |
|---|---|---|
| Daylight | Simulates noon sunlight | Neutralizes some of the warmth |
| Cloudy | Adds warmth to counteract cool shadows | Enhances the golden glow |
| Shade | Compensates for coolness in shaded areas | Warms up the subject |
Importance of White Balance in Different Environments
Wildlife photography often involves shooting in varied lighting conditions. it ranges from the bright and harsh midday sun to the cool shade under dense foliage. Each environment requires a different approach to white balance to ensure that the natural colors are accurately portrayed.
Table 2: White Balance Adjustments for Various Lighting Conditions
| Lighting Condition | Suggested White Balance Setting | Expected Outcome |
|---|---|---|
| Bright Sunlight | Daylight or Direct Sunlight | Neutralizes harshness, maintains natural colors |
| Overcast Sky | Cloudy | Adds warmth to the diffused light |
| Dense Foliage/Shade | Shade | Warms up the cool shadows, enhances details |
Automatic vs. Preset White Balance in Photography Settings During Wildlife Photography
While automatic white balance (AWB) offers convenience, especially in rapidly changing conditions, it might not always capture the nuanced colors of wildlife and their surroundings accurately. Preset white balance settings, on the other hand, allow photographers to make deliberate choices. They make choices based on their understanding of the light source and its impact on the scene.
Choosing Between AWB and Preset Settings
In a dynamic environment where light changes frequently, AWB can be a practical choice. However, when aiming for a specific mood or effect, such as emphasizing the warm tones of the golden hour or compensating for the coolness of shade, selecting a pre-established white balance setting can be more effective.
Consider photographing a bird in flight, moving from the bright sky to a shaded area. An AWB setting might struggle to keep up with the rapid changes, potentially leading to inconsistencies in color temperature. By anticipating these changes and manually selecting a suitable preset (e.g., switching from ‘Daylight’ to ‘Shade’), the photographer can maintain control over the color balance, ensuring consistent and vibrant images throughout the shoot.

Steps Involved in Adjusting White Balance in Camera
Adjusting the balance in your camera is essential for capturing the true essence of the natural world in your wildlife photography.
Understanding Your Camera's White Balance Settings
The first step in mastering WB adjustment involves familiarizing yourself with your camera’s settings. Digital cameras typically offer several white balance modes:
- Auto White Balance (AWB): Lets the camera automatically modify based on perceived lighting conditions. Useful in environments where light changes rapidly, such as when moving from open fields into forested areas.
- Pre-established White Balance Settings: Designed for specific types of lighting, including Daylight, Cloudy, and Tungsten. For instance, the Cloudy setting can add warmth to overcast scenes, making the fur of animals appear richer against the dull sky.
- Custom White Balance: This manual setting allows for precise control, ideal for capturing the subtle hues of dawn or dusk in the wilderness.
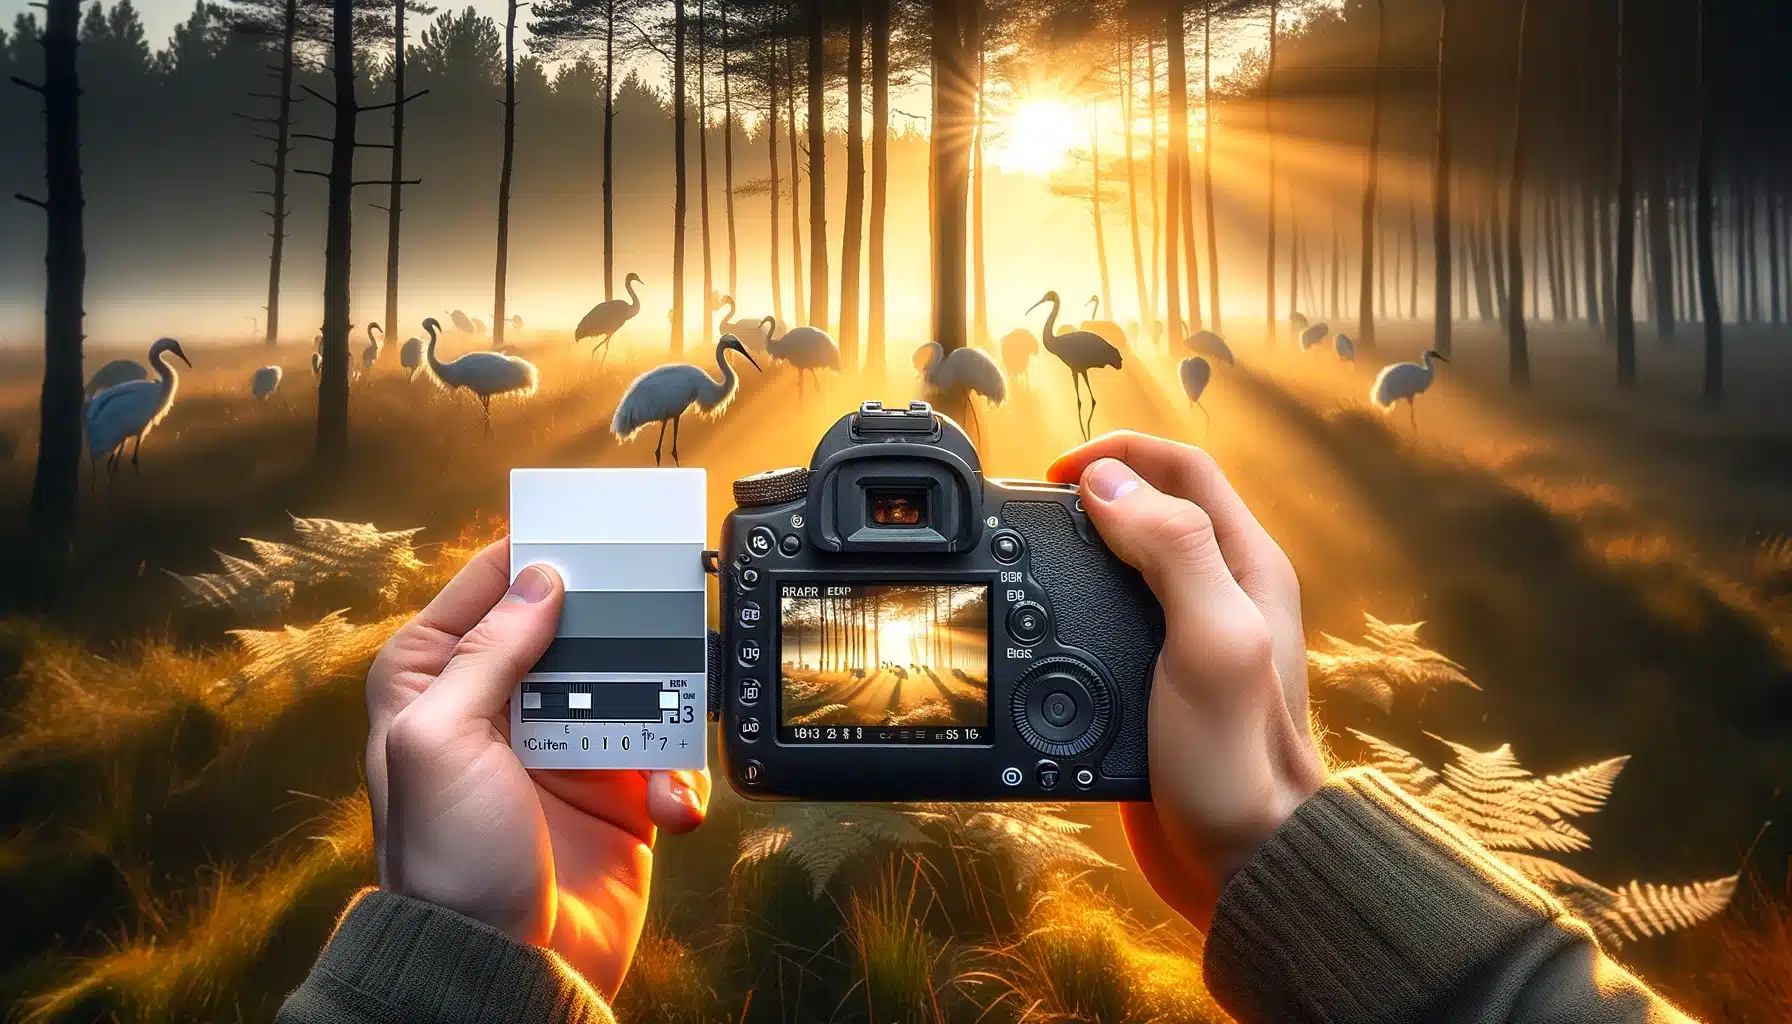
Setting Custom White Balance in Photography
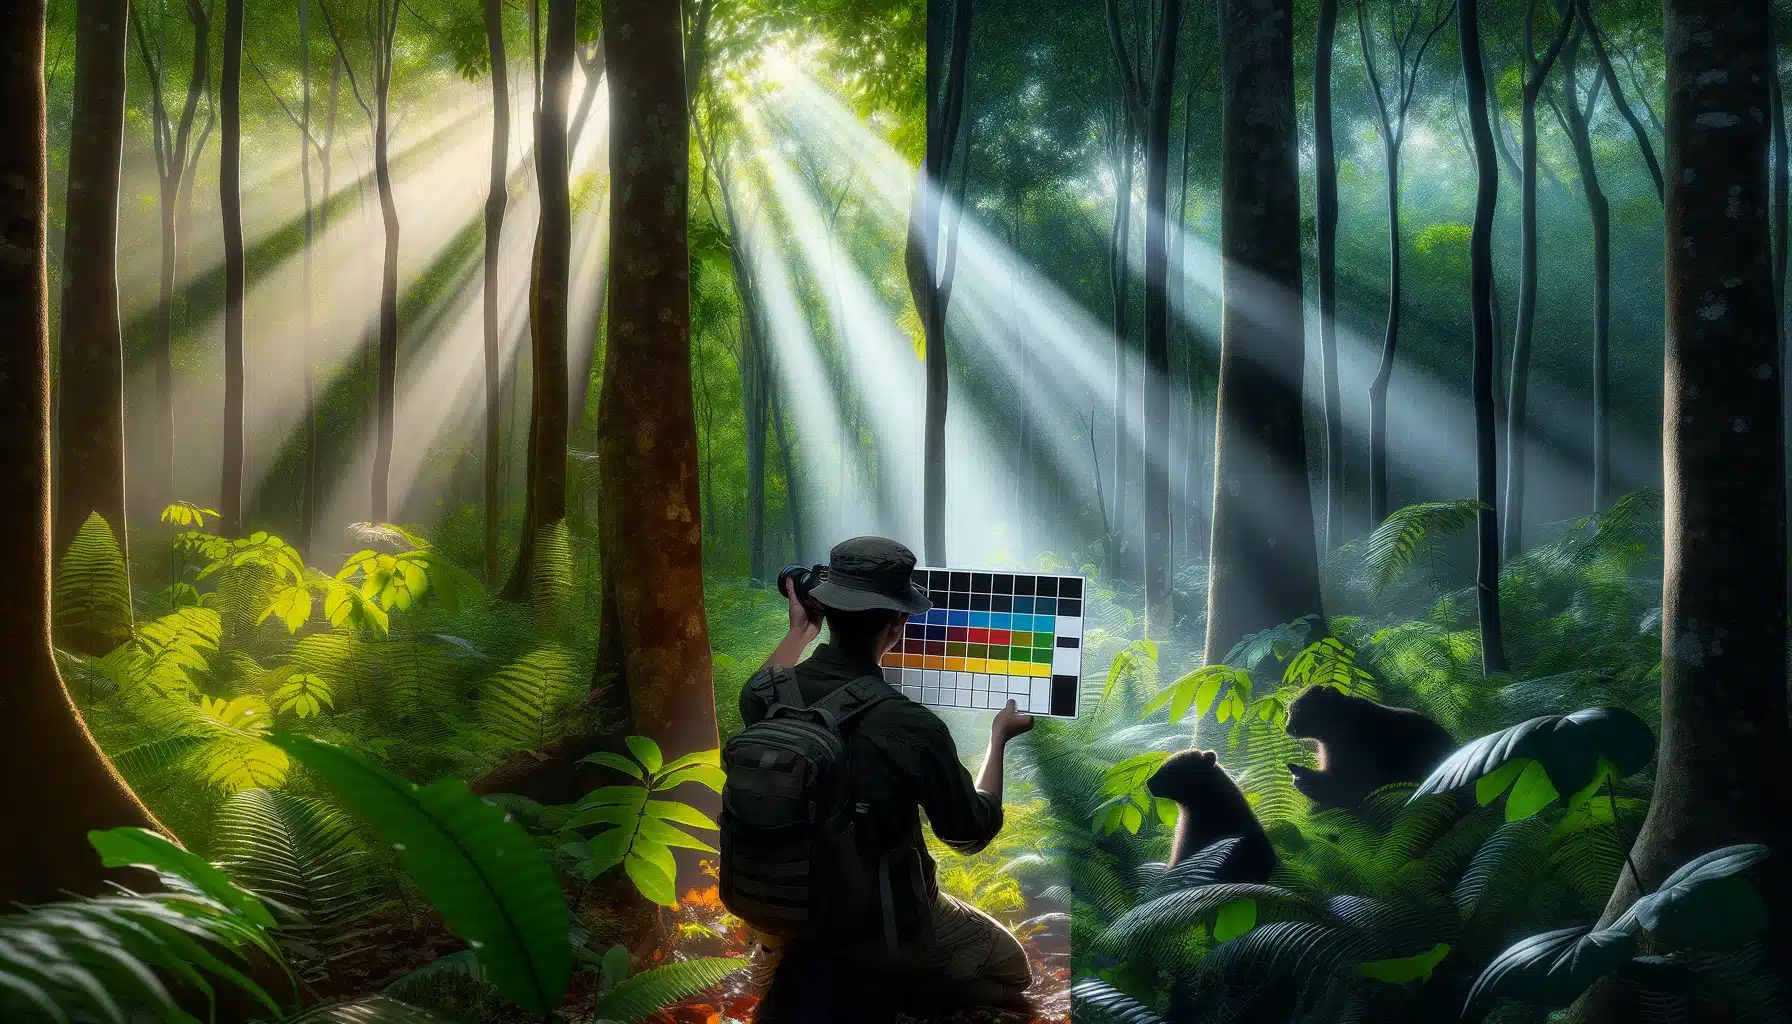
- Find a Neutral Reference Point: A white or gray card, held in the same light as your subject, serves as a benchmark for true white under current lighting conditions. This is particularly helpful in mixed illuminous situations, such as photographing birds at the edge of a forest where sunlight and shadow interplay.
- Adjust Your Camera Settings: Navigate to the custom WB setting in your camera's menu. This process varies among different models but is a critical step in achieving accurate color representation.
- Take a Reference Photo: Photograph the white or gray card. This image tells your camera what white looks like, allowing it to modify all other colors accordingly.
- Set the Custom White Balance: Use the reference photo to calibrate your camera's WB. This step ensures that subsequent photos under similar conditions will have balanced colors.
Setting Custom White Balance
- In Bright Sunlight: The Daylight setting is a good starting point, but you may need to switch to a custom setting if the animal's coloring looks washed out or overly vibrant.
- Under Shade or Overcast Skies: These conditions often produce cool, bluish images. Using the Shade or Overcast pre-established can introduce warmth, making animal coats appear more natural and vivid.
- Indoors or Under Artificial Lighting: Artificial lights can distort colors. The Tungsten or Fluorescent presets help counteract these effects, crucial when photographing wildlife in controlled environments like zoos or aquariums.
Real-Life Application and Tips
- Rapid Adjustments: Wildlife photography is dynamic, requiring quick changes to settings. Practice adjusting your white balance on the fly, especially when tracking moving subjects from one lighting condition to another.
- Creative Effects: While accuracy is often the goal, creative use of WB can dramatize a scene, such as cooling the white balance to enhance the bleakness of a winter landscape or warming it to exaggerate a sunset.
- Experiment and Learn: Each wildlife encounter offers a unique challenge. Take the time to experiment with different white balance settings in various conditions to understand their impact fully. For example, photographing a chameleon as it moves through patches of sunlight and shade can provide insights into how white balance adjustments affect color fidelity.

White Sheet Method Vs. 2-Point White Balance Technique
The White Sheet Method
The White Sheet Method in white balance photography is a straightforward, yet effective technique for setting custom WB, ensuring that your photos’ colors are true to life, especially in challenging lighting conditions. This method is particularly useful in wildlife photography, where natural light varies significantly throughout the day and across different terrains.
How It Works
- Prepare a White Surface: Begin with a plain white sheet or a white balance card. This will serve as your reference for true white under the current illuminous conditions.
- Position the White Surface: Place the white sheet in front of the scene you intend to photograph, ensuring it's well-lit by the same light source illuminating your subject. This is crucial for capturing the nuances of morning or evening light in nature, affecting the color temperature.
- Adjust Camera Settings: Switch your camera to manual focus and select the custom white balance setting. This mode allows your camera to interpret the white sheet as the benchmark for white, adjusting other colors based on this reference.
- Capture the Reference Shot: Take a photo of the white sheet, filling the camera's frame. For wildlife enthusiasts, this might mean taking a moment before focusing on your subject, like a rare bird or elusive mammal, to ensure the lighting is accurately represented.
- Set the Custom White Balance: Use the reference photo to calibrate your camera's white balance. This process varies among camera models but generally involves selecting the image of the white sheet as a reference for white balance adjustments in future shots.
By using the White Sheet Method, photographers can overcome the limitations of pre-set white balance settings, offering a high degree of control over color accuracy in their images. This is particularly beneficial when photographing wildlife in their natural habitats, where glaring conditions can dramatically affect the appearance of colors.
Advanced Technique: 2-Point White Balance
The 2-Point White Balance technique is an advanced method that allows photographers to fine-tune the white balance by adjusting for both the highlights and shadows independently. This method is particularly useful in mixed conditions or when photographing scenes with a wide range of tones.
Implementation
- Identify Highlights and Shadows: Start by identifying areas within your scene that represent the brightest highlights and deepest shadows. For wildlife photographers, this might involve recognizing the contrast between sunlight filtering through the canopy and the shadows cast by foliage.
- Capture Two Reference Shots: Take two separate photos: one with the white balance card placed in the highlights and another with it in the shadows. This dual approach accounts for the complexity of natural lighting in outdoor settings.
- Change Settings for Each Point: In post-processing, use software that supports 2-point white balance adjustments to separately calibrate the white balance for the highlights and shadows based on your reference shots. This technique requires a bit more technical knowledge and access to advanced editing software.
- Fine-Tune the Overall Balance: Blend the two adjustments to achieve a balanced, natural look across the entire image. The goal is to maintain the integrity of both the warm and cool tones present in natural light, enhancing the realism of wildlife photographs.
The 2-Point White Balance method is invaluable for wildlife photography enthusiasts who strive for the utmost accuracy in color representation. It offers a solution for challenging lighting scenarios, ensuring that the final images reflect the true beauty and diversity of natural environments.
Practical Tips: How to Check and Modify Your White Balance
Adjusting white balance in photography is to ensure that the colors in your images reflect the scene as accurately as possible. Here are some practical tips to check and change your white balance, making your wildlife photography as true-to-life as it can be.
Start with Observation
Firstly, observe the lighting conditions of your environment. Is it shaded, sunny, or artificially lit? Recognizing the type of light you’re working with is the initial step towards making informed adjustments to your white balance.
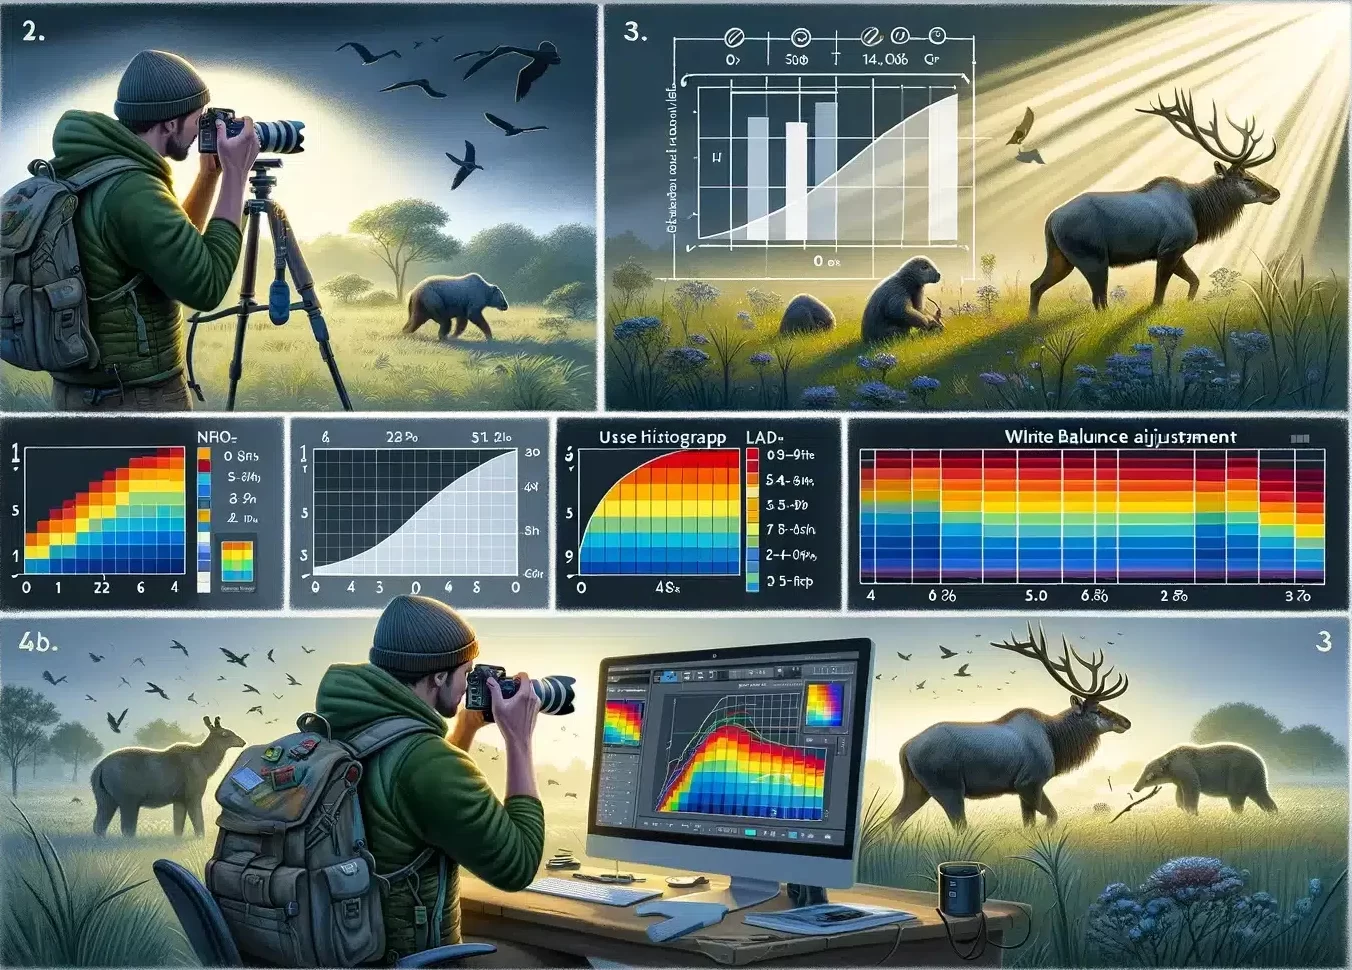
Use the Histogram
Your camera’s histogram is a valuable tool for assessing the balance of your image. A skewed histogram might indicate a color cast, prompting you to modify your WB to bring the image back into balance.
Test Shots are Your Friend
Before diving into your photography session, take a few test shots with different white balance settings. This allows you to visually compare the results and select the setting that most accurately represents the scene.
Adapt According to the Subject
If your subject is in the shade while the background is lit by the sun, you might need to modify the white balance to cater to the most important part of the scene – typically your subject. This may involve choosing a shade preset to warm up the subject while maintaining overall balance.
Manual Adjustments for Precision
For ultimate control, use manual white balance adjustments. This can be done by selecting a custom white balance setting and using a neutral reference, like a white balance card, to set the correct balance for the specific conditions.
Post-Processing Adjustments
Remember, if you shoot in RAW format, you can change WB during post-processing with greater flexibility. Software like Adobe Lightroom or Photoshop offers sophisticated tools to fine-tune white balance, ensuring your colors are spot-on. Use photoshop white balance for excellent results. Adjusting white balance in Photoshop can significantly enhance the color accuracy of your photographs, bringing them closer to what your eyes saw when capturing the scene.
To capture the best shot, ensuring the correct colour balance is paramount; it can transform a good photograph into the best representation of the moment. Achieving the correct colour in your shot not only enhances the visual appeal but also ensures the scene’s best hues are accurately depicted, making each shot truly memorable.
Table: White Balance Presets and When to Use Them
| Preset | Lighting Condition | Description |
|---|---|---|
| Daylight | Sunny | Ideal for normal, bright outdoor conditions, helping to keep colors natural. |
| Cloudy | Overcast | Warms up the photo slightly, compensating for the cool light of an overcast day. |
| Shade | Shaded Area | Significantly warms up the photo, useful for subjects in shade or during the golden hour. |
| Tungsten | Incandescent Light | Cools down the photo to counteract the yellow-orange glow of tungsten bulbs. |
| Fluorescent | Fluorescent Light | Reduces the stark blue cast often produced by fluorescent lighting. |
| Flash | Using Flash | Adjusts for the cool light produced by a camera flash, making the lighting appear more natural. |
| Custom/Manual | Specific Lighting Conditions | Allows for precise adjustments using a reference point for true white balance accuracy. |
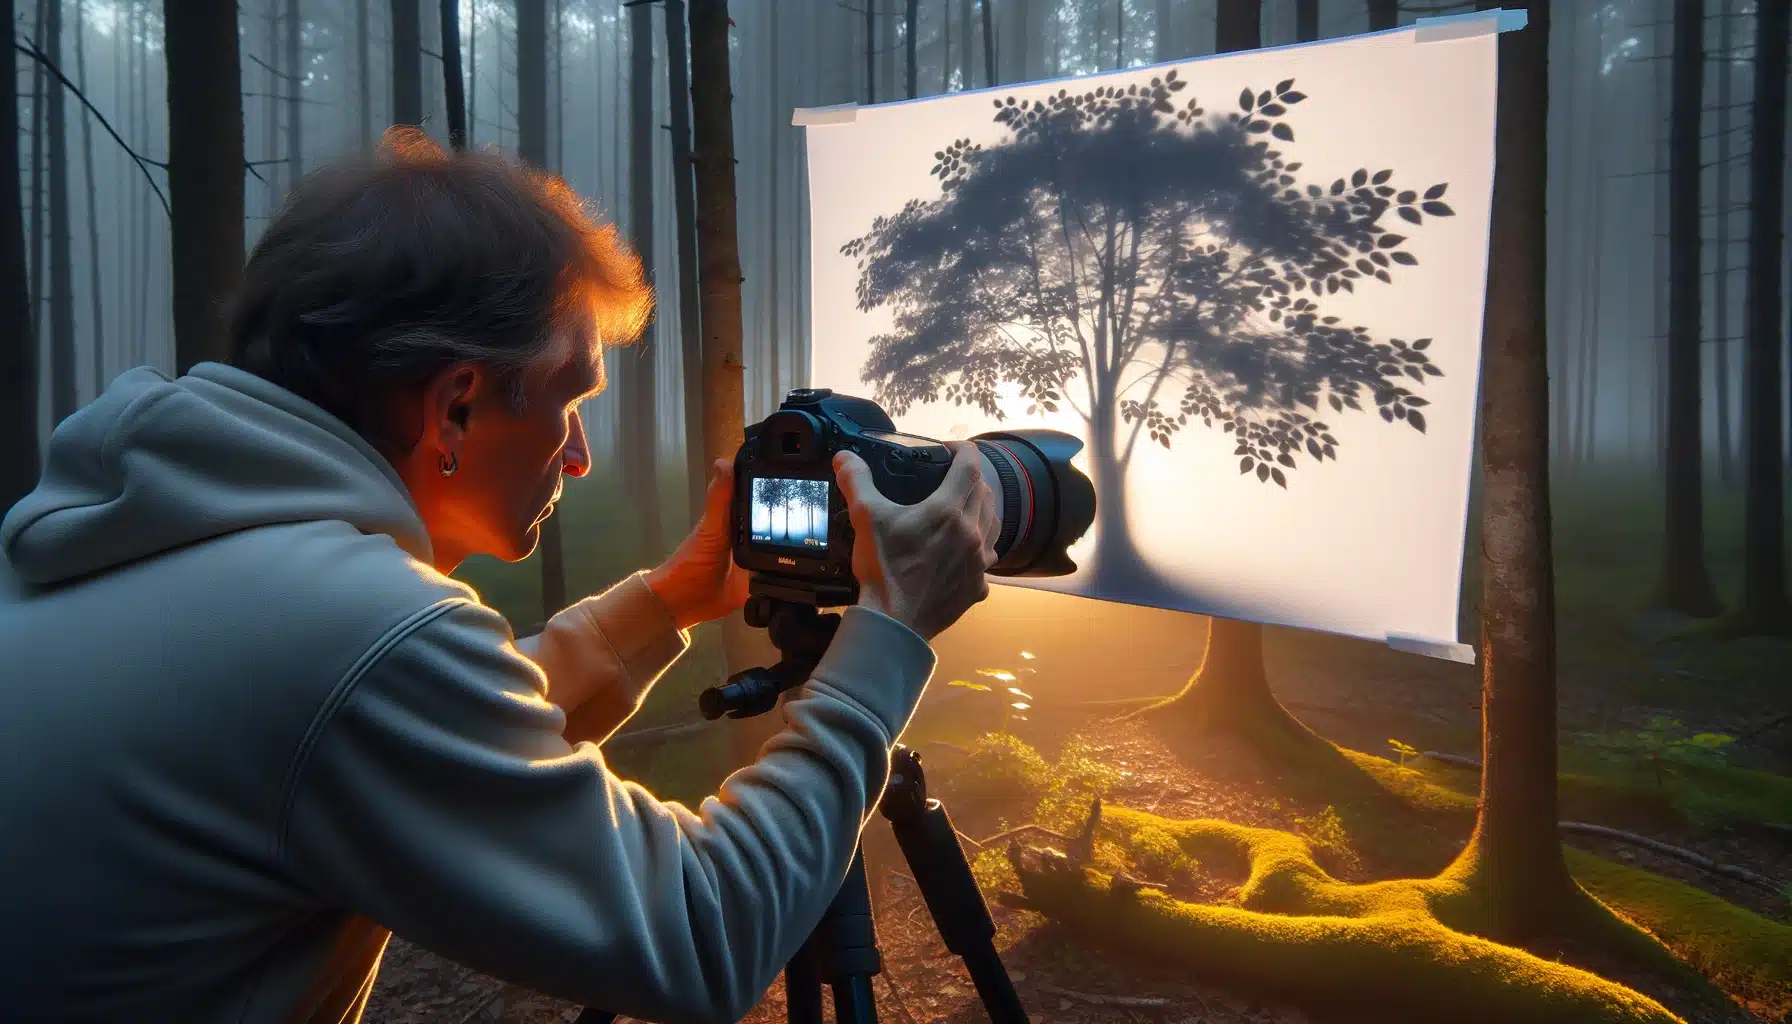
Conclusion
Mastering white balance has profoundly impacted my journey as a wildlife photographer. Once, during an early morning shoot in the dense forests, I struggled with capturing the ethereal mist in a way that felt true to the scene’s serene beauty. The images appeared too cool, stripping away the warmth of the morning light filtering through the trees. It was a pivotal moment when I decided to manually change the balance using the White Sheet Method, which significantly transformed my photographs, infusing them with the warmth and authenticity I experienced in person. This experience taught me the invaluable role white balance plays in conveying the essence of the natural world through photography.
For fellow enthusiasts eager to delve deeper into the nuances of white balance and refine their photography skills, I highly recommend exploring comprehensive courses. Whether you’re looking to master Adobe Photoshop or Adobe Lightroom, tailored courses offer the knowledge and hands-on experience needed to elevate your photography. Discover the secrets to enhancing your wildlife photographs and capturing the true beauty of nature by visiting Photoshop Course and Lightroom Course. Embark on this journey to transform your photographs from good to extraordinary, capturing the world through your lens as you see it.
Have a nice photoshoot!


Course

Light Effect Photoshop


Lightroom Course 2024

Adobe Photoshop Course

Photo Editing Course
Get the latest version of Photoshop & Lightroom