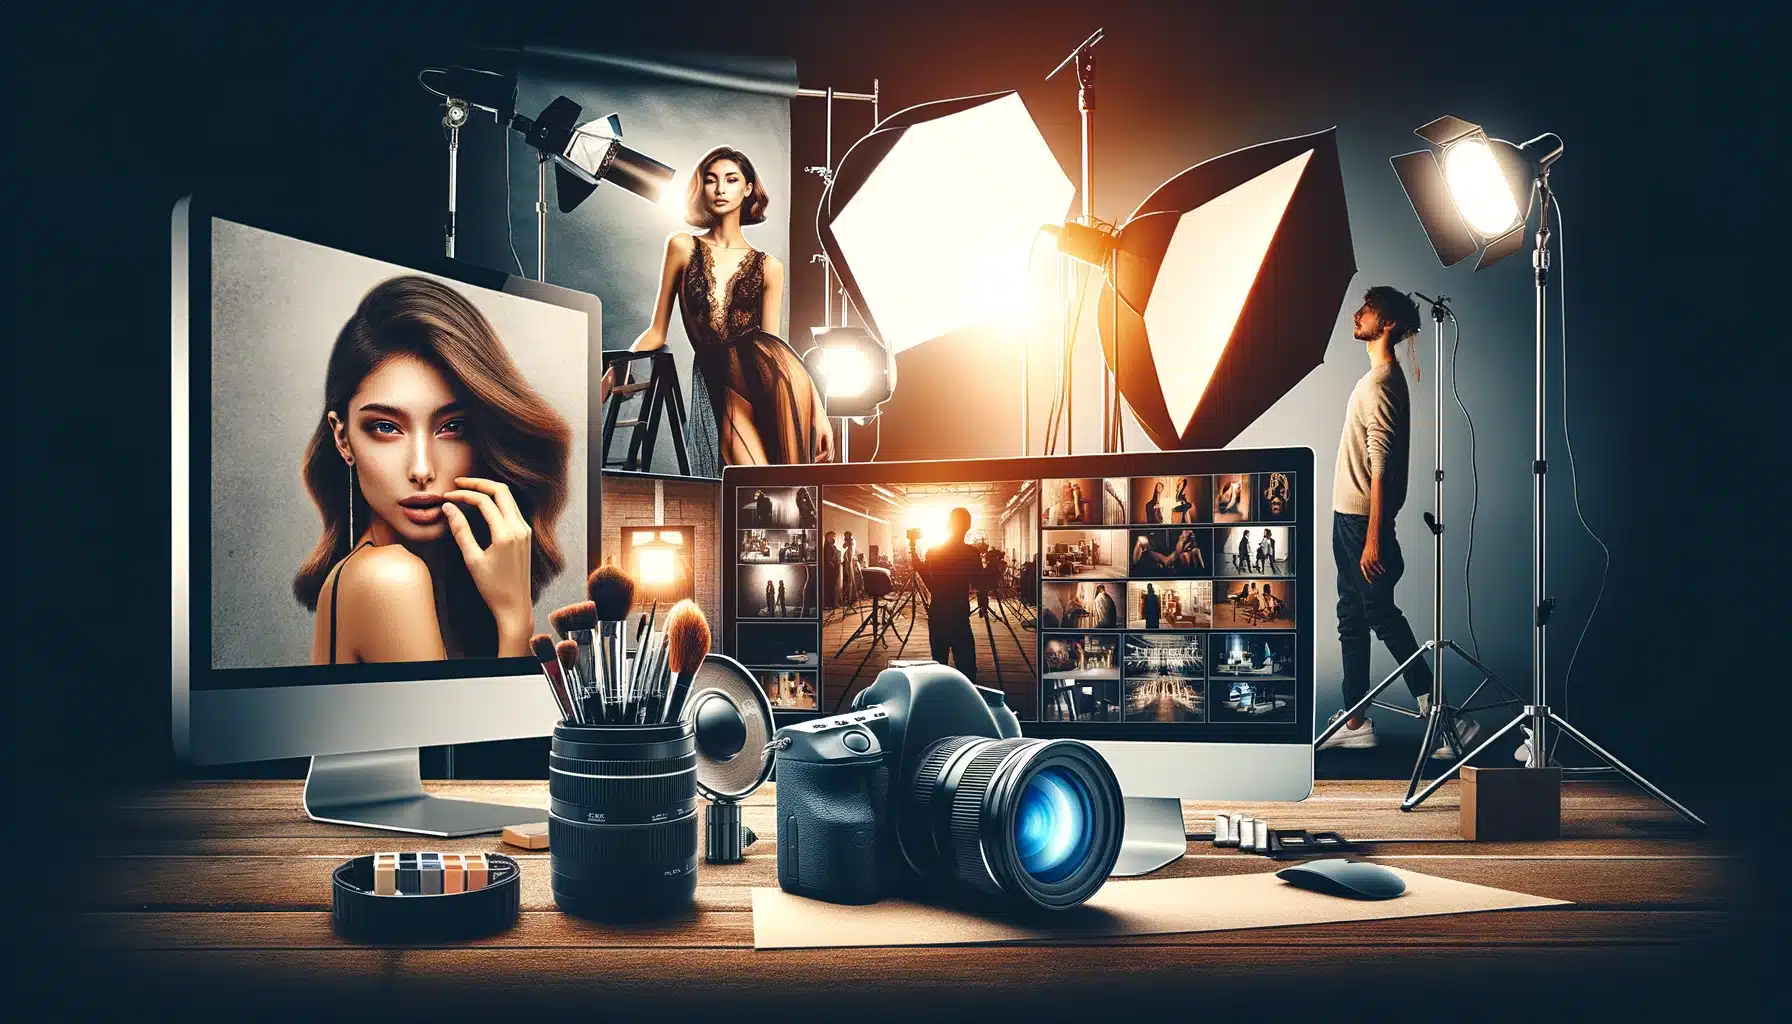
Studio photography offers a canvas of endless possibilities, where light, shadow, and subject converge to create art. Whether you’re a seasoned professional or just starting, mastering the art of studio photography can transform your creative vision into stunning reality. In this comprehensive guide, we delve into the essential tips for studio photography, covering everything from setting up your studio to capturing the perfect shot.
We aim to equip you with the knowledge and skills to elevate your studio work, ensuring every click of the shutter captures more than just an image, but a story waiting to be told.
Table of Contents
Choosing the Right Equipment
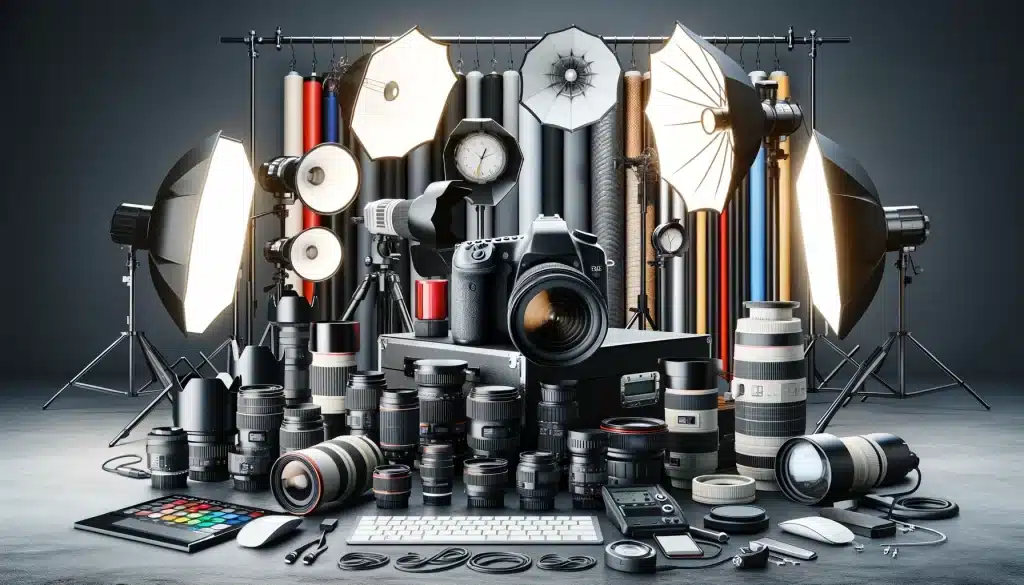
Camera and Lens Selection
Selecting the right camera and lens is pivotal in studio photography. Your choice should align with your photography style and the subjects you intend to capture. While DSLRs and mirrorless cameras are popular, consider the specific features you need, like resolution, sensor size, and compatibility with various lenses.
For lenses, prime lenses, such as an 85mm, are preferred for their sharpness and ability to reduce distortion, making them ideal for portrait photography. However, versatile zoom lenses like an 18-105mm or an 18-135mm can be a good start for those on a budget.
Lighting Essentials
Lighting is the cornerstone of studio photography, influencing the mood and quality of your photos. A mix of softbox lighting and LED bulbs can provide even and adjustable lighting, essential for various shooting scenarios. Consider investing in a lighting kit that includes different types of lights, such as softboxes and umbrella lights, to experiment with shadow and depth in your images.
Backdrops and Supports
Backdrops set the stage for your studio photography, offering a controlled and consistent background. Options like muslin, canvas, or seamless paper are popular for their versatility and range of colors. Ensure you have a reliable support system for these backdrops, like sturdy stands or wall-mounted systems, to facilitate quick changes and maintain a professional look during shoots.
Essential Accessories
Tripods provide stability and versatility, especially for long exposure shots or when precision framing is required. Additionally, clamps and gaffer tape are indispensable in a studio setting for securing backdrops and managing cables, ensuring a tidy and efficient workspace. Consider magic arms for flexible camera positioning, particularly in tight spaces or for complex angles.
Selecting the right equipment is one of the best tips for studio photography. With it, you can create a versatile and functional space that caters to a wide range of photographic needs.
Mastering Lighting in Studio Photography
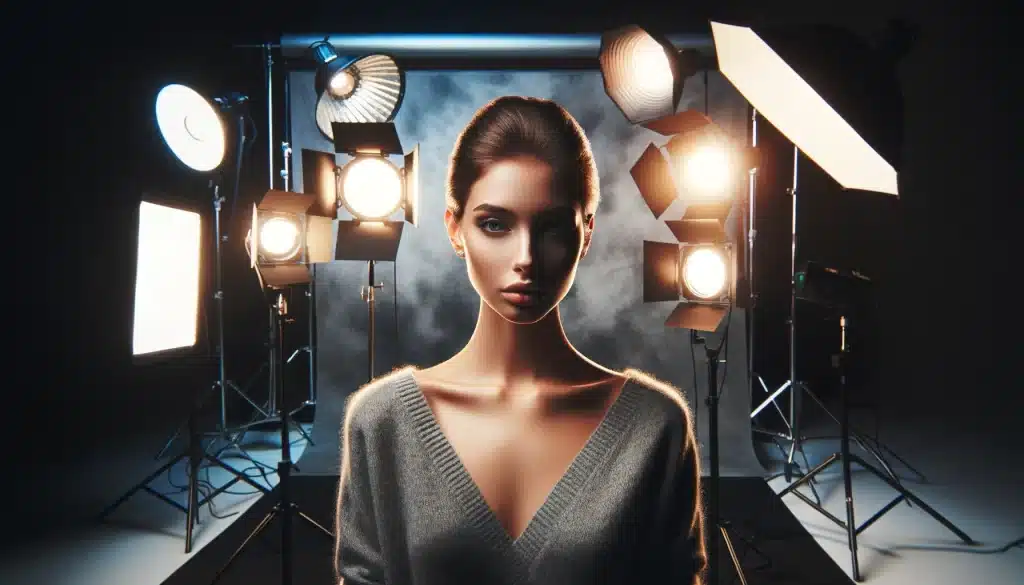
Understanding Lighting Basics
- Key light: Primary light source, defines the subject’s form and texture.
- Fill light: Mitigates shadows created by the key light, usually softer and less intense.
- Backlight: Separates the subject from the background, adding depth.
Lighting Techniques and Setups
- Three-point lighting: A fundamental technique that combines key, fill, and backlight for balanced illumination.
- High-key lighting: Produces bright images with minimal shadows, ideal for cheerful and upbeat themes.
- Low-key lighting: Emphasizes shadows and creates dramatic, moody images.
Light Modifiers
- Softboxes and umbrellas: Diffuse and soften the light.
- Snoots and grids: Focus light on a specific area, creating dramatic effects.
- Reflectors: Bounce light back onto the subject, reducing shadows and enhancing highlights.
Lighting Tips for Studio Photography
- Start with the key light, adjust its angle and intensity to shape the subject’s appearance.
- Use fill light to soften shadows, adjusting its power to maintain depth without flattening the subject.
- Introduce backlight to create separation from the background and add a three-dimensional quality to the images.
By understanding and applying these lighting principles, you can dramatically improve the quality of your studio photographs, enhancing both the subject’s features and the overall mood of the photo.
Setting the Scene: Backdrops and Props in Studio Photography
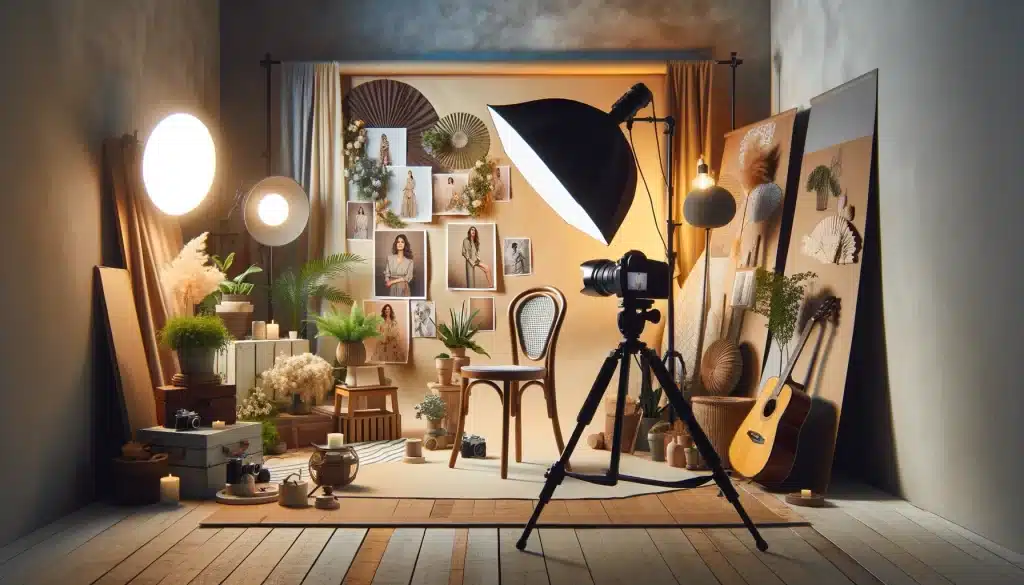
Creating the right setting in studio photography involves more than just positioning the subject and adjusting the lighting. Backdrops and props play a crucial role in defining the ambiance and enhancing the narrative of the photograph. Let’s delve into how to effectively use these elements to set the scene.
Choosing the Right Backdrop
- Material Matters: Select a backdrop material that suits your shooting style and the mood you want to convey. Options include paper, vinyl, canvas, and muslin, each with its own benefits. For example, seamless paper is ideal for a clean, uniform look, while canvas offers a textured, artistic feel.
- Color and Pattern: The backdrop color should complement the subject and the theme of the shoot. Neutral colors work well for a wide range of subjects, while vibrant or patterned backdrops can add energy and context to the photo.
- Size and Portability: Consider the size of the backdrop in relation to the studio space and the scale of your subject. Also, think about the ease of setup and storage, especially if you frequently change backdrops or shoot on location.
Utilizing Props Effectively
- Enhance the Narrative: Props should add depth to the story you’re telling through the photograph. They can provide context about the subject, reinforce the theme, or add a layer of visual interest.
- Keep it Relevant: Ensure that every prop used in the shoot has a purpose and relevance to the subject or theme. Avoid clutter or unrelated items that might distract from the main focus.
- Interact with Props: Encourage subjects to interact with props. This interaction can lead to more natural and engaging photographs, revealing the personality of the subject and creating dynamic compositions.
Tips for Backdrop and Prop Integration
- Complementary Colors: Choose props and backdrops that have complementary colors to create a cohesive look.
- Layering: Use props to create depth in the scene, placing some in the foreground and others in the background.
- Lighting Considerations: Ensure that both the backdrop and props are well-lit and that the lighting setup enhances their texture and color.
- Experiment: Don't be afraid to try different backdrop and prop combinations to see what works best for the mood and story of the shoot.
Setting the scene with the right backdrops and props can transform a studio photograph from good to great. By carefully selecting and integrating these elements, you can create a compelling visual narrative that enhances the subject and engages the viewer.
Tips for Studio Photography: Camera Settings for Optimal Results
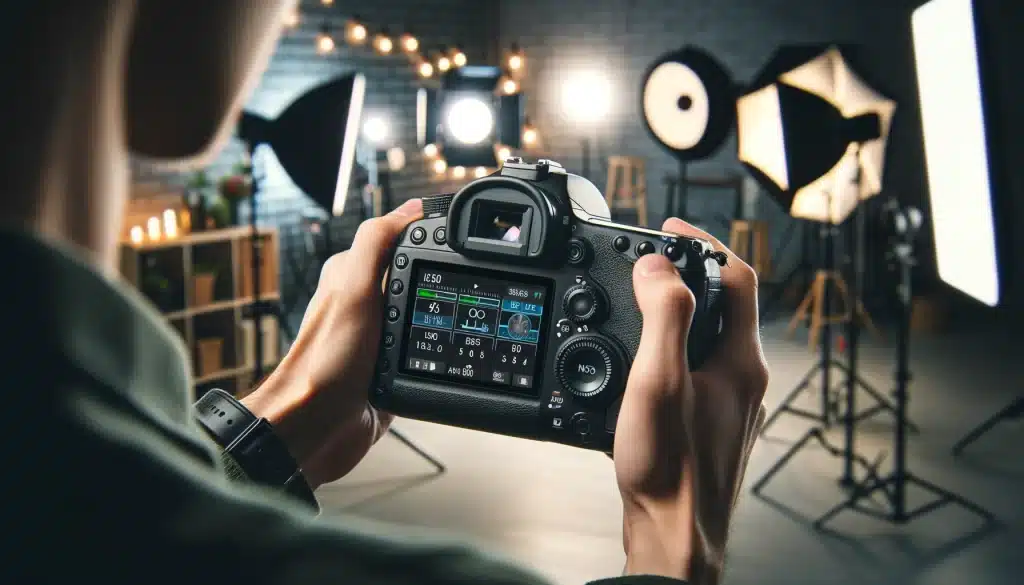
In studio photography, the right camera settings are crucial to achieving optimal results. These settings depend on the type of photography you’re doing, but here are general guidelines to help you get started as a photographer:
Studio Portrait Photography
- Manual Mode: Start by setting your camera to manual mode to have full control over the exposure.
- ISO: Keep the ISO low, around 100 or 200, to minimize noise and ensure photo clarity.
- Shutter Speed: A speed of around 1/125 sec is recommended. Higher speeds can freeze movement, while lower speeds might introduce blur if the subject moves.
- Aperture: An aperture of f/8 is a good starting point. It provides a sharp focus on the subject while offering a decent depth of field to keep the background in slight focus.
- Focal Length: 50mm and upwards is suitable, with longer focal lengths creating more flattering portraits due to their perspective compression effect.
- Flash Power: Usually set at around 50% to balance the natural light and the artificial light from the flash.
Studio Product Photography
- ISO: Between 200 to 400 is ideal, allowing enough light without too much noise.
- Shutter Speed: Ranges from 1/100 to 1/500 sec depending on the desired exposure and lighting conditions.
- Aperture: f/2.2 to f/5.6 helps isolate the product from the background, focusing the viewer’s attention on the product.
- Focal Length: Less than 200mm to avoid perspective distortion, with the specific length depending on the size of the product and the space available.
- Flash Power: Around 50% or less, adjusted based on the product's reflectivity and the overall lighting setup.
Posing and Directing Your Subjects
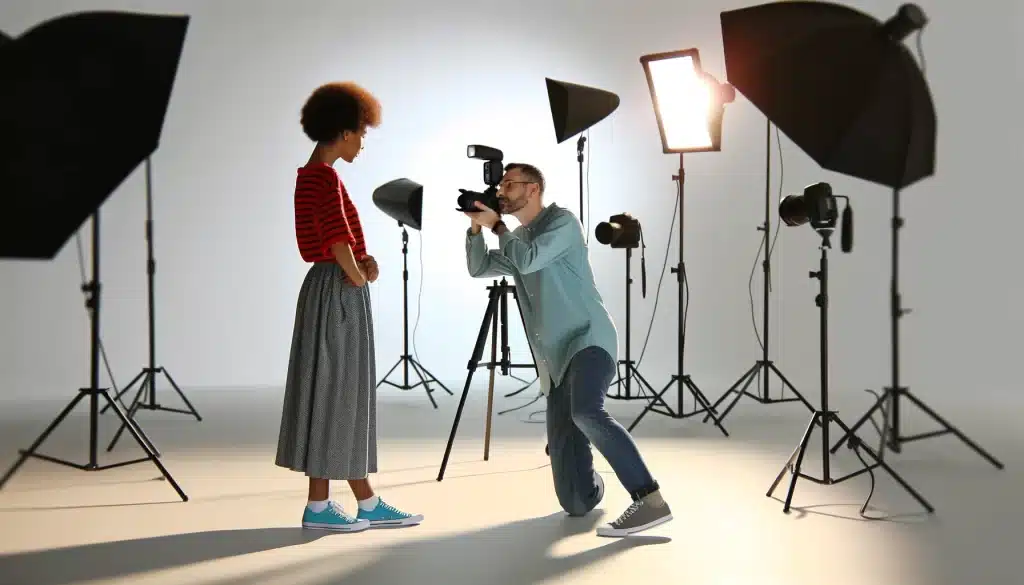
Creating compelling studio portraits involves more than just technical expertise; it also requires the ability to effectively pose and direct your subjects. Here are some tips and techniques to help you guide your models and capture stunning photographs.
Building Rapport and Confidence
- Communication: Establish clear communication with your subjects. Use visual cues and precise instructions to guide their poses and expressions.
- Comfort: Ensure your model feels comfortable and confident. Small compliments and a friendly demeanor can go a long way in enhancing their performance in front of the camera.
- Mirroring: Demonstrate poses yourself or use images to show the desired pose, helping your model understand what you're looking for.
Posing Techniques
- Natural Poses: Encourage natural movements and expressions. Capture candid moments between posed shots for more relaxed and genuine portraits.
- Adjusting Poses: Start with simple poses and gradually move to more complex ones. Ensure the pose suits the model’s comfort and character.
- Eye Direction: Direct your model’s gaze to create the desired mood. The eyes can convey a lot of emotions and add depth to your portraits.
Post-Processing Studio Photos
Key Software for Post-Processing
- Adobe Photoshop: Offers a robust set of tools for detailed edits, including layers, masks, and advanced color correction. It's ideal for intricate retouching, composite images, and applying creative effects.
- Adobe Lightroom: Provides a more streamlined workflow for photo editing, focusing on batch processing, color correction, and image management. Its non-destructive editing environment is excellent for making global adjustments and organizing your photo library.
Effective Workflow Techniques
- Working with RAW Files: Shooting in RAW ensures you capture all the data from the camera's sensor, giving you greater flexibility in post-processing. This format allows for extensive adjustments in exposure, white balance, and other key image attributes without loss of quality.
- Adjusting Color and Light: Crucial steps include setting the correct white balance, manipulating exposure, and adjusting contrast. These adjustments help in achieving the desired mood and tone of the image.
- Local Adjustments: Tools like the Adjustment Brush in Lightroom or the Healing Brush in Photoshop allow for targeted edits. These are useful for correcting specific areas of the image without affecting the whole photo.
Advanced Editing Techniques
- Dodging and Burning: These techniques are used to selectively lighten (dodge) or darken (burn) areas of the image, enhancing depth and dimension.
- Detail Enhancement: Sharpening and noise reduction are key to improving the clarity and overall quality of the image. Careful sharpening can bring out details while noise reduction can clean up any graininess, especially in low-light conditions.
- Color Grading: Adjusting hues, saturation, and luminance can dramatically alter the mood of the photo, creating a cohesive aesthetic that aligns with your artistic vision.
Frequently Asked Questions About Studio Photography

How do you take good studio pictures?
To take good studio pictures, you will need to focus on lighting, background, and the subject. Use a combination of key, fill, and backlights to create depth and reduce shadows. Choose a background that complements the subject without distracting. For portraits, direct the model to convey the desired emotion or theme, ensuring their poses are natural and comfortable. Good studio photos result from attention to detail, controlled lighting, and a clear vision of the final image.
What are the best settings for studio photography?
The best settings for studio photography typically include a low ISO (around 100-200) to reduce noise, a moderate aperture (like f/8 to f/11) for a sharp focus on the subject while maintaining some background detail, and a shutter speed that complements the studio lighting setup, often around 1/125 sec. The exact settings will depend on the lighting and the desired effect, so experimentation is key.
How do I make my studio quality photos?
To make studio-quality photos, invest in quality equipment like a good DSLR or mirrorless camera, prime lenses, and professional lighting. Control your lighting setup to shape and define the subject. Use diffusers and reflectors to soften shadows and highlight details. Post-processing plays a crucial role; edit photos to enhance colors, adjust lighting, and refine details. Consistency in style and quality across photos will also contribute to a professional look.
What does a photographer need in a studio?
A photographer needs a camera with manual mode capability, lenses suitable for studio work (like 50mm or 85mm primes), lighting equipment (main light, fill lights, and backlights), light modifiers (softboxes, umbrellas), reflectors, backgrounds or backdrops, and props for styling. Additional items include a sturdy tripod, remote triggers, and a computer with post-processing software like Adobe Lightroom or Photoshop to edit the photos.
Wrapping Up Tips for Studio Photography
In my journey as a photographer, mastering studio photography has been a transformative experience. I remember when I first started, I struggled with directing models. Over time, I learned that the key to great studio photos lies not just in the technical settings of the camera but in the ability to bring out the best in my subjects. For instance, during one shoot, by simply adjusting the angle and encouraging the model with positive feedback, the session went from mediocre to exceptional, resulting in some of the best portraits in my portfolio. This experience underscored the importance of continuous learning and practice.
For those eager to elevate their skills, exploring comprehensive courses can be a game-changer. I highly recommend our Photoshop and Lightroom courses, which provide in-depth knowledge and hands-on techniques to enhance your post-processing skills and overall photography expertise. Join our Photoshop Course and Lightroom Course to embark on a journey of photographic excellence and transform your studio photos into masterpieces.
If the “Tips for Studio Photography” article has helped you, then Like and Share it with your friends!
Have a nice photoshoot!
Read more about: Photography Techniques


Course


Get the latest version of Photoshop & Lightroom