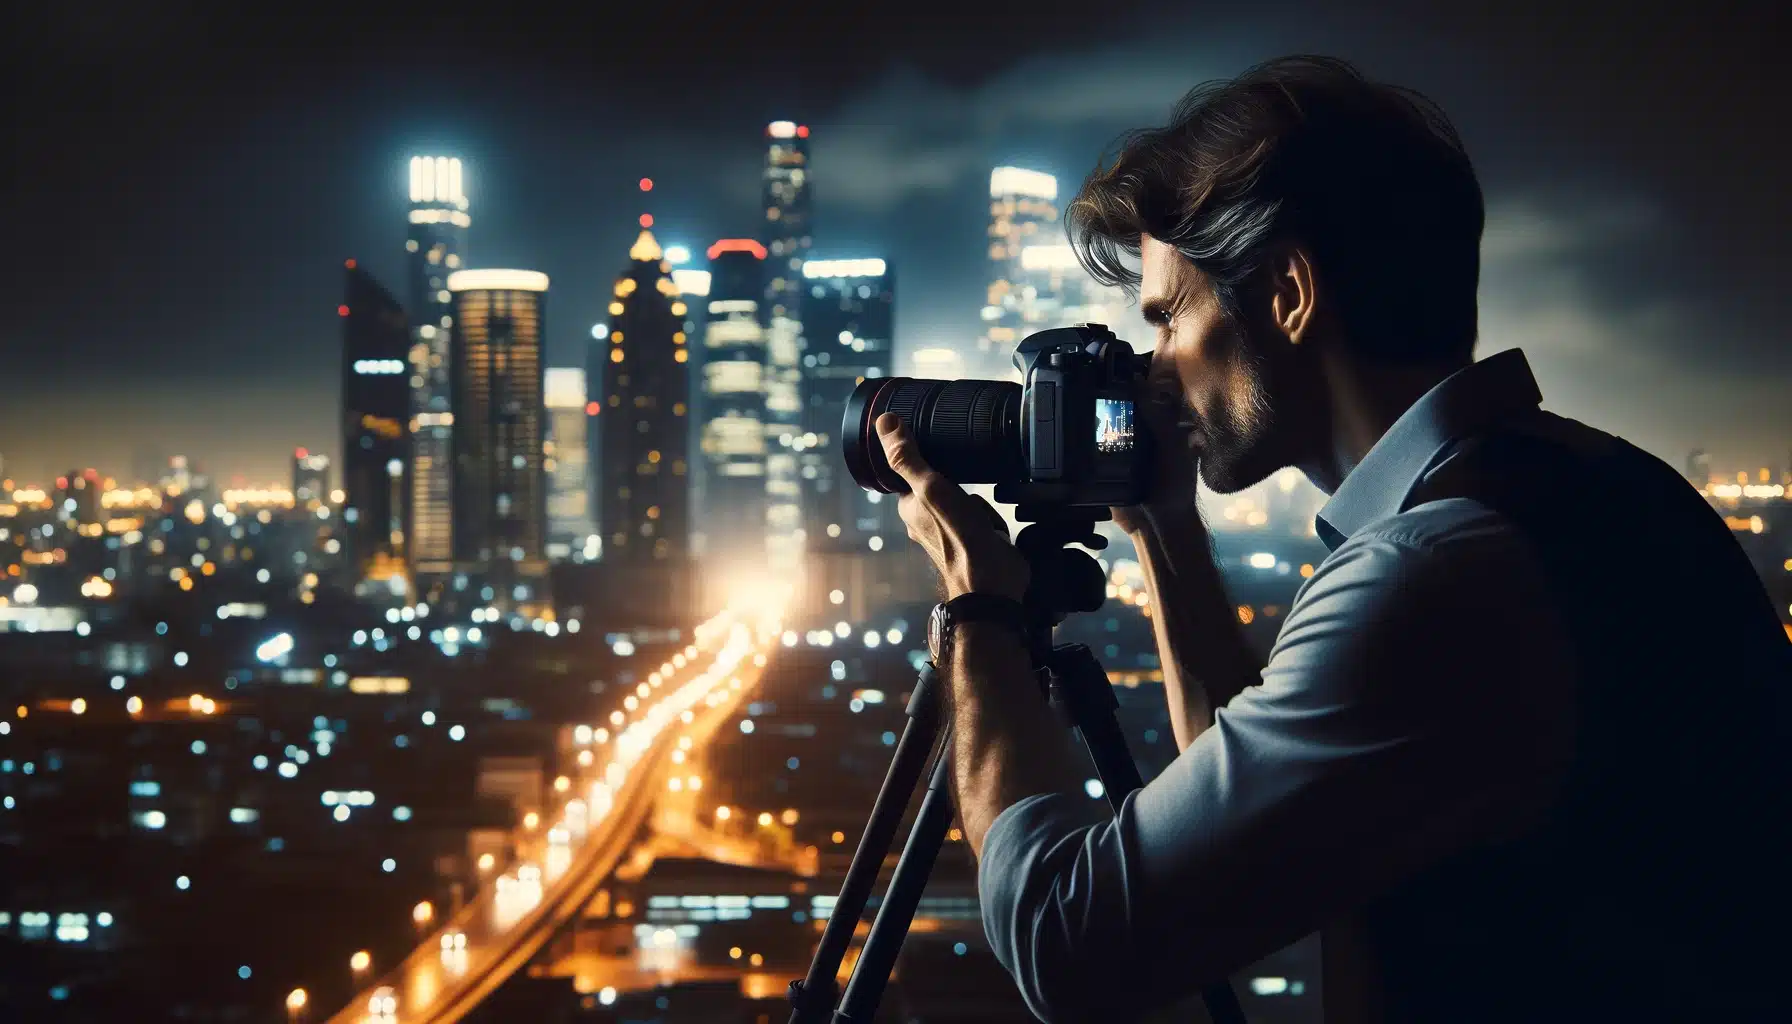
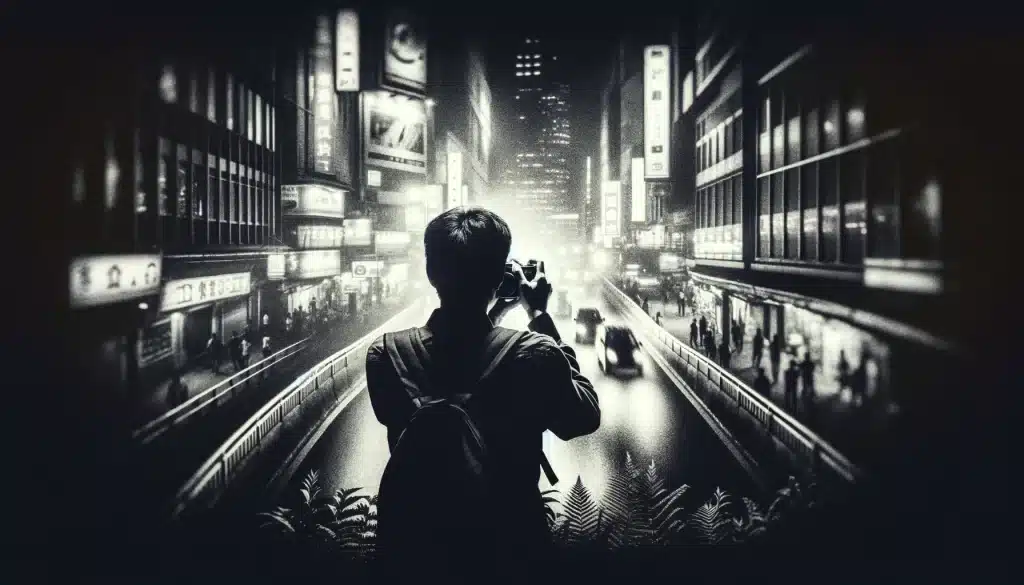
Introduction to Tips For Low Light Photography
Capturing images in dim lighting can be tricky but also really rewarding. Imagine trying to capture the beauty of a city at night or the warm glow of candles on a birthday cake. These moments are special, but without enough light, it can be hard to get them just right. That’s where learning some handy tips for low light photography comes into play. It’s all about using your camera in a smart way to make the most of the light you do have. This means playing around with different settings to see what works best for capturing the vibe you’re going for.
Think about trying to take a photo of your friend blowing out candles in a dimly lit room. If you know the right tricks, you can snap a picture that looks amazing, with the candles lighting up their face and the darkness around them adding to the moment. Whether you’re just starting out with photography or you’ve been at it for a while, these tips for low light photography will help you take your photos from okay to wow, even when there’s not a lot of light around.
Table of Contents
What are the Basics of Low Light Photography?
Before we dive into the tips for low light photography, let’s first learn about the basics. When you try taking pictures in shadowy conditions, like indoors at night or during an evening event outside, you’re stepping into the world of low-light photography. This might sound a bit tricky at first, but with a few tips, you’ll start snapping great photos in no time. So, what’s the deal with photographing in low light, and how can you do it well? Let’s break it down.
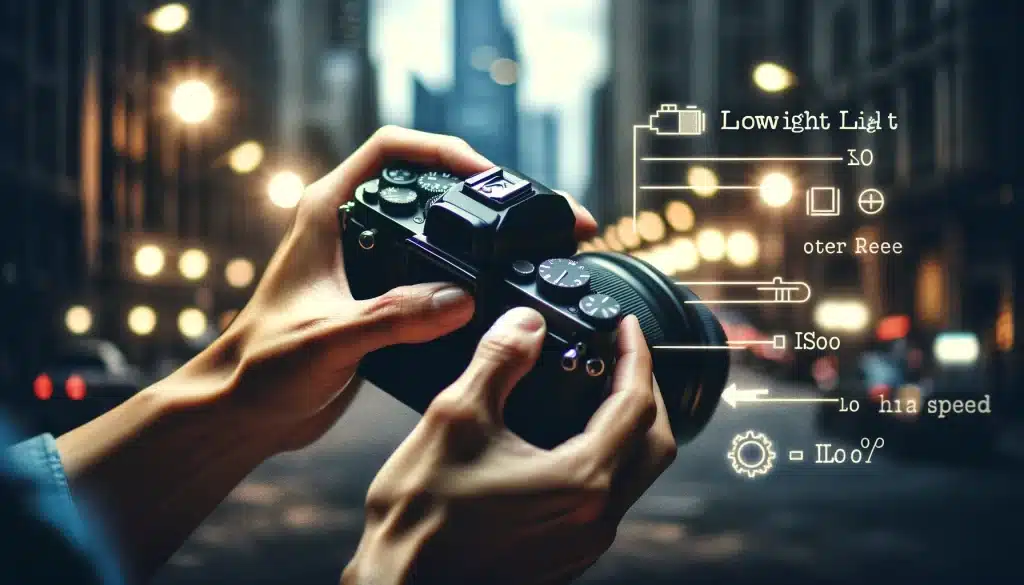
When we talk about photographing in dim conditions, there are a few main camera settings that you need to familiarise yourself with, such as ISO, shutter speed, and aperture. Think of these settings as your toolkit for tackling low-light scenes. These settings together form an exposure triangle.
- ISO: This is all about your camera's sensitivity to light. A higher ISO lets you capture images in darker conditions, but watch out – too high, and your photos might get grainy.
- Shutter Speed: This determines how long your camera's shutter stays open to let light in. In darker settings, a slower shutter speed can help by exposing your camera sensor to more light, but you might need a steady hand or a tripod to avoid blurry photos.
- Aperture: This controls how wide your lens opens when you take a picture. A wider aperture (a lower f-number) lets in more light, making it super useful in photographing in low light.
Here’s a table focusing specifically on the settings for manual mode in low-light conditions:
| Setting | Low Light Conditions(Effect) |
|---|---|
| ISO | 800 – 3200 (or higher, depending on noise tolerance) |
| Aperture | f/2.8 or lower (wider aperture) |
| Shutter Speed | 1/60 sec or slower (depending on subject movement and camera stability) |
What are the Right Equipment Essentials for Low-Light Photography?
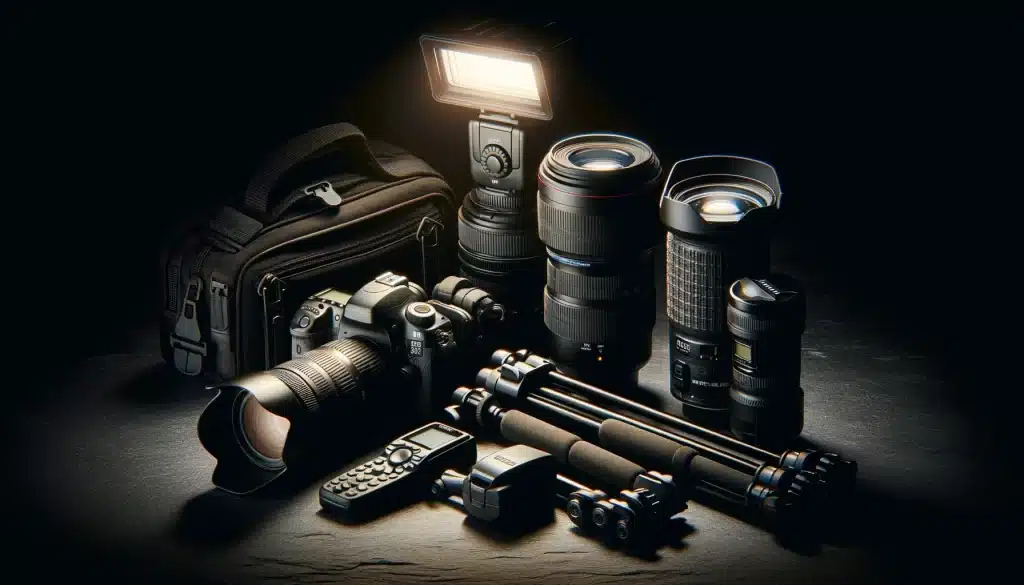
Getting the most from your sessions using tips for low light photography means having the correct equipment is key. You don’t need the most expensive camera out there, but a few key pieces of equipment can make a huge difference. Let’s talk about what you really need to capture those stunning low-light shots.
A Camera with Manual Mode
First things first, you’ll need a camera that lets you adjust ISO, shutter speed, and aperture manually. Most DSLRs and the best mirrorless cameras have these settings. The ability to tweak these settings yourself gives you complete control over the amount of light that hits your camera’s sensor, which is essential in low-light conditions. For example, the Nikon D3500 is a great entry-level DSLR that offers excellent manual control for its price.
Here are a few more different cameras that allow manual adjustments of ISO, shutter speed, and aperture, suitable for low-light photography:
| Camera Model | Type | Key Features for Low Light |
|---|---|---|
| Nikon D3500 | DSLR | High ISO sensitivity, easy manual controls, beginner-friendly |
| Canon EOS Rebel T7i | DSLR | Vari-angle LCD, wide ISO range, responsive autofocus in low light |
| Sony Alpha a6400 | Mirrorless | High ISO range, fast autofocus, compact size for low-light shooting |
| Fujifilm X-T30 | Mirrorless | Excellent image quality, high ISO performance, retro manual dials |
| Olympus OM-D E-M10 Mark III | Mirrorless | In-body image stabilization, good ISO performance, compact |
| Sony Alpha a7 III | Mirrorless | Full-frame sensor, high ISO capability, advanced autofocus |
| Nikon Z6 | Mirrorless | Full-frame sensor, wide ISO range, effective in low light |
Fast Lenses
A lens with a large maximum aperture (remember, that means a smaller number, like f/1.8 or f/2.8) is known as a “fast lens.” These lenses are a game-changer when photographing in low light because they can open wide to let in a lot of light. A popular choice is the 50mm f/1.8 lens, often referred to as the “nifty fifty.” It’s relatively affordable, works well in low light, and is great for portraits, giving you that lovely blurred background effect.
Tripods
A tripod is a must-have for any low-light photography. It keeps your camera perfectly still, allowing you to use slower shutter speeds without worrying about the blur from hand movement. This is especially useful for nighttime landscapes or cityscapes where you want every detail to be sharp. There are many lightweight and portable options out there, making it easy to carry one along on your photography adventures.
External Flash (Optional)
While natural light is usually preferred for low-light photography, there are times when you might need an extra boost. An external flash can be handy, especially when photographing people. It allows you to illuminate your subject without making the entire scene look artificially lit. Remember, the key is subtlety; you want to enhance the available light, not overpower it. A good example is using a diffuser with your flash to soften the light for a more natural look.
Light Modifiers (Optional)
Light modifiers like reflectors or diffusers can also be very helpful. They allow you to direct and soften the light, which can be especially useful when you’re using an external flash or when there’s some ambient light that you can reflect onto your subject. This can help avoid harsh shadows and create a more evenly lit photograph.
Such tools align with the tips for low light photography by ensuring your shots are evenly lit, thereby avoiding harsh shadows and contributing to a naturally lit appearance in your low-light photos.
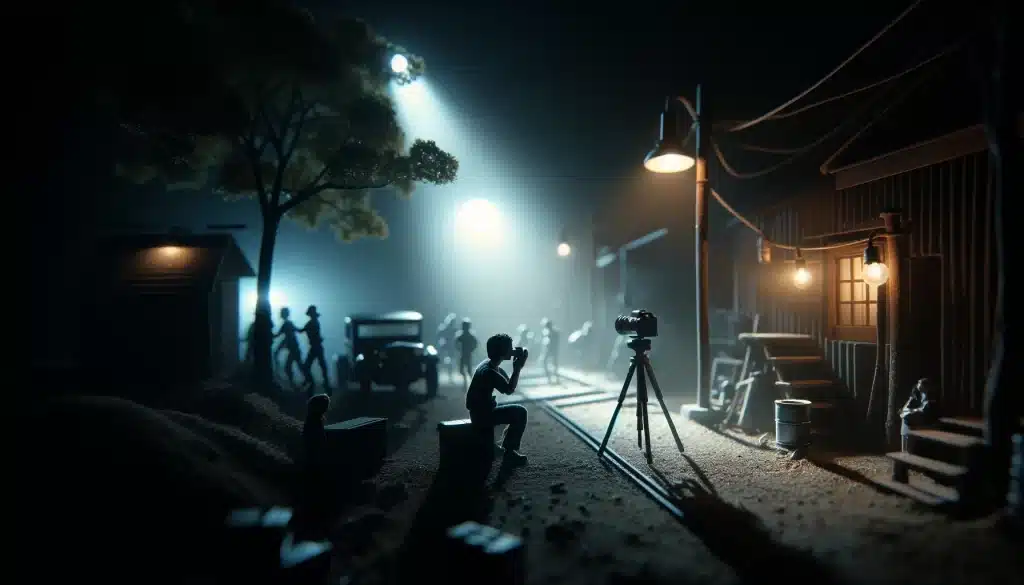
7 Key Tips for Low Light Photography
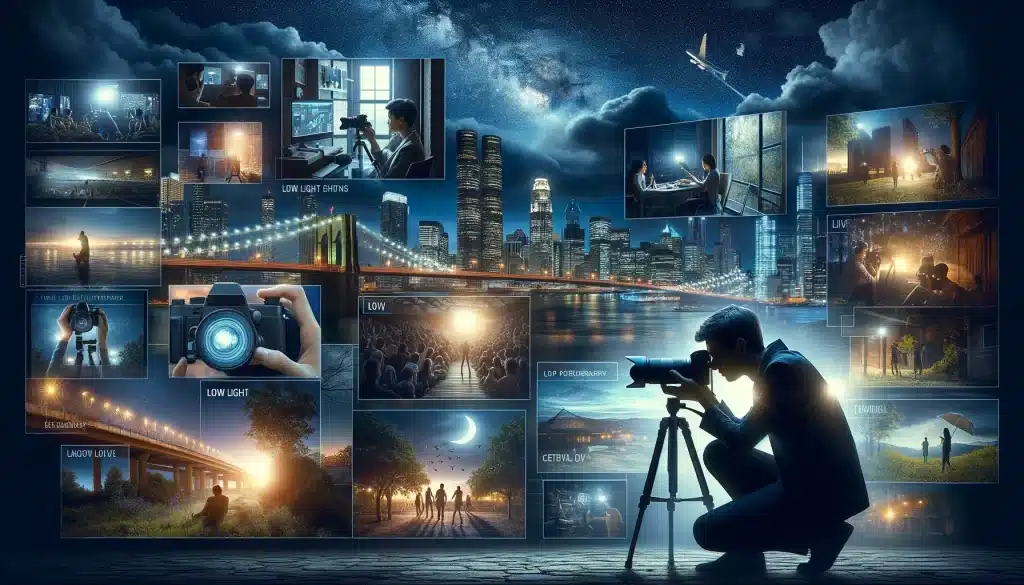
Getting amazing photos when it’s dark might seem hard, but with these tips for low light photography, you’ll be snapping awesome pics even when the light is not on your side. Let’s dive into how you can make the dark work for you:
Go Slow with Shutter Speed
The first and foremost tip for low-light photography is to use a slow shutter speed. A slower shutter speed means the camera’s eye is open longer, letting in more light. This is super useful when it’s really dark. Just remember, if you or your subject moves, the photo might get blurry. That’s another reason to use a tripod. For example, if you are taking pictures of the stars. A slow shutter speed can capture the light from the stars, making them bright against the night sky. But you’ll need a tripod because even a tiny shake can make the stars look like lines instead of dots.
Make the Most of Night Mode for Quick Fixes
Many modern cameras and smartphones are equipped with a special feature known as night mode. This clever setting is a practical tip for low-light photography as it automatically analyzes the low-light environment you’re in and adjusts your camera’s settings to capture the best possible photo.
Night mode works by increasing ISO, slowing down the shutter speed, and sometimes even taking multiple shots at different exposures to blend them into one well-lit image. This feature is perfect for those who want to snap great photos in the dark without diving into manual settings.
Look for light sources when taking pictures in shadowy conditions
Even when photographing in low light, there are usually light sources around – you just need to find and use them creatively. This can be anything from streetlights, shop windows, moonlight, or even the subtle illumination from twilight. By positioning your subjects near these sources of light, you not only brighten them but also cast fascinating shadows and highlights, adding depth and intrigue to your photos.
But finding light is just the beginning. Think about how the light interacts with your surroundings and how you can use it to enhance your composition. Moreover, paying attention to the direction and quality of the light is a crucial tip for low-light photography. Side lighting can emphasize textures and shapes, creating a more dramatic result. Backlighting, where the light source is behind your subject, can create a silhouette effect, adding mystery and drama to your photographs. This is why, in silhouette photography, photographers tend to use backlighting.

Use Manual Focus
Autofocus systems often struggle in low light, leading to frustrating moments where you can’t capture your subject as you’d like. When your camera’s autofocus can’t lock on because it’s too dark, switching to manual focus becomes an essential tip for low-light photography. By manually adjusting the focus, you ensure that the most important parts of your image are sharp and clear. It requires a bit of practice, but once you get the hang of it, you’ll be able to achieve precise focus, even in challenging lighting. Look for features like focus peaking or use the live view magnification on your camera to nail the focus every time.
Shoot RAW for the Best Quality While Capturing images in dim lighting
Another tip for low-light photography is to shoot in RAW format. This might sound technical, but it’s pretty simple. When you take a picture, your camera can save it in different ways. RAW is one way that keeps all the information from the scene, unlike other formats that throw some away. This means you have more to work with when you’re editing the photo later.
Shooting in RAW is especially useful in low-light situations. Why? Because you can make changes to the exposure, shadows, and highlights without ruining the quality of your photo. It’s like having a safety net: if the picture comes out too dark, you can brighten it up later without making it look weird or grainy.
Remember, when you shoot in RAW, the files will be bigger and you’ll need special software to edit them. But it’s worth it for the control and quality you get, especially when dealing with the challenges of photographing in low light.
Experiment with Black And White
After you’ve captured your scenes in RAW, another tip for enhancing your low-light photography is to experiment with black and white. This might seem like a big leap, but it’s a powerful tool. Black and white photos don’t just look cool and classic—they also handle low-light conditions well.
When you switch a photo to black and white, you remove the distraction of color, focusing attention instead on light, shadow, and form. This can be particularly effective in low light, where colors might appear muted or distorted anyway. Black and white photography can turn these limitations into strengths, emphasizing the drama and mood of your scene.
Moreover, black and white can help reduce the visibility of noise, those pesky grains that often appear in photos taken in less than ideal lighting conditions.
Post-Processing
Once you’ve captured your low-light images, the next step is editing. While software like Adobe Photoshop offers powerful tools to enhance and adjust your photos, it’s important to use a light touch. Start by correcting the exposure and balancing the shadows and highlights. Then, gently reduce noise and sharpen the details without overdoing it. Overedited photos can look unnatural or overly processed, losing the magic of the moment you captured. Also, make sure to adjust the white balance.
Remember, less is often more when it comes to editing. Photoshop’s extensive range of tools can help you subtly enhance your low-light photographs, preserving their mood and authenticity while improving clarity and detail. With these tips for low light photography, you’ll be all set to snap those amazing scenes, even when it’s not so bright out.
Common Mistakes to Avoid in Low Light Photography
Low light photography can be tricky, but by avoiding common mistakes, you can significantly improve your results. Let’s delve into each mistake and provide simple solutions to help you capture better low light photos.
Relevant Table for “Common Mistakes to Avoid in Low Light Photography”:
Common Mistake |
Simple Solution |
|---|---|
Not Using a Tripod |
Invest in a stable tripod for sharp photos. |
Ignoring High ISO Noise |
Use lower ISO settings and consider noise reduction. |
Overlooking White Balance |
Adjust white balance for accurate colors. |
| Neglecting Composition | Pay attention to framing and focal points. |
| Missing Focus | Use manual focus or focus assist features. |
| Relying Solely on Auto Mode | Experiment with manual settings. |
| Forgetting to Use Light Sources | Incorporate available light creatively. |
| Skipping Post-Processing | Edit photos for enhancements. |
| Not Checking Camera Settings | Double-check settings for accuracy. |
| Rushing the Process | Take your time for better results. |
Editing Low Light Photography in Adobe Photoshop or Lightroom
Editing low light photography pictures in Adobe Photoshop or Lightroom requires specific adjustments to enhance details, reduce noise, and correct color casts. Here’s a guide on how to edit low light photos in these software:
- Importing Photos: Start by importing your low light photos into Adobe Photoshop or Lightroom for editing.
- Adjust Exposure: In Lightroom, use the Exposure slider to correct overall brightness. In Photoshop, utilize the Levels or Curves adjustment layers for exposure adjustments.
- Reduce Noise: Low light photos often have visible noise. In Lightroom, use the Noise Reduction sliders (Luminance and Color) under the Detail panel. In Photoshop, apply noise reduction filters like Reduce Noise or Camera Raw Filter.
- Adjust White Balance: Correct any color casts by adjusting the White Balance sliders in Lightroom (Temperature and Tint) or using the Color Balance adjustment in Photoshop.
- Fine-Tune Colors: Use the HSL (Hue, Saturation, Luminance) panel in Lightroom to fine-tune individual color channels. In Photoshop, use the Hue/Saturation or Selective Color adjustments for color adjustments.
- Apply Presets or Filters: Experiment with presets or filters in Lightroom for quick edits. In Photoshop, utilize adjustment layers and blending modes for creative effects.
- Retouching: Use the Spot Healing Brush or Clone Stamp tool in Photoshop to remove any imperfections or distractions.
FAQs: Tips for Low Light Photography
How does image stabilization contribute to better low-light photos?
Image stabilization technology, such as IBIS (in-camera) and Vibration Reduction (in lenses), allows for slower shutter speeds without camera shake, enabling sharper images in low lighting.
Can I use a flash in low-light photography without ruining the atmosphere?
Yes, when shooting photos in poor light you can use a flash without ruining the atmosphere, but it requires careful use and understanding of the right techniques. Moreover, using techniques like slow synchronization flash, bouncing your flash, and considering off-camera flash setups can greatly enhance the quality and atmosphere of your low-light photos.
Is 2.8 fast enough for Shooting photos in poor light?
Yes, an f/2.8 aperture is generally considered fast enough when photographing in low light, offering a good balance between light intake and image quality. However, it’s important to note that while f/2.8 is suitable for poorly lit areas, lenses with even wider apertures like f/1.8 allow in even more light, which can be beneficial in more extreme low light situations.
What kind of lens should I use for taking pictures in poorly lit places?
When you find yourself shooting in dimly lit conditions, choosing a lens with a wide aperture becomes crucial. Opting for a lens like the Canon EF 50mm f/1.8 will allow maximum luminosity to enter your camera. This will enhance the brightness and clarity of your shots.
How can I seize motion without excessive blur in poorly lit scenes?
To capture moving objects clearly when it’s dark, you should use a faster shutter speed and increase the ISO in your camera. This will help you get the sharp and clear images, even when the surroundings are dark.
How to Edit Low Light Photographs in Adobe Photoshop and Lightroom?

Conclusion
Ending our guide on tips for low light photography, I’ve got a personal tale to share. A while back, I was out trying to capture the cozy, dim glow of a late-night café scene. It felt a bit tricky at first, but by using the techniques we’ve discussed, like tweaking the shutter speed and aperture, I was able to take a photo that truly captured the mood. This experience showed me firsthand the magic of low-light photography — it’s like turning night into your own canvas of possibilities.
So, if you’re eager to get even better at low-light photography, consider diving into our tailored Photoshop and Lightroom courses. They’re packed with easy-to-understand lessons that can help bring your dimly lit photos to life. Check out our courses here: Photoshop course and Lightroom course. By learning more, you’ll find that photographing in low light isn’t just about dealing with darkness; it’s about creating light and capturing those perfect moments, no matter how dim.
Have a nice photoshoot!
Learn more about


Course


Get the latest version of Photoshop & Lightroom