Introduction to Shutter Speed
Shutter speed is a fundamental concept in photography, referring to the amount of time the camera’s shutter remains open to expose light onto the camera sensor. Essentially, it dictates the duration for which your camera takes to capture a photograph. Shutter speed is measured in seconds or fractions of a second, like 1/200s or 2 seconds. The faster the shutter speed, the shorter the exposure time, and vice versa.
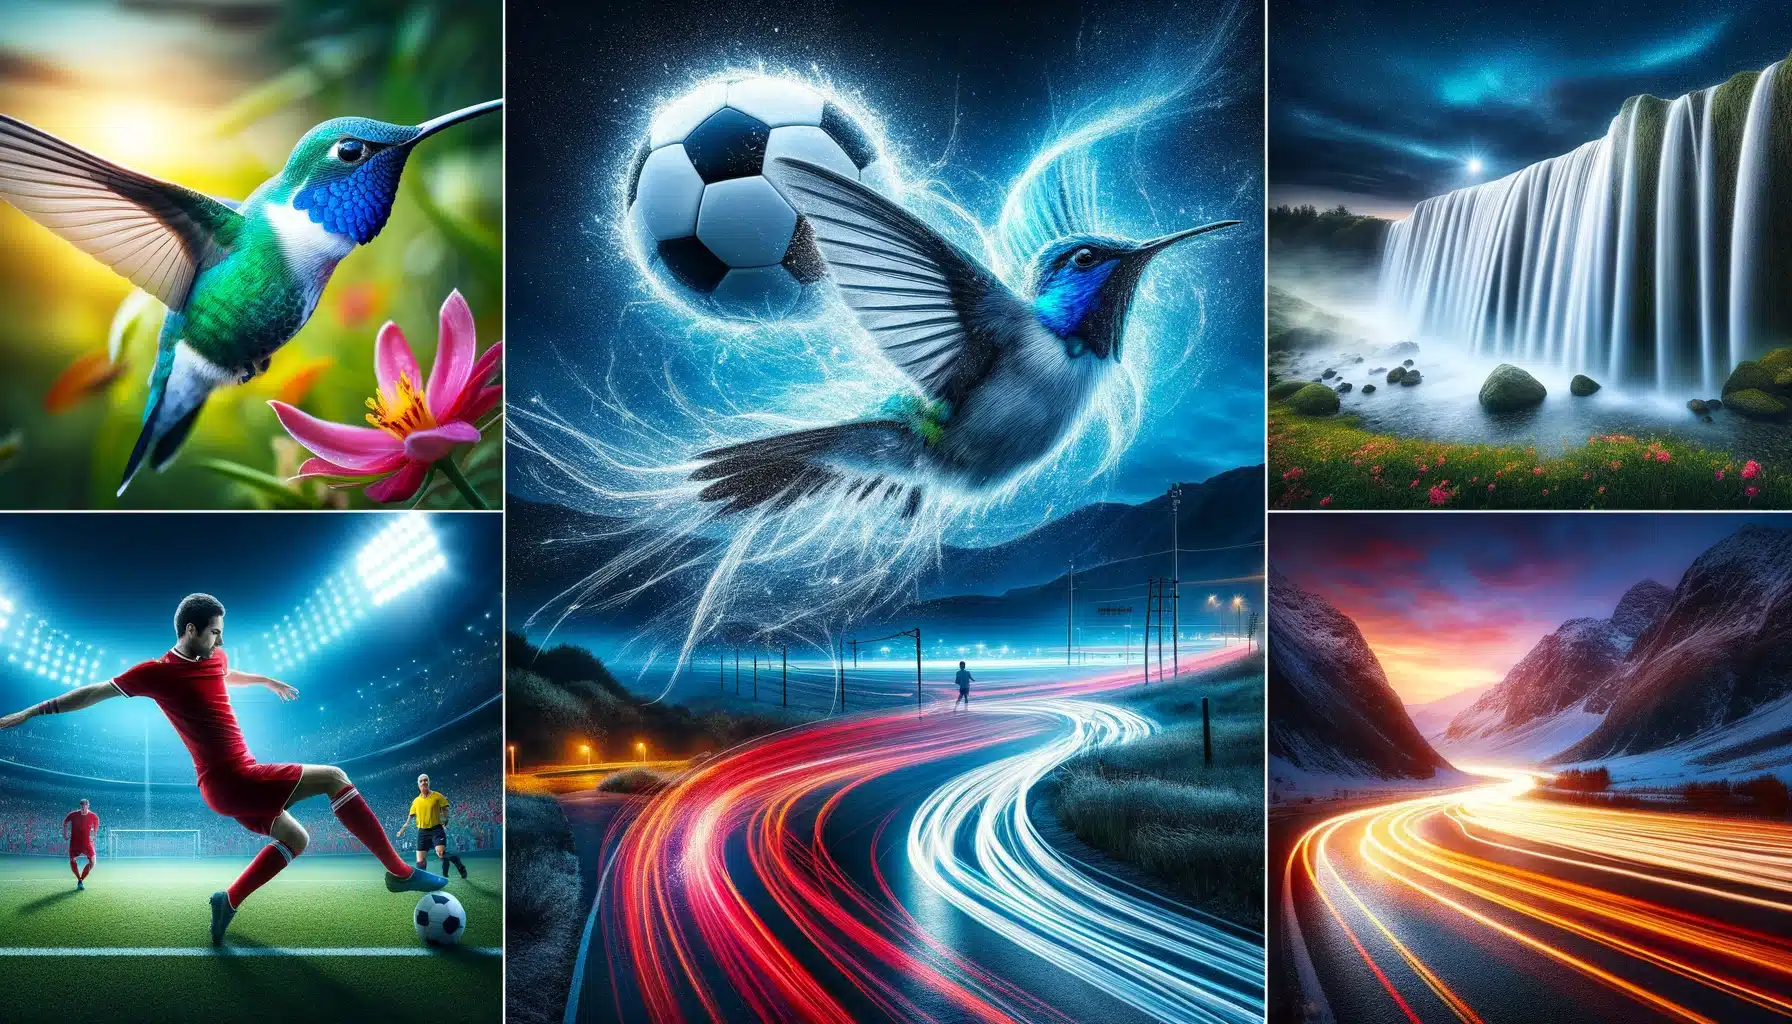
Real Life Example: Imagine capturing the swift motion of a hummingbird in flight. A fast shutter speed, such as 1/4000 sec, can freeze the bird’s rapid wing movement, allowing you to see every detail sharply.
Table of Contents
How Shutter Speed Affects Your Photos
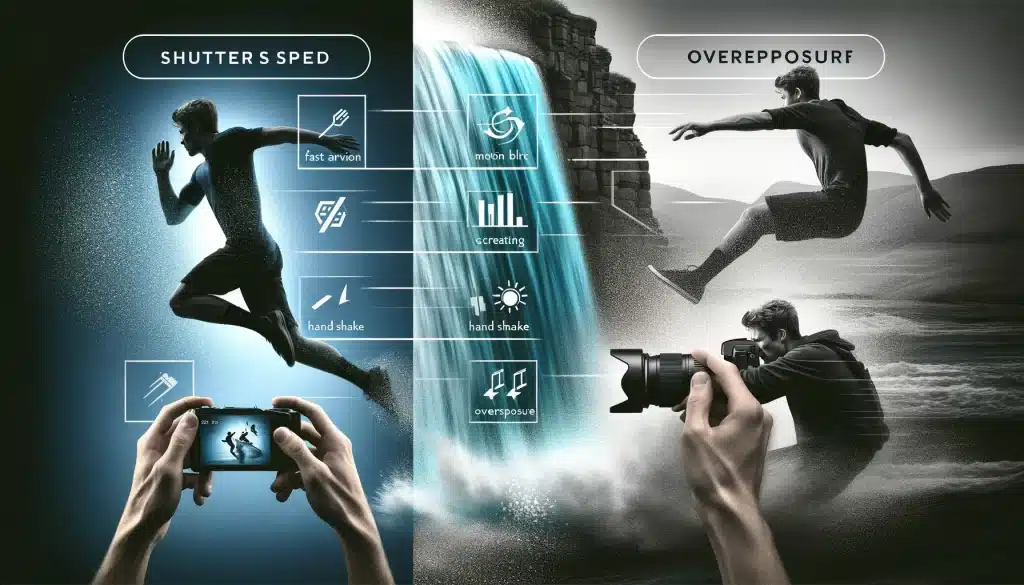
Freezing Motion with Fast Shutter Speed
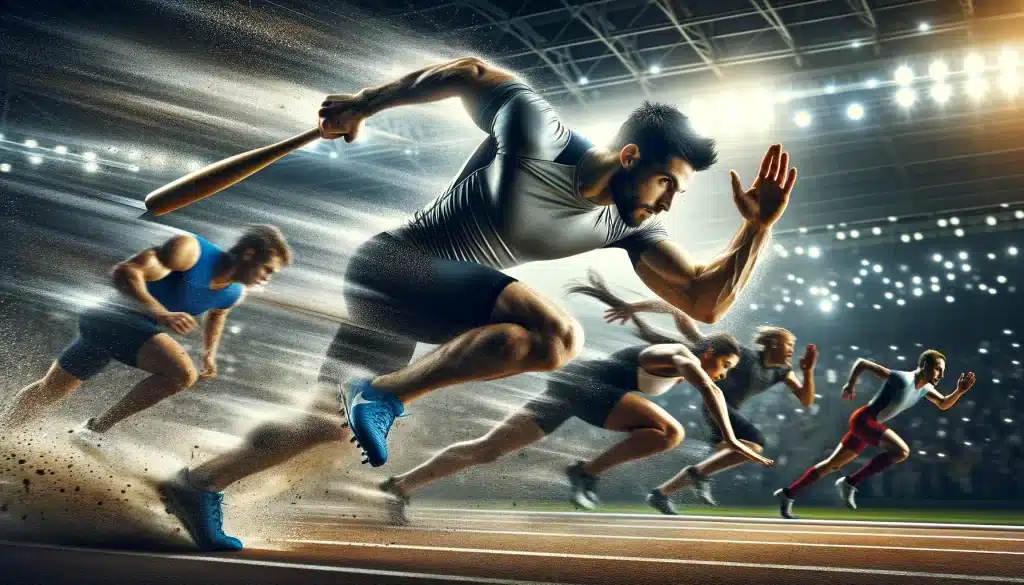
Fast shutter speeds are excellent for freezing motion. It makes them ideal for sports photography, wildlife shots, and where you capture a moment without blur. Speeds like 1/1000s or faster ensure that even the quickest movements are frozen in time
Freezing Fast Action
In sports photography, using a fast shutter speed is essential. It is for freezing the action and ensuring every detail is sharp and clear.
Example: Photographing a soccer player mid-kick requires a fast shutter speed. The speeds such as 1/2000 sec, to capture the ball and player’s expressions crisply.
Capturing Animals in Motion
A fast shutter speed can freeze the movement of quickly moving animals. It allows you to capture them in sharp focus and highlight intricate details.
Real-life example: When photographing a bird taking off, make a shutter speed of 1/1000 sec. It can ensure the bird’s wings are captured in stunning detail against a blurred background.
Creating Motion Blur with Slow Shutter Speed
Slow shutter speeds, on the other hand, allow you to creatively show movement in your photos. For example, blurring a waterfall to convey its flow or capturing the light trails of moving cars at night. This technique adds a sense of motion and dynamism to your photographs.
Creating a Smooth Flow
A slower shutter speed, ranging from half a second to several seconds, can dim moving water in rivers. Thereby, it gives it a magical, flowing appearance.
Example: To achieve the silky water effect in a waterfall photograph, a frame rate of 2 seconds with a tripod to avoid camera shake can create a mesmerizing veil of water.
Capturing Movement of Light
| Shutter Speed | Effect on Exposure | Effect on Motion | Ideal Subjects |
|---|---|---|---|
| 1/4000 sec - 1/2000 sec | Low exposure (darker image) | Freezes rapid movements | Sports action, wildlife in motion |
| 1/1000 sec - 1/500 sec | Freezes fast movements | Fast-moving animals, athletes | Moderate exposure |
| 1/250 sec - 1/125 sec | Balanced exposure | Slight motion blur, sharp subjects | Everyday photography, candid shots |
| 1/60 sec - 1/30 sec | Increased exposure (brighter image) | Visible motion blur | Portraits with a moving background |
| 1/15 sec - 1/2 sec | High exposure | Smooth blur effect | Flowing water, cityscapes at night |
| 1 sec - 30 sec | Very high exposure | Extended dim effects, glare trails | Night landscapes, star trails |
| Bulb mode (>30 sec) | Custom exposure | Creative light paintings, star trails | Night sky photography, experimental shots |
Comparison of Various Shutter Speeds in Real Life
- Fast Shutter Speeds (1/4000 sec to 1/500 sec): Ideal for freezing action, these settings ensure that fast-moving subjects are captured with clarity and sharpness. They're perfect for sports photography or capturing wildlife.
- Moderate Shutter Speeds (1/250 sec to 1/60 sec): Offering a balance between motion freezing action, these speeds are versatile for general photography, including portraits and street photography.
- Slow Shutter Speeds (1/15 sec to 30 sec): These speeds allow more shine to hit the sensor, making them suitable for low-illumination conditions. They introduce motion blur, ideal for creating a sense of movement in waterfalls, rivers, or capturing illumination trails at night.
- Bulb Mode (>30 sec): For exposures longer than 30 seconds, bulb state allows you to keep the shutter open as long as the shutter button is pressed, perfect for night photography and capturing illumination trails in creative ways.
How is Shutter Speed Different from ISO Sensitivity and Aperture
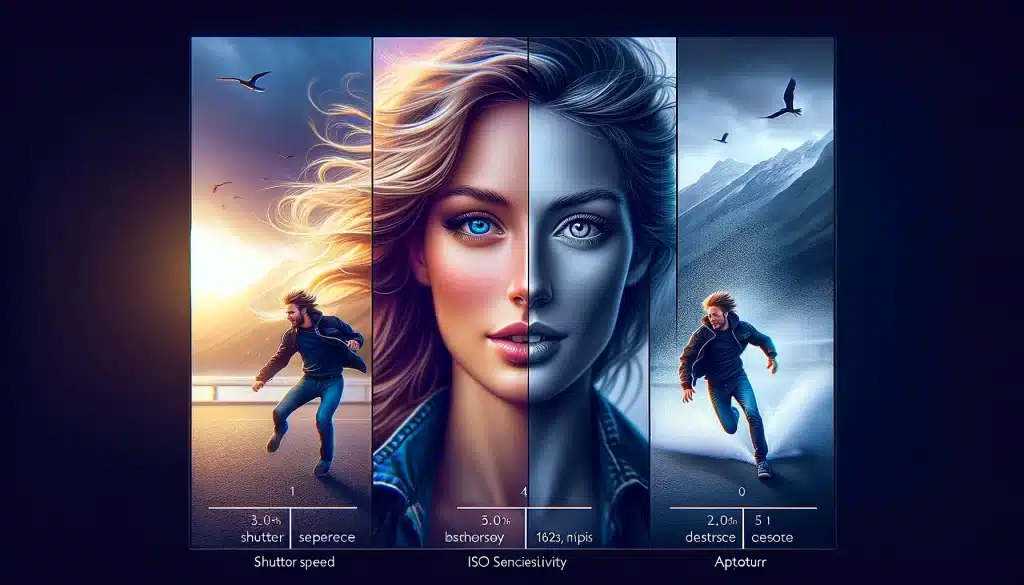
Understanding the exposure triangle in photography is crucial for mastering manual shooting. Shutter speed, ISO sensitivity, and aperture work together to control the amount of light that reaches the camera’s sensor, affecting the brightness and overall look of the photo. Each element has its unique impact on the image.
Shutter Speed: Capturing Time
Shot speed determines how long the camera’s sensor is exposed to light. It directly influences the ability to freeze or dim motion in your photographs.
Capturing a hummingbird in mid-flight requires a fast shutter speed, such as 1/4000th of a second, to freeze the rapid wing movement and render the bird sharply against a blurred background.
ISO Sensitivity: Amplifying Light
ISO sensitivity measures the photoing device sensor’s sensitivity to light. Increasing the ISO number makes the sensor more sensitive, allowing you to shoot in darker conditions without a flash. However, higher ISOs can lead to increased noise or grain in images.
In a dimly lit room, increasing the ISO to 3200 can help capture a well-exposed image without the need for additional lighting. But be mindful of the potential for noise, which can diminish image quality.
Aperture: Controlling Depth of Field
Aperture refers to the size of the lens opening through which illumination enters. It is denoted by f-numbers (e.g., f/2.8, f/8). A larger aperture (smaller f-number) allows more light to reach the sensor and creates a shallow depth of field, blurring the background and focusing attention on the subject.
To capture a portrait with a beautifully blurred background (bokeh), you might use an aperture of f/2.8. This setting allows more light to enter and isolates the subject from the background by rendering it out of focus.
Balancing the Exposure Triangle
On a bright sunny day, to capture a landscape with everything in sharp focus, you might choose a small aperture (f/16) for a deep depth of field. To compensate for the reduced glare entering through the small aperture, you could lower the ISO to 100 for the best image quality and adjust the shot speed to something like 1/125th of a second to achieve a correct exposure without motion blur.
Mastering Shutter photography Speed Settings: Practical Tips

1- Stabilize Your Camera with a Tripod for Long Exposures:
Long exposures beautifully capture scenes with low light or create artistic effects like smooth water surfaces or light trails in night photography. However, the challenge is avoiding unwanted blur from handholding the camera. Using a tripod is essential for stability.
It ensurs that your long exposure shots are sharp where they need to be. In the same time you allow intentional dim where desired. For example, capturing the ethereal flow of a waterfall with a frame rate of 4 seconds would require a tripod. It is because to maintain sharpness in the surrounding landscape while the water blurs, creating a silky effect.
2- Capture Dynamic Shots with Panning:
Panning is a technique that combines a slower shot speed with camera movement. It follows a moving subject. The result is a subject that remains sharp against a blurred background, emphasizing motion and speed. This technique is perfect for photographing moving vehicles, animals, or athletes. For instance, tracking a runner at 1/30th of a second can create a dynamic photo where the runner is in focus. However, the background shows motion blur.
3- Match Shutter Speed with Focal Length to Avoid Blur:
To prevent unfocus from camera shake, especially when shooting handheld, use a shutter speed at least as fast as the reciprocal of your lens’s focal length. If you’re using a 200mm lens, aim for a minimum shutter speed of 1/200th of a second. This guideline helps ensure that your photos remain sharp. And you can avoide the fade that can come from even the slightest hand movements.
4- Increase ISO in Low Light for Faster Shutter Speeds:
In situations where illumination is limited, and a slow shutter speed photography would result in motion blur. So, increase your ISO setting. A higher ISO makes your camera’s sensor more sensitive to light. It allows you to use faster shutter speeds without compromising exposure.
While higher ISOs can introduce noise, modern cameras handle high ISO settings well. For example, shooting an indoor event without flash might require pushing your ISO up to 1600 or beyond. It helps achieve a fast enough shutter speed to freeze the action without blur.
5- Utilize Shutter Priority Mode for Speed Control:
Shutter Priority status (Tv on Canon and S on Nikon cameras) is a semi-automatic mode where you select the shutter speed and the photoing device automatically adjusts the aperture to achieve correct exposure. This is invaluable when you need to quickly adapt to changing movement conditions.
Advantages and Disadvantages of Adjusting Shutter Speed
Advantages of Shutter Speed Photography
1- Captures Fast Action Clearly:
Adjusting the shutter speed to a faster setting allows photographers to freeze fast-moving subjects. This is crucial in sports or wildlife photography where capturing the decisive moment with clarity and detail is essential. For example, a shutter speed of 1/1000th of a second can freeze the action of a soccer player in mid-kick, capturing every detail from the flying grass to the intense expressions.
2- Allows for Creative Motion Blur:
A slower shutter speed can be used creatively to fade motion, giving photos a sense of movement or tranquility. This technique is often used in landscapes to fade moving water or clouds, creating a serene or dynamic scene. A 5-second frame rate can turn a waterfall into a silky, ethereal cascade, adding a dreamlike quality to the image.
3- Enhances Low Light Photography:
In low-glare conditions, a slower shutter speed allows more light to hit the sensor. So, it reduces the need for artificial lighting or flash. This can preserve the atmosphere of a scene, such as the ambient glare of a cityscape at night. It further resulting in more natural-looking photographs with rich details in shadows and highlights.
4- Controls Depth of Field:
While with aperture settings, frame rate adjustments in conjunction with ISO can indirectly affect the depth of field. By allowing for slower shutter speeds without overexposure, photographers can use wider apertures to achieve a shallow depth of field. Hence it isolates subjects from the background.
Disadvantages of Adjusting Shutter Speed
1. Risk of Motion Blur
At slower frame rates, even the slightest movement of the imaging device or subject can result in moving blur. Without proper stabilization like a tripod, photos can lose sharpness, affecting the overall image quality. Hand-holding a camera at a shutter velocity slower than 1/60th can introduce blur from minor hand movements.
2. Overexposure in Bright Conditions
Faster shutter speeds photography are excellent for freezing motion, but in brightly lit conditions, they can lead to underexposure. Conversely, slower shutter speeds can cause overexposure in the same conditions. Without the right balance or use of ND filters, photographers may struggle to achieve the correct exposure.
Adjusting Shutter Speed in Cameras: A Step-by-Step Guide
Mastering shutter velocity is a fundamental skill in photography, allowing you to capture stunning images with different effects. Here’s a simplified step-by-step guide to help you adjust shutter speed in your camera, enhancing both your creative freedom and the quality of your photos.
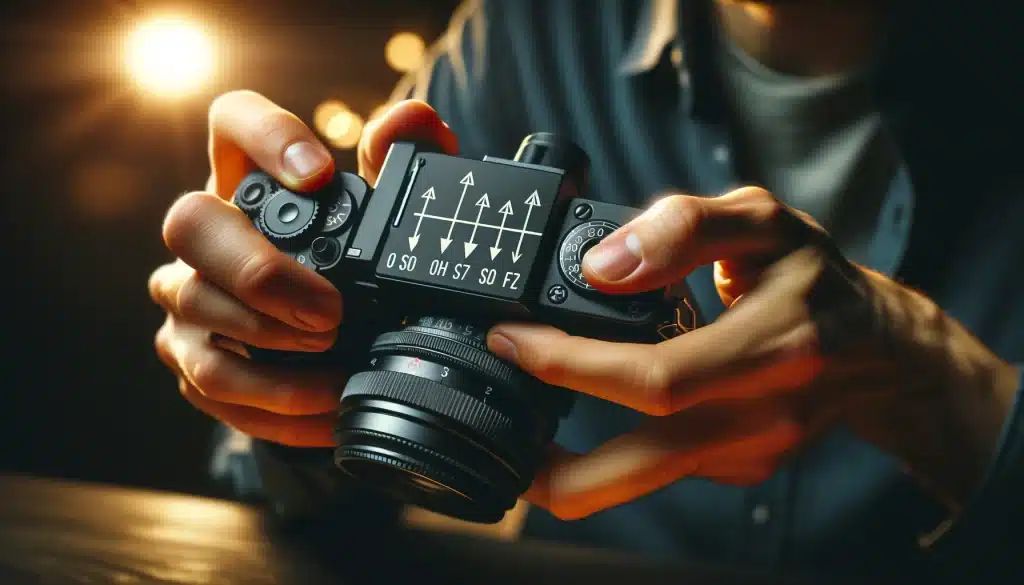
1.Understand Your Camera Mode
Most DSLRs and mirrorless cameras offer various shooting modes. To adjust the shutter speed manually, switch your photoing device to Shutter Priority Mode (often denoted as “S” or “Tv” for Time Value on the mode dial) or Manual Mode (denoted as “M”).
2. Setting Frame Rate in Shutter Priority Mode
In Shutter Priority Mode, use the main dial (location varies by imaging device model) to adjust the shot speed. As you rotate the dial, you’ll see the shutter speed value change on your camera’s display or viewfinder. Choose a fast shutter speed (e.g., 1/1000th of a second) to freeze motion or a slow shutter speed (e.g., 1 second) to dim movement.
3. Adjusting Shutter Speed in Manual Mode
Switch to Manual state if you want complete control over your exposure settings. Similar to Shutter Priority, you’ll adjust the shutter velocity using the main dial. However, you’ll also need to manually set the aperture and ISO to ensure proper exposure. This mode offers the most creative control but requires a good understanding of the exposure triangle.
4. Use a Tripod for Slow Shutter Speeds
For long exposures or slow shutter speeds, stabilizing your camera with a tripod is essential to avoid unintentional fade from camera shake. This is particularly important for night photography, long exposure landscapes, or any situation where your shutter duration is slower than 1/60th of a second.
Conclusion
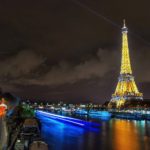
Throughout my journey in photography, mastering the nuances of shutter speed photography has dramatically transformed my ability to capture the world around me. I remember one evening, as I stood before a bustling cityscape, camera in hand and tripod at the ready. My goal was to capture the vibrant life of the city lights intertwined with the smooth flow of traffic. After several attempts, adjusting the shutter speed to a precise 15 seconds allowed me to freeze the static elements while blurring the moving cars into glowing rivers of light.
For those eager to dive deeper into the world of photography and hone their skills further, I highly recommend exploring comprehensive courses that cover not just the basics but also advanced techniques. Delve into a Photoshop course to explore the limitless possibilities of photo editing, or embark on a Lightroom course to master the art of photo management and enhancement. These courses are designed to equip you with the knowledge and tools needed to elevate your photography, turning fleeting moments into everlasting memories.
Have a nice photoshoot!
Learn more about


Course

Light Effect Photoshop


Lightroom Course 2024

Adobe Photoshop Course

Photo Editing Course
Get the latest version of Photoshop & Lightroom