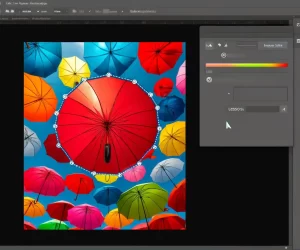
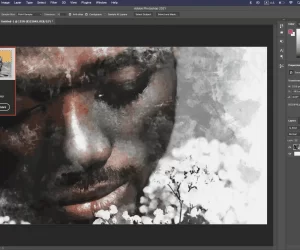
Replace Color Tool in Photoshop

Photoshop literally allows you to play with your images. Removing backgrounds, adding blur, or anything else, can be done in a few simple steps. But what if you take a perfect image but don’t like the color of the subject? Fortunately, Photoshop comes to your rescue in this case as well. Read along to understand how you can use Replace Color Tool in Photoshop.

Understanding Color Replacement Tool

Before we move on to the steps, let us see how this tool works. In simple words, it is the quickest way to swap one color with another in an image. You can either use one of the colors from the provided list or sample a color from the image. That sampled color will then be applied to the point you specify. There are some other tools as well that provide the same functionality. However, the best thing about Replace Color Tool in Photoshop is it is quick and very intuitive. However, you might have to go through one or two more steps to get the required precision.

How to Use Replace Color Tool in Photoshop

Another key point that you should remember before starting is that it is a destructive process. It means that your original image will not be preserved in case anything goes wrong. Therefore, you should either duplicate the image or use a backgroundlayer. Now, let us see how we can use this tool to swap a color with another.

Step 1: Select Color Replacement Tool

To find this tool, you have to find the Brush Tool first. Right-click on it to see some more options. There you will find the Color Replacement Tool.

Alternatively, you can use the hotkeys to select the tool. First, press B to select the Brush Tool, and then keep pressing Shift+B until this tool has been selected. 

Once you have done this, the cursor will change into a circle with a crosshair in the middle. 

Step 2: Adjust the Brush Size

As we have said before, the precision of this tool is not excellent. So, if you have to change the color of a small object, you should use a smaller brush. For this purpose, press the left bracket to make it smaller. On the other hand, you can press the right bracket key to make it bigger. Also, you can adjust the harshness of brush edges. Press Shift+Left Bracket to make it softer, and Shift+Right Bracket to make it harder.

Step 3: Take a Color Sample - Replace Color Tool in Photoshop

This is the main step of Replace Color Tool in Photoshop, so pay attention. As soon as you bring the new cursor on the image, Photoshop starts sampling the color under the crosshair. This sampled color will be replaced with a color of your choice called a Foreground Color. If the pixels under the larger circle also have the same color as the sampled one, they will be replaced as well.

Girl using Replace color tool in Photoshop

Step 4: Set a Foreground Color

Now, we need to set the color which will replace the sampled color. As we noted above, you have two options for this purpose. You can either select a color from the Color Picker. This is the easiest method. But if you want to choose a color from the image, you can do that as well. For doing this, press and hold the Alt or Option key. This will switch the cursor to the Eyedropper Tool. Then, click on the color you want to use. Release the key, and new Foreground color will be selected. You can make sure that the right color has been selected by looking at the Foreground Color swatch. You can find it in the Tools Panel.

Step 5: Paint the Image - Replace Color Tool in Photoshop

In the last step of Replace Color Tool in Photoshop, you need to apply the selected Foreground Color on the sampled one. Drag the crosshair over the image and the color will be replaced with the selected one. Make sure that you stay on the sampled color, otherwise, Photoshop will sample another color and change it as well.

Optional Step: Adjust Tolerance

If the sample color starts to fade at the edges, Replace Color Tool in Photoshop might not swap it flawlessly. In this case, we have to adjust the Tolerance of the tool. You can find it in the options bar, and it is set to 30% by default. Keep increasing it until you see the desired result. You can play with some other settings as well if you wish to refine it. For instance, you can change the Blend Modes if you want to enhance the texture and reflection of the subject.

Conclusion - Replace Color Tool in Photoshop

To sum it all up, Replace Color Tool in Photoshop in a utility which, as the name suggests, lets you swap a color with another. It is as easy to use as it sounds simple. In a few steps, you can alter the color of the whole image. So, what are you waiting for; start experimenting!

If the “Replace Color Tool in Photoshop” article has helped you, then Like and Share it with your friends!

Facebook
Twitter
LinkedIn
Pinterest
Have a nice photoshoot! 

More content about Adobe Photoshop