
Introduction to Aperture Priority Mode
Aperture Priority Mode is a configuration on your camera that lets you manage the size of the lens opening, known as the aperture. This mode is often marked as “A” or “Av” on your camera dial. When you choose this setting, you’re telling your camera that the aperture is your priority. The camera will then automatically modify the other settings, like shutter speed, to match your chosen aperture and ensure the photo has the right exposure.
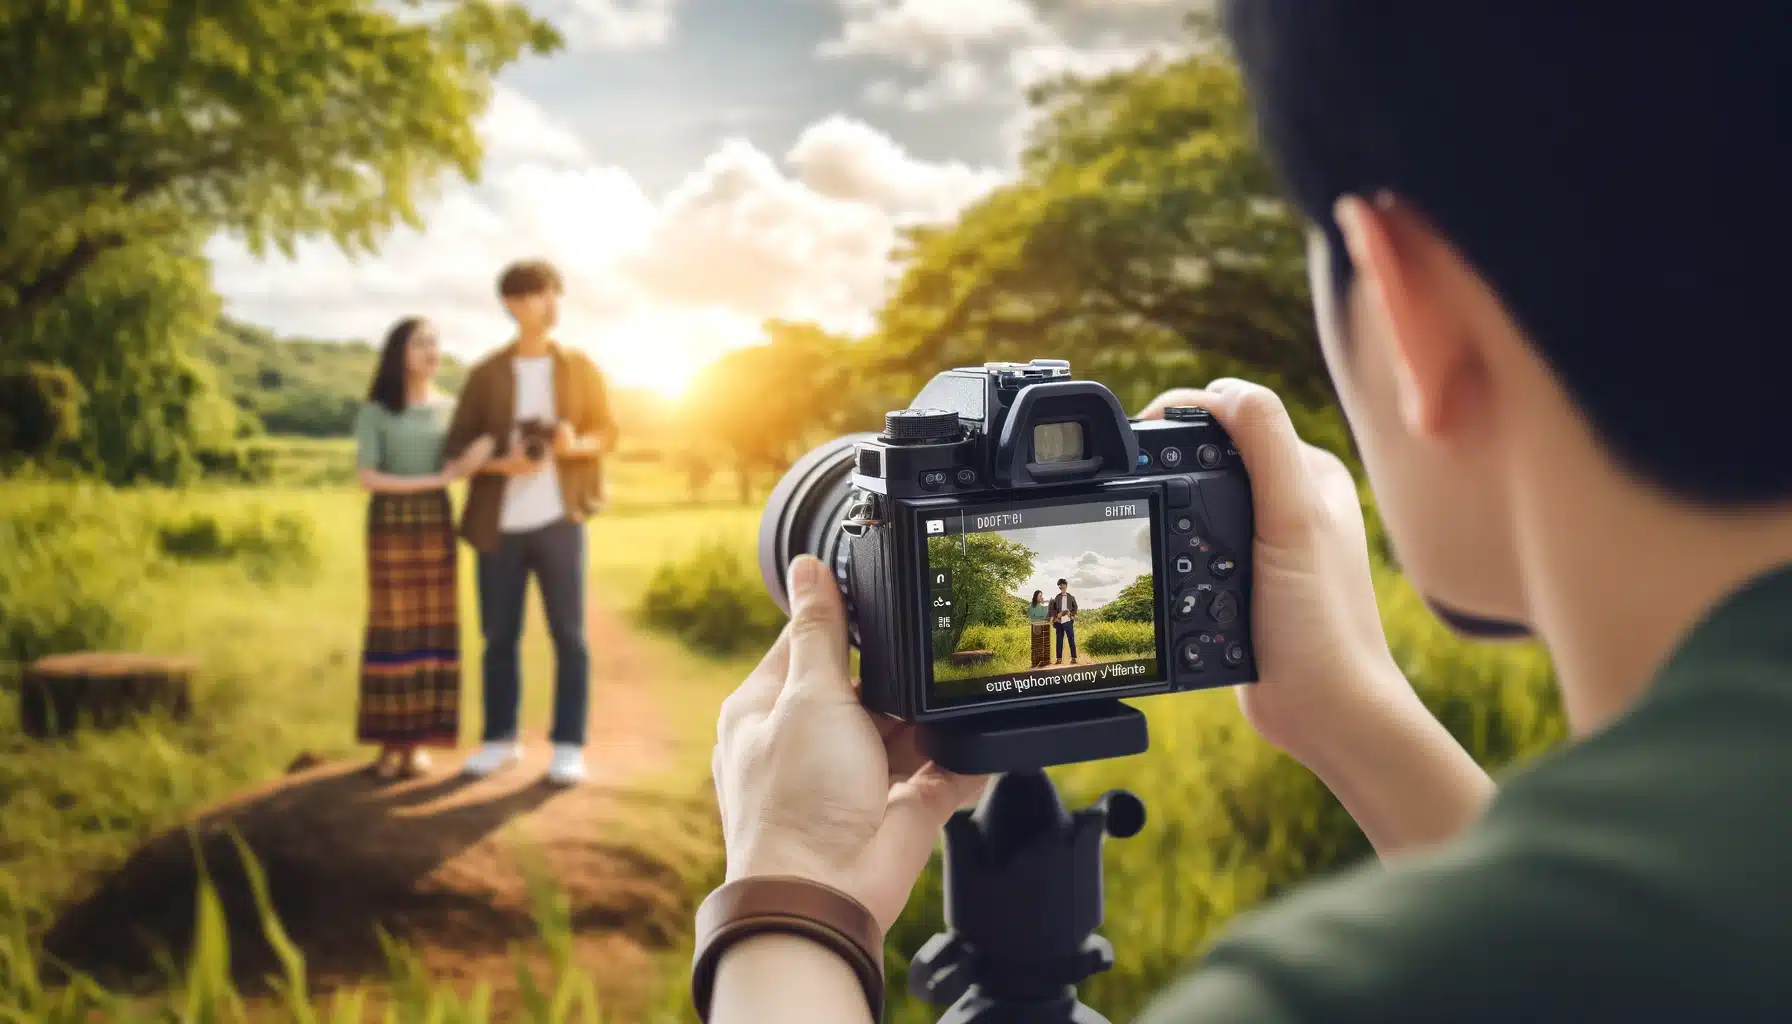
Imagine you’re at a birthday party and want to take a picture of a delicious cake on the table. You want the cake to be the main focus, with a softly blurred backscene to make it stand out. Here’s where Aperture Priority Mode comes into play. By setting your camera to Aperture Priority Mode and choosing a large aperture, you can make the cake sharp and clear while the background becomes soft and blurred. This effect is known as a shallow depth of field, and it helps make your object, the cake, the star of the photo.
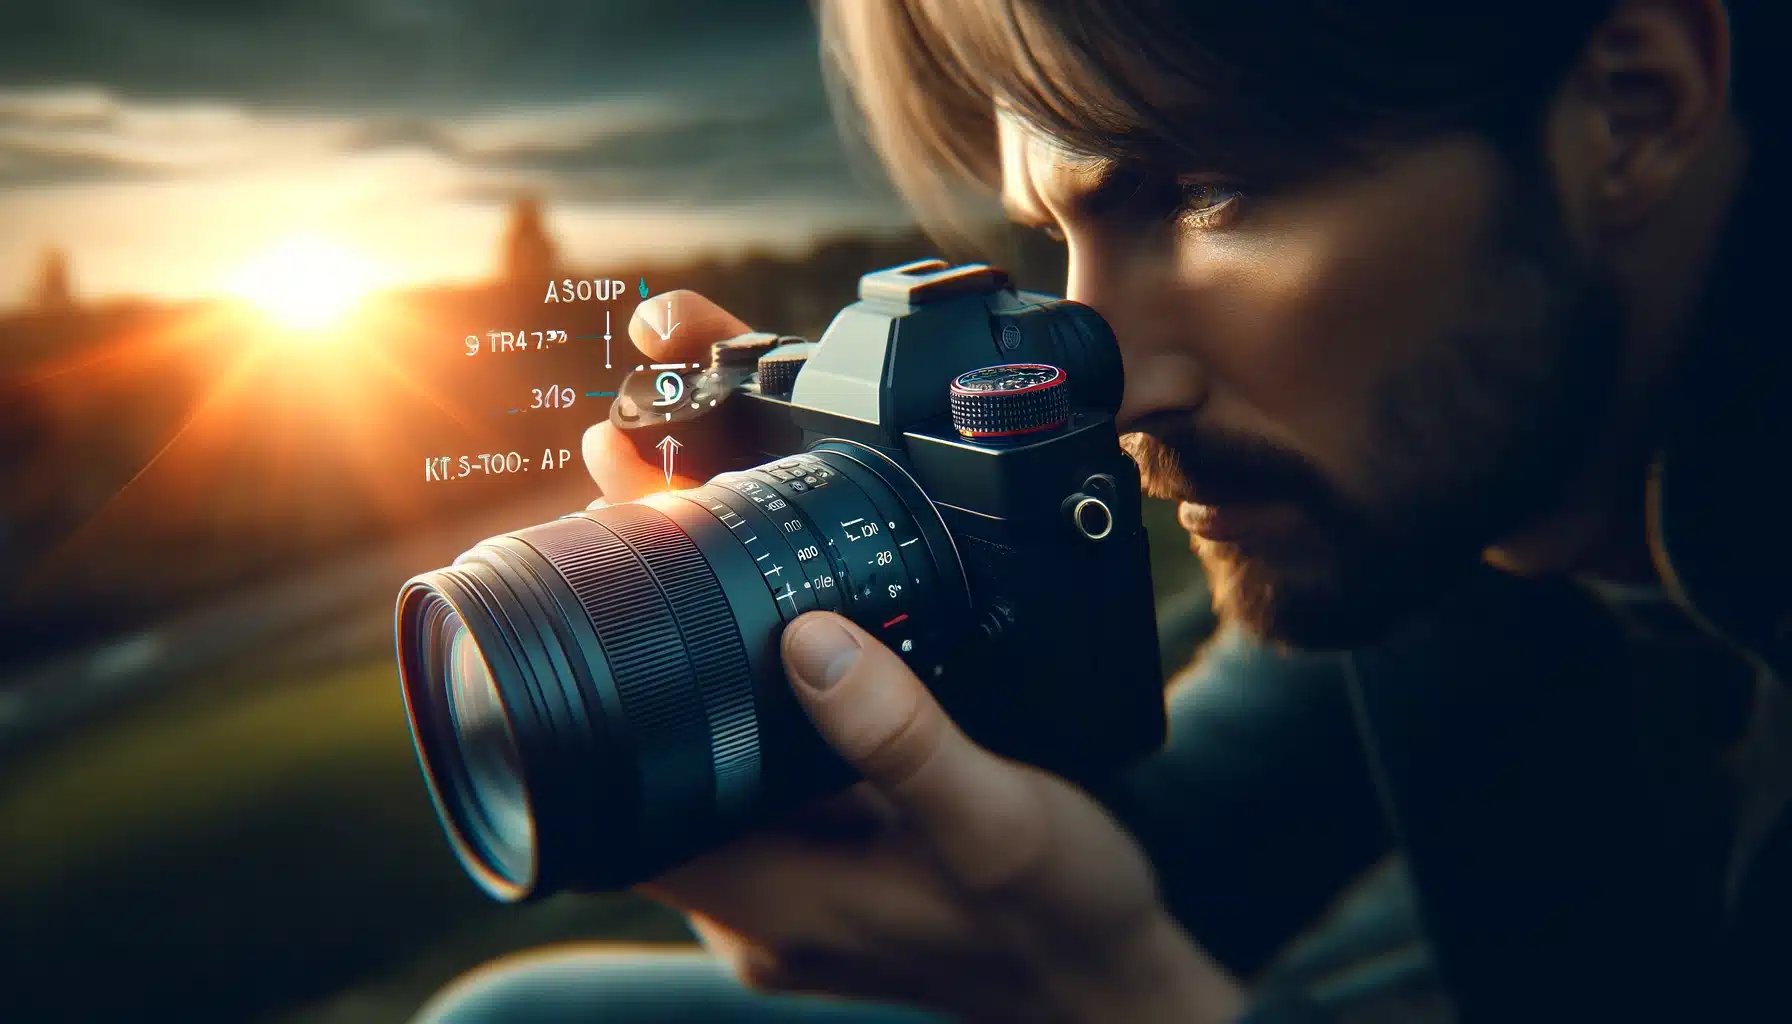
Table of Contents
Understanding Aperture Priority Mode
What is Aperture Priority Mode?
Aperture Priority Mode allows you to set the aperture, or lens opening, while the camera automatically selects the shutter velocity. This mode lets you manage the depth of field in your pictures.
Control Over Depth of Field
By choosing the aperture, you regulate how sharp or blurred the surrounding is. A less f-number (like f/2.8) blurs the backdrop, while a high f-value (like f/16) keeps more of the object in focus.
Ideal for Portraits and Landscapes
For portraits, using a wider aperture can make the subject stand out against a soft, blurred backscene. In contrast, for landscapes, a smaller aperture ensures that both the foreground and backscene are in focus.
Adapting to Lighting Conditions
In Aperture Priority Mode, if you select a large aperture in bright conditions, the camera will automatically go for a faster shutter velocity to prevent overexposure. In dim light, with a large aperture, it will select a slower shutter velocity to let in enough light for a well-exposed image.
The Importance of Aperture Priority Mode
Easy Regulation of Depth of Field
How to Use Aperture Priority Mode effectively helps in managing the depth of field. It simplifies the process of deciding how much of your image is in focus. This control is crucial for creating professional-looking photos, whether you’re blurring the surrounding in a portrait or keeping everything sharp in a landscape.
Speed and Flexibility in Photography
Aperture Priority Mode offers a balance between manual and automatic settings, providing both velocity and flexibility. How to Use Aperture Priority Mode becomes particularly useful in dynamic environments where light conditions change rapidly, allowing photographers to adapt quickly without losing focus on their scene.
Ideal for Learning Photography
For those new to photography, Aperture Priority Mode is a stepping stone towards full manual command. It allows beginners to experiment with aperture effects on depth of field and exposure, without overwhelming them with all manual controls at once.
Enhances Creativity
By freeing the photographer from making constant adjustments, Aperture Priority Mode encourages more focus on composition and creativity. It lets photographers experiment with different apertures to see how they affect the photo’s look and feel directly.
Step-by-Step Guide to Using Aperture Priority Mode
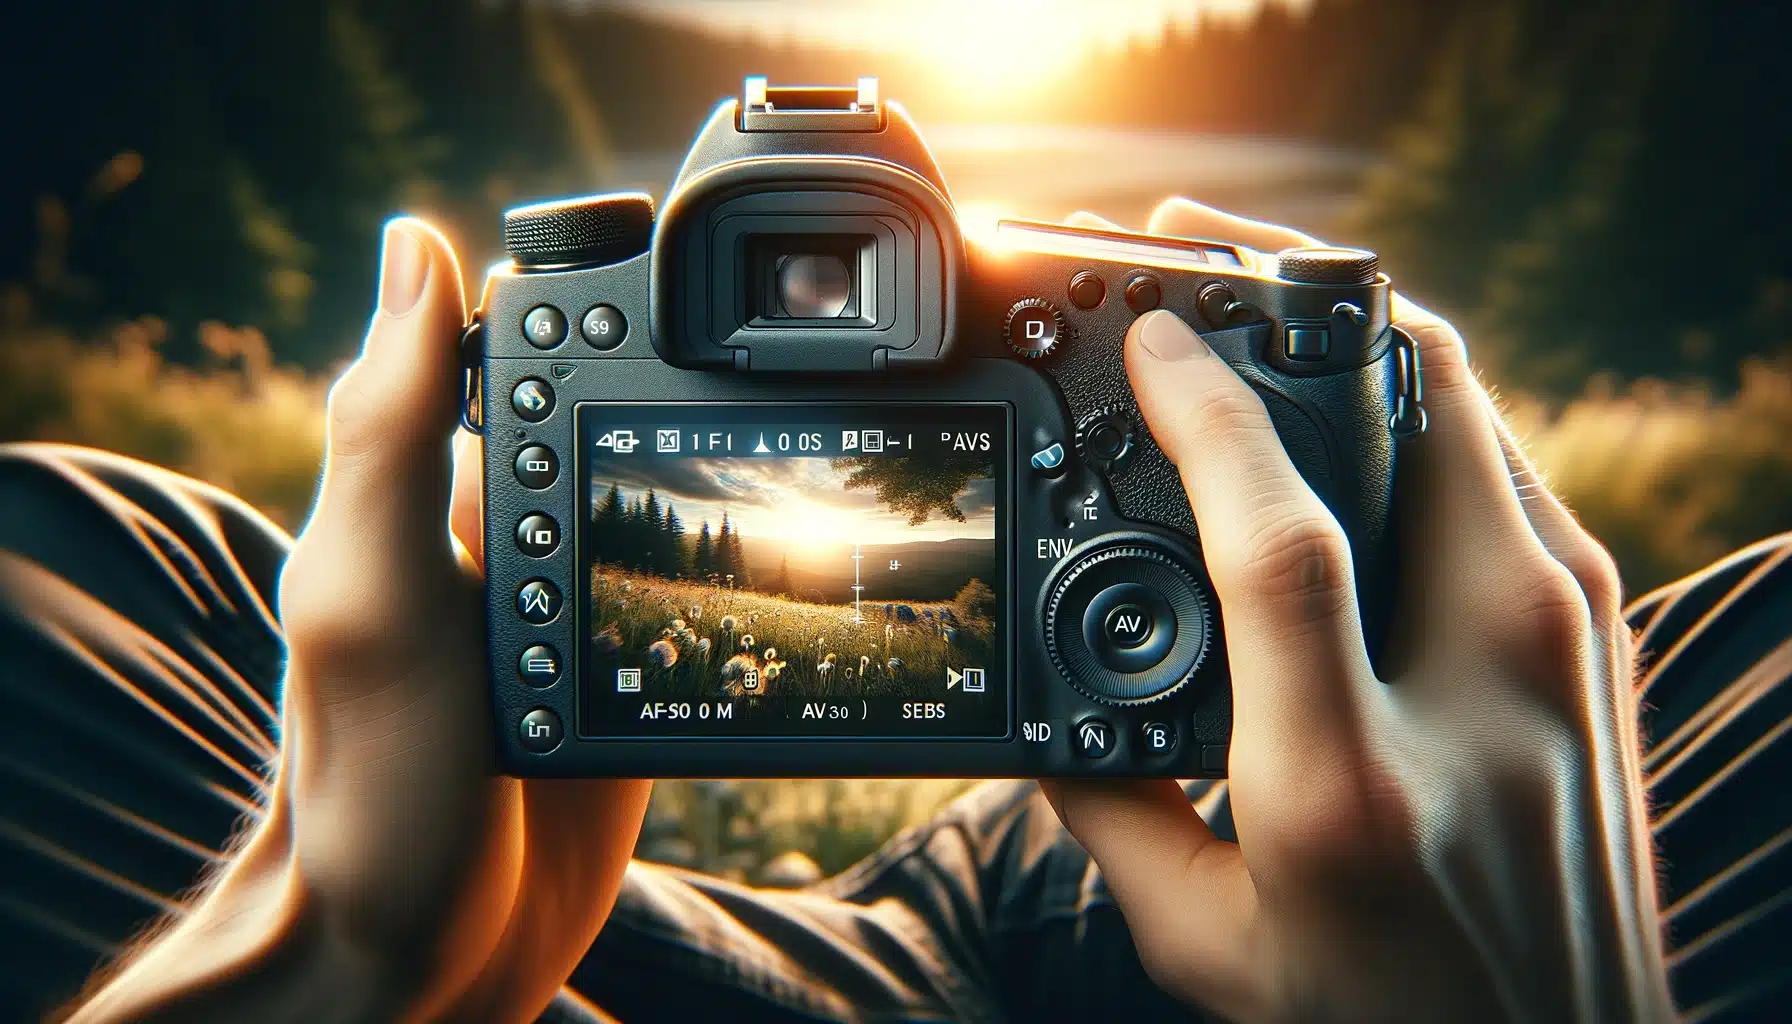
1. Set Your Camera to Aperture Priority Mode
Look for a dial on your camera labeled with “A” or “Av”. Turn the dial to this option to activate Aperture Priority Mode.
2. Go for Your Aperture
Decide on the aperture based on the depth of field you want. Use a lower f-value (like f/2.8) for a blurred backscene, or a higher f-value (like f/16) for more sharpness throughout the scene.
3. Adjust ISO Settings
Set your illumination sensitivity according to the lighting conditions. A higher ISO can be used in poor light, but be aware it might introduce graininess into your retakes.
4. Frame Your Scene and Focus
Look through the viewfinder or screen, frame your shot, and concentrate on the object. Your camera will automatically set the shutter velocity to get the right exposure.
Table: Aperture Priority Mode Quick Reference
| Setting | Purpose | When to Use | Tips |
|---|---|---|---|
| Aperture | Controls depth of field and glare entry | Blurred background (low f-number); Sharp object (high f-value) | Start with f/8 for balanced shots |
| Shutter Speed | Automatically adjusted by camera | In all conditions | Check if too slow/fast for the scene; modify aperture/ISO accordingly |
| ISO | Adjusts camera’s sensitivity to light | Dim light (high ISO); Bright light (low ISO) | Avoid very high illumination sensitivity value to prevent noise |
| Focus | Ensures object is sharp | Every photograph | Use autofocus or manual as needed |
Setting Shutter Speed and ISO in Aperture Priority Mode
Understanding Shutter velocity in Aperture Priority
In Aperture Priority Mode, the camera automatically sets the shutter speed based on the chosen aperture and lighting conditions. For instance, selecting a wide aperture in bright light will cause the camera to use a faster shot rate to reduce light entry and prevent overexposure.
Adjusting ISO for Optimal Exposure
Regulate the camera’s sensitivity to light by adjusting the ISO. In bright conditions, a lower ISO (100-400) prevents overexposure. In darker settings, increase the ISO sensitivity (800 and above) to capture more brightness without needing a slower shutter speed, which can lead to motion blur.
Balancing Shutter Speed and ISO
While the camera adjusts the shutter rate, you manage the brightness sensitivity to ensure the photo is neither too dark nor too bright. For example, on a cloudy day, you might increase the sensor’s value slightly to compensate for less glare without changing the aperture.
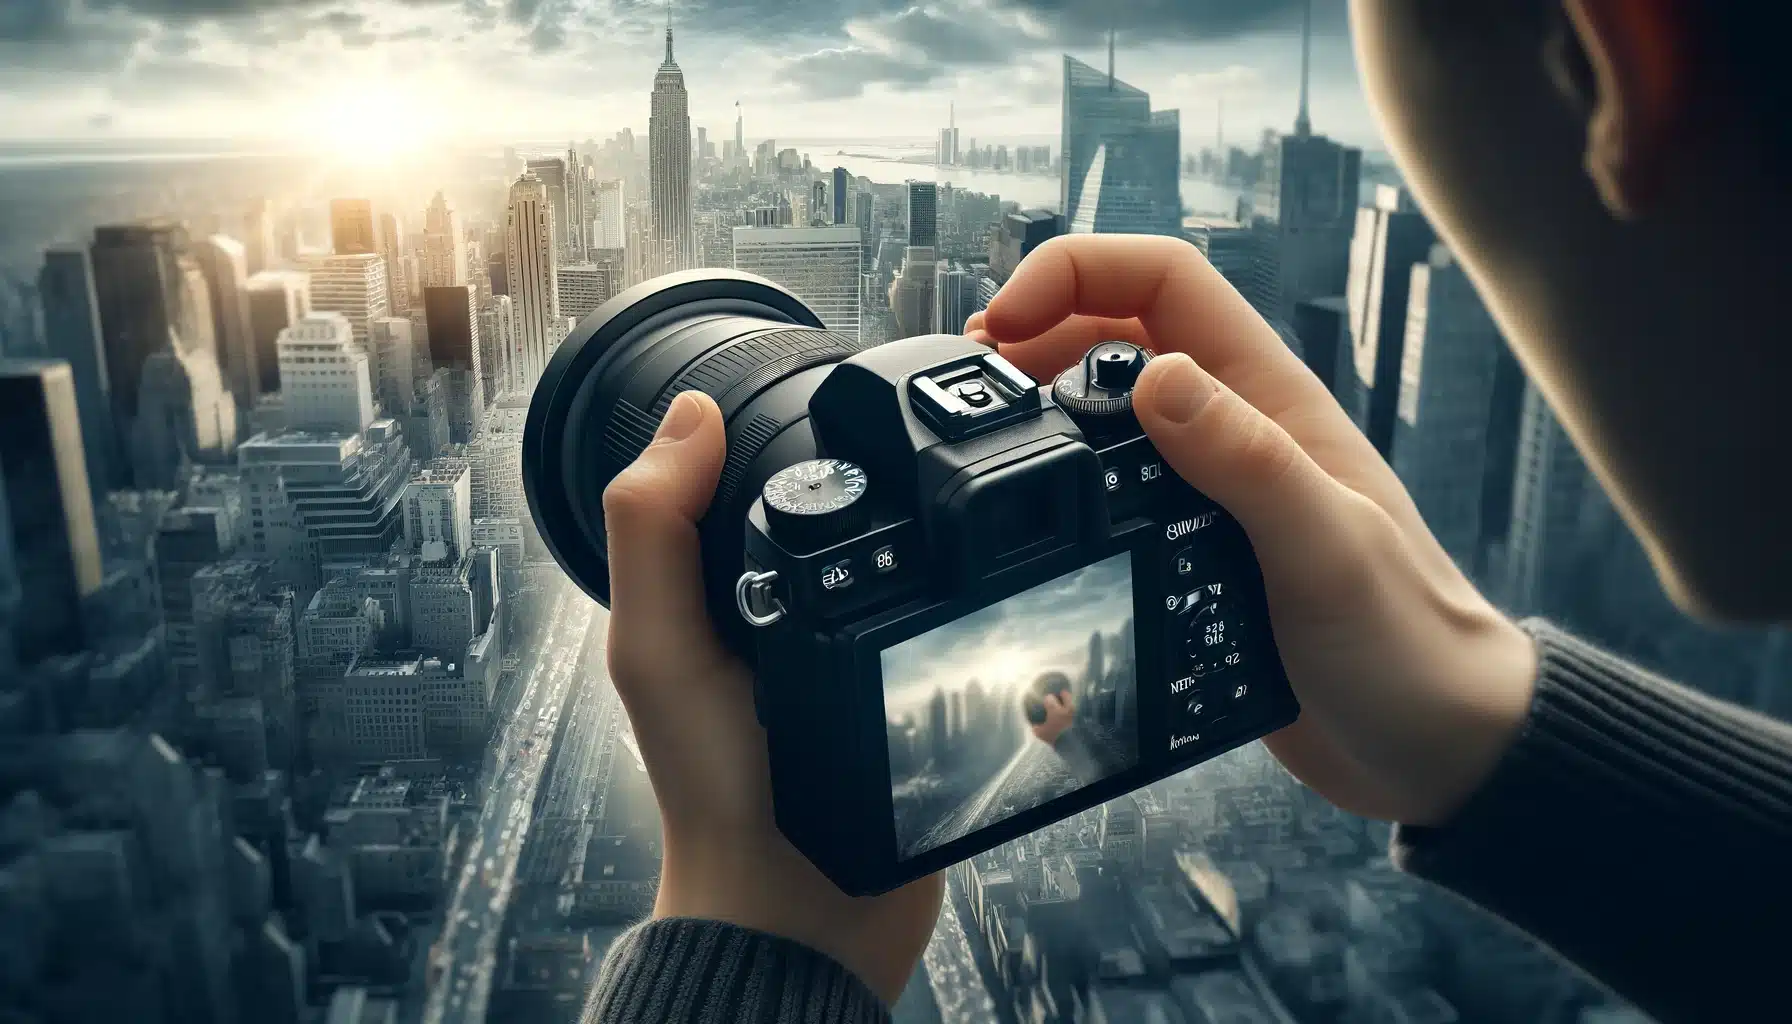
Practical Example: Outdoor Photography
When shooting landscapes in Aperture Priority Mode, if you set your aperture to f/16 for a deep depth of field, the camera might select a slower shutter velocity. To prevent camera shake or object movement from blurring the image, you could increase the ISO to allow for a faster shot rate while maintaining the desired exposure.
Top Tips for Getting the Most Out of Aperture Priority Mode

1. Master the Light Triangle
Understand the relationship between aperture, shutter speed, and ISO. Even in Aperture Priority Mode, monitor how changes in aperture affect shutter velocity and ISO, so you can modify accordingly for the perfect photograph.
2. Use Exposure Compensation
Leverage the exposure compensation feature to fine-tune the brightness of your snaps without changing the aperture. This is especially helpful in tricky lighting situations where the camera’s auto settings might not get it quite right.
3. Focus on the Focal Point
Prioritize your object by manually selecting the focus point. This ensures the camera’s auto-exposure reads from the object area, making your main interest sharp and well-exposed, especially in scenes with contrasting light.
4. Play with Bokeh
Experiment with different apertures to create bokeh, the aesthetic quality of the blur in the out-of-focus parts of an image. Wider apertures can produce beautiful bokeh, adding a professional look to your portraits and close-up shots.
5. Practice in Various Conditions
Challenge yourself by using Aperture Priority Mode in various lighting and scene conditions. This will help you quickly learn how to modify ISO and when to use exposure compensation, making you more adaptable and skilled in capturing great snaps in any situation.
Aperture Priority Mode: Innovative Uses and Settings
| Scene Type | Aperture Setting | ISO Range | Innovative Benefit |
|---|---|---|---|
| Portrait | f/1.4 – f/2.8 | 100 – 400 | Creates a soft surrounding, focusing on the object |
| Landscape | f/8 – f/16 | 100 – 800 | Captures detailed scenes with a deep focus |
| Street Photography | f/4 – f/8 | 400 – 1600 | Balances focal points and speed, good for dynamic scenes |
| Night Scenes | f/2.8 – f/4 | 800 – 3200 | Allows more light for clearer night shots |
Comparing Aperture Priority Mode and Manual Mode

Ease of Use
In Aperture Priority Mode, the camera swiftly adjusts the shutter speed for you, making it easier to capture shots quickly without worrying about exposure settings. This is ideal in situations where brightness changes rapidly, allowing you to concentrate on composition and timing. Learning how to use aperture priority mode can significantly streamline your shooting process, especially in dynamic environments.
Creative Control
While Aperture Priority Mode offers convenience, Manual Mode hands the reins back to the photographer, giving total command over both aperture and shutter velocity. This mode is perfect for those who want to experiment with every aspect of exposure to create a specific artistic effect in their pictures. How to use aperture priority mode can be a stepping stone to mastering Manual Mode, as it teaches the principles of exposure while handling some of the technical load.
Speed vs. Precision
Aperture Priority Mode is faster to use, as the camera does part of the work. It’s great for capturing moments that happen in a blink, like a bird in flight or a fleeting expression. On the other hand, Manual Mode is more precise, allowing for adjustments to achieve the exact exposure you envision, which is crucial in controlled settings like studio photography.
Troubleshooting Common Issues in Aperture Priority Mode

Inconsistent Exposures
Sometimes, even when using Aperture Priority Mode, pictures can come out too bright or too dark. This issue often arises from rapidly changing lighting conditions. To counter this, refer to a Guide to Aperture Priority Settings that can help you understand how to compensate with exposure adjustments, ensuring consistent results.
Overexposed or Underexposed Images
If your pictures are consistently overexposed (too bright) or underexposed (too dark), it might be due to incorrect metering or ISO settings. Mastering Aperture Priority Function involves learning how your camera’s metering modes work and how to select the right ISO for your environment, balancing the illumination in your shots.
Difficulty in Achieving Desired Blur Effect
Achieving the perfect blur (bokeh) or depth of field can be tricky in Aperture Priority Mode. If the blur isn’t as expected, it could be due to the lens limitations or the distance from the object. Utilizing Av Mode in Photography effectively means understanding the limitations and capabilities of your equipment and adjusting your position or aperture to achieve the desired effect.
Table: Troubleshooting Aperture Priority Mode
| Issue Symptom | Camera Feedback | User Action | Outcome |
|---|---|---|---|
| Image too bright or dark | Blinking highlights/shadows | Alter exposure compensation | Achieve balanced exposure for vivid detail |
| Blurry or sharp object | Focus point indicator flashing | Refocus or change aperture | Capture crisp object with desired backdrop blur |
| Grainy pictures | High ISO warning | Reduce ISO or increase light | Produce cleaner, noise-free pictures |
| Flat-looking shots | Lack of depth warning | Open up aperture for depth effect | Enhance photo depth and dimension |
FAQs: How to Use Aperture Priority Mode
1. What is Aperture Priority Mode?
Aperture Priority Mode is a camera configuration where you select the aperture (the size of the lens opening), and the camera automatically picks the right shutter velocity. This lets you regulate how sharp or blurred the backscene is in your snaps.
2. When should I use Aperture Priority Mode?
You should use Aperture Priority Mode when you want to regulate the depth of field in your images, like making the background blurry to concentrate on your main subject, or keeping everything in the scene sharp.
3. How to use aperture priority mode?
To use Aperture Priority Mode, turn your camera’s mode dial to ‘A’ or ‘Av’. Then, choose your desired aperture based on how much you want to blur the backdrop or keep it sharp. The camera will handle the rest and select the shutter velocity for you.
4. What do I do if my pictures are too bright or too dark in Aperture Priority Mode?
If your shots are too bright or too dark, use the exposure compensation feature. This lets you adjust the brightness without changing the aperture value you’ve set, giving you more governance over the final image.
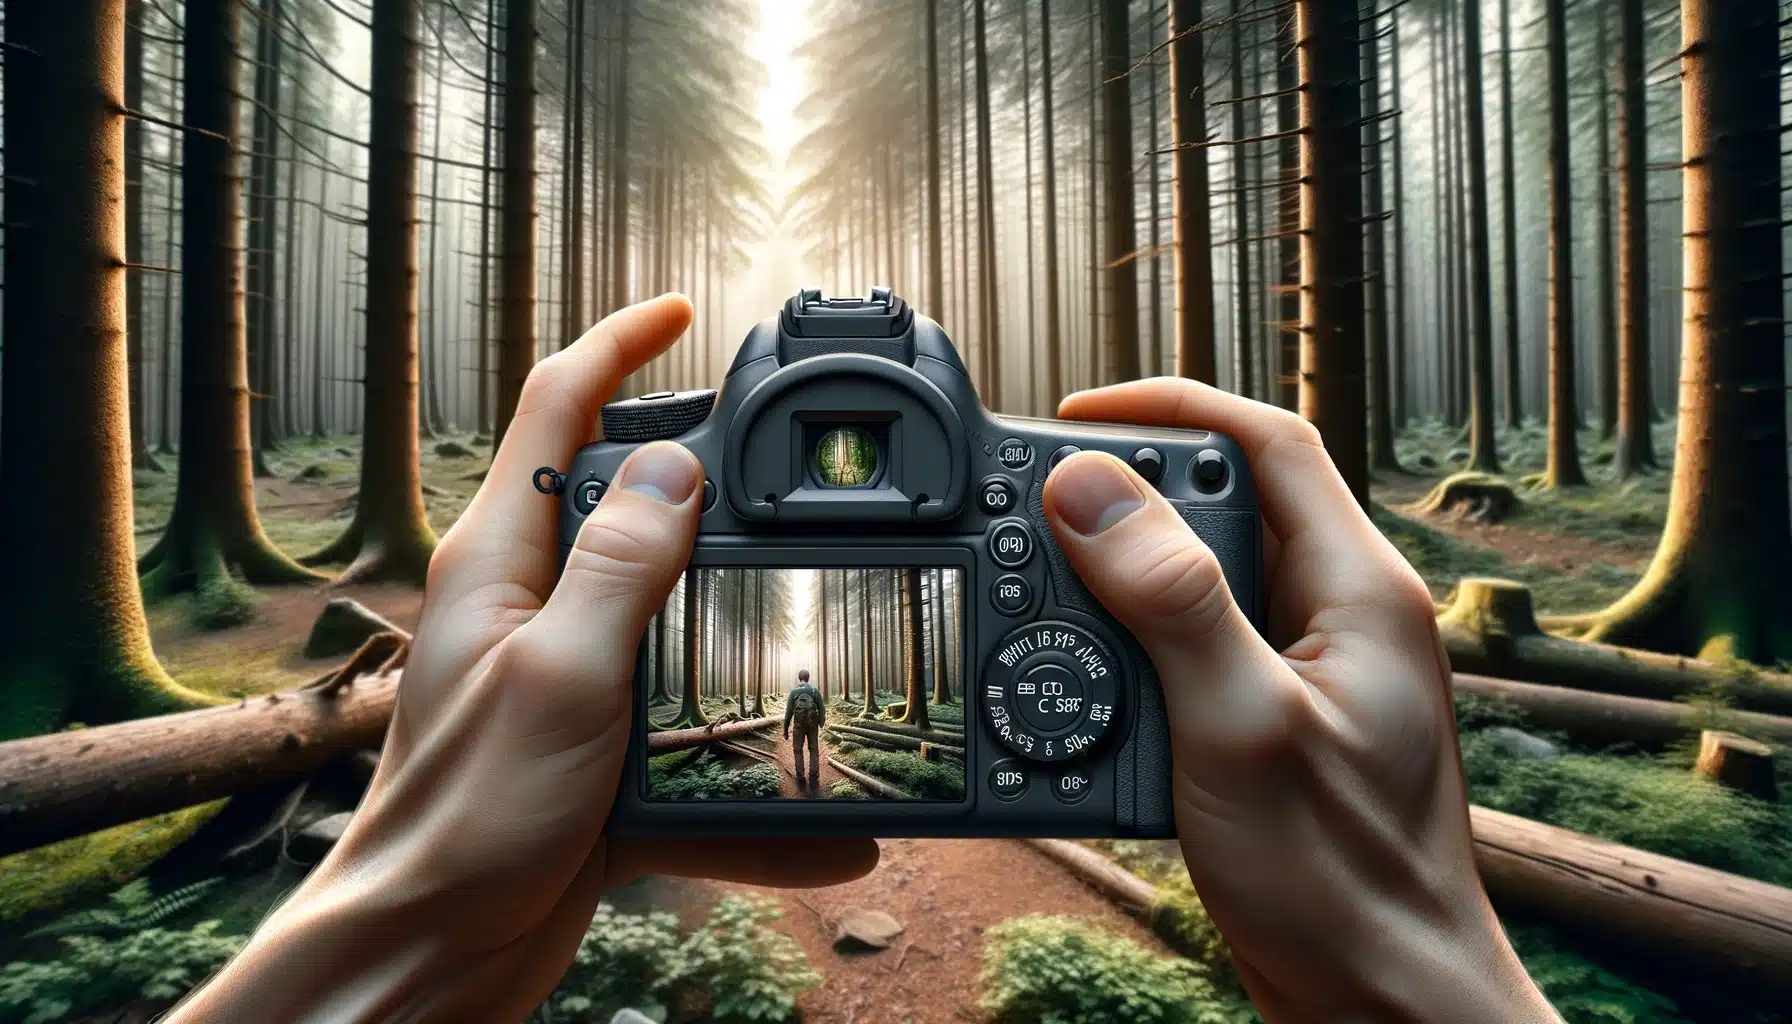
Conclusion
In my journey through photography, I’ve found the Aperture Priority Technique Explained to be a game-changer, particularly during a recent trip to the mountains. I was able to capture the serene beauty of the landscape with the perfect depth of field, making the foreground crisp while softly blurring the distant hills, all thanks to Operating Aperture Priority on Cameras. This experience solidified my understanding of how aperture priority can vastly improve the quality of one’s pictures, allowing for artistic expression and technical precision.
If you’re keen to delve deeper into photography and master these skills, I highly recommend our comprehensive courses. Whether you’re looking to understand the nuances of Photoshop or want to get hands-on with Lightroom, our courses are designed to equip you with the knowledge and tools you need to excel. Check out our Photoshop Course and Lightroom Course to start transforming your photography today.
Have a nice photoshoot!


Course


Get the latest version of Photoshop & Lightroom