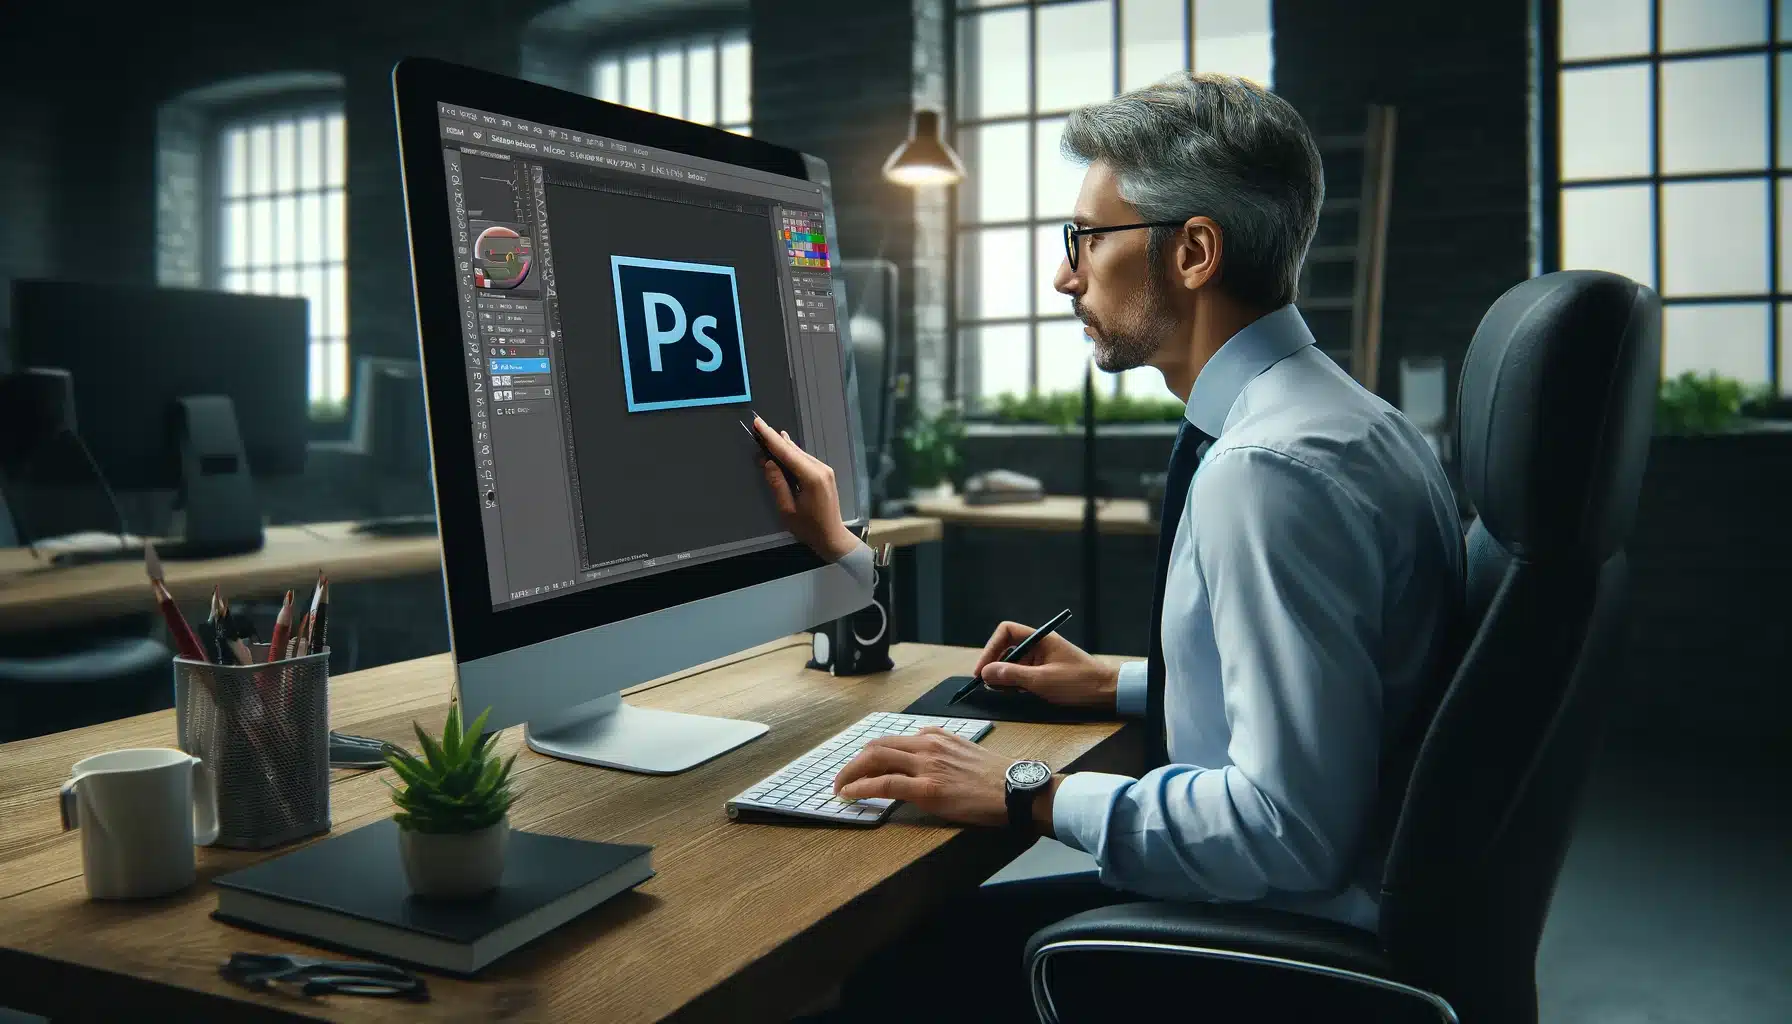
Introduction
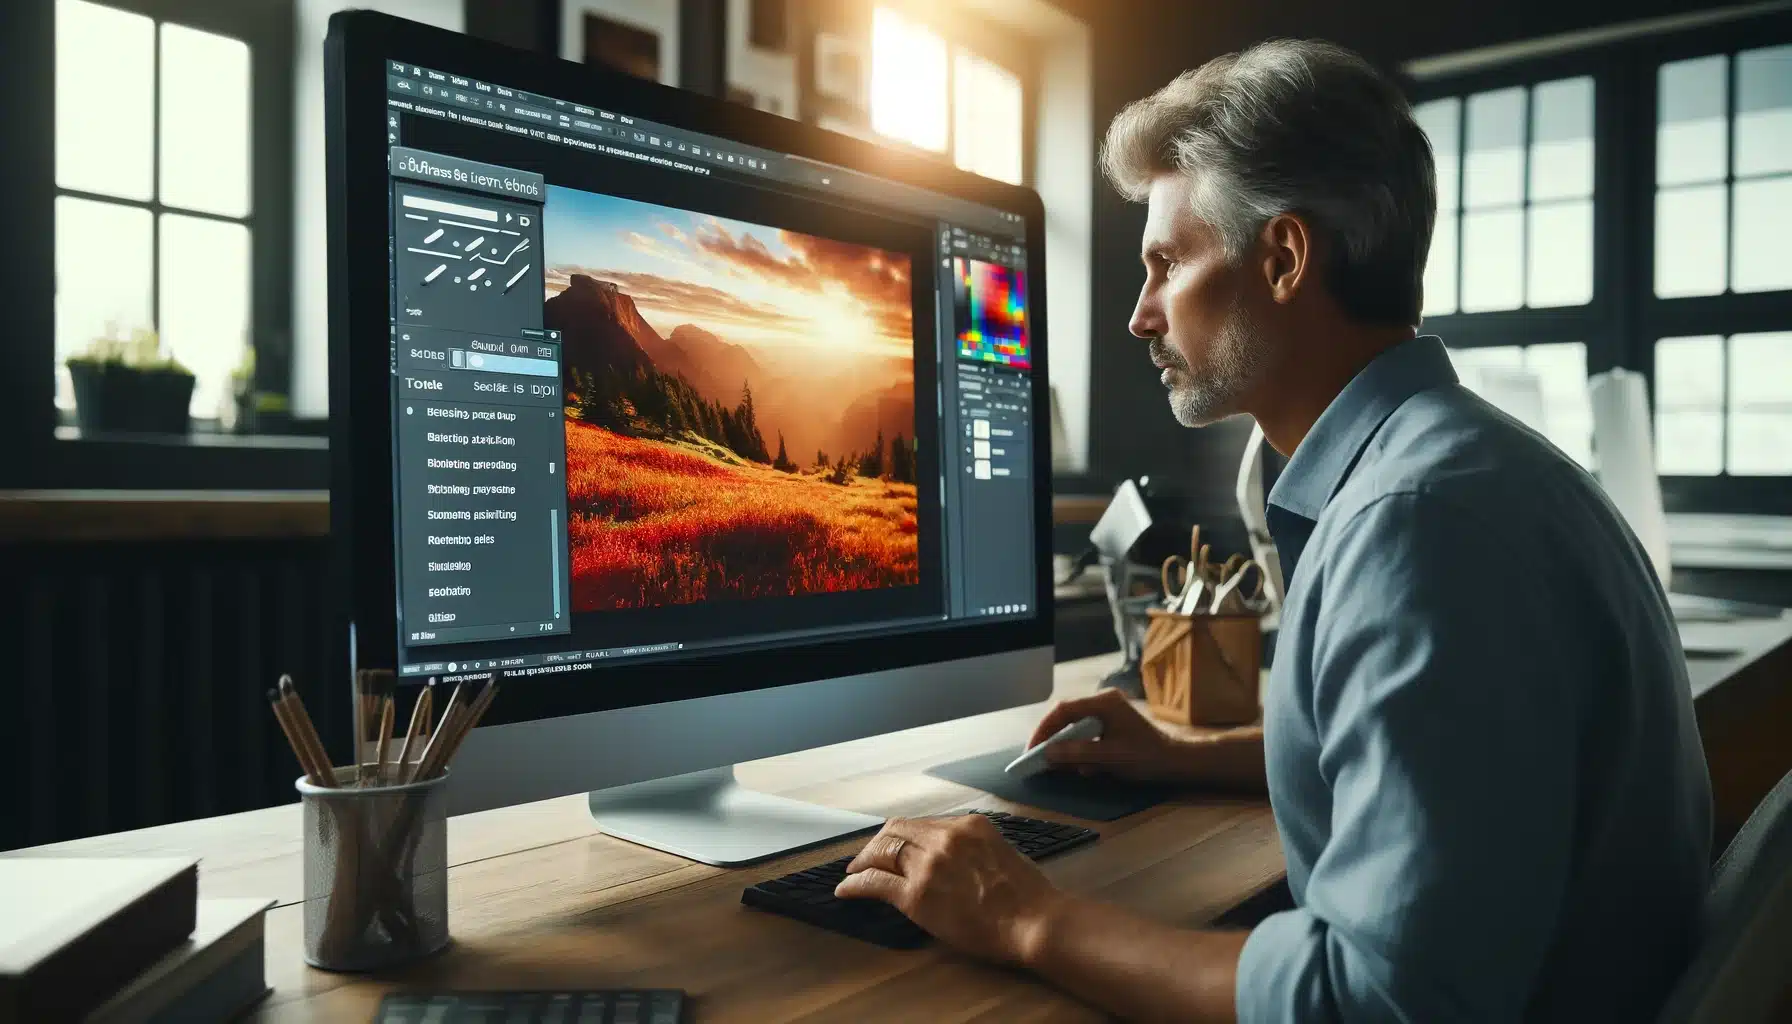
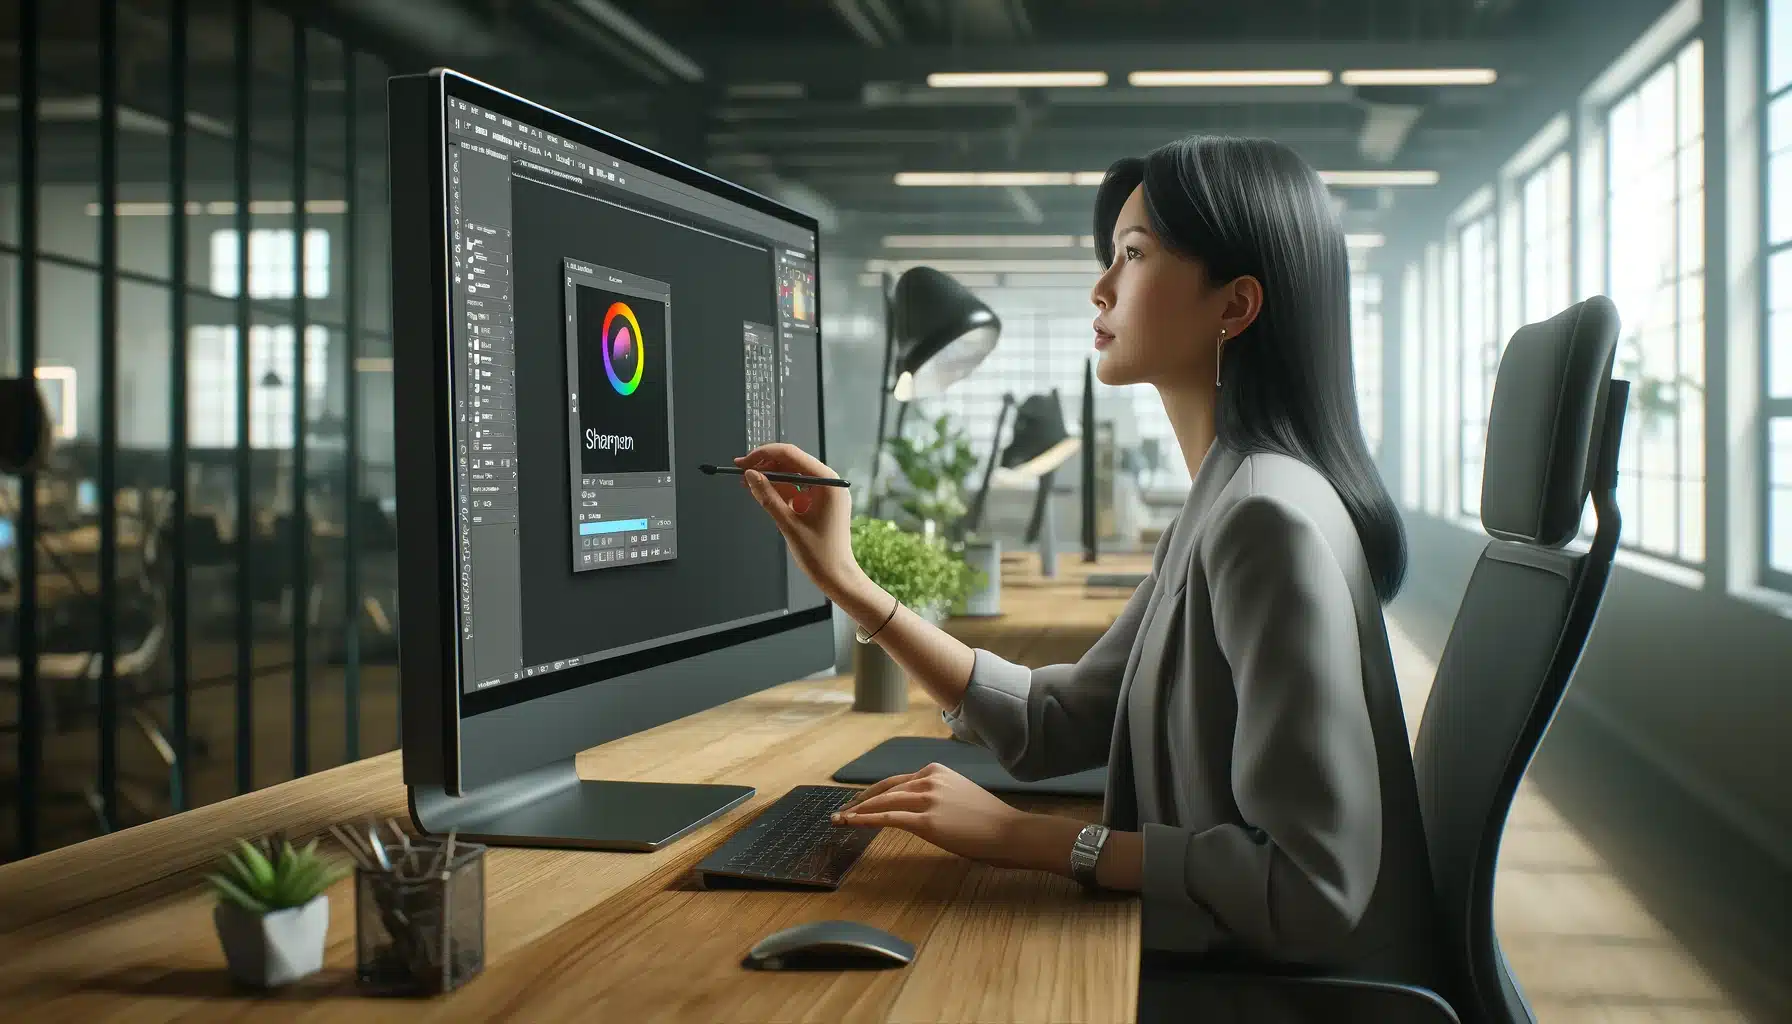
Image sharpening in Photoshop is a vital editing technique used to improve the borders in photos, making them crisper and more defined. This process is key to adjusting sharpness in Photoshop, ensuring that photo stand out and convey their intended visual message effectively.
In this article, we will explore how to sharpen an image in Photoshop, utilizing various image sharpening techniques in Photoshop. We’ll find tools like Unsharp Mask, High Pass Filter, Smart Sharpen, and Camera Raw, offering practical guidance on their application. Additionally, we’ll address common challenges in image improving, providing solutions to help you refine your skills in adjusting sharpness in Photoshop, ensuring every picture you work on is polished and professional in this guide to image sharpening.
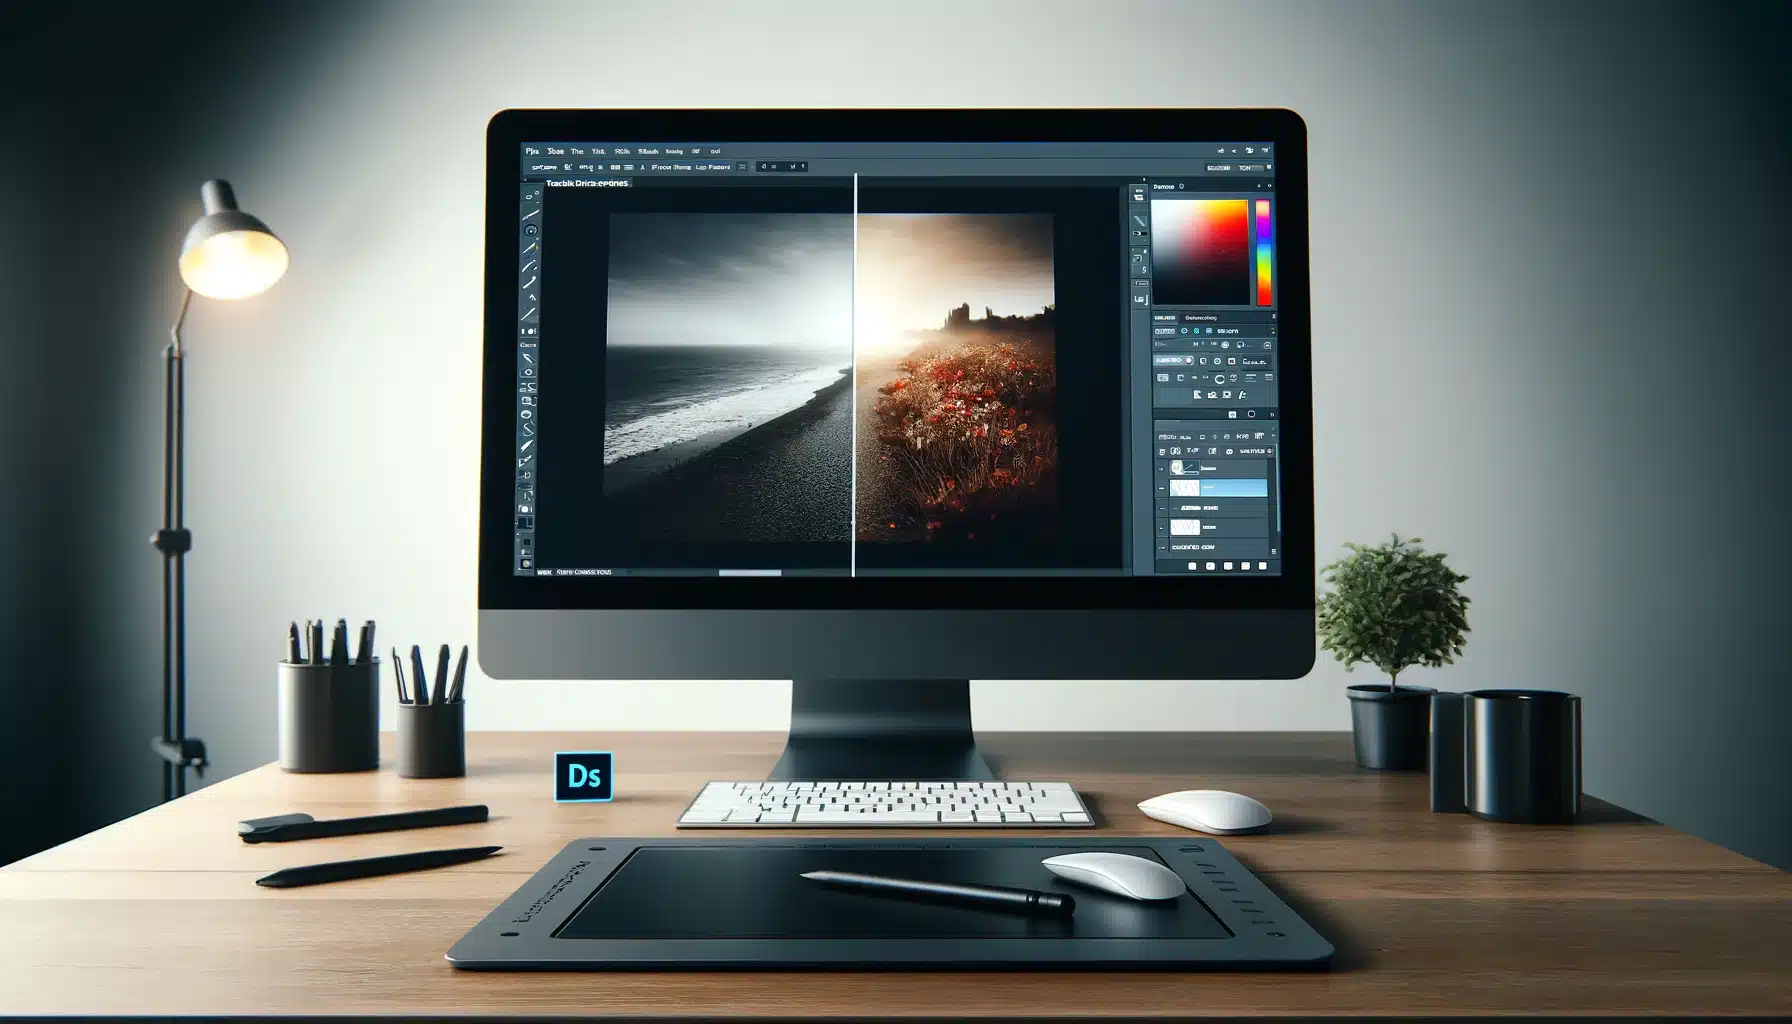
Table of Contents
The Basics of Photoshop's Sharpening Tools

Image sharpening in Photoshop is a technique used to improve the image, making it appear more defined and clearer. It’s crucial for photographers and designers to bring out textures and fine details, especially after resizing or softening images during the editing process. Improving can help to emphasize textures, enhance borders, and make an image more visually appealing.
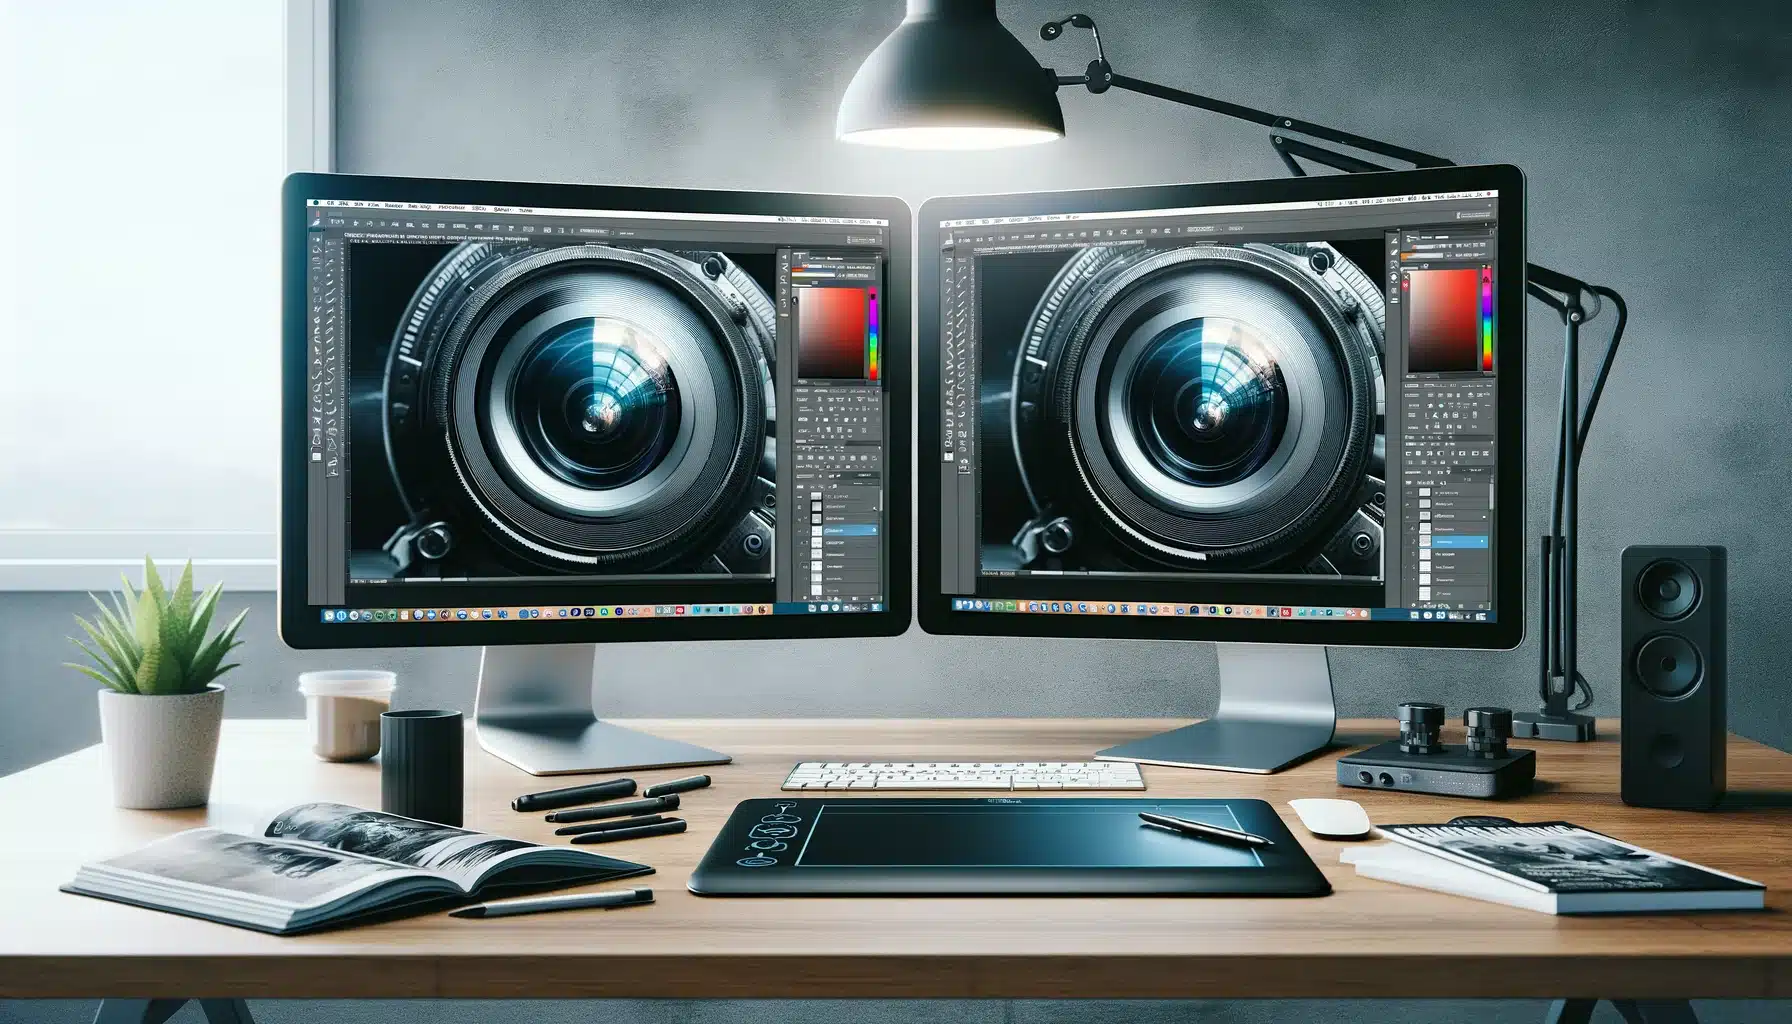
There are several image sharpening techniques in Photoshop, including the Unsharp Mask, Smart Sharpen, and the High Pass filter. Each tool has its strengths and can be used in various scenarios to achieve the desired level of clarity, depending on the vision’s content, purpose, and quality.
How to Sharpen an Image in Photoshop via Unsharp Mask?
There are several image sharpening techniques in Photoshop to sharpen an image, each with its unique approach and settings tailored to different types of photo and desired outcomes. Let’s explore How to Sharpen an Image in Photoshop!
Unsharp Mask: The Classic Approach
The Unsharp Mask filter is one of the oldest and most used methods for Adjusting Sharpness in Photoshop. It increases contrast or color along the fringes within an appearance to make it look sharper.
- Apply the mask: Start by loading your picture into Photoshop. To preserve the original look, duplicate the levels before applying any refining effect. This duplication layers action allows you to compare the sharpened figure with the original and revert to the original if necessary. Navigate to Filters > Sharpen > Unsharp Mask. This will open with settings to adjust the brush up effect.
Adjustment of Parameters
- Amount: This slider adjusts the intensity of the acuity. A higher percentage increases the difference at the frames, making the picture appear sharper. A typical value might range between 100% to 200% for most photos.
- Radius: This controls the size of the borders to be enhanced and is measured in pixels. A smaller circle improves only the fine details, while a larger range affects a broader area. Values between 1 to 3 pixels are commonly used.
- Threshold: This setting determines how different the contrast must be between certain pixels for them to be considered as border pixels and thus sharpened. Setting a higher threshold can prevent image distortion from being sharpened, which is particularly useful for maintaining the quality of the picture.
Optimization Tips for Image Sharpening
- Zoom In: For a more detailed preview, zoom in on the preview to ensure that the honing effect is applied correctly and does not introduce unwanted artifacts such as noise or halos.
- Layers Blending Modes: After applying, experiment with different blending modes for the layers to achieve the best visual result. For this purpose, you might need to resize the layers.
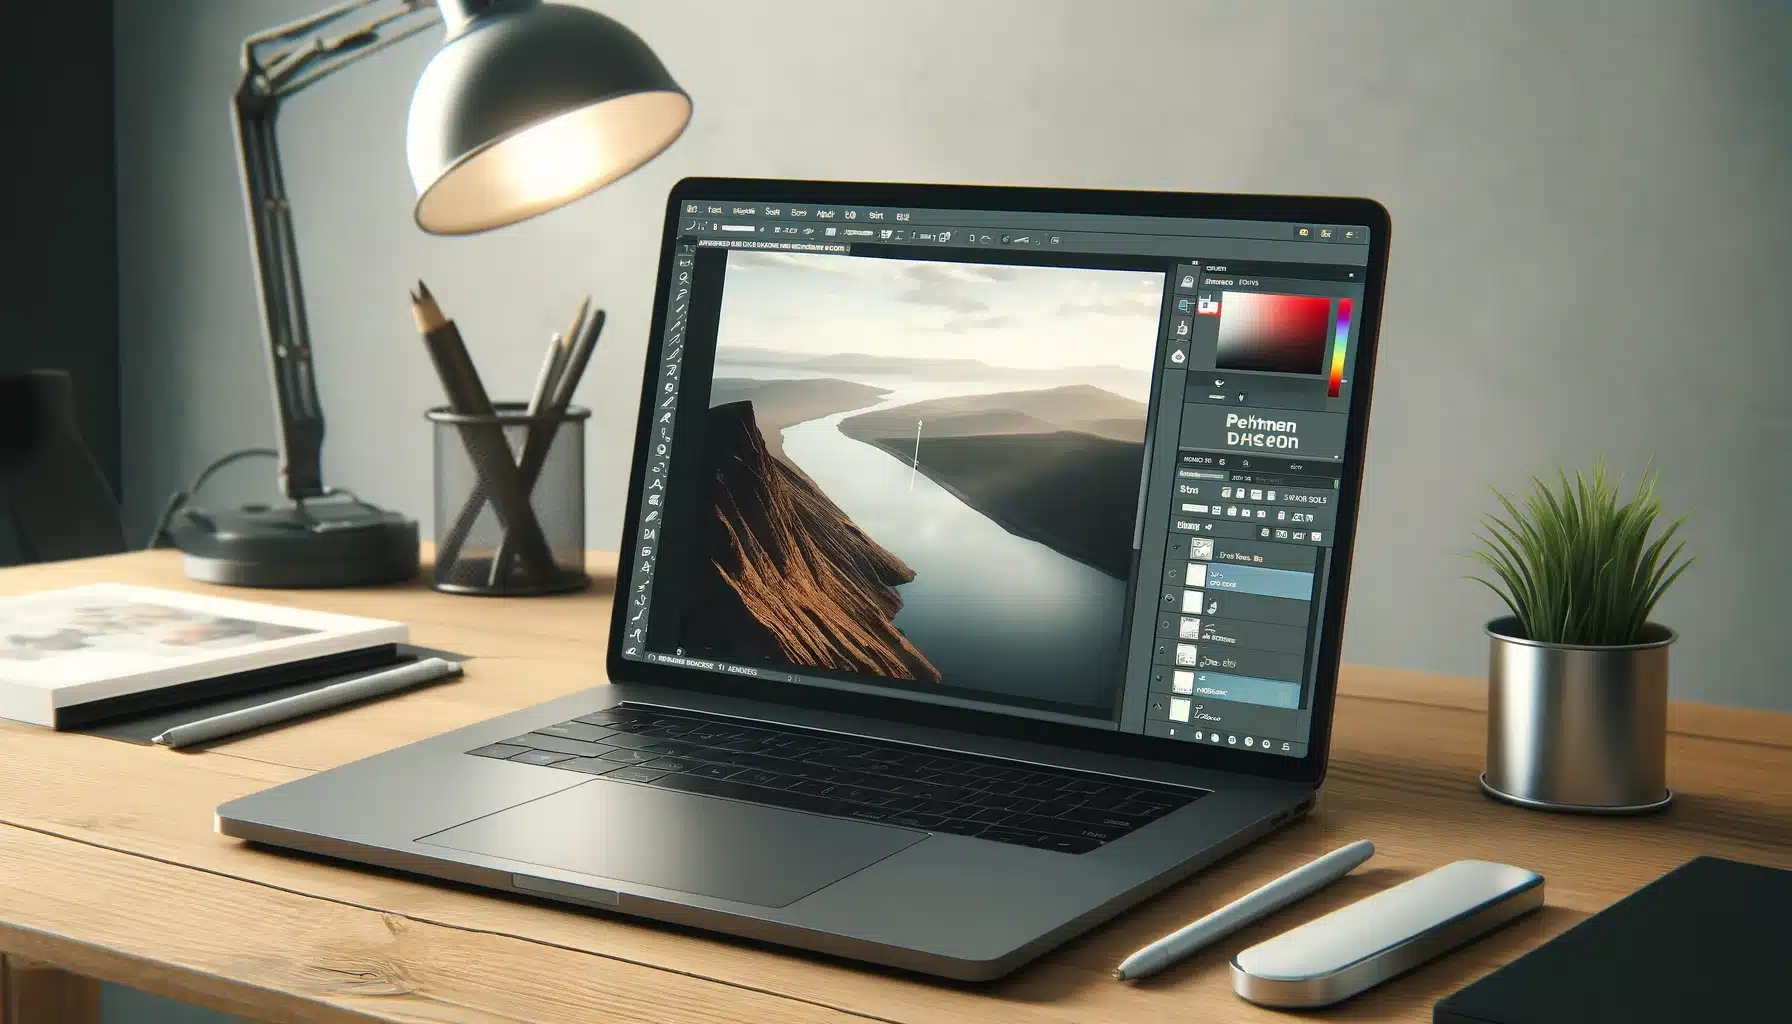
Understanding the High Pass Filter Technique for Image Sharpening
The High Pass Filter— one of the best image sharpening techniques in Photoshop— serves as a precision tool in the realm of picture refining, focusing on border detection to enhance the perceived color. This method operates by isolating zones, typically the borders and fine aspects, and applying a sharpening effect. Find out how to sharpen an image in Photoshop using this feature:
Applying High Pass Filter
Initiating the process requires opening the desired picture in Photoshop and duplicating the layer to safeguard the original data. Choose the Filters from the Filters menu that transforms the image layer into a grayscale version, where only the boundaries are emphasized, leaving the rest in a flat gray tone.
Fine-Tuning and Blending for Optimal Results
After applying the Filter, the next crucial step involves blending this level with the original image to achieve the desired level of clarity. Choose the blending mode select action that plays a pivotal role here, with options like Overlay, Soft Light, and Hard Light each offering varying degrees of clarity.
Selective Sharpening
A significant advantage of the Filter is its compatibility with select refining techniques. By employing coating masks, the honing effect can be restricted to specific regions of interest within the representation, such as the eyes in a portrait or the intricate information in a landscape shot. Adjusting Sharpness in Photoshop will work will magic!
Smart Sharpen: The Most Advanced Refining Technique

Smart Sharpen in Photoshop is a powerful tool for improving image in Photoshop. This advanced feature sharpens by detecting edges in the preview and enhancing them, which helps in bringing out the finer points and textures.
Navigating the Sharpen Feature
You need to open your picture in Photoshop and duplicate the background layer to preserve the original. Access the Sharpen tool: Choose the Filter > Sharpen > Smart Sharpen. A dialog will appear, offering various settings to tweak the sharpening effect.
Customizing Settings
In the settings for Adjusting Sharpness in Photoshop, you’ll encounter sliders for Amount, Radius, and Reduce Noise:
- Amount: Controls the intensity of the refining. A higher value will refine edges, making the picture appear sharper. Dictates the size of the border sections affected by sharpening. A smaller circle sharpens smaller features, while a larger circle affects broader spots.
- Reduce Noise / Shake effect: Helps in minimizing the graininess/shake effect that can result from sharpening, preserving the quality of the figure. Adjusting these settings allows for tailored refining effects that can be previewed in real-time within the dialog box, ensuring that the modifications suit the specific needs of your image and reduce the shake effect.
Achieving Optimal Results
It’s important to focus on the features and avoid over-sharpening, which can lead to unnatural-looking imagery. Zoom in to closely examine the effects of your adjustments and ensure that the sharpening improves the image without detracting from its natural appearance.
Camera Raw |Image Sharpening Technique for Professionals
Camera Raw in Photoshop offers a dedicated environment for adjusting the sharpness of appearances right at the beginning of the editing process. This early-stage refining is advantageous because it applies to unprocessed data, allowing for a more refined and detailed adjustment. Let’s explore how to sharpen an image in Photoshop using this tool!
Step-by-Step Process for Sharpening
- Open the Image: When you open a RAW format file in Photoshop, it automatically loads in the interface. For non-RAW photo, you can access the Filters menu. The Detail panel is your central hub for sharpening adjustments. Here, you find sliders specifically designed to enhance the clarity of your image.
- Adjusting Sharpness in Photoshop: The primary tool for sharpening is the slider. Click to increase its value to boosts the contrast at border pixels, making the appearance appear sharper. Drag the slider that affects the size of the edges that are sharpened.
- Utilize Masking to Target Sharpening: Click to drag the Masking slider that allows you to focus the sharpening effect on zones with significant boundary detail, reducing the risk of amplifying noise in smoother subjects. It will work smoothly.
Maximizing the Potential of Sharpening
Sharpening tools are powerful, but they require a careful approach to avoid over-refining, which can lead to an unnatural look:
- Start with Subtle Adjustments: It's often best to begin with lower sharpening settings and gradually increase them while monitoring the effect on the image.
- Zoom In for Inspection: Close examination of the image at 100% zoom allows you to see the impact of sharpening adjustments on different spots, ensuring that the effect is consistent and desirable across the entire appearance.
Comparing Image Sharpening Techniques in Photoshop
When exploring how to sharpen an image in Photoshop, understanding the differences between each improving technique is crucial. Below is a comparative analysis of four popular methods: Unsharp Mask, High Pass Filter, Smart Sharpen Filter, and Camera Raw.
| Feature/Technique | Unsharp Mask | High Pass Filter | Smart Sharpen | Camera Raw |
|---|---|---|---|---|
| Main Use | Traditional sharpening with adjustable intensity | Edge contrast enhancement for detailed improving | Advanced edge brush up with noise reduction | Initial image sharpening before other edits |
| Control Over Details | Basic controls: Radius, Threshold | Radius control for border | Comprehensive settings including Reduce Noise | Detailed adjustments with Sharpening, Masking |
| Noise Reduction | No specific noise reduction tools | No direct noise reduction, relies on blend modes | Built-in noise reduction slider | Integrated noise reduction alongside perfecting |
| Flexibility | Good for general use on all types of images | Best for targeted perfecting without affecting the whole image | Offers precise control over brush up and noise | Ideal for unprocessed images, offers a good starting point for further editing |
| Recommended For | Quick, global sharpening adjustments | Selective sharpening of textures or edges | Detailed and noise-aware sharpening tasks | Initial sharpening of files to set the base for further editing |
In summary, each sharpening technique in Photoshop serves different needs and offers varying levels of control and specificity. While Unsharp Mask is a great all-rounder, the High Pass Filter excels in select sharpening.
Tips and Tricks to Sharpen an Image in Photoshop

When refining the clarity of visuals and Adjusting Sharpness in Photoshop, certain strategies can greatly enhance the process, ensuring optimal clarity without compromising the image’s integrity. Here’s an expanded look at how to sharpen an image in Photoshop!
1. Start with Quality Visuals
The cornerstone of effective refinement is a good resolution visual. Beginning with a professional quality photo is crucial as it ensures that the refinement process accentuates the details rather than amplifying the noise. good resolution photos provide more data to work with, which results in a more detailed and clearer outcome after honing.
2. Utilize Layers for Non-Destructive Editing
Implementing sharpening effects on a separate layer allows for flexible adjustments. This non-destructive approach means you can modify the intensity or completely revert the sharpening effect without impacting the original layer. This layered method facilitates experimenting with various sharpening levels to find the perfect balance for each image.
3. Selective Sharpening for Focused Enhancement
Rather than applying a blanket sharpening effect across the entire image, utilize layer masks to pinpoint areas that require sharpening. For instance, in portrait photography, selectively sharpening the eyes can draw the viewer’s attention while keeping the skin texture natural. In landscapes, enhancing the clarity of foreground elements can add depth and dimension.
4. Avoid Over-Sharpening to Maintain Naturalness
Excessive sharpening can lead to harsh edges and increased noise, detracting from the image’s natural appearance. Carefully monitor the sharpening level by zooming in to 100% during the editing process. Adjust the settings to ensure that the image retains its natural textures while achieving the desired level of clarity.

5. Fine-Tune with Fade Sharpening for Subtlety
After applying image sharpening techniques in Photoshop, the Edit > Fade command can be used to blend the sharpened layer with the original. This technique allows for the softening of the sharpening effect, reducing any potential artifacts and ensuring the image looks natural and undistorted.
6. Adapt Sharpening to the Output Medium
The final use of the image, whether for web display or print, can influence the sharpening requirements. Printed materials often necessitate additional sharpening due to dot gain in the printing process, whereas digital images might require less to avoid appearing overly sharp on various devices.
7. Smart Sharpen for Enhanced Control
The Smart Sharpen tool offers a more nuanced approach Adjusting Sharpness in Photoshop, with options to reduce noise and manage how motion blur is treated. This tool gives you the ability to fine-tune the sharpening effect, ensuring that it enhances the image effectively without introducing unwanted artifacts.
Troubleshooting Sharpening Issues in Photoshop
When enhancing image clarity in Photoshop, you might encounter some common perfecting issues. Here’s a table that outlines potential problems, their causes, and solutions to help you maintain the desired quality in image refining.
| Issue | Cause | Solution |
|---|---|---|
| Over-sharpening | Applying too much sharpening, leading to unnatural edges and textures. | Set the Amount and Radius low in the sharpening tool settings. Use layer masks to apply sharpening selectively. |
| Halo Effect | Increased circle values can create bright or dark outlines around edges. | Lower the Radius and Amount settings. Consider using Smart Sharpen with Lens Blur to minimize halos. |
| Increased Noise | Sharpening also enhances image noise, especially in low-light photos. | Use the Reduce Noise slider in Smart Sharpen or apply noise reduction. |
| Loss of Detail | Overzealous polishing can obliterate subtle textures and fine details. | Set a lower setting for Radius. Employ selective polishing to preserve particularize in important areas. |
| Blurring Instead of Sharpening | Incorrect settings or using the wrong sharpening method. | Ensure you are using the polishing filters correctly. Smart Sharpen should increase border definition, not blur them. |
In image sharpening techniques in Photoshop, it’s crucial to strike the right balance to avoid these common issues. By understanding the cause and solution for each problem, you can effectively troubleshoot refining issues and achieve the desired clarity and crispness in your images.

Frequently Asked Questions (FAQs)
Here’re the answers to most asked questions about how to sharpen an image in Photoshop.
How to sharpen an image in Photoshop?
The best way to brush up an image in Photoshop depends on the specific needs of the image and the desired outcome. Generally, using the Sharpen tool is effective as it provides more control over the sharpening process, allowing for adjustments in the amount, area, and reducing noise, making it a versatile choice for various types of images.
How do you use the Unsharp Mask to sharpen images in Photoshop?
Follow these steps:
1. Open your image and duplicate the layer to preserve the original.
2. Click on Filter. Then, click on Sharpen and finally click on Unsharp Mask.
3. Adjust the Range, and Threshold sliders to fine-tune the sharpening effect. The Amount controls the intensity of sharpening, the Circle sets the border width, and the Threshold determines the level of aspect to be sharpened.
What are the differences between Smart Sharpen and Unsharp Mask in Photoshop?
Smart Sharpen and Unsharp Mask both improve image aspect but differ in their approach and flexibility. The former is more advanced, offering specific controls for reducing noise and handling blur types, such as Gaussian and lens blur.
How can you selectively sharpen parts of an image in Photoshop?
To selectively sharpen parts of an image in Photoshop, use layer masks with the sharpening filter of your choice. Here’s how:
1. Apply the sharpening filter to a duplicated coat of your image. Add a layer mask to the sharpened coat.
2. Use a black brush to paint over the areas where you want to reduce the sharpening effect, or a white brush to reveal the sharpening on specific parts of the image.
Conclusion
Improving my photo aspects through sharpening has been a game-changer, especially for capturing the essence of nature scenes. It’s about making each element in the photo pop and tell its story, which truly elevates the art of photography. For those eager to refine their skills in this area, our tailored courses offer a wealth of knowledge and practical tips.
● Dive into our Photoshop Course to master sharpening techniques and more.
● Explore our Lightroom Course to boost your editing workflow and image quality.
We have also compiled all the methods to increase image sharpness in Photoshop. Embrace the journey of transforming your images into stunning works of art with our comprehensive Image Sharpening Techniques in Photoshop.
Have a nice photoshoot!


Course


Get the latest version of Photoshop & Lightroom