How to Edit Portraits in Lightroom

Lightroom is a superb tool, it has made the lives of so many photographers easier by simplifying the editing workflow. Similarly, learning how to edit portraits in Lightroom is so intuitive that you will have fun while doing it. Of course, the first step is to take great pictures. However, as you might already know, a few edits can turn even an ordinary portrait into a gorgeous one.  

Although every photo should be edited differently, the following steps should help you learn a tried and trusted method which you can even tweak on your own.  

Import Your Portrait

The first step of learning how to edit portraits in Lightroom is to import your image. Head into the Library Module and click on Import. Additionally, if you upload more than one portrait, you should consider applying a preset upon import. It could be for anything such as light adjustment or even skin retouching. For this purpose, you will see a tab named Apply During Import on the right-hand side. Click on it, and you will find your preset under User Presets. Once this is done, head to the Develop Module.

Organize the Portraits

This step is often overlooked, but once you keep editing photos, you will start forgetting where those photos are saved. Although this is not a direct step in learning how to edit portraits in Lightroom, it will save you a lot of time in your workflow. You can either save them in Folders, which are stored on your device, or if you want to have a more flexible option, save the images in Collections. They can be created from the Library Module by pressing + in the Collections Panel.

Adjust White Balance - Edit Portraits in Lightroom

You might have observed that sometimes the images look either too cold or too warm. Fortunately, that can be easily fixed using White Balance. You can find it in the Basic Panel, it is in the shape of an eyedropper, or press W to activate it. You can either use the eyedropper tool to fix this or the sliders beneath it. For instance, if the image is cold, move the temp slider towards yellow. And if there is a green tint, then move the slider towards magenta.
Film style portrait edited in Lightroom

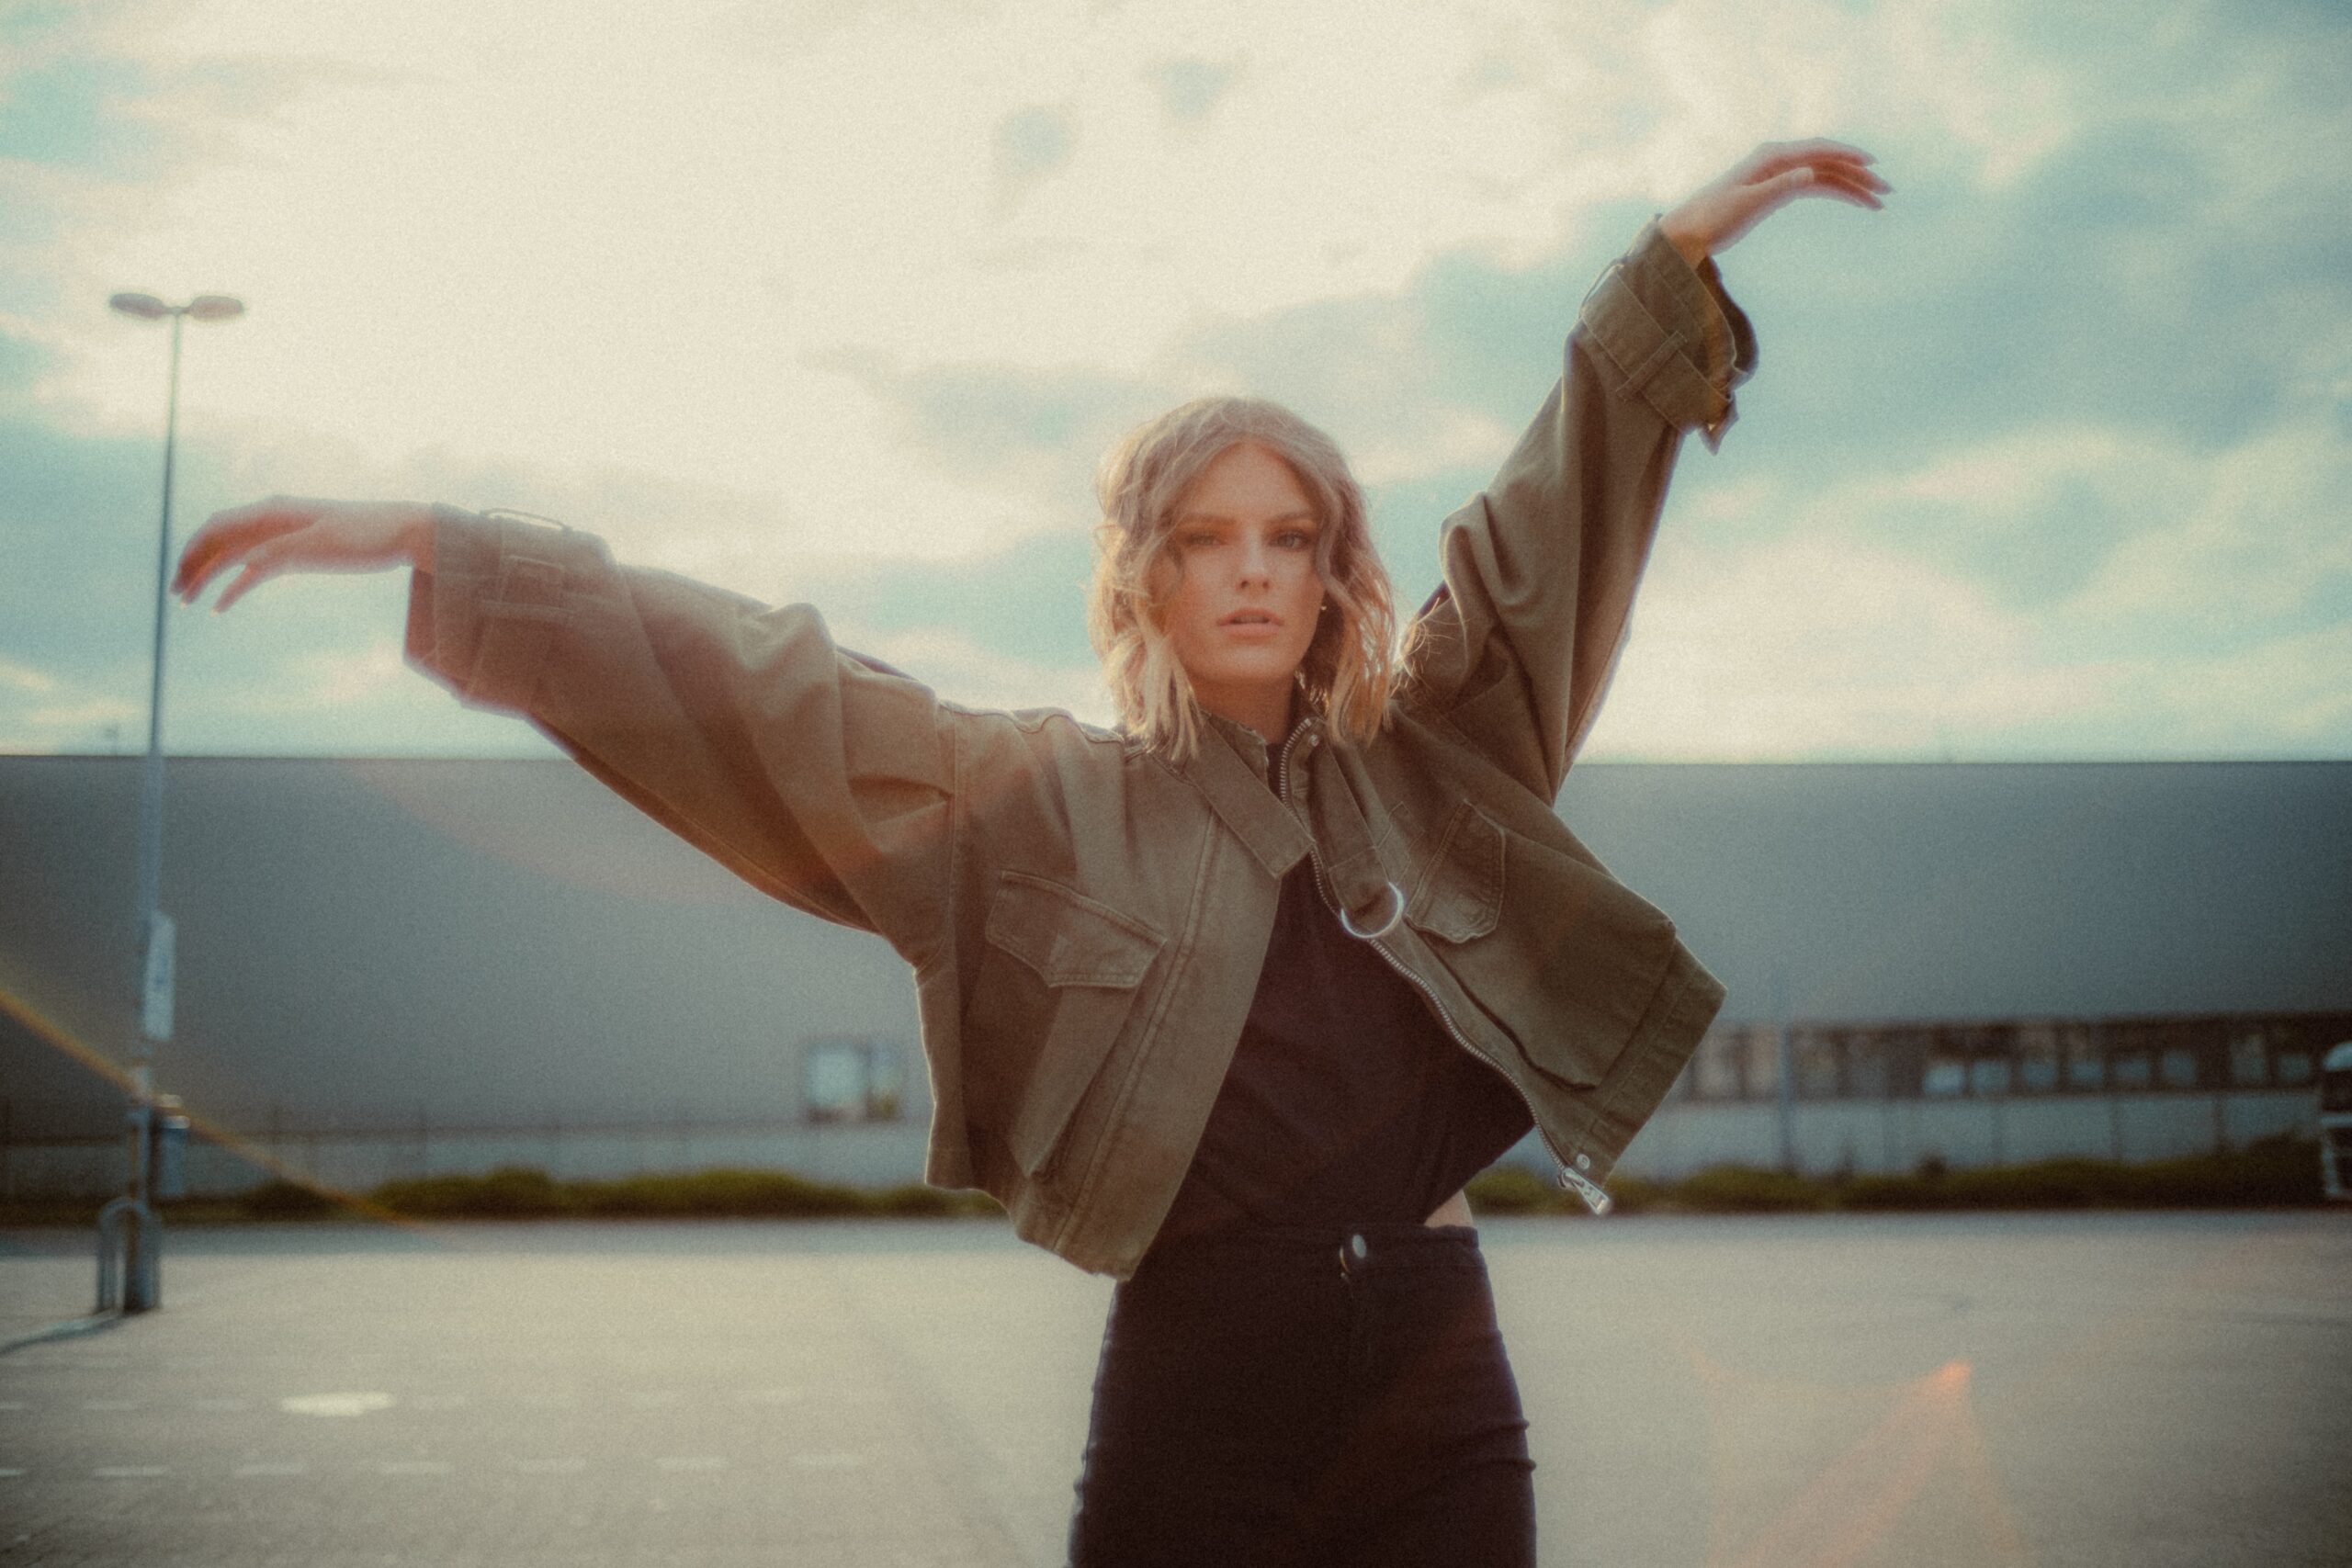
Photo edited in Lightroom.

Fix the Tonal Range

A major portion of learning how to edit portraits in Lightroom is fixing the colors and their tones. In this step, we will use the histogram to fix the image if it is too bright or too dark in some areas. The left side of the histogram shows dark pixels, the right side shows bright ones, and the mid-tones are in the middle. If there is a tall peak on one side, then it would mean that those pixels are dominating the image. However, carelessly adjusting this can cause even more problems. You can press J to toggle between the warning system. Two boxes, named Highlights and Shadows, will pop up on pressing J. And if you are messing up any of the two things, those boxes will warn you about that. Moreover, you can use the HSL panel for fixing colors as well. Using the Hue slider, you can adjust the hues around the color circle. Whereas, the Luminance slider will help you in adjusting the brightness and the Saturation slider is responsible for the intensity of colors.

Crop the Image - Edit Portraits in Lightroom

This might seem like the most basic step, but do not underestimate the value of proper cropping. If properly done, then it can help you fix many of the compositional flaws and mistakes. You can find this tool under the histogram or activate it by pressing and holding R. This tool will help you emphasize the important parts of the portraits by eliminating the distracting elements.

Soften the Skin

An important part of learning how to edit portraits in Lightroom is retouching the skin. You need to determine how much you want to soften the skin based on flaws. For this purpose, you can use the Brush Tool. Firstly, reduce the clarity, but remember that it can flatten out the image, so increase the contrast. Then, increase highlights and shadows. You can keep the feather and flow at 100%. Lastly, select a large brush and use it all over the face.

Whiten the Teeth and Brighten the Eyes

For the teeth, select an Adjustment Brush, and open its dropdown menu. Then, find the teeth whitening effect and select it. The only thing remaining is to brush over the teeth. Additionally, you can use the same brush to add some life to the lips as well. You can start by lowering the values of Contrast and Clarity, and then increase the saturation of the light. Similarly, use the Adjustment Brush to edit the eyes as well. Select Show Selected Mask Overlay at the bottom and carefully edit the eyes.

Conclusion - How to Edit Portraits in Lightroom

As we said in the beginning, learning how to edit portraits in Lightroom is not only fun but a rewarding process as well. You can think of these steps as a basic guideline, but we understand that just like the shooting process, editing is also a personal process. Learn the basics, and tweak them on the way.

If the “How to Edit Portraits in Lightroom” article has helped you, then Like and Share it with your friends!

Facebook
Twitter
LinkedIn
Pinterest

Have a nice photoshoot! 

Lightroom and Photoshop Tutorials

Photoshop Course
Lightroom Course
Lens Flare Effect
Lightroom & Photoshop Course