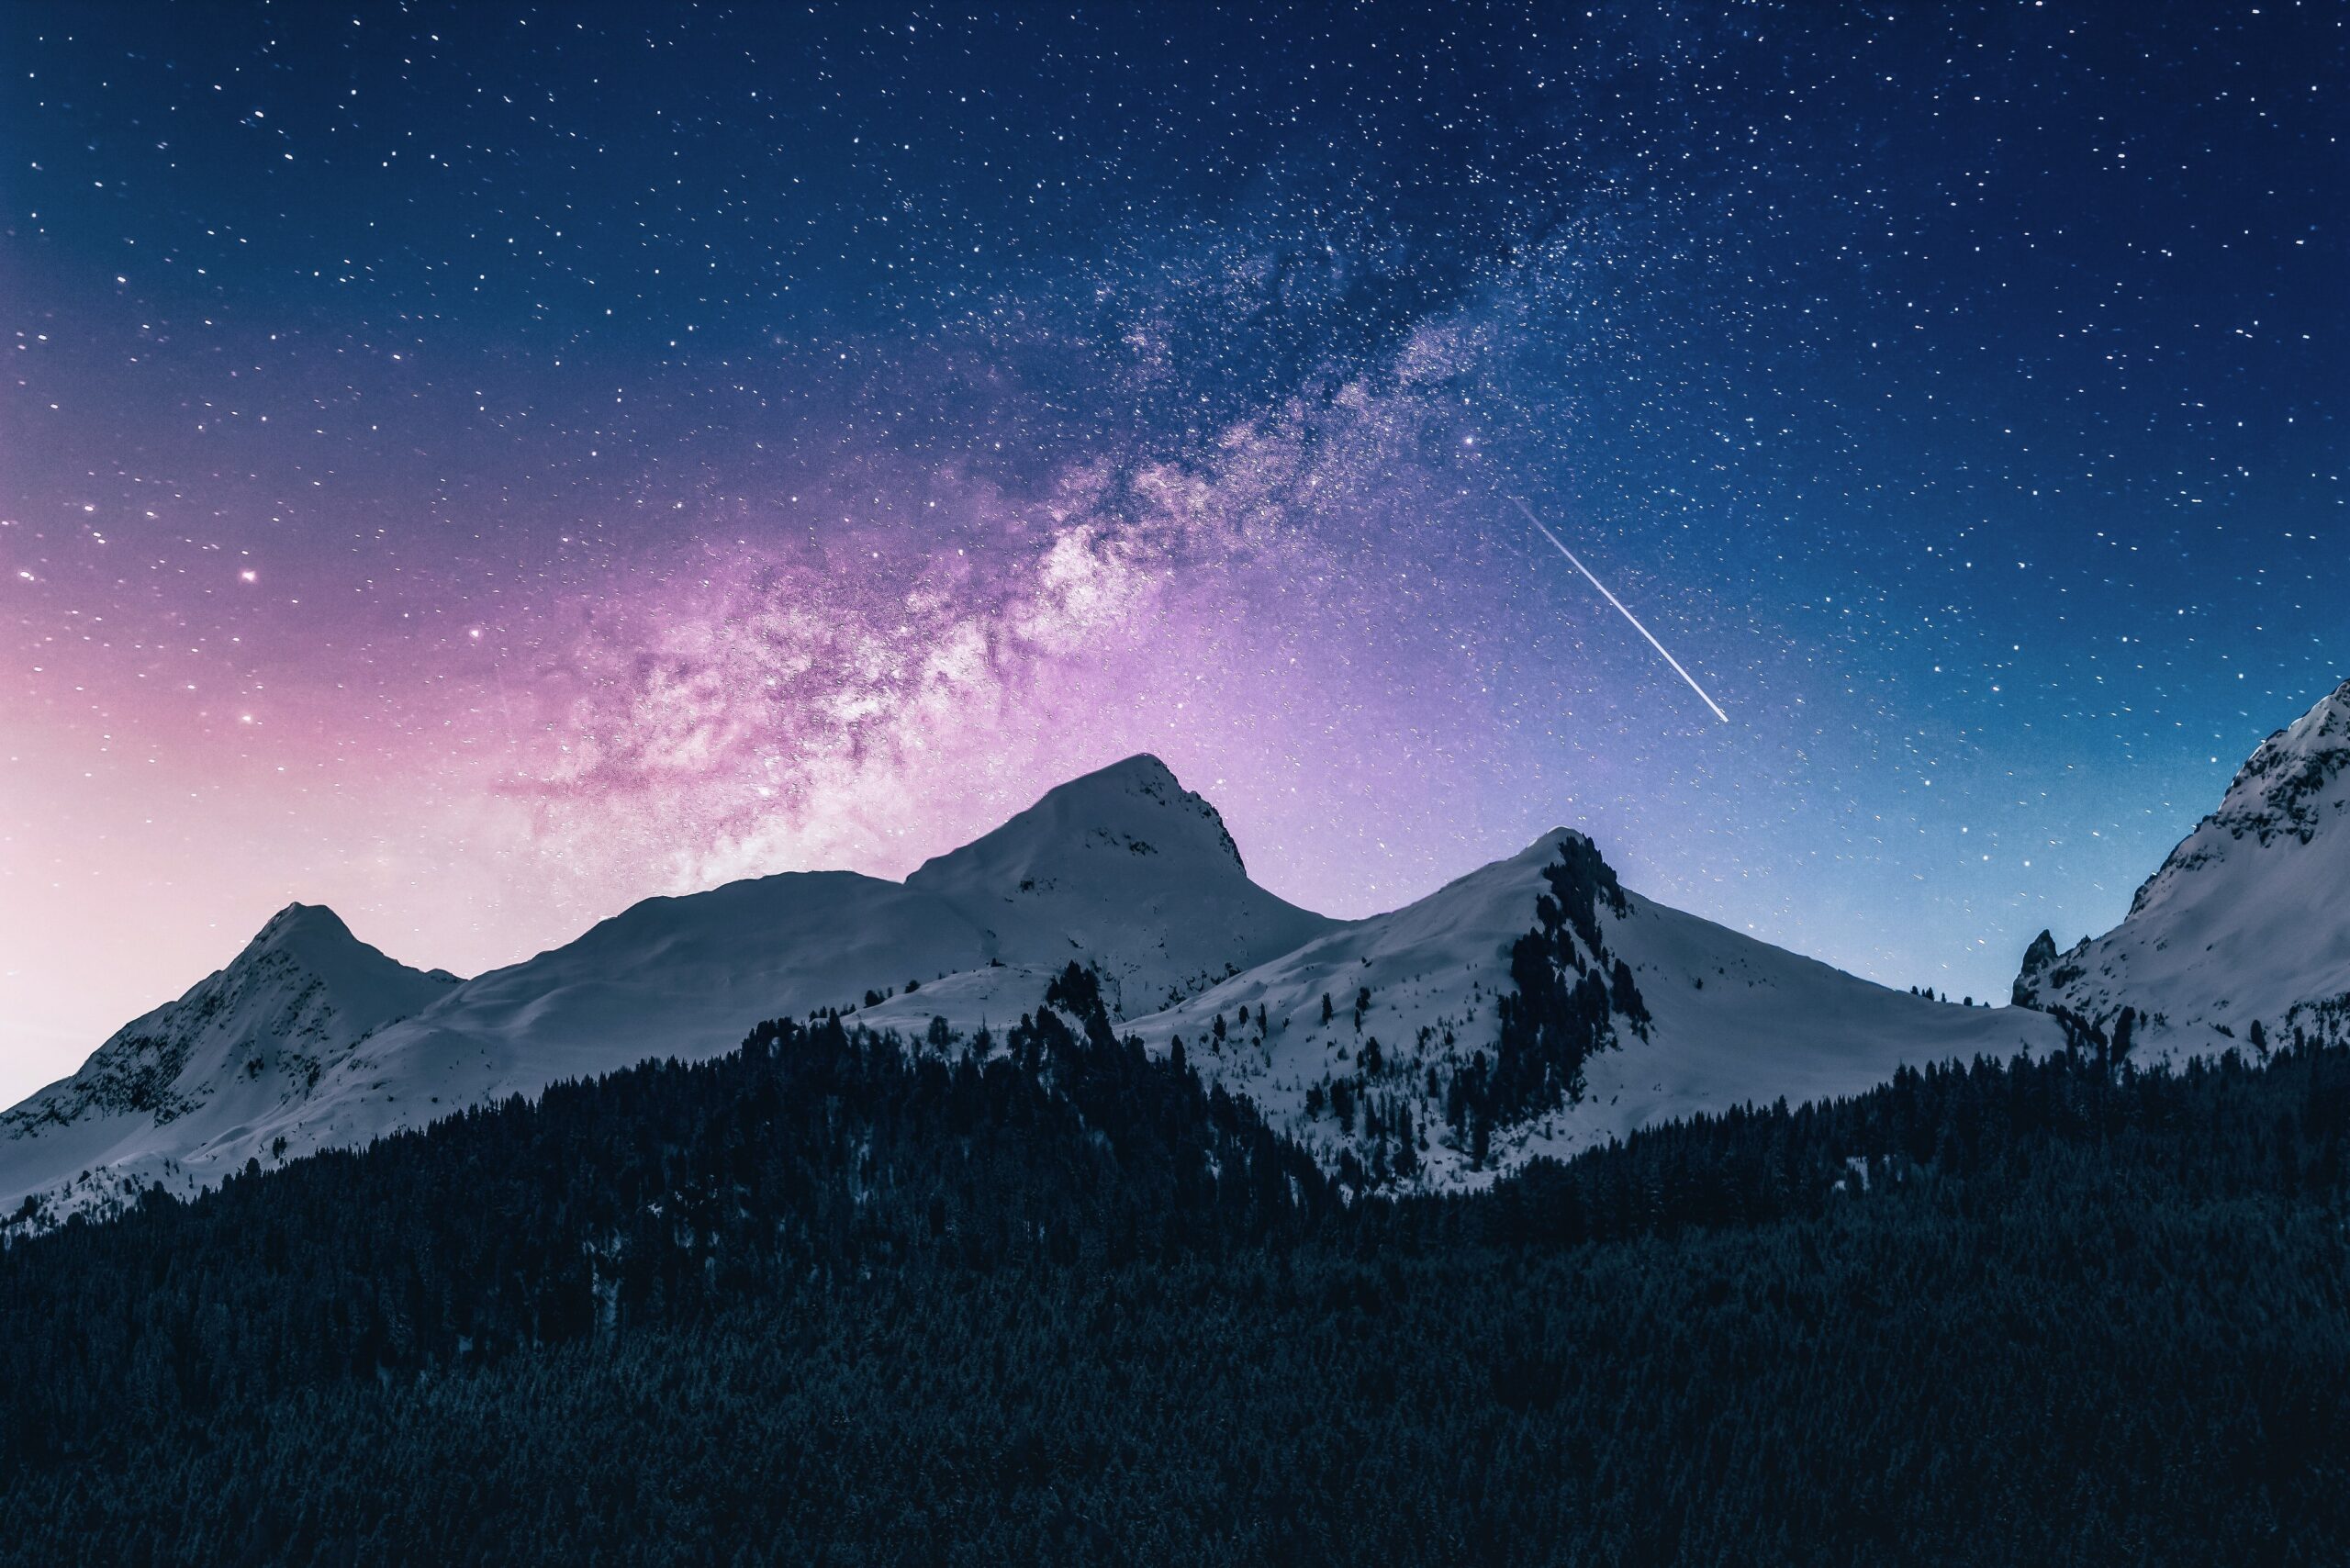
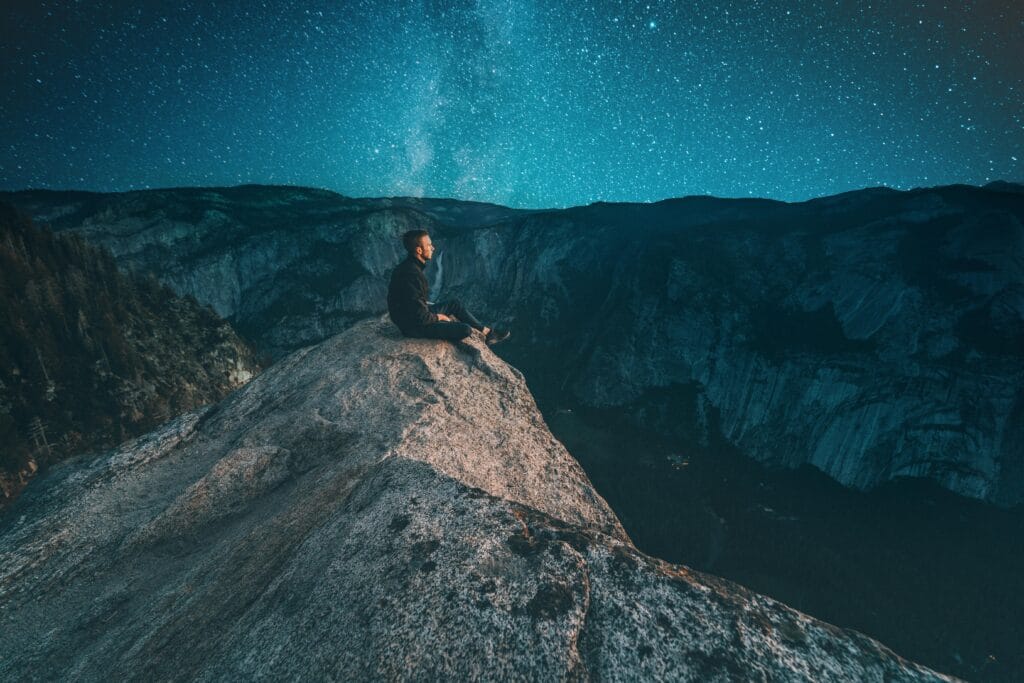
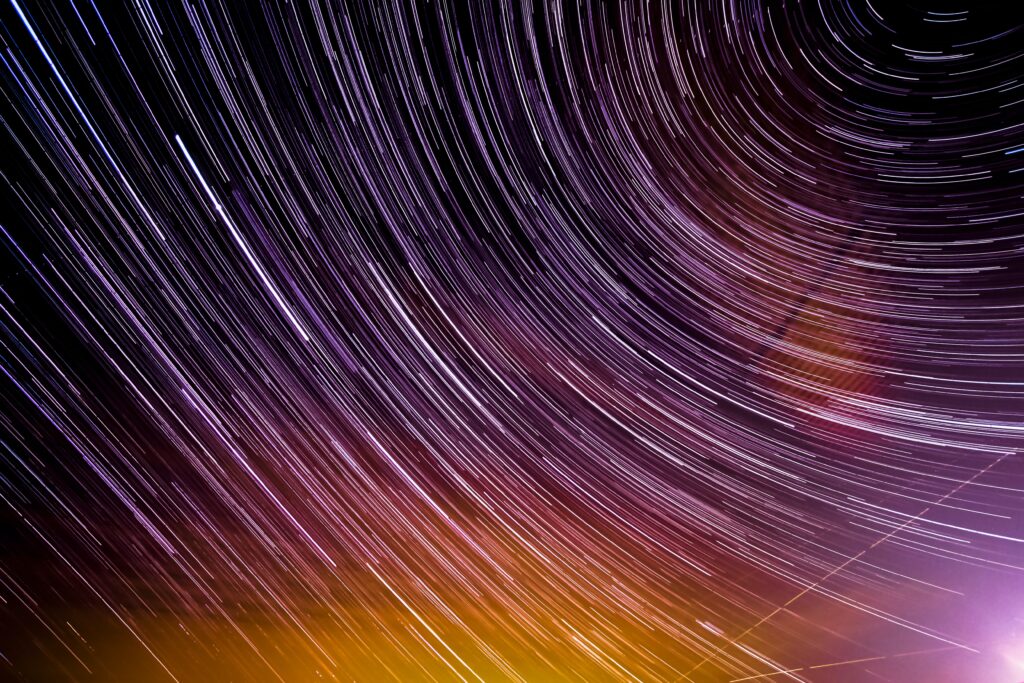
Look up at night what do you see? Musicians have talked about it; poets have talked about it. Moreover, even the artists have tried to portray what a starry night looks like but from their perspective. Vincent Van Gogh or any other artist, we have always looked above to stars, the milky way, and the moon for inspiration. But has anyone visualized what is happening there? Fortunately, enough, yes! They have. Astrophotography is a type of photography where the photographers shoot the sky at night and the results are mind-blowing. The final shot appears to portray the milky way and the stars within it along with the various otherworldly colors that it forms. However, astrophotography is more than just snapping a photo through a camera with some adjustments. That is to say, to be able to edit the photo or post-processing is a pre-requisite skill for it. For editing, there are two of the most common editing platforms that we will talk about. These editing platforms are; Adobe Photoshop and Adobe Lightroom. In our article, we will go over these two platforms and give you a few tips on how to edit astrophotography in Photoshop and Lightroom.

So, without further ado lets begin with it.

Best Software for Editing Astrophotography

Firstly, let’s debunk as to why Photoshop at the first place for editing astrophotography? Thing is, adobe Photoshop is editing software that is more suitable for people who are familiar with post-processing. And, though Lightroom is equally fine, it does not allow for photo manipulation. Subsequently, sometimes you need to add some stars to make the image look more appealing. This is something Lightroom isn’t programmed to do. However, as far as the adjustments to the photo is concerned, Lightroom, as mentioned previously is equally great.

Now, let us see how to edit astrophotography in Photoshop and Lightroom:

How to edit Astrophotography of a man

Photo edited in Lightroom.

Crop

At first, you must select which area you are working with. How much area do you need in your final edit and how much do you want to get cropped out. For this, there is a crop tool which you can use to eliminate artifacts and area from your photo that seems rather meaningless. Moreover, the crop tool will have ratios so you can keep the rule of thirds and rule of odds in check. Both, adobe Photoshop and adobe Lightroom have this feature in their menus.

Image Adjustments

Secondly, in knowing how to edit astrophotography in Photoshop and Lightroom, comes image adjustments. For Lightroom, the panel for editing is pretty much always there. For Photoshop, however, one needs to press “Cntrl, shift and A” to open Adobe Camera Raw. You might have heard of this before, ACR. This is exactly that. From there you can adjust color schemes, you can adjust contrast as well as clarity. When adjusting, always keep the exposure up. Adjust highlights. This will make the milky way pop up much more and make the stars stand out. We would also advise you to tweak the shadows along with the highlights and make the image more vibrant. You might have seen images where the hue appears much more purple right? That is what adjusting vibrance does to the image.

More adjustments - How to edit Astrophotography

How to edit astrophotography of star trails
With basics aside, there are more advanced adjustments that you can incorporate in your images as well. For instance, you can also adjust the image noise. If there is too much noise in the image, then quickly move to the detail panel and from there, make suitable adjustments to the noise slider. Afterward, there is an HSL slider, from where you can adjust the hue, saturation, and luminance accordingly. Hue changes the color scheme and saturation makes the color more vibrant while the luminance deals with the brightness of colors. We are stressing about this since this is the part where you can unleash your creativity with color schemes. Lastly, in adjustments, comes tone curves. You can adjust highlights and shadows in an even better way from the graph if you feel you have a better grip on editing graphs.

Calibration

While giving you some basic tips on how to edit astrophotography in Photoshop and Lightroom, we feel it our duty to talk about calibration. A better-calibrated screen will always show you a better display and true colors. True colors are what you need to be equipped with for a better post-processing style in editing images.

Conclusion - How to edit Astrophotography

To simply conclude it up, these were some of the very basic tips we could give you on how to edit astrophotography in Photoshop and Lightroom. Additionally, we would also recommend that you watch tutorials on editing in Photoshop with layers. Although aimed for advanced levels, it will certainly make your final edit much cleaner. Also, don’t hesitate to apply some presets. There are a bunch of astrophotography preset packs available online that you can download and apply to your photos. Lastly, we would put forth the option for photo manipulation as well. It is for more advanced Photoshop users but having the know-how of it can do wonders.

If the “How to edit Astrophotography” article has helped you, then Like and Share it with your friends!

Facebook
Twitter
LinkedIn
Pinterest

Have a nice photoshoot! 

Lightroom and Photoshop Tutorials

Photoshop Course
Lightroom Course
Lens Flare Effect
Lightroom & Photoshop Course