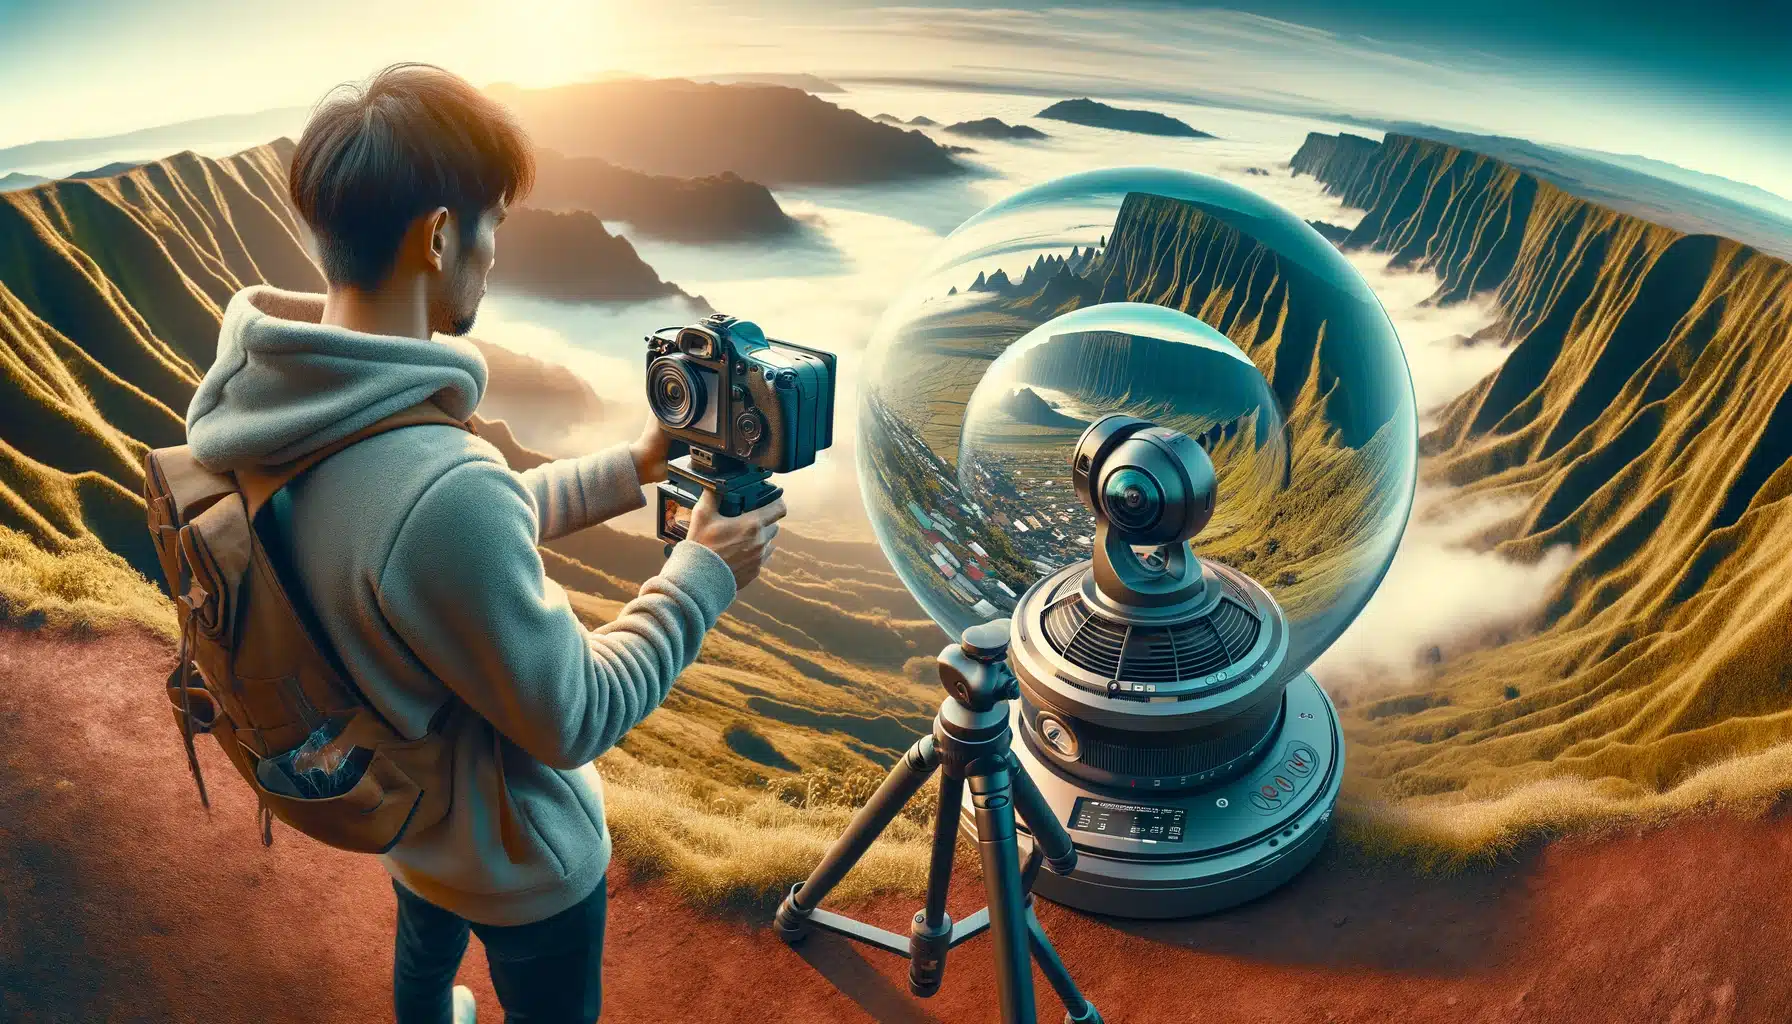
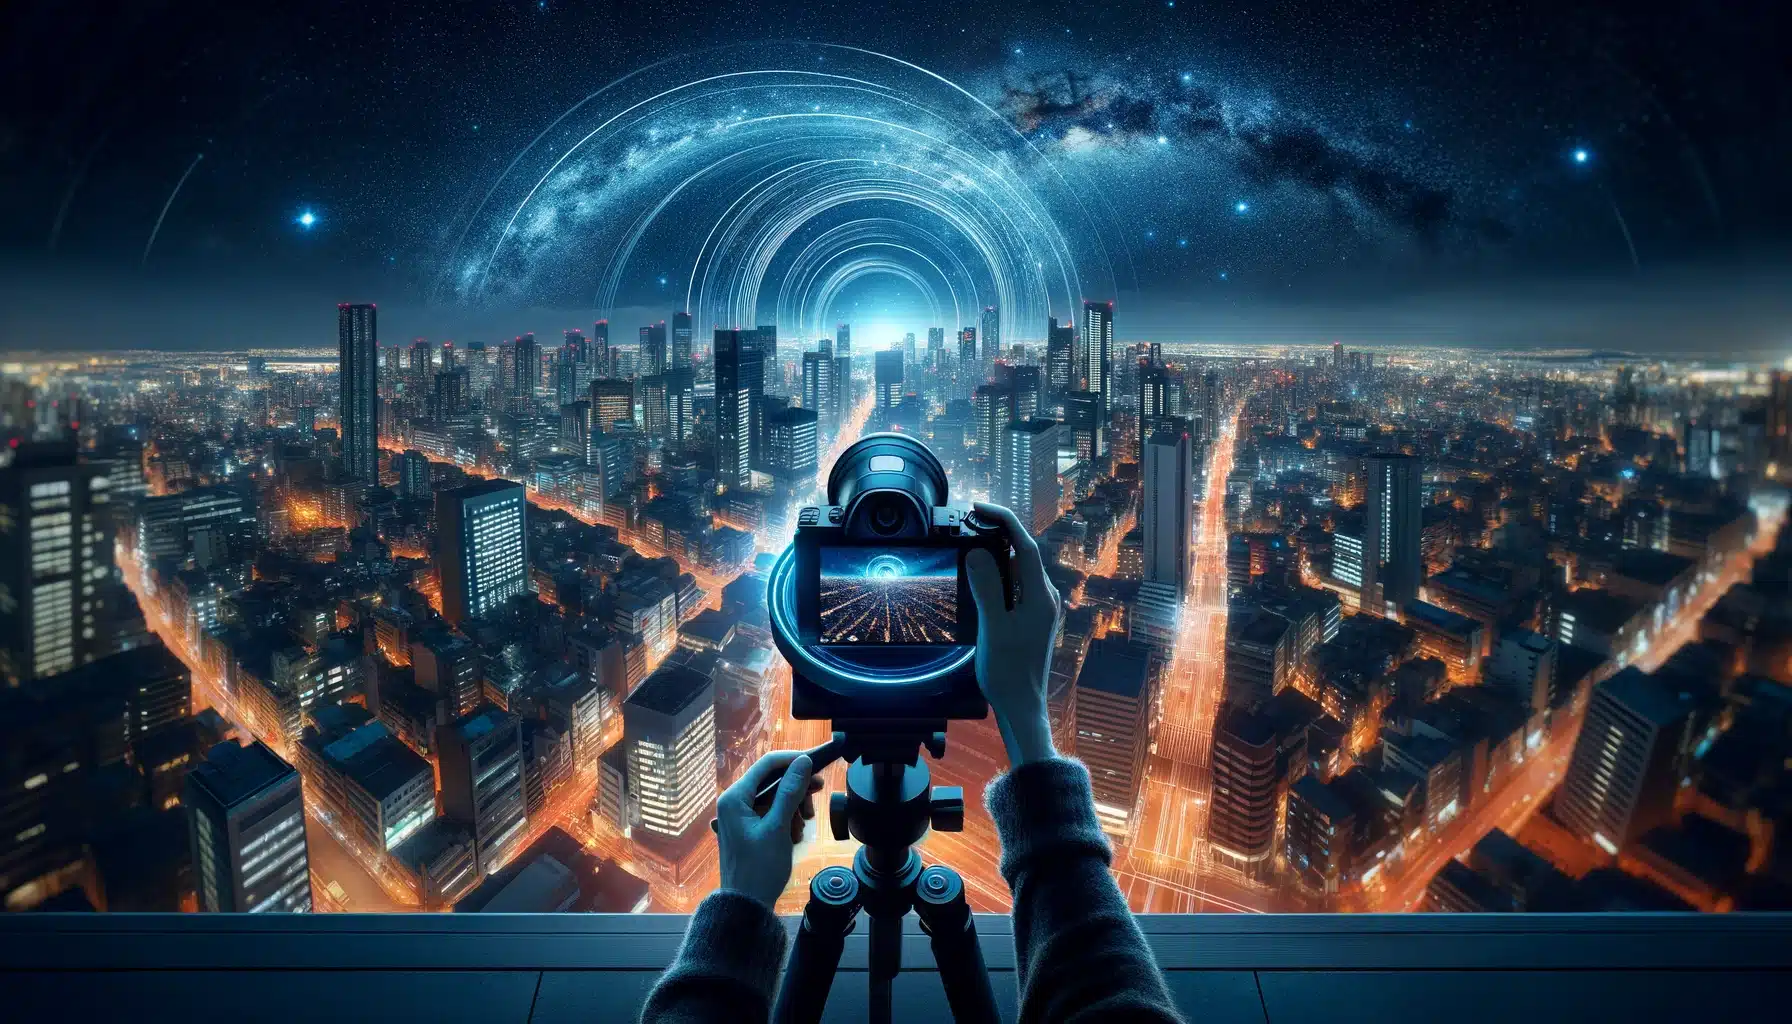
Introduction to 360 Product Photography
No one can deny the importance of 360 product photography tips and setup epecially when you have an online store. 360 product photography is a powerful tool for showcasing products online. It allows customers to see content from all angles, which can boost sales. For example, imagine shopping for a watch and being able to spin it around to see the full details.
In this guide, we’ll cover everything you need to know about how to do 360 product photography. We’ll discuss its benefits, the equipment you’ll need, product photography setup, capturing techniques, editing tips, and best product photography tips. Whether you’re a photographer or a business owner, mastering 360 product photography can take your presentations to the next level.
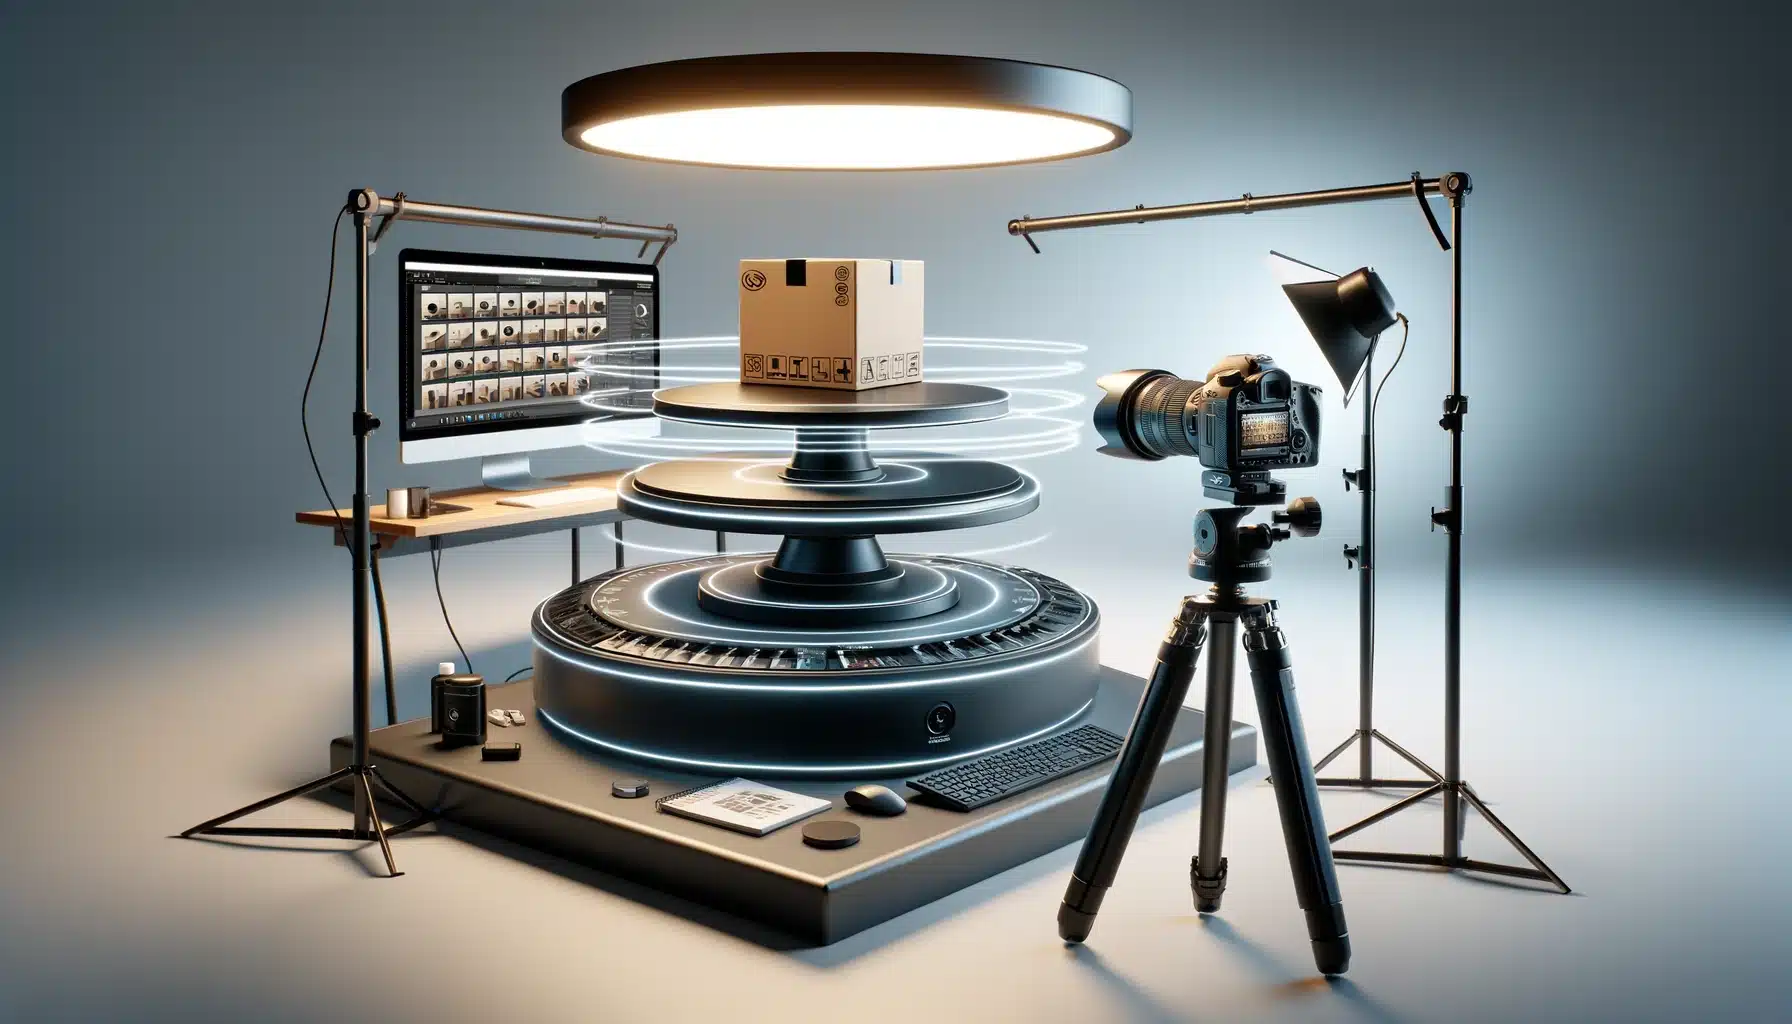
Table of Contents
Different Types of Product Photography
Studio Product Photography
This type of photography is typically done in a controlled environment like a single photography studio. It involves using professional lighting setups, backdrops, and equipment to capture products in a clean and polished manner. Studio product photography setup is ideal for ecommerce websites and product catalogs where the focus is on showcasing content with clarity and control.
Lifestyle Product Photography
In contrast to studio photography, lifestyle product photography aims to depict products in real-life situations or settings. This approach helps create a connection with the target audience by showing how the content can be used in everyday life.
For example, a clothing brand might showcase their apparel in outdoor settings or during activities like hiking or dining, highlighting the versatility and appeal of their products.
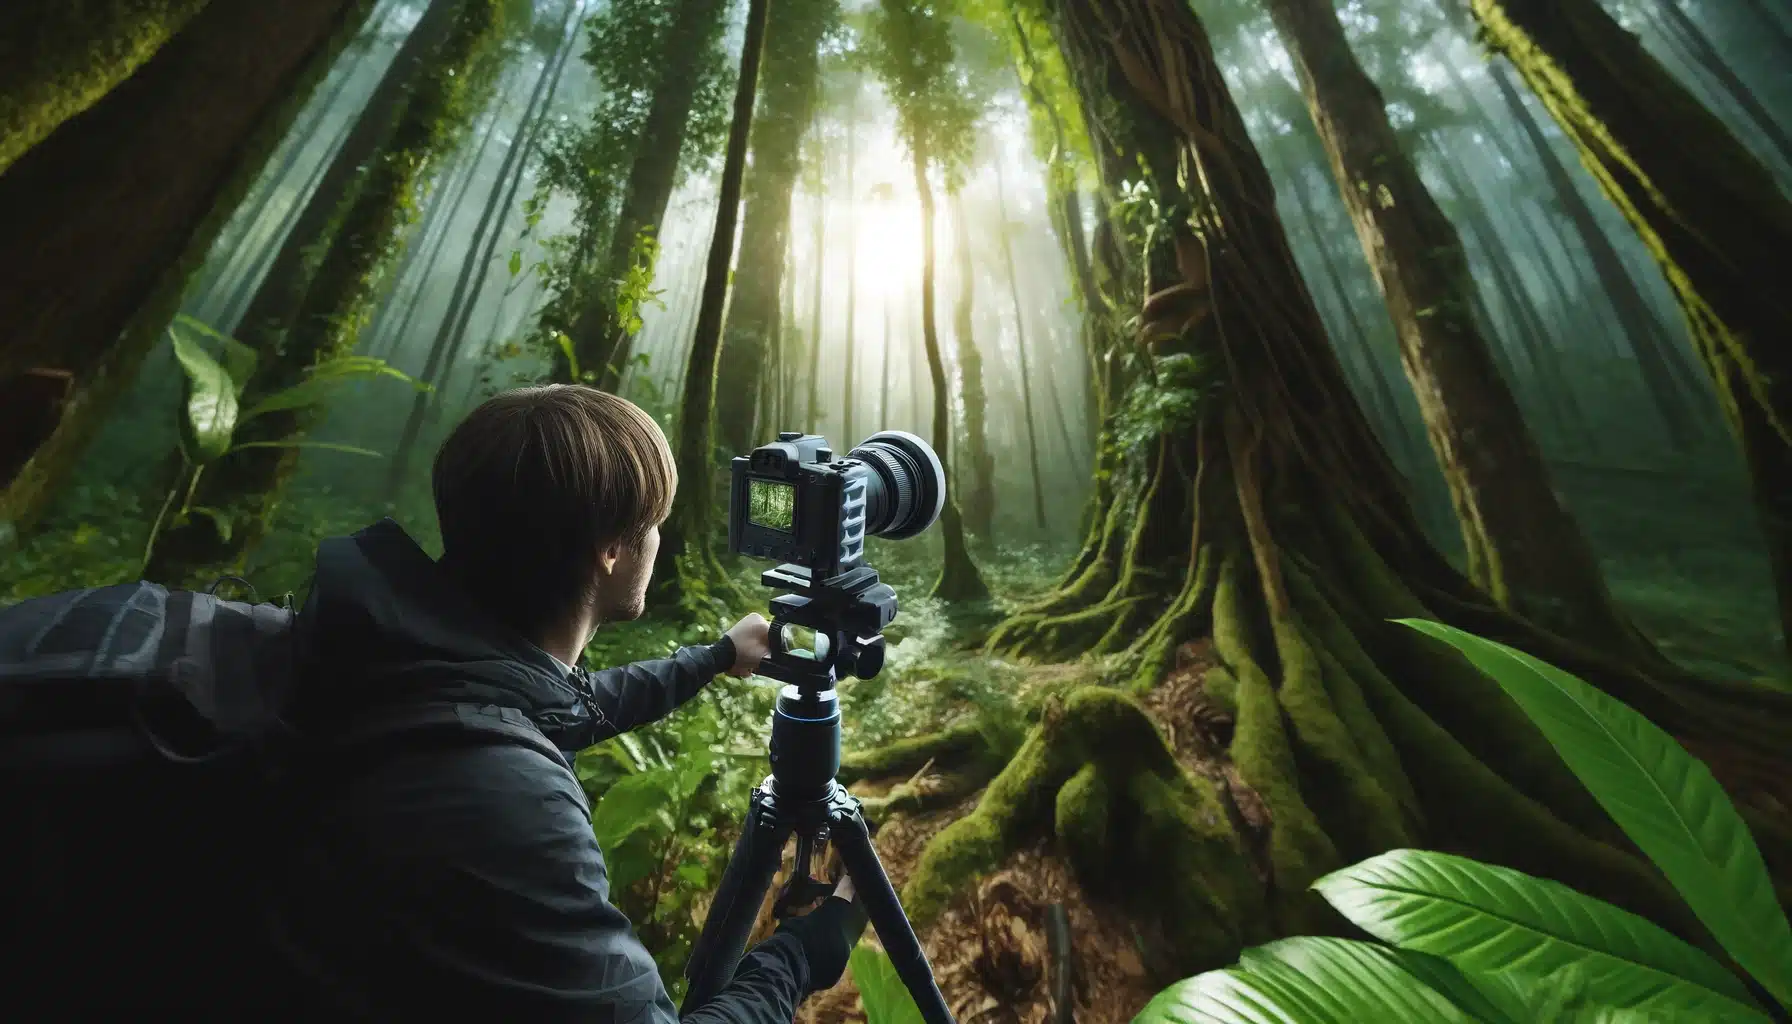
Outdoor Product Photography
This type of photography takes advantage of natural light and outdoor environments to capture products in a more organic and authentic way. Outdoor product shots can feature products in easy natural landscapes, urban settings, or specific contexts related to the product’s use.
For instance, a camping gear brand might showcase their products in a forest setting to emphasize their functionality and durability in outdoor adventures.
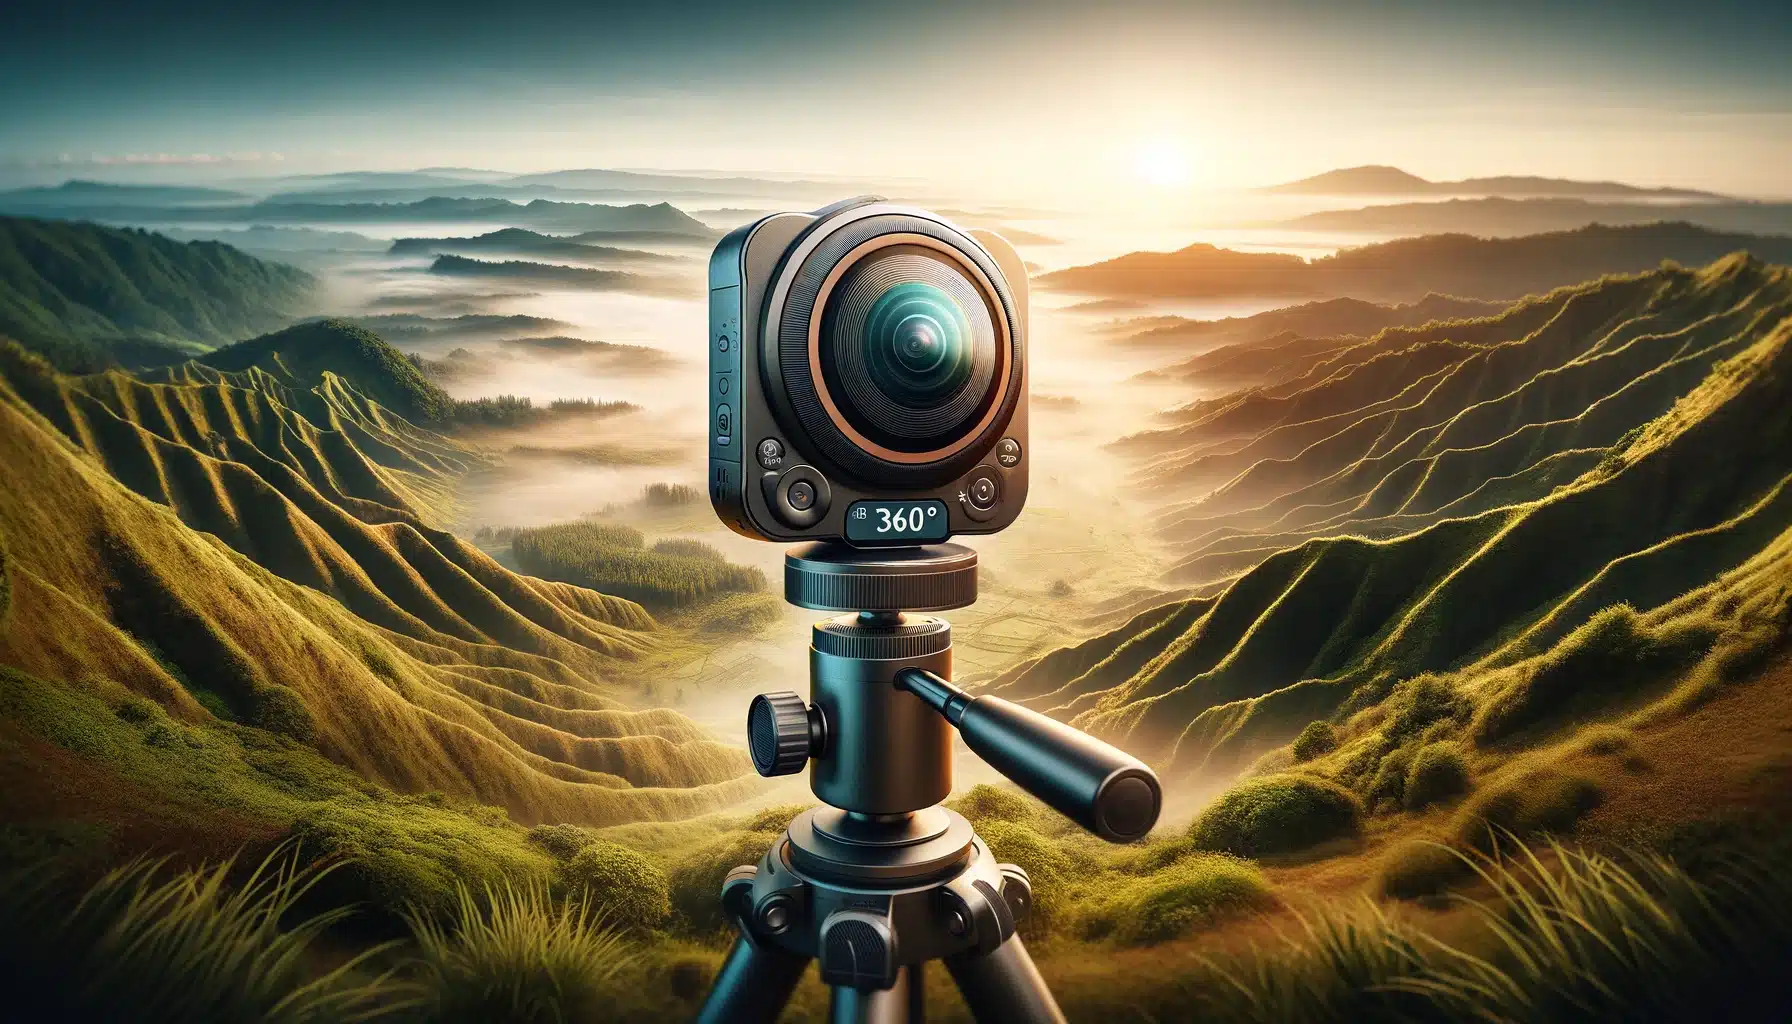
360-Degree Product Photography
With advancements in technology, capturing 360-degree product images has become increasingly popular. This format allows customers to interactively view products from every angle, providing a comprehensive and easy experience.
It’s particularly useful for products like furniture, electronics, and accessories, where customers want to see all sides and full before making a purchase.
Flat Lay Product Photography
Flat lay photography involves arranging products and props on a flat surface and capturing them from a top-down perspective. This style is commonly used for showcasing smaller items like fashion accessories, beauty products, or food items.
Flat lay compositions can be creatively arranged to create visually appealing and cohesive images that highlight the products’ features.
Close-Up Product Photography
Also known as macro photography, close-up product shots focus on capturing full details, textures, and craftsmanship of products. This type of photography is ideal for showcasing product quality, material finishes, and unique design elements.
For example, a jewelry brand might use close-up shots to highlight gemstones, metalwork, and intricate patterns in their pieces.
Benefits of 360 Product Photography
Enhanced Customer Engagement
Creating 360-degree product animations enables customers to interact with products virtually, leading to increased engagement and a better understanding of the item’s features and design. This engagement can translate into higher conversion rates.
Improved Customer Confidence
By creating 360-degree product visuals of product animations, potential customers gain more confidence in their purchasing decisions as they can thoroughly inspect the item from different angles. This can reduce returns and boost customer satisfaction.
Competitive Advantage
Businesses that utilize 360 product setup stand out in a crowded market. It showcases a commitment to quality and transparency, attracting more customers and setting your brand apart from competitors.
Higher Conversion Rates
Studies show that knowing how to do 360 product retail photography images can lead to increased conversion rates. Customers are more likely to make a purchase when they have a clear and comprehensive view of the product.
Reduced Product Queries
Providing detailed 360-degree images can reduce customer inquiries about product specifications and appearance. This saves time for both customers and support teams, streamlining the purchasing process.
Versatile Marketing Tool
Shooting 360-degree product photos can be used across various marketing channels, including websites, social media, and digital ads. It enhances the visual appeal of your products, attracting more attention and driving traffic to your online store.
Essential Equipment for 360 Product Photography
1. Camera
A DSLR or mirrorless camera with manual settings is essential for 360 product photography setup. Opt for a camera with a macro lens to capture intricate details of your products up close. This setup allows you to adjust settings like aperture, ISO, and shutter speed, ensuring optimal image quality.
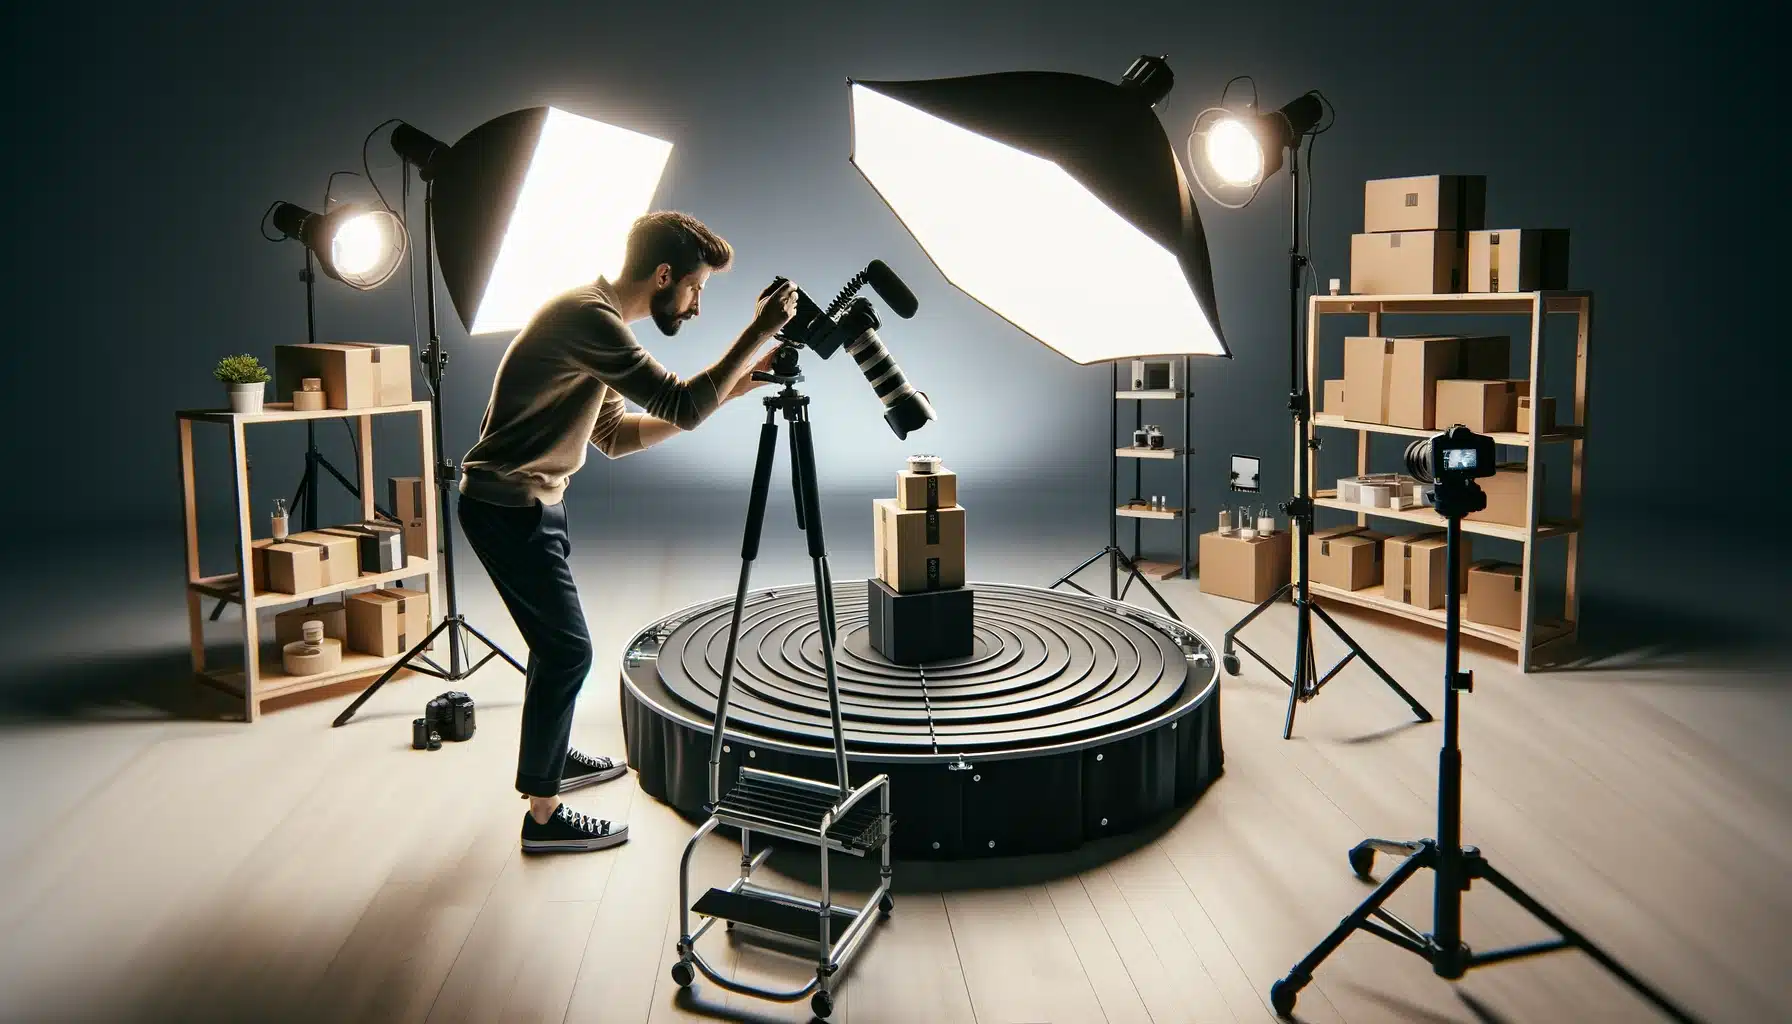
2. Tripod
A sturdy tripod is a must-have accessory for producing 360-degree product images. It provides stability and eliminates camera shake during long exposures and multiple shots. Look for a tripod with adjustable height and sturdy legs to support your camera and maintain consistent framing for all angles.
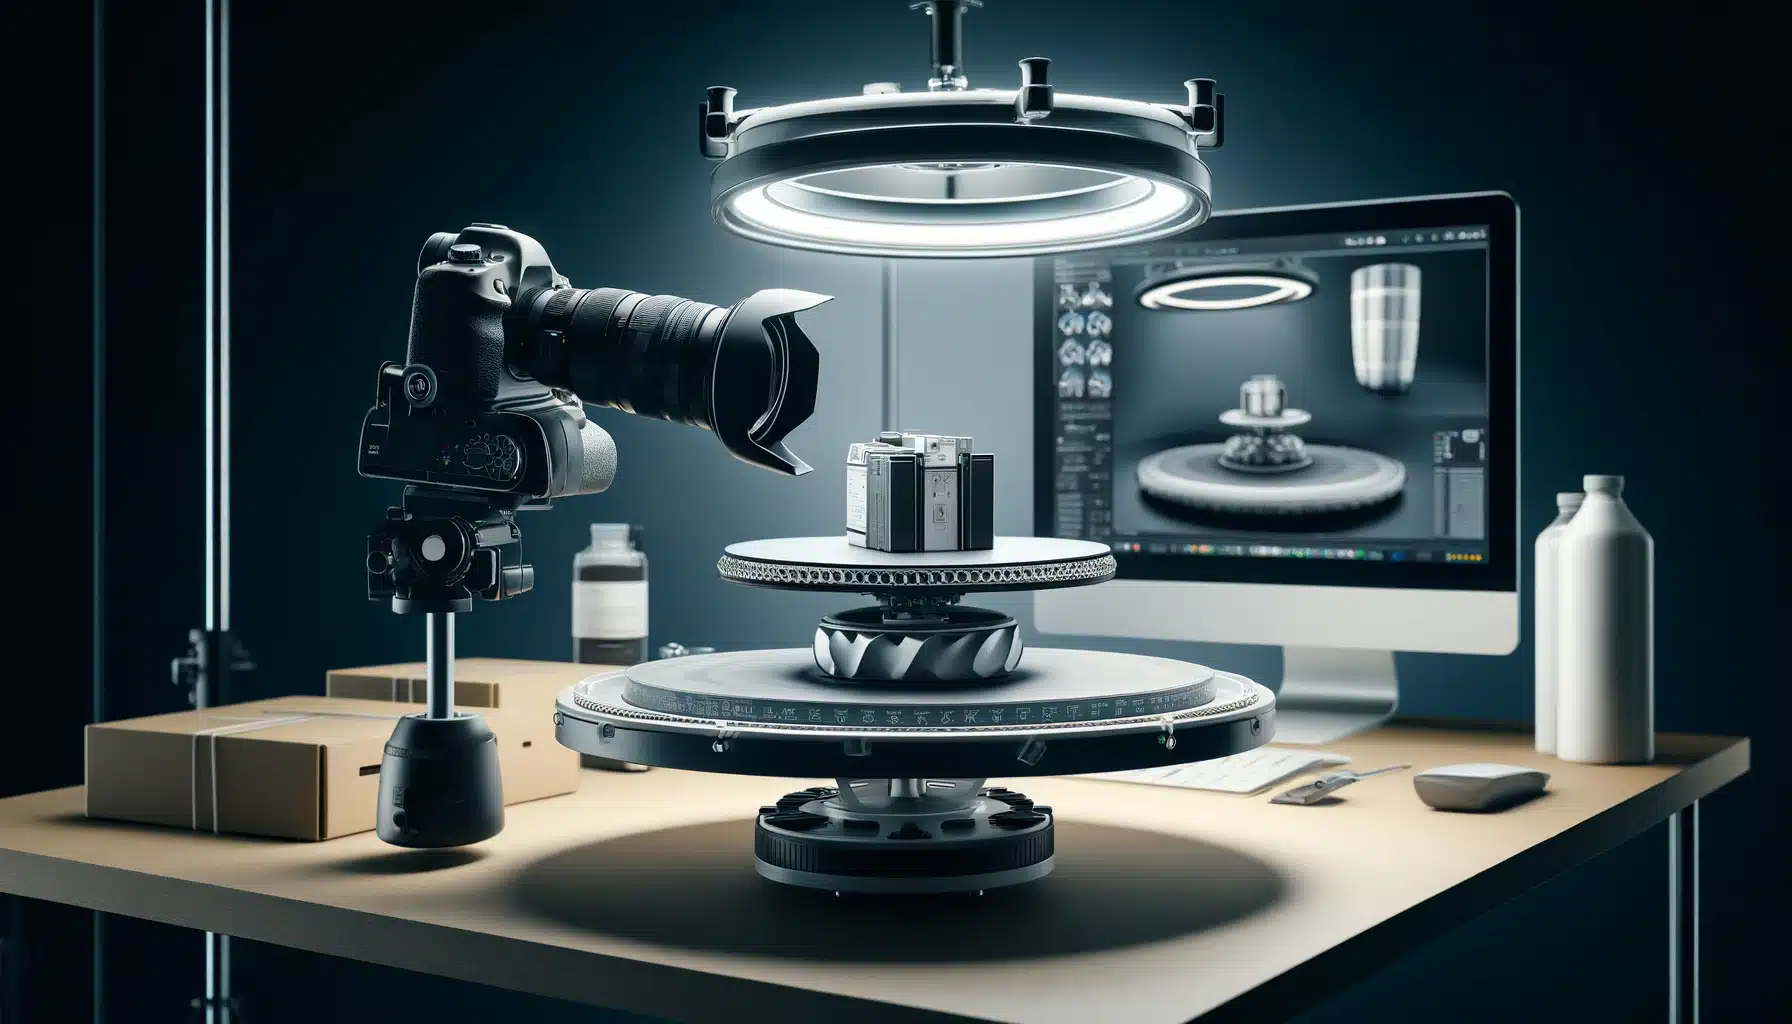
3. Turntable
Invest in a motorized turntable designed specifically for 360 product photography. This turntable rotates smoothly, allowing you to capture every angle of the product seamlessly. It saves time and effort by automating the rotation process, ensuring consistent and professional-looking 360-degree images.
4. Lighting Setup
A proper lighting setup is crucial for understanding how to do 360 product photography content. Use softbox or diffused lighting to eliminate harsh shadows and evenly illuminate the product. Position the lights strategically to highlight important details and textures, creating a visually appealing presentation of your products.

5. Background
Choose a clean and neutral-colored background or an infinity cove for your 360 product photography setup. Avoid busy or cluttered backgrounds that can detract from the product’s appearance.
6. Remote Trigger
Consider using a remote trigger or shutter release for your camera to minimize camera shake and ensure sharp images. This accessory allows you to trigger the camera’s shutter remotely, preventing any vibrations that can occur when manually pressing the shutter button.
7. Editing Software
Post-processing software like Adobe Photoshop or Lightroom is essential for editing and stitching together 360-degree animations. These tools offer advanced editing features, such as color correction, exposure adjustments, and image stitching capabilities.
How to Set Up Your Product Photography Setup

Creating a suitable product photography setup is crucial for 360 best product photography tips. Follow these product photography tips to set up your photography area effectively:
Choosing a Clean Background
Selecting a plain and clutter-free background is essential to keep the control on the product and knowing how to do 360 product photography. A background that is too busy or distracting can take away from the product’s appearance and message. Opt for a neutral-colored backdrop or a background that complements the product without overpowering it.
Positioning Lighting Carefully
Carefully position soft and diffused lighting sources to avoid harsh shadows and ensure even illumination of the product. The goal is to highlight and control the product’s features and details without creating distracting shadows or glare. Experiment with different lighting angles to achieve the desired look.
Arranging the Product and Camera
Position the product on a stable surface to prevent any wobbling or movement during the shoot is another product photography tip. Use a tripod for your camera to ensure steady single shots and avoid blur. Properly align the product and camera to capture the best angles and perspectives.
Calibrating Camera Settings
Adjust your camera settings, such as aperture, ISO, and white balance, to capture clear and well-exposed images. The right settings will ensure that the product is accurately represented in terms of color, brightness, and sharpness. Take test shots and make adjustments as needed.
Testing Rotation Mechanism
If using a turntable for 360-degree photography, test its rotation mechanism to ensure smooth movement. The turntable should rotate evenly without any jerky or abrupt motions. This ensures that you can capture seamless 360-degree views of the product.
Checking for Reflections
Be mindful of reflections or glare on the product’s surface. Adjust the lighting angles and positions to minimize reflections and achieve a clean, professional look. Using diffusers or bounce cards can help soften harsh light and reduce reflections.
Using Props if Necessary
Incorporate props or stands to showcase the product’s functionality or scale, if applicable. Props can add context to the product and make it more relatable to the target audience. However, ensure that props complement the product and don’t overshadow it.
What Lens Is Good For 360 Product Photography?
Wide-Angle Lens for 360 Product Photography
A wide-angle lens captures the entire scene in single shot, providing an immersive view of the product and its surroundings. It’s great for showcasing the product in its environment and creating a sense of space. The wide field of view ensures that no details are missed, making it suitable for larger products or scenes where you want to include background elements.
Macro Lens for 360 Product Photography
A macro lens is designed for capturing close-up details and textures of the product. It’s perfect for better understanding of how to do 360 product photography and highlighting intricate content, fine textures, and full details that might be missed with other lenses. Using a macro lens adds depth and clarity to your 360 product animations, making them more engaging and detailed for the viewer.
Standard Zoom Lens for 360 Product Photography
A standard zoom lens offers versatility by providing a range of focal lengths. This lens allows you to adjust the composition and framing of your single or multiple shots, making it suitable for various product sizes and shooting scenarios. It’s a practical choice for capturing different perspectives and angles of the product in a 360-degree setup.
Fisheye Lens for 360 Product Photography
A fisheye lens provides an ultra-wide angle of view, exceeding 180 degrees. It adds a unique and creative perspective to your 360 product photography tips, making them visually dynamic and engaging. The distortion effect of a fisheye lens can enhance the overall aesthetic and make your products stand out in the 360-degree format.

Telephoto Lens for 360 Product Photography
Although less commonly used for 360 product photography setup, a telephoto lens with a longer focal length can be beneficial for capturing distant details or zooming in on specific parts of the product. It’s useful for highlighting specific features or capturing products with intricate designs that require closer examination.
For 360 product photography setup, a combination of lenses can be beneficial to capture different aspects of the product effectively. Here are some lenses that are commonly used and suitable for 360 product photography setup:
| Lens Type | Specific Models |
|---|---|
| Wide-Angle Lens | Canon EF-S 10-18mm f/4.5-5.6 IS STM, Nikon AF-S DX NIKKOR 10-24mm f/3.5-4.5G ED, Sigma 10-20mm f/3.5 EX DC HSM |
| Macro Lens | Canon EF 100mm f/2.8L IS USM Macro, Nikon AF-S VR Micro-NIKKOR 105mm f/2.8G IF-ED, Sony FE 90mm f/2.8 Macro G OSS |
| Standard Zoom Lens | Canon EF 24-70mm f/2.8L II USM, Nikon AF-S NIKKOR 24-70mm f/2.8E ED VR, Sony FE 24-70mm f/2.8 GM |
| Fisheye Lens | Rokinon 8mm f/3.5 HD Fisheye, Nikon AF DX NIKKOR 10.5mm f/2.8G ED, Canon EF 8-15mm f/4L Fisheye USM |
| Telephoto Lens | Canon EF 70-200mm f/2.8L IS III USM, Nikon AF-S NIKKOR 70-200mm f/2.8E FL ED VR, Sony FE 70-200mm f/2.8 GM OSS |
Steps to Edit and Enhance 360 Product Images

Adjust Exposure
Improving the brightness, contrast, and highlights of your 360 product images can make them visually appealing and attractive. Use editing tools to adjust these settings careful so you know how to do 360 product photography accurately. Increase brightness to make the image clearer and adjust contrast to make the colors pop. Highlighting certain areas can enhance the overall look of your products.
Correct White Balance
Ensuring accurate colors by removing unwanted color casts is crucial for maintaining the product’s true appearance. Use the white balance adjustment tool to neutralize any color tints or casts in your images. This helps enhance the visual impact of your products and makes them more appealing to the viewer.
Crop and Straighten
Remove distractions and straighten horizons to create a cleaner and more professional appearance in your 360 product images. Use cropping tools to eliminate any unnecessary elements or empty spaces around the products. Straightening horizons makes the images look more balanced and visually pleasing, allowing the viewer to focus on the products themselves.
Enhance Details
Sharpening and clarifying details in your images can make your products more visually appealing. Use sharpening tools to enhance the clarity and crispness of product features. Clarifying tools help bring out full details and textures, making the products look more vibrant and attractive.
Remove Background
Isolating products with a transparent or custom background can create a polished and professional look. Use background removal tools or layer masking techniques to separate the products from their backgrounds. This helps eliminate distractions and enhances the focus on the products themselves, making them stand out more effectively.
Add Shadows and Depth
Creating realistic shadows and depth effects can add dimension and realism to your 360 product images. Use shadow and depth adjustment tools to simulate natural lighting conditions and create depth perception. This adds visual interest and makes the products appear more three-dimensional and lifelike.
Color Correction
Maintaining consistent colors and tones across all images is essential for a cohesive visual experience. Use color correction tools to adjust color saturation, hue, and tone. This ensures that all images have a harmonious color palette and look cohesive when viewed together. Consistent color correction enhances the overall appeal of your 360 product images and makes them more visually appealing to the viewer.
Merge 360 Images
Stitching multiple images together to create seamless 360-degree views is crucial for an immersive viewing experience. Use panoramic stitching software or apps to combine images from different angles. This allows the viewer to interactively explore products from all angles, providing a more engaging and easy experience. Seamless merging of 360 images enhances the overall presentation of your products and makes them more enticing to potential buyers.
Best 360 Product Photography Tips
This section will cover the best product photography tips you can imagine. So, lets get into the best product photography tips:
Use a Stable Platform
When shooting 360 product images, it’s crucial to ensure that your camera or smartphone is placed on a stable platform or tripod. This helps prevent blurry or shaky photos, resulting in clear and focused images that showcase your products in the best possible light. Stability is key to achieving professional-quality results in your product photography setup.
Proper Lighting
Utilize diffused lighting sources to evenly illuminate the product and minimize harsh shadows. Well-balanced lighting is essential for capturing full details, textures, and colors of your products accurately. Avoiding harsh lighting conditions ensures that your products appear natural and appealing the viewer, enhancing their overall visual impact.
Clean Background
Opt for a clean and clutter-free background when capturing 360 product images. A simple background helps keep the focus solely on the product, eliminating distractions that may detract from its features. By choosing a clean background, you create a professional and polished look for your product images, making them more visually appealing to potential customers.
Consistent Camera Settings
Maintaining consistent camera settings throughout your photoshoot is vital for achieving uniformity and professional quality in your images. Ensure that your aperture, ISO, and white balance settings remain consistent across all shots. Consistency in camera settings helps create a cohesive and harmonious visual experience for viewers, making your product images more engaging and impactful.
Capture Multiple Angles
To provide the viewer with a comprehensive view of your products, capture images from various angles. Showcasing different perspectives allows potential customers to explore the product from all sides, enhancing their understanding of its features and design. By crafting 360-degree product photography for multiple angles, you create a easy and immersive experience for the viewer, encouraging them to engage with your products more effectively.
Maintain Distance
Maintain a consistent distance from the product while shooting to ensure uniformity in size and proportion across all images. it is one of the best product photography tips. Keeping a consistent distance helps avoid distortion and ensures that the product appears accurately in the photos. This consistency enhances the overall presentation of the product and makes it more visually appealing to the viewer.
Avoid Over editing
While editing can enhance the appearance of your product images, it’s essential to avoid over-editing. Use editing tools judiciously to enhance the natural beauty of the product without altering its true representation. Over-editing can lead to unrealistic images that may mislead potential customers. Aim for a balance between enhancement and authenticity to create compelling and genuine product images.
Test Compatibility
Before showcasing your 360-degree product photography tips to viewer, ensure that it is compatible with different viewing platforms and devices. Test the compatibility of your images to ensure a seamless and enjoyable user experience for viewer. Compatibility testing helps eliminate any potential issues that may arise during viewing, enhancing viewer engagement and satisfaction.
Difference between 3D vs. 360 Photo
Understanding the difference between 3D and 360 photos is crucial for creating immersive visual experiences that captivate viewer. While both techniques enhance viewer engagement, they serve distinct purposes in showcasing products or environments, each offering unique advantages.
3D photos create a sense of depth and dimensionality, making objects appear lifelike and tangible. They allow viewers to perceive depth and perspective, enhancing their understanding of the spatial layout and proportions of the objects in the image. This is particularly useful for product showcases, architectural designs, and interior spaces, where showcasing depth and dimensions is essential.
On the other hand, 360 photos offer a panoramic view of an entire scene, allowing viewers to virtually explore the environment in all directions. They provide an immersive and easy experience, enabling viewers to look around and feel as if they are physically present in the scene. This is beneficial for showcasing locations, landscapes, travel destinations, and virtual tours, where viewers can interactively navigate the space.
Importance of Knowing the Difference between 3D vs. 360 Photo
Understanding the difference between 3D and 360 photos is crucial for businesses. Each technique has unique advantages and is suited for specific uses.
In product showcases, 3D photos highlight full details and dimensions, helping customers see products more clearly. This is great for ecommerce where clear visuals can boost sales.
360 photos, on the other hand, give immersive experiences. They let people explore locations virtually, making them ideal for industries like real estate or tourism.
Choosing the right technique ensures your message is clear. Whether showcasing products with 3D photos or environments with 360 photos, businesses can engage customers effectively and create memorable experiences.
| Aspect | 3D Photo | 360 Photo |
|---|---|---|
| Definition | A three-dimensional representation of an object or scene, giving depth perception to the image. | An image that captures a full 360-degree view of a scene, allowing viewers to look in all directions. |
| Depth Perception | Provides a sense of depth and dimension, making objects appear more lifelike and realistic. | Does not provide depth perception but offers a comprehensive view of the surroundings from all angles. |
| Viewing Experience | Requires specialized devices like 3D glasses or VR headsets for an immersive viewing experience. | Can be viewed on regular devices like computers, tablets, and smartphones, offering a more accessible viewing experience. |
| Interactivity | Typically static images with limited interactivity, although some 3D photos may allow rotation or manipulation. | Offers interactive exploration where viewers can navigate and explore the scene by moving the viewpoint. |
| Use Cases | Commonly used in entertainment, gaming, virtual tours, and immersive experiences. | Widely used in ecommerce, real estate, travel, and virtual tours to showcase environments and products. |
How To Shoot 360 on a Phone?

Shooting 360-degree photos on your phone is easier than you might think. Here’s a detailed guide to help you get started:
Choose a 360 Camera App
When you decide to shoot 360-degree photos on your phone, the first step is crucial: choosing the right 360 camera app. You can find a variety of options on your phone’s app store, such as “Google Street View,” “Theta+,” or “Panorama 360.” Look for apps that offer features like automatic stitching and editing tools. These features can significantly enhance your 360-degree photography experience.
Set Up Your Shot
Setting up your shot correctly plays a vital role in capturing high-quality 360-degree photos. Begin by finding a well-lit area with minimal background clutter. This ensures that the full details in your photos are clear and vibrant. Additionally, make sure your phone is placed on a stable surface or use a tripod for steady shots. This stability is crucial for achieving professional-looking 360-degree images. Lastly, ensure that the entire area you want to capture is within the frame of your phone’s camera.
Open the App
After selecting the appropriate 360 camera app, the next step is to open the app on your phone. Take a moment to familiarize yourself with the app’s interface and settings. Understanding how to navigate the app will make the shooting process smoother and more enjoyable.
Adjust Settings
Before capturing your 360-degree photo, it’s essential to adjust the settings within the app according to your preferences. This may include tweaking exposure, white balance, and resolution settings for optimal results. By customizing these settings, you can ensure that your 360-degree photos turn out exactly how you envision them.
Capture the Images
With your phone securely positioned and the app settings adjusted, you’re ready to start capturing images in a 360-degree view. Slowly rotate your phone horizontally or vertically to capture all angles of the scene. Take your time to ensure that each angle is captured effectively, resulting in a comprehensive 360-degree photo.
Review Captured Images
Once you’ve captured all angles of the scene, take a moment to review the images within the app. Check for any areas that may have been missed or appear blurry. Some 360 camera apps may allow you to preview the 360-degree photo in real-time as you capture it, making it easier to spot any potential issues.
Stitching Process
After capturing the images, the app will automatically stitch them together to create a seamless 360-degree photo. This stitching process may take a few moments, depending on the app and your phone’s processing power. Be patient during this stage, as the end result will be a cohesive and immersive 360-degree image.
Editing Options
Once the stitching process is complete, explore the editing options available within the app. You may have the opportunity to adjust various elements such as exposure, contrast, saturation, and apply filters to enhance the final 360-degree photo. Experimenting with these editing features can add a creative touch to your photos and make them stand out.
Save and Share
After applying any desired edits and finalizing your 360-degree photo, save it to your phone’s gallery or camera roll. From there, you can easily share the photo directly from the app to social media platforms or messaging apps. Sharing your 360-degree photos allows you to showcase your photography skills and capture the attention of your audience.
By following these steps and experimenting with different shooting techniques, you can create stunning 360-degree photos right from your phone. Enjoy capturing immersive moments and sharing them with others!
FAQs
How to do 360 product photography?
To know how to do 360 product photography, you can use specialized software or apps that stitch together multiple images taken from different angles. Some cameras also have built-in features for capturing 360-degree images.
What equipment do I need for 360 product photography?
You’ll need a camera or smartphone capable of capturing 360-degree images, a stable surface or tripod, appropriate lighting setup, and possibly a turntable for rotating the product during the shoot.
How can I ensure consistency in lighting and exposure for all 360-degree images?
Use consistent lighting conditions and camera settings throughout the shoot. Avoid changing the lighting setup or camera settings between shots to maintain uniformity in lighting and exposure.
What are the best practices for editing and enhancing 360 product images?
Some best practices include adjusting exposure, correcting white balance, enhancing details, removing background distractions, and ensuring compatibility for seamless viewing across different devices and platforms. Use editing software to fine-tune images while maintaining a natural and realistic look.
Conclusion
Mastering how to do 360 product photography takes attention to detail and a mix of technical skills and creativity. If you’re passionate about creating engaging visuals, exploring 360 product photography tips is essential. Ready to enhance your photography skills? Dive into our courses! Our Photoshop Course and Lightroom Course are designed to help you master the art of 360 product photography setup. Join us on this creative journey and learn how to capture stunning visuals that captivate your audience.
Have a nice photoshoot!


Course


Get the latest version of Photoshop & Lightroom