Embarking on the journey of film development at home is both an art and a science, blending creativity with precise techniques. In our comprehensive guide, we delve into the essentials of how to develop film at home, demystifying the procedure for both novices and seasoned enthusiasts.
With the resurgence of film photography, mastering home development offers a rewarding way to connect with the medium’s tactile nature, giving you complete control over the photographic process. Stay tuned as we unravel the steps, tips, and insights to transform your home into a mini darkroom, where every photograph you develop is a story waiting to be told.
Table of Contents
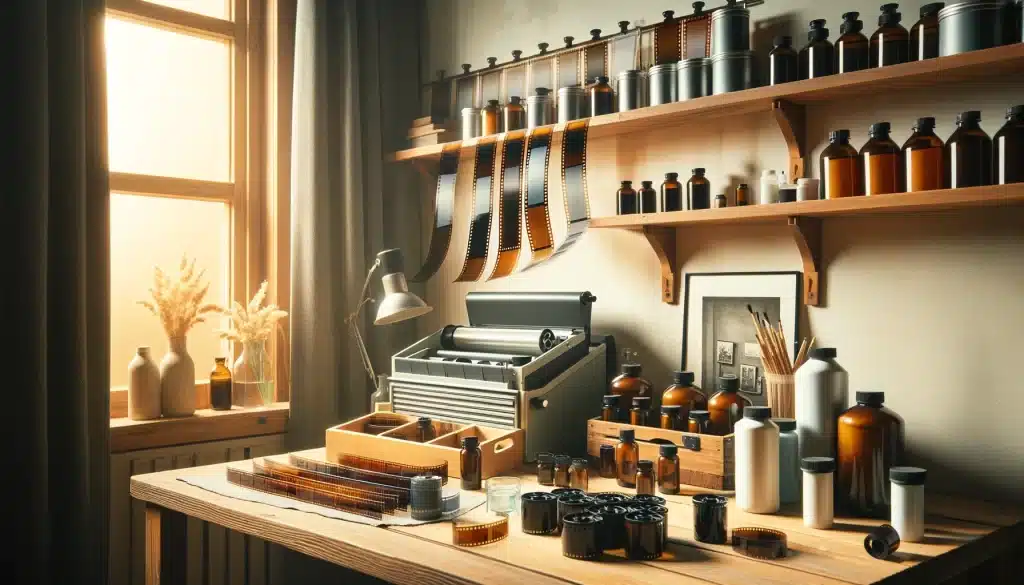
How to Develop Film at Home: Essential Equipment for Film Development
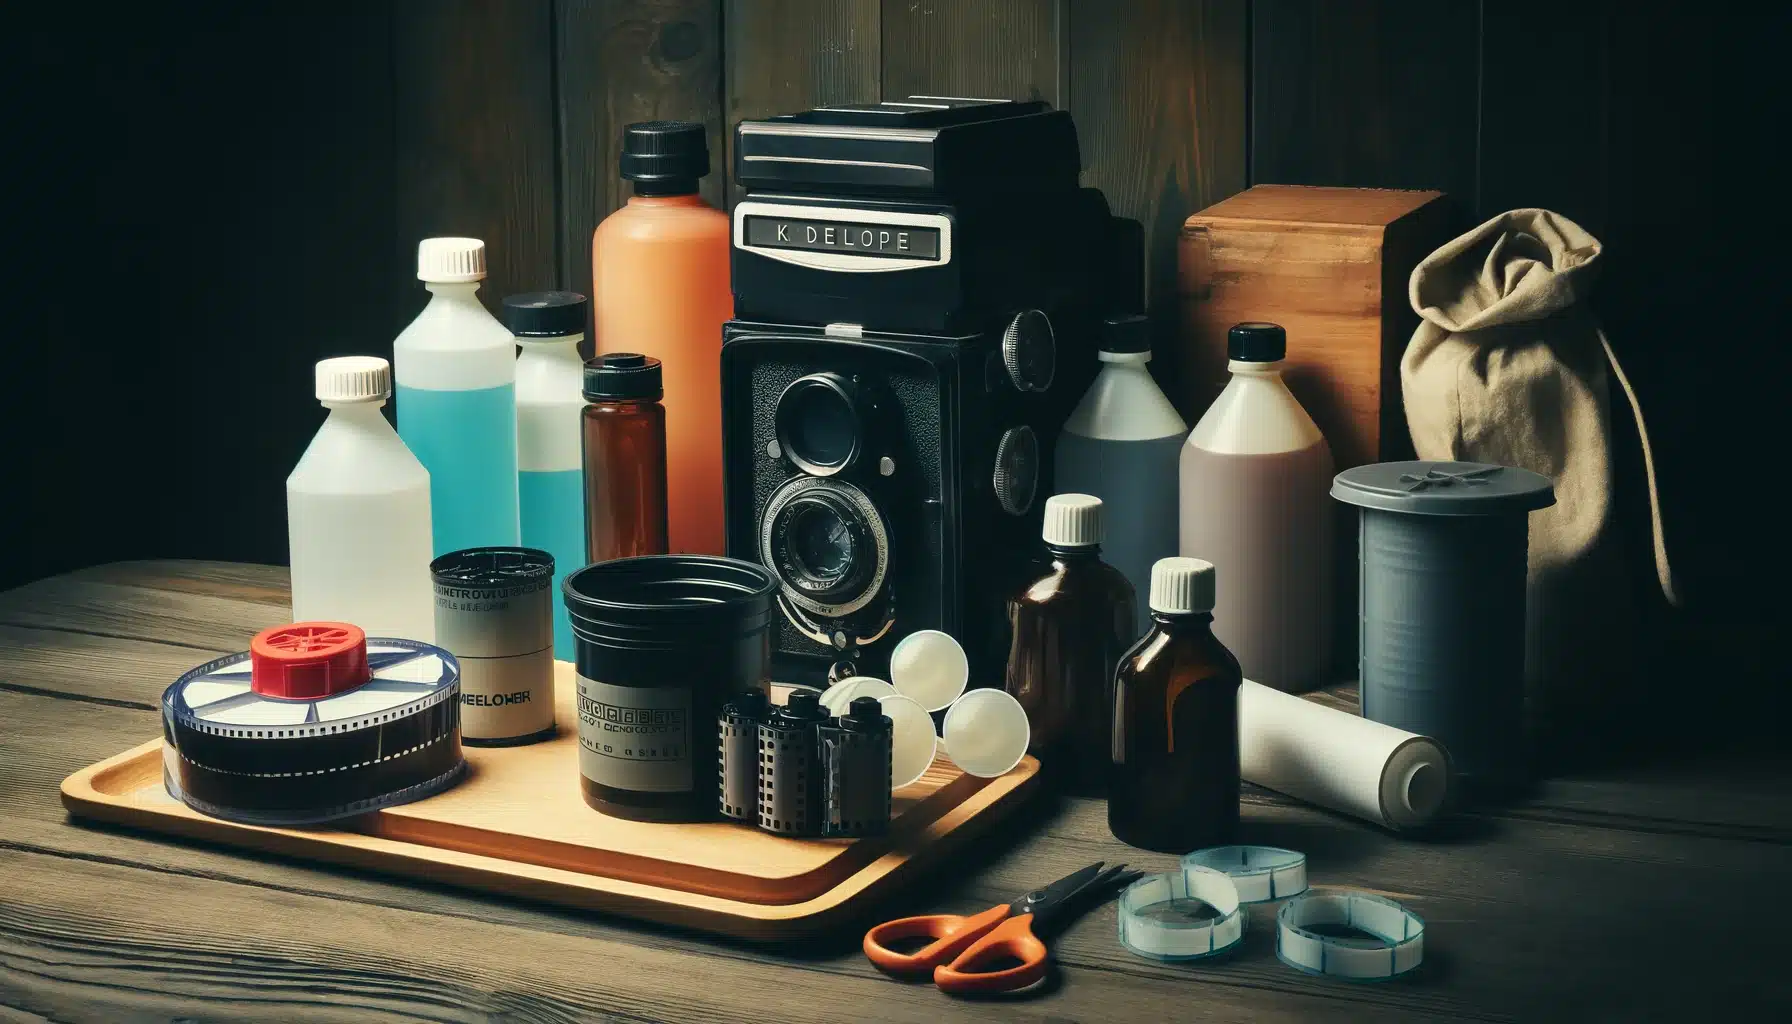
Processing film at home is an engaging and rewarding activity, immersing you deeply in the art of photography. Before beginning, it’s crucial to assemble the appropriate equipment to guarantee a successful and streamlined procedure. Make sure to select your tools, ensuring you have items like a timer for precise control over each phase of the process.
Additionally, incorporating a thorough rinse stage is vital for the clarity and longevity of your photographs. With the right setup, each step from loading to the final rinse becomes a testament to your dedication to the craft. Here is all what you need to learn how to develop fim at home.
Developing Tank and Reels
A developing tank serves as the crucial container for processing film, protecting the negatives from light exposure while facilitating the addition and removal of chemicals. Select a tank that accommodates the number of reels you intend to work with at any given time. These reels, securing the film within the tank, are available in both plastic and metal forms. For those new to the process, plastic reels are typically more user-friendly, offering ease of handling. Ensure that each minute spent in preparing and using the tank contributes effectively to the overall process, with the developer evenly reaching every part of the negatives for optimal image quality.
Chemicals: Developer, Stop Bath, Fixer
The essential chemicals for film evolution are the developer, stop bath, and fixer. The developer brings out the image, the stop bath halts the growth procedure, and the fixer makes the image permanent. These chemicals are available in liquid and powder forms, with options for both black and white and color film.
Changing Bag and Darkroom Essentials
If you lack access to a completely dark room, a changing bag is a necessity. This light-tight bag allows you to load the film onto reels and into the tank without exposure to light. Additionally, you’ll need a bottle opener for opening film canisters and scissors for cutting the film leader.
Measuring and Storage Equipment
Accurate measuring vessels are crucial for mixing chemicals correctly. Also, have storage bottles on hand to keep any leftover chemicals, which can often be reused several times, especially fixers.
Temperature Control
A thermometer is essential, especially for color film evolution, which requires precise temperature control. The ideal temperature for developing color film is around 104°F (40°C), while black and white film is more forgiving regarding temperature variations.
Miscellaneous Supplies
Other necessary items include a timer for tracking progress stages, film clips or clothespins for drying the developed film, and a wetting agent to prevent water spots on the negatives.
In the context of modern film evolution, innovative products like the LAB-BOX “daylight-loading film tank” and Ilford Photo’s SIMPLICITY range of processing sachets have simplified the procedure, making it more accessible to the home enthusiast. These evolutions reflect the ongoing popularity and resurgence of film photography.
Navigating the Shades: A Beginner's Path in Black and White Film Photography
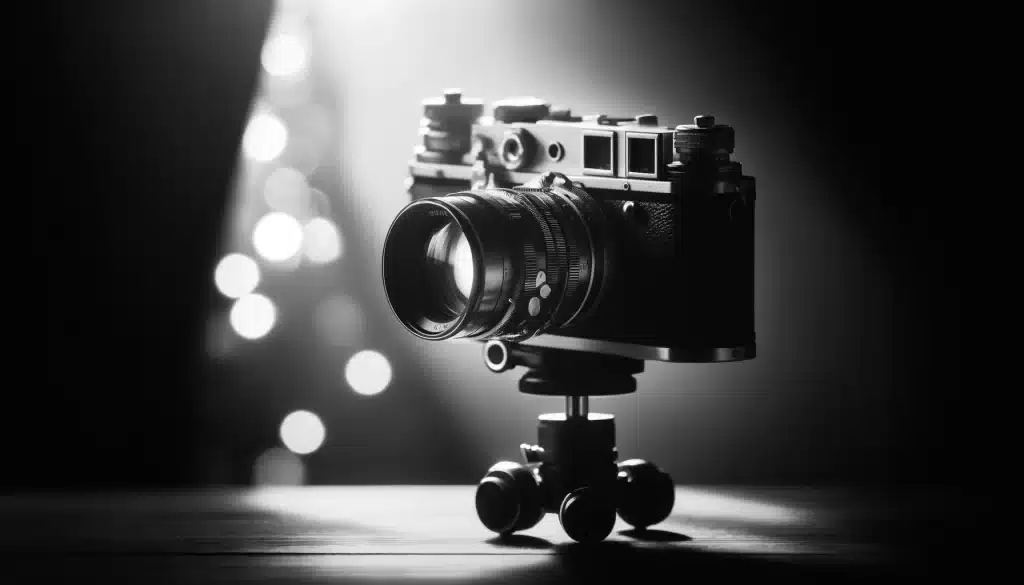
Embarking on the journey of monochrome film photography is a rewarding experience that unveils the raw essence of visual storytelling. This medium encourages photographers to focus on light, shadow, texture, and composition, offering a unique perspective on the world.
Utilizing a basic kit, enthusiasts can capture the intricate details and contrasts of their subjects, emphasizing the second-to-second changes in light and form. This approach not only enhances the technical skills of the photographer on how to develop film at home, but also solidifies their place in the artistic landscape. Thus, creating timeless images that resonate with viewers.
Understanding the Basics: Loading and Developing Your First Roll
For those new to this art form, the first step is learning to load a roll of film into the spool correctly. This process, crucial for successful development, requires patience and precision. In a darkened room or using a changing bag, carefully thread the film onto the spool, ensuring it catches and winds evenly without exposure to light. This foundational skill sets the stage for the development process, where timing each second accurately is vital for achieving the desired contrast and exposure in your images.
Mastering the Art of Timing and Agitation
The development phase is where the magic happens, transforming latent images into visible ones. Fill your developing tank with the appropriate solution, following the specific instructions regarding how long to agitate the canister. Agitation is essential for evenly distributing the developer over the film surface, preventing over or underdevelopment. Regular intervals of gentle agitation, as per the article or guide you’re following, ensure consistency and quality in the final prints.
Achieving Artistic Expression Through Monochrome
Black and white photography is not just about capturing images but creating art. Each photograph is a version of the scene as seen through the photographer’s eyes. Beginners are encouraged to experiment with different subjects, from stark landscapes to intimate portraits, to discover their unique style. The absence of shade forces the viewer to focus on the subject, composition, and tones, often leading to powerful and timeless images.
Continuous Learning and Exploration
The path of monochrome film photography is one of continuous learning and exploration. With each roll processed and every print created, you acquire insights and skills that refine your craft. Utilize your kit to explore various scenes and lighting conditions, capturing moments that enhance your artistic expression. Seek out articles, tutorials, and workshops to discover new techniques and perspectives. Embrace the trial and error process, as it is fundamental to growth and mastery in the art of film photography, ensuring that each second and place captured contributes to your journey.
In conclusion, beginning with monochrome film photography provides an accessible starting point for novices, directing their attention to the fundamental aspects of exposure and composition. As they advance, delving into more intricate film types and processing methods becomes a thrilling adventure, enhancing both their technical prowess and creative flair. Utilizing a basic kit, photographers can capture stunning images, with each second and place they explore adding depth to their artistic journey.
How to Develop Film at Home: A Step-by-Step Guide
Developing film at home is an enriching experience, allowing you to control every aspect of the photographic procedure. Here’s a step-by-step guide to help you navigate the film development journey successfully.
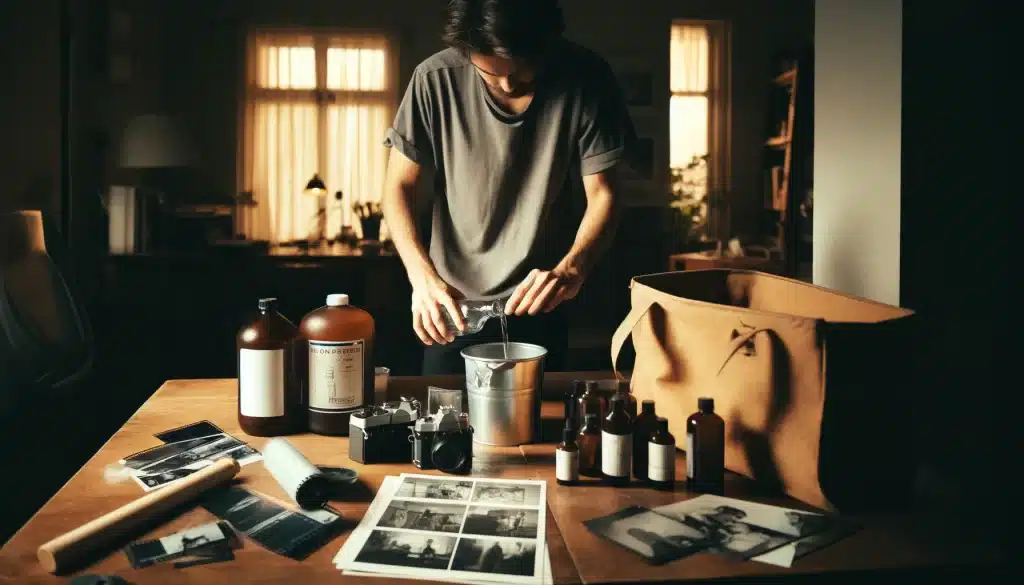
Preparing Your Workspace
Before beginning, ensure you have all necessary equipment and chemicals on hand. This includes your film, developing tank, chemicals (developer, stop bath, fixer), measuring tools, and safety equipment like gloves.
Loading the Film
This critical step must be done in complete darkness to avoid exposing the film. Use a darkroom or a changing bag to load the film onto the reel and then into the developing tank. Ensure the tank is sealed tightly to prevent light leaks.
Mixing the Chemicals
Following the specific instructions for your chemicals, prepare your developer, stop bath, and fixer. Maintain the recommended temperature for each chemical to ensure proper progress.
Developing the Film
- Begin by pouring the developer into the tank, agitating it gently to ensure even coverage over the film. The duration for this step varies based on the film and developer used, but typically ranges around 3.5 to 5 minutes.
- After evolution, pour out the developer (which can sometimes be reused) and rinse the film with water before moving on to the stop bath. This halts the developing procedure.
- The next step is to add the fixer, which makes the image permanent on the film. Agitation is also required in this step to ensure the fixer works across the entire film surface.
Washing the Film
After fixing, thoroughly wash the film with running water to remove all residual chemicals. This step is crucial for the longevity and quality of your negatives.
Drying the Film
Once washed, carefully remove the film from the reel and hang it up to dry in a dust-free area. Avoid touching the film’s surface to prevent fingerprints and smudges.
Final Touches
After the film is dry, you can cut it into strips and store it for later scanning or printing.
Scanning and Printing
Digitize your negatives using a film scanner or by photographing them with a digital camera. Once digitized, you can edit, share, or print your photographs as desired.
For beginners, starting with black and white film is advisable as it offers a more lenient learning curve and simplified processing requirements. Unlike its more complex counterparts, black and white film development doesn’t rely heavily on precise control of various factors, making it a great starting point for those new to film photography.
The procedure allows for a focus on basic techniques such as how to correctly load a roll into a spool and develop it within a solution, grasping the critical timings down to the second, without the stress of managing additional elements.
As one’s confidence and skills grow, delving into more advanced film types becomes a natural progression. This journey from simple to complex not only enhances technical acumen but also enriches the artistic version of a photographer’s work.
Black and White vs. Color Film Development

| Feature | Black and White Film Development | Color Film Development |
|---|---|---|
| Chemicals Needed | Basic developer, stop bath, and fixer | Color developer, blix (bleach-fix), and stabilizer |
| Processing Time | Shorter, more flexible timings | Longer, more precise timings due to color layers |
| Temperature Sensitivity | Less sensitive; room temperature often sufficient | Highly sensitive; specific temperatures needed for each chemical |
| Ease of Processing | More forgiving, suitable for beginners | Requires precise control, suitable for more experienced individuals |
| Equipment | Can be done with simple equipment | Often requires more specialized equipment |
| Cost | Generally cheaper due to simpler chemicals and processes | More expensive due to specialized chemicals and tighter temperature control |
| Final Output | Monochromatic images, emphasizing texture and light | Full spectrum of colors, requiring accurate color balance |
| Learning Curve | Easier to learn and perfect | Steeper learning curve due to added complexity |
Black and White Film Development
Black and white film is often recommended for beginners due to its simpler evolution process and more forgiving nature in terms of chemical mixing and temperature control. The basic chemicals needed are a developer, stop bath, and fixer. These chemicals can be mixed and used at room temperature, making the procedure more straightforward. The evolution time is also generally shorter for black and white film.
Color Film Development
Developing film using the C-41 process kit involves intricate steps that demand precision, especially when mixing the necessary components like developer, blix (bleach-fix), and stabilizer. Each element must be accurately measured and combined to fill the specific requirements for successful development. Consistency in maintaining the correct conditions is vital, as even minor fluctuations can significantly impact the final appearance and quality of the photographs.
This meticulous approach ensures that each roll of film reaches its potential, producing images with optimal shade balance and clarity. As you delve into the nuances of this procedure, you’ll discover that the art of film development is as much about science as it is about creativity.
One of the main challenges in color film development is maintaining the correct temperature throughout the procedure, from pre-soaking to the final wash. The chemicals used in shade evolution are more prone to degradation when exposed to light and temperature fluctuations, requiring careful storage and handling.
In summary, this evolution in film processing is notably more straightforward and forgiving, proving to be well-suited for beginners. It allows newcomers to grasp the basics without the constant worry of precise chemical and condition management.
On the other hand, processing color film will undoubtedly demand meticulous attention to the chemical mixtures and water temperatures, presenting a more advanced challenge. This requires every minute of the process to be carefully monitored to achieve the desired results, offering a richer, more complex journey for those looking to broaden and evolve their film processing expertise.
Frequently Asked Questions About How to Develop Film at Home
Can I develop film by myself?
Yes, you can develop film by yourself. With the right equipment and a bit of practice, you can process your own negatives at home. It requires learning the basic steps of film development, but many resources and tutorials are available to guide you through the process.
Is it difficult to develop film at home?
Developing film at home can be challenging at first, especially if you are new to the process. However, with patience and practice, it becomes more manageable. Starting with black and white film can ease the learning curve, as it is generally more forgiving than color film.
Is it cheap to develop your own film?
Developing your own film can be cost-effective in the long run, especially if you shoot frequently. Initial investments in equipment and chemicals are required, but per roll, it often turns out cheaper than professional lab development, especially considering the control and satisfaction it offers.
Why is film so expensive to develop?
Film development, especially in professional labs, can be expensive due to the specialized chemicals, precise temperature controls, and professional expertise required, particularly for color film. The costs also reflect the manual processes involved in handling and developing each roll of film to ensure high-quality results.
Wrapping Up How to Develop Film at Home
In my journey of mastering film photography, I remember the day I successfully developed my first roll of film. The thrill of seeing images emerge on the spool was unparalleled. It was a June morning, and the soft light filtered through my studio, casting perfect shadows on my work table. I carefully loaded the canister into the spool and submerged it in the solution, following the steps I had read about in countless articles. Each second felt like an eternity, but the result was worth every moment. The images captured not just what was in front of the lens but also the essence of the moment.
This experience reinforced my belief that with the right knowledge and practice, anyone can produce studio-quality photographs. For those looking to refine their skills further, I highly recommend our comprehensive courses on Adobe Photoshop and Lightroom. These platforms offer tools that can transform your work from good to extraordinary. Join us in our journey of discovery and mastery at Photoshop Course and Lightroom Course, and let’s create stunning imagery together.
If the “How to Develop Film at Home” article has helped you, then Like and Share it with your friends!
Have a nice photoshoot!
Read more about: Photography Equipment


Course


Get the latest version of Photoshop & Lightroom