In this tutorial, we will learn how to adjust the depth of field on a camera
The depth of field (DOF) is indeed a significant parameter in photography, and it is essential to use it well. By mastering the concept of the depth of field, you will be able to make the background in your photos either clear or blurred, so that your subject is highlighted. For example, in the main photo of this article, the highlighted subjects are the wedding rings.
What is the depth of field?
The depth of field is the distributed area in front and behind the point where you focus. It is also called the area of sharpness. In a photo, it basically corresponds to the distance that appears clear. Everything before and after this part will gradually appear blurred, so the depth of field will always be one third in front of the focal point and two thirds behind the focal point.
If your entire photo is clean, then the depth of field is deep
In case there is a lot of blurring in front of and behind your focused point, then the depth of field is either shallow or none
The Depth of field can be controlled with four parameters:
The aperture
The focal length of the lens
The distance from the subject
The format of the sensor.
The Aperture
The aperture is usually the factor that influences the depth of field the most.
Here is a tutorial that will teach you how to use the aperture to get the desired depth of field.
It will allow you to produce incredible effects on your photos in combination with shutter speed and ISO sensitivity. These are the three most important settings in order to get a good exposure. Once you master these three parameters, you will no longer have difficulty with taking any kind of photo.
Let’s continue with a little reminder:
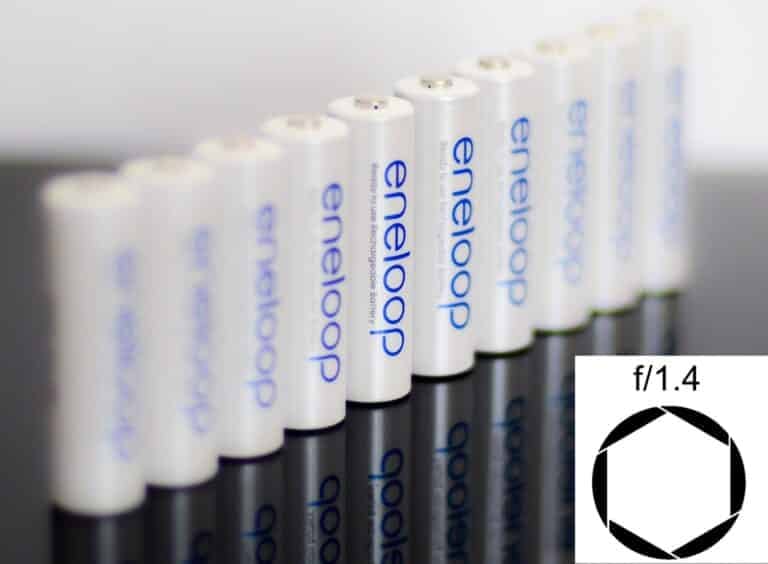
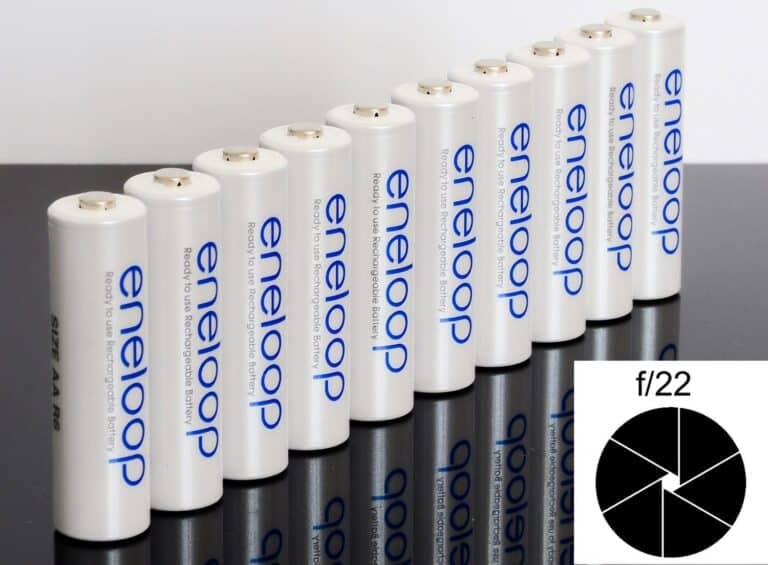
The aperture determines the amount of light that passes through the lens and reaches the sensor of your camera; thus, the wider the aperture is opened, the shallower the DOF is, which results in more blur. Conversely, the narrower the aperture is opened, the deeper the DOF is, which results in clean photos.
For examples:
Low figure f/2.8 = wide opening = shallow depth of field, i.e., perfect for portraits.
High figure f/22 = narrow opening = deep depth of field, i.e., useful for landscape photos.
In order to have nice blurring behind your subjects, you will have to open the aperture wider. This is why lenses with a wider aperture are costly (for the depth of field and brightness they enable).
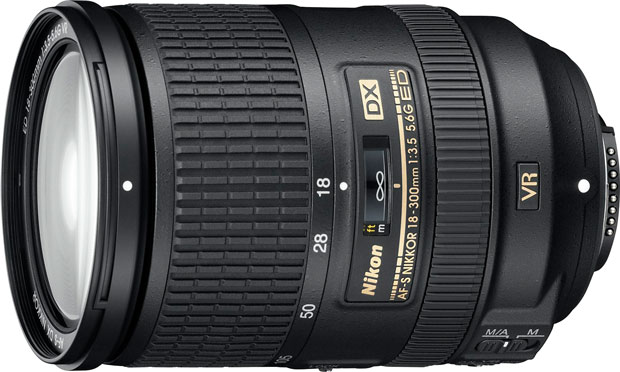
The focal length of the lens
The focal length of the lens is the second factor that influences the depth of field the most.
The longer the focal length is, the shallower the DOF is.
Let us sum up:
The shorter the focal length (14 mm), the deeper the DOF.
The longer the focal length (600 mm), the shallower the DOF.
How the distance from the subject affects the depth of field
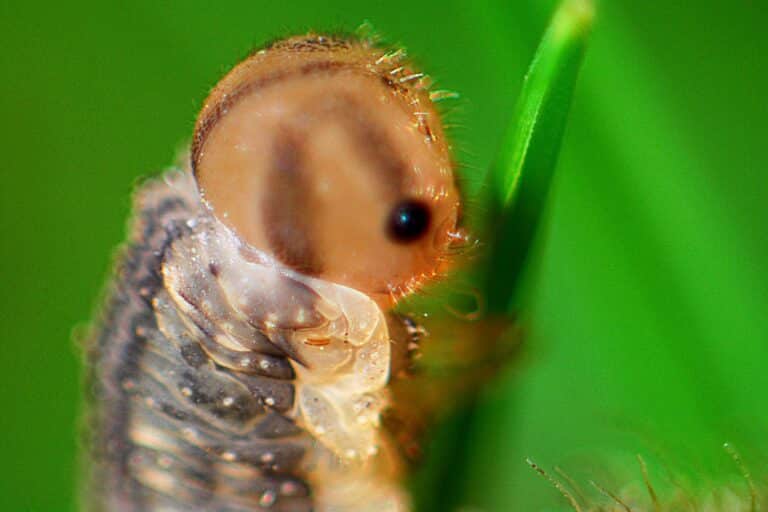
Another factor that affects the DOF is the distance between the camera and the subject.
The closer you are to the subject to focus, the shallower the depth of field will be. In macro photography, the DOF is very shallow. Conversely, if you have strayed from your subject, then the depth of field will be deeper.
It is because of this reason that the depth of field is immense in landscape photography.
If you have the same focal length, then the depth of field is deeper with a 24 x 36 mm sensor (full-frame) than it is with a 16 x 24 mm sensor. Unfortunately, this factor cannot be changed; therefore, the only thing you can do is acquire a new camera with a different sensor.
The difference is not that big, but this should be taken into account if you are working with two cameras with different sensors.
By combining a wider aperture, a higher magnification, and getting as close to your subject as possible, you will have all the factors in order to achieve a blurred background from which the main subject will clearly stand out.
For example: In order to take a portrait, you want to highlight your subject by blurring the background, so we will take a 300 mm zoom lens and adjust the aperture to a wider opening, such as f/2.8.
For a landscape photo, it is completely the opposite because we want to have the highest number of clear elements in the photo. Therefore, we will use a wide-angle lens that will give us a vast panorama, then we will adjust the aperture to a narrower opening, f/16. This is how to get a beautiful landscape photo.
Please give us your opinion, and also share your experiences in the comments.