
In the realm of digital photography, mastering the art of photo editing is as crucial as capturing the perfect shot. The process of transforming a good snap into a great one involves a series of steps that, if not executed correctly, can lead to common photo editing mistakes.
These errors not only degrade the quality of snaps but also hinder the true expression of your photographic vision.
This article delves into the nuances of photo repair, highlighting the pitfalls to avoid and offering insights into rectifying these common missteps. Whether you are a novice or a seasoned photographer, understanding these aspects will refine your snap repair skills and enhance the overall impact of your snaps.
Table of Contents
Common Photo Editing Mistakes Related to Over-Saturation and Color Balance
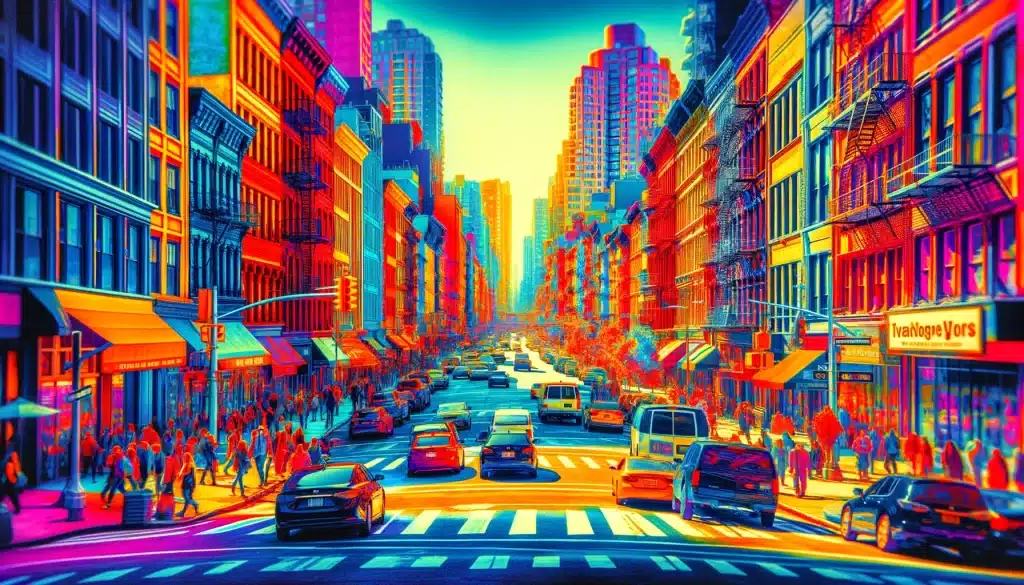
In the quest to create snaps pop, photographers often fall into the trap of over-saturating colors of the skin, leading to snaps that look unnaturally white and overly processed. Saturation enhances the purity and intensity of hues, while vibrance selectively increases the intensity of the more muted colors, preserving the more vibrant ones. This subtle distinction means vibrance can improve the snap without affecting skin tones or making hues look garish.
Practical Tips for Managing Saturation and Vibrance
Adobe Lightroom
- Import the snap and navigate to the Develop module.
- Use the Saturation and Vibrance sliders in the Basic panel to adjust colors. Incrementally increase vibrance to enhance muted hues without oversaturating the snap.
Adobe Photoshop
- Open the snap and select Layer > New Adjustment Layer > Vibrance or Hue/Saturation.
- Fine-tune the hues using the sliders in the Properties panel, balancing vibrance and saturation to achieve the desired look.
GIMP
- Open the snap and adjust saturation via Colors > Hue-Saturation.
- For a vibrance-like effect, use Soft Saturation under Colors > Saturation to subtly enhance hues.
Editing Mistakes Related to Exposure
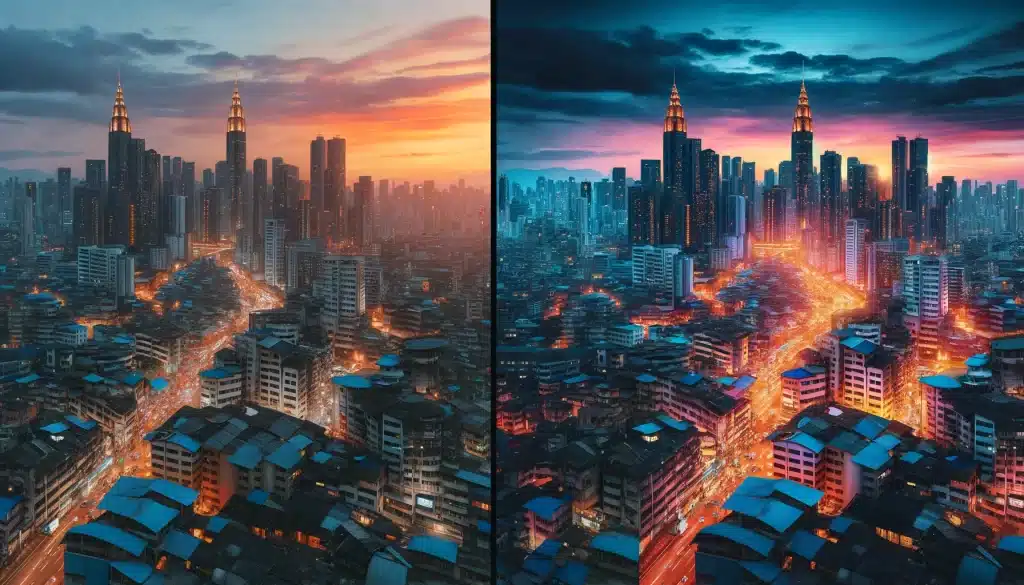
Exposure is a fundamental aspect of photography that determines how light or dark a snap appears. Mismanagement of exposure settings can lead to overexposed (too bright) or underexposed (too dark) skin tones, detracting from the desired quality and detail.
Common Photo Editing Mistakes Related to Exposure
- Overexposure: This occurs when too much light hits the camera sensor, resulting in a loss of detail in highlights. Key signs include washed-out hues and a lack of texture in bright areas.
- Underexposure: The opposite of overexposure, underexposure happens when not enough light reaches the sensor, leading to overly dark snaps with lost details in shadows.
Fixing Exposure Editing Mistakes in Post-Processing
- Adjusting Exposure Sliders: In post-processing software like Lightroom or Adobe Camera Raw, use the exposure, highlights, and shadows sliders to correct overexposed or underexposed areas without affecting the entire picture.
- Levels and Curves Adjustments: In Photoshop, use Levels to correct the overall brightness and contrast, and Curves for more targeted adjustments, allowing you to fine-tune the exposure in specific areas of your snap.
- Graduated and Radial Filters: These tools are perfect for selectively adjusting exposure in parts of the snap, such as darkening overexposed skies without affecting the landscape below.
The Misuse of Filters and Effects
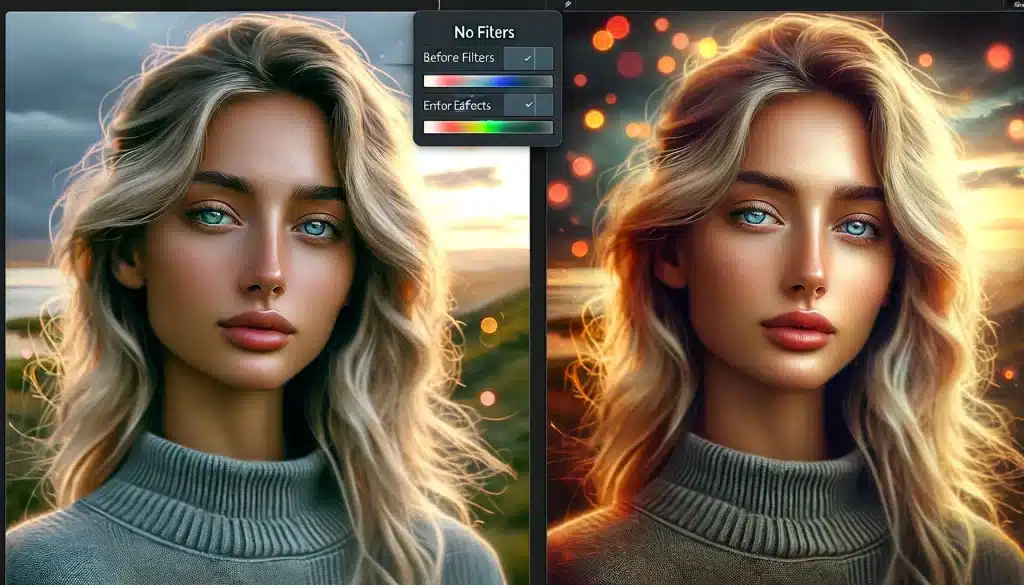
In the world of snap correcting, filters and effects are powerful tools that can transform ordinary images into visually stunning masterpieces. However, their misuse can often lead to over-edited and unnatural-looking photos. Here’s how to use these tools effectively to enhance your photography.
Choosing the Right Filter
Selecting the appropriate filter is crucial in maintaining the natural essence of the snap. Each filter has a unique impact, such as adding a vintage look, enhancing hues, or creating a mood. For example, a vintage filter can give your photos an old-timey feel, adding a nostalgic charm. On the other hand, oil painting filters can turn your photos into artistic creations with a brushstroke effect.
Balancing Filter Intensity
The key to effective filter use is moderation. Over-applying filters can result in photos that look heavily processed and unrealistic. To avoid this, adjust the intensity of the filter to ensure it complements rather than dominates the snap. Tools like Fotor provide sliders to control the strength of the effect, allowing for subtle enhancements that elevate the snap without overwhelming it.
Effects to Enhance Composition
Certain effects can be used to draw attention to the main subject or to add depth to the scene. For example, blur effects can isolate the subject, making it stand out against a softened background. This technique is particularly useful in portrait photography, where the focus should be on the subject. Similarly, light leaks or lens flares can add a dynamic element to the snap, creating a sense of depth and interest.
Artistic and Creative Effects
For those looking to add a unique touch to their images, artistic filters offer a range of possibilities. From transforming your snap into a Lomo-style picture to applying a pixelated effect for a modern look, these filters allow for creative expression in your correcting process. Experimenting with different effects can lead to surprising and captivating results.
Common Photo Editing Mistakes Related to Refining and Noise Reduction

Refining and noise reduction in snap repair are two critical processes that can significantly impact the final quality of your snaps. Mismanaging these processes can lead to either overly sharp snaps with pronounced grain or overly smooth images that lack detail.
Understanding Refining and Noise
Sharpening enhances the edges in a picture to create a more defined version. However, over-refining can lead to unnatural edges and amplify pixelation, especially in high ISO images. Conversely, noise reduction aims to eliminate or reduce the graininess or pixelation in a snap, which can result from high ISO settings or poor lighting conditions. Overdoing distortion reduction can result in a loss of detail, making the snap appear too smooth or washed out.
Best Practices for Noise Reduction
- Assess the Distortion Type: Determine whether the distortion in your image is luminance (grainy) or color (chroma) noise, as they require different treatment.
- Adjust Distortion Reduction Carefully: Use the distortion reduction sliders judiciously. Start with a moderate setting and increase until the grain is reduced without compromising image detail.
- Preserve Details: Utilize the detail preservation sliders to maintain image clarity while reducing distortion. This helps prevent the softening of the image that can occur with aggressive grain reduction.
Best Practices for Sharpening
- Sharpen with Purpose: Apply sharpening to enhance image details selectively, focusing on areas that will benefit most from increased clarity, such as edges and textures.
- Control the Refining Amount and Radius: Set the refining amount to enhance edge contrast appropriately, and use the radius slider to control the width of edge enhancement without creating halos or exaggerated edges.
- Use Masking to Target Clarity: Employ refining masking to apply the effect selectively, ensuring that only the areas needing sharpening are affected. This technique helps to avoid amplifying noise in smoother areas of the image.
Advanced Techniques
- Selective Sharpening with Adjustment Brush: In Lightroom, use the Adjustment Brush to apply refining to specific areas, such as the eyes in a portrait, which allows for targeted enhancement without affecting the entire image.
- Creative Effects: Experiment with the artistic effects of refining and noise reduction, like creating a painterly look by maximizing artifacting reduction to blur details intentionally.
Cropping and Aspect Ratio Editing Mistakes

Resizing and aspect ratio are fundamental in photo repair, affecting the image’s composition and how it fits various display formats. While cropping refers to trimming parts of a photo to enhance composition or fit a specific frame, aspect ratio denotes the width to height ratio of an image, influencing its display across different media.
Common Photo Editing Mistakes Related to Cropping
- Cropping Only Affects Composition: While cutting indeed alters composition, it also impacts the image's aspect ratio and pixel count, affecting print quality and display size.
- Cropping Should Always Be Avoided: Some purists argue against trimming, favoring in-camera composition. However, strategic cropping can enhance a photo's focus and composition, especially when the original shot includes distracting elements or excess space.
Strategic Cropping Tips
- Improving Composition: Use cutting to eliminate distractions and emphasize the main subject, aligning with compositional rules like the rule of thirds.
- Aspect Ratio Considerations: Choose an aspect ratio that suits the intended display or print format. Be mindful that different ratios will crop out different portions of the image, which can be crucial for the photo's narrative and aesthetic balance.
- Resizing for Print: When preparing images for print, consider the print size and aspect ratio to ensure important parts of the image are not lost. Tools like Lightroom's Crop Guide Overlay can help visualize how different print sizes will affect the image.
Frequently Asked Questions

What are the 7 common photography mistakes made most often?
Seven frequently made mistakes in photography include poor focus, incorrect white balance, overexposure or underexposure, neglecting composition rules, overediting, not using the right lens or focal length, and ignoring the light source or shooting at the wrong time of day.
What are the 6 basic of photo editing?
The six fundamentals of photo repair involve cropping for better composition, adjusting exposure and contrast, correcting color and white balance, enhancing sharpness, removing unwanted elements or blemishes, and applying filters or effects judiciously.
Is there a wrong way to edit photos?
To repair photos incorrectly often means overdoing adjustments like saturation, contrast, and sharpness, leading to unnatural results. Losing the original essence of the image by excessive manipulation or ignoring the need for subtle, purposeful enhancements can also be considered missteps in repair.
What is a common mistake that photographers make?
A common mistake photographers make is not paying attention to the background, which can result in distracting elements that detract from the subject, undermining the overall impact of the image.
Wrapping Up on Common Photo Editing Mistakes!

In my journey as a photographer, I’ve learned that the art of photo repair is as critical as the act of capturing the image itself. One personal example that stands out involved a landscape shot I took during golden hour. Initially, the image appeared lackluster due to poor contrast and dull hues. However, through careful editing—adjusting the exposure, enhancing the colors, and subtly applying sharpening—I was able to transform the image into a vibrant representation of the scene as I experienced it. This process reinforced the importance of understanding and applying photo editing techniques judiciously.
For those looking to elevate their photo repair skills, I highly recommend exploring our comprehensive Photoshop and Lightroom courses. These tutorials are designed to guide you through the nuances of photo editing, from basic adjustments to advanced techniques. Whether you are a novice or an experienced photographer, these courses will enhance your ability to bring your photographic vision to life.
Explore our Photoshop course and our Lightroom course to start your journey toward mastering the art of photo editing. I hope this guide will help you to repair your snaps correctly in any tool of your choice. With this blog by your side, aim at making less mistakes in editing!
If the “Common Photo Editing Mistakes to Avoid” article has helped you, then Like and Share it with your friends!
Have a nice photoshoot!
Read more about: Photo Editing with Lightroom and Photoshop


Course

Light Effect Photoshop


Lightroom Course 2024

Adobe Photoshop Course

Photo Editing Course
Get the latest version of Photoshop & Lightroom