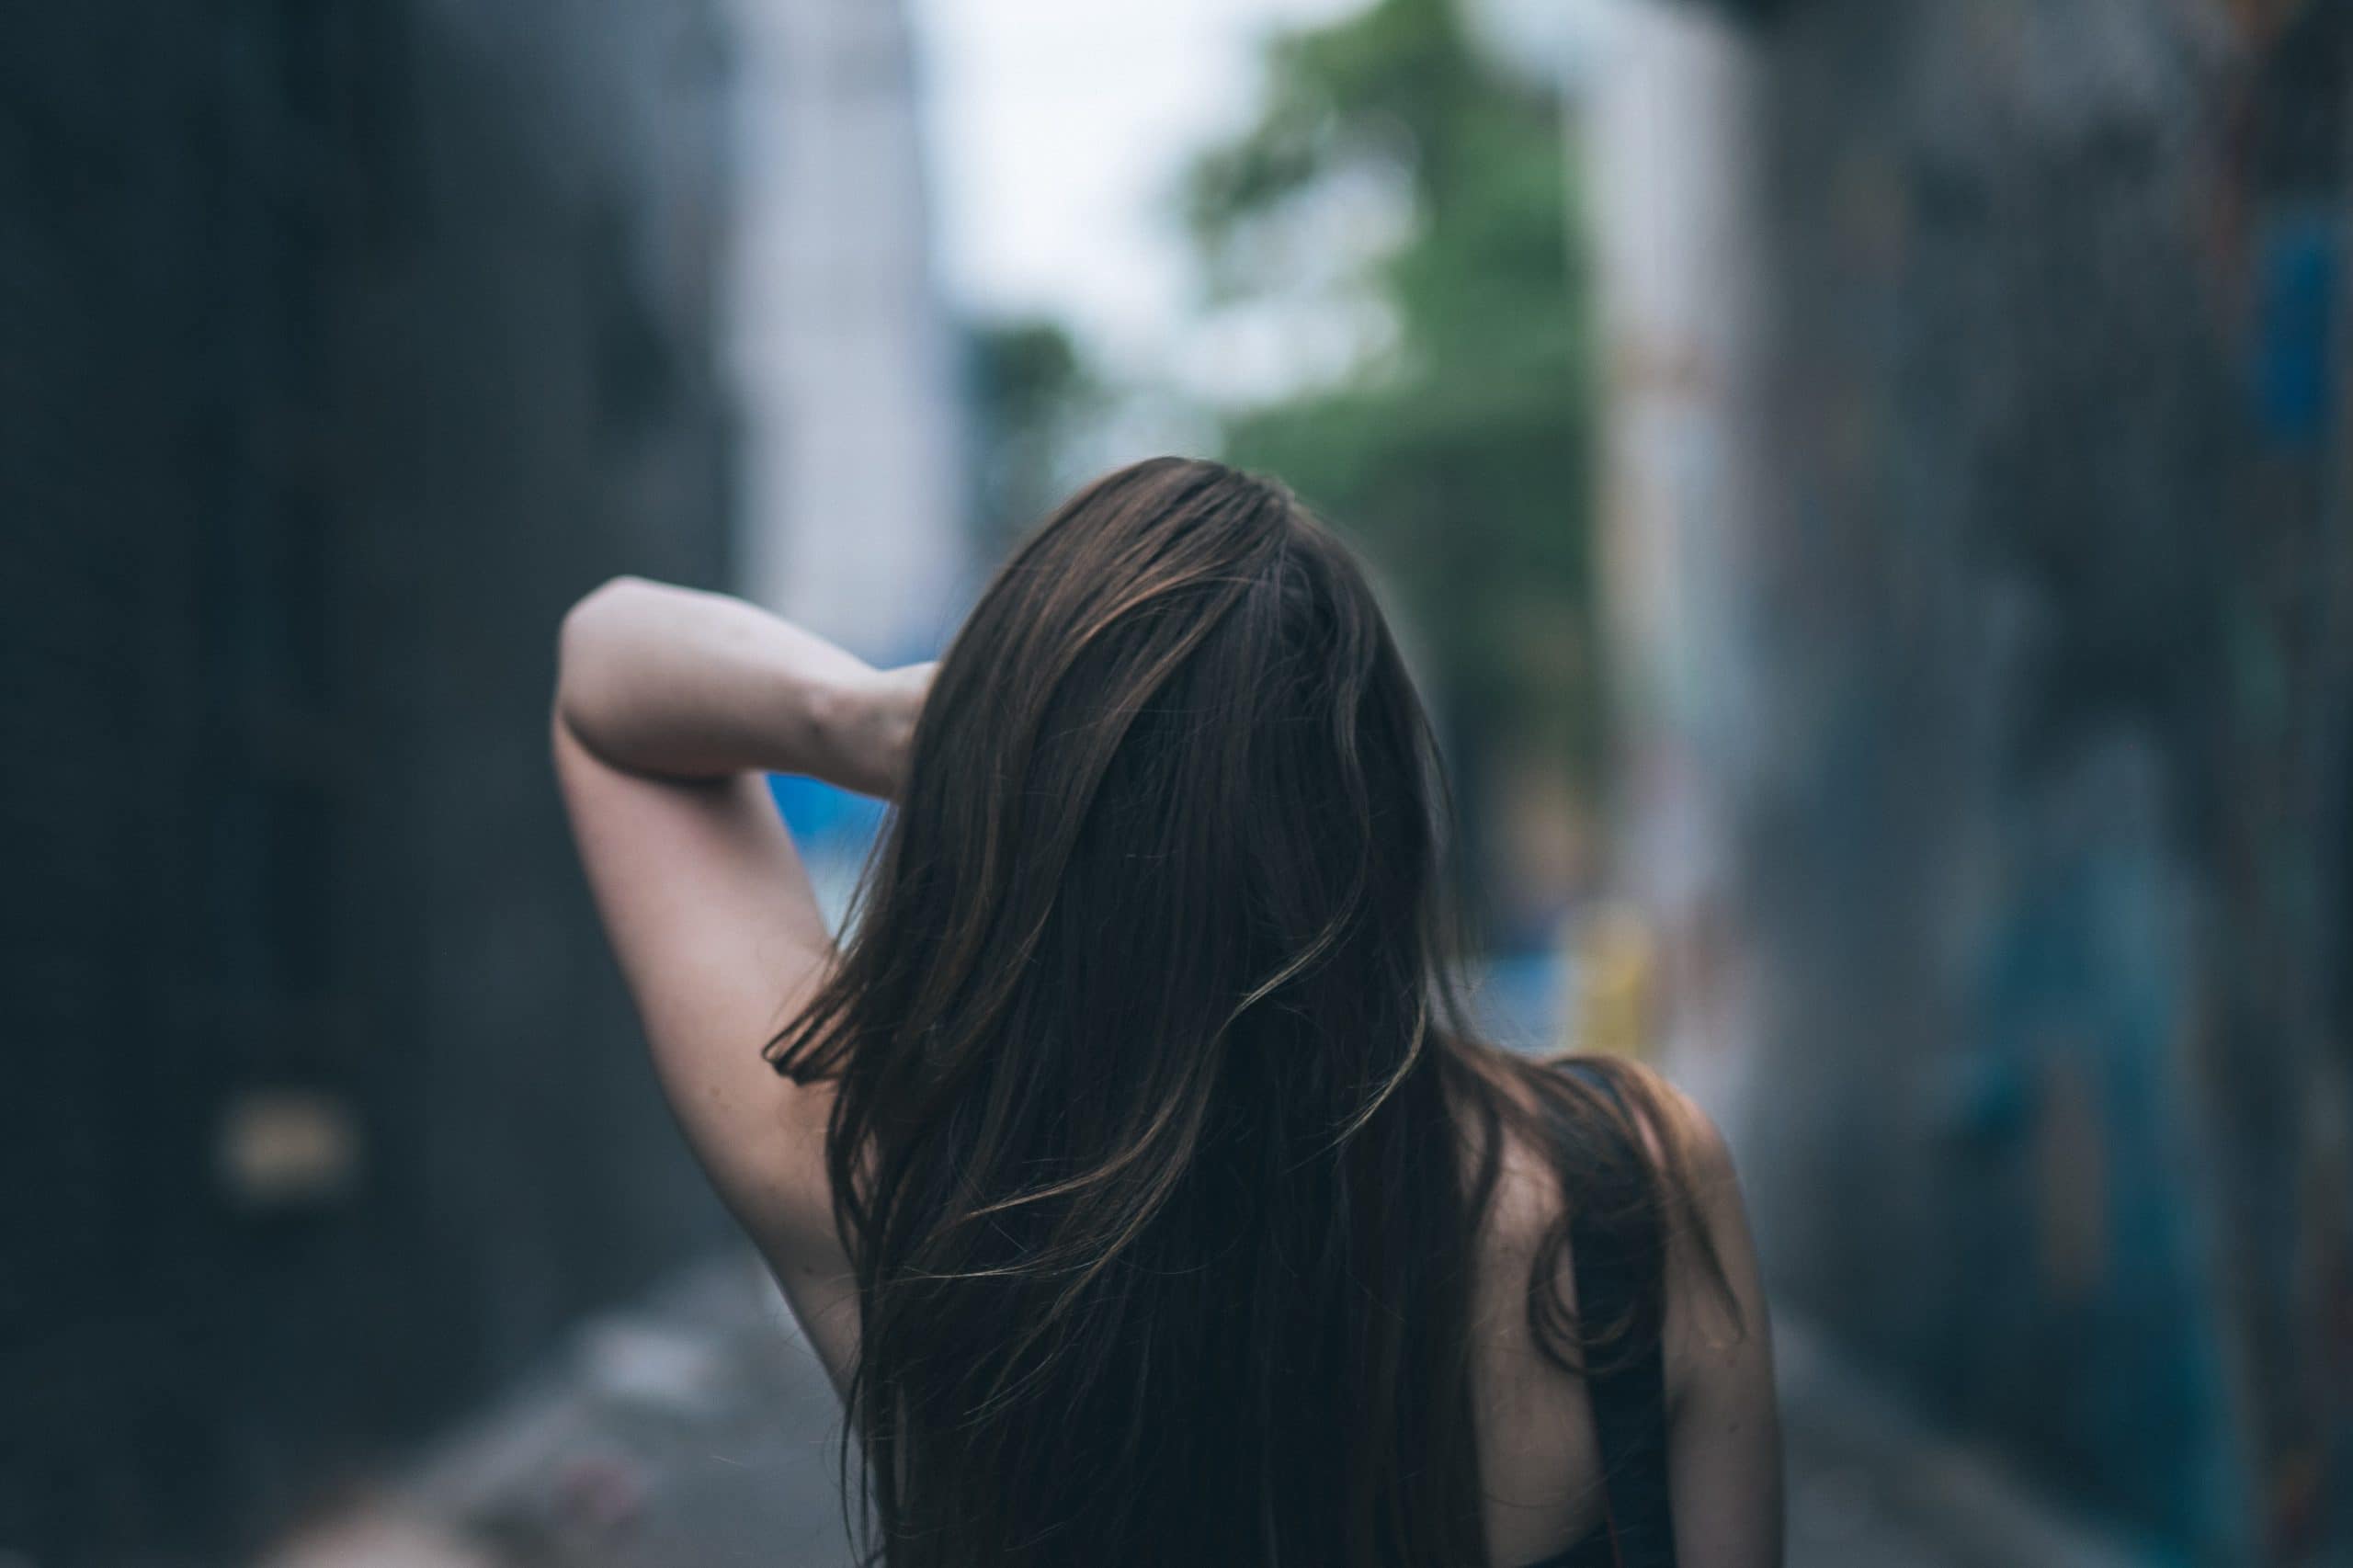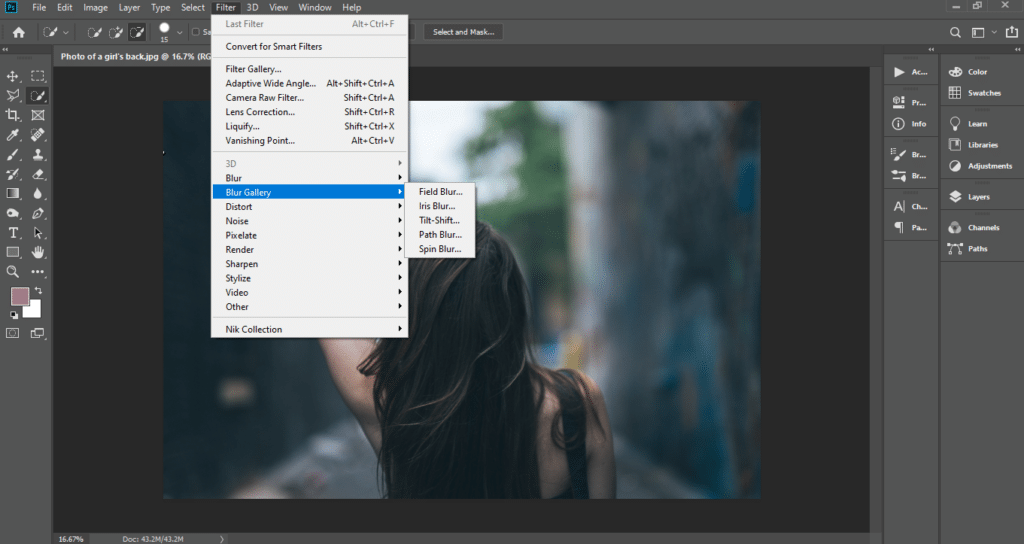
The Blur Gallery in Photoshop has an amazing array of blur filters and the best thing about them is that all of them have a unique effect. You can selectively blur certain parts of the image to direct the viewer’s attention to other parts or just blur the distracting elements of the photo. Not only that but these blur filters can also be used for enhancing the visual aesthetic of the image.
Field Blur
This is one of the most under-rated filters of the Blur Gallery in Photoshop but let us start with this and see how it can be useful. When you select it from the Blur Gallery, a Field Blur pin is added to your image and the whole image gets blurred.
You need to add more pins to the image and set their values accordingly. By default, their value is maximum. A thumb rule to adjust them is to set zero value to the pin on the subject or the focal point. Add some pins around it and keep increasing their value gradually.
This way you set up a blur depending on the distance of the objects from the focal point, hence the name Field Blur.
Iris Blur
The Iris Blur can be used to mimic the shallow depth of field because it provides a refined transition area. It consists of a central pin. There is a solid outer ring and between the ring and pin, there are four white dots. From the pin to the dots, the image remains sharp, without applying any blur. From the dots to the ring, the blur gradually increases which results in a smooth transition.
You can set the blur and transition value as well as change the shape of the ring using the handles. The transition area can also be increased by pressing Alt and then dragging the dots.
Tilt-Shift Blur - Blur Gallery in Photoshop
This is the most specific blur in the Blur Gallery in Photoshop. As the name suggests, it mimics the image produced by a tilt-shift lens. If you have worked with that lens, you would know that it creates a sharp area and blurs its edges.
When you select it, a pin is added having two parallel solid double-lines and two dotted ones. The area is sharp around the pin till solid lines. From solid till dotted lines, the area fades, and after applying the blur, creating a selective blur.
You can add more pins and even change their areas by dragging the lines.

Path Blur
This filter allows you to create motion blur in the form of paths.
When you select this blur, you will have to choose between Basic Blur and Rear Sync Flash blur in the Blur Tools Panel. The latter does exactly what it sounds likes, it mimics a flash at the rear end of the exposure.
After that, you have to adjust Speed, which defines the amount of blur, and Taper, which works a little like transition.
If you want the path blur to direct towards a specific point, then you should uncheck Centered Blur.
The Strobe Flashes option adjusts the number of exposures of the strobe light added by the blur. Strobe Strength specifies the amount of blur between these exposures.
Finally, you can also set the amount of blur at endpoints and change the shape of the blur shape guides, but this is optional. Click OK in the options bar to save your changes.
Spin Blur - Blur Gallery in Photoshop
The Spin Blur present in the Blur Gallery in Photoshop allows you to create a blur in the form of a spin around a central point.
You can adjust the amount of blur by either using the overlay controls or by specifying an angle. Since it is a Spin Blur, it works based on degrees.
There is a Motion Blur Effects option in the panel, under which you have to adjust the following settings. You already know what we use Strobe Flashes and Strobe Strength for, and an additional setting is for Strobe Flash Duration. It controls the length of the exposures in terms of degrees.
Blur Effects
You can further enhance and fine-tune the effects of all blur filters present in the Blur Gallery in Photoshop using Blur Effects.
In the Blur Effects panel, you can adjust the value of the following settings:
Light Bokeh brightens the blurred parts of the image. Secondly, we use Bokeh Color to enhance the colors of those brightened parts. Lastly, Light Range adjusts the tonal range.
Conclusion - Blur Gallery in Photoshop
Learning how to use the different kinds of blur filers present in the Blur Gallery in Photoshop is somewhat easy. However, this is just the tip of the iceberg. Once you start using them, try to experiment with the overlay controls and all of the settings to produce different visual effects. Remember, curiosity is the key to learning.
If the “Blur Gallery in Photoshop” article has helped you, then Like and Share it with your friends!
Facebook
Twitter
LinkedIn
Pinterest
Have a nice photoshoot!
Lightroom and Photoshop Tutorials
Course
Get the latest version of Photoshop & Lightroom


