If you have ever worked with blending modes in Photoshop, then you know that it is somewhat of an experimental process. You apply one, fill opacities, figure out it does not work for you, and then apply another one. Although, it is not wrong to do this, but not as efficient. In this tutorial, you will understand how Photoshop blending modes work, so that you may make a better choice next time.
Let’s get started.
Blending Modes in Photoshop
Before talking about the blending modes, it is important to mention how they work. The original color is basically referred to as the base color and you apply the blend on it. The blend of these two colors is the result.
In order to make it easy to understand, Photoshop has divided the blending modes into different categories as follows:
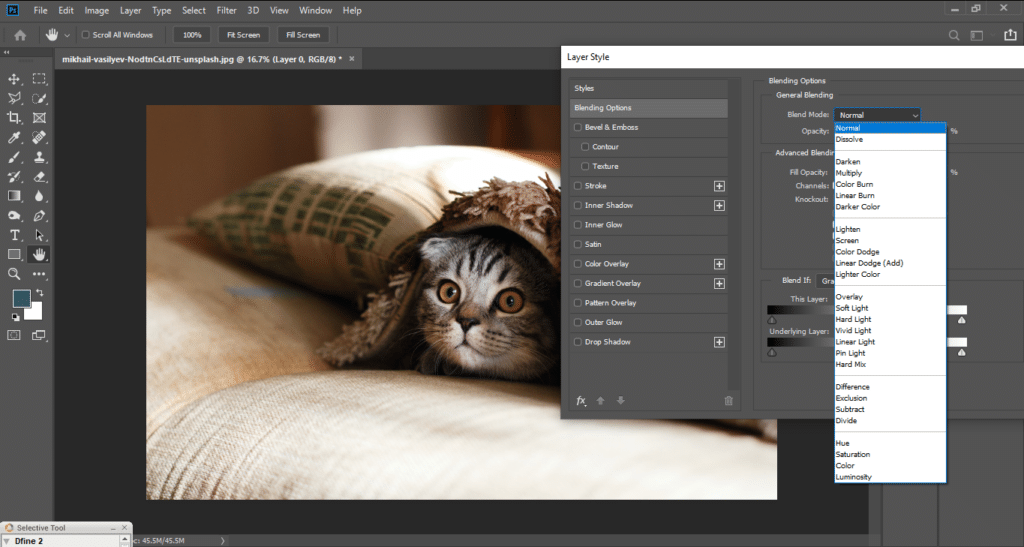
Normal Blending Modes:
These blending modes in Photoshop are controlled just by the Opacity Slider.
Normal
This is the default mode in which you do not blend but just edit or paint over the original pixels. You can reduce the Opacity to reveal the pixels beneath.
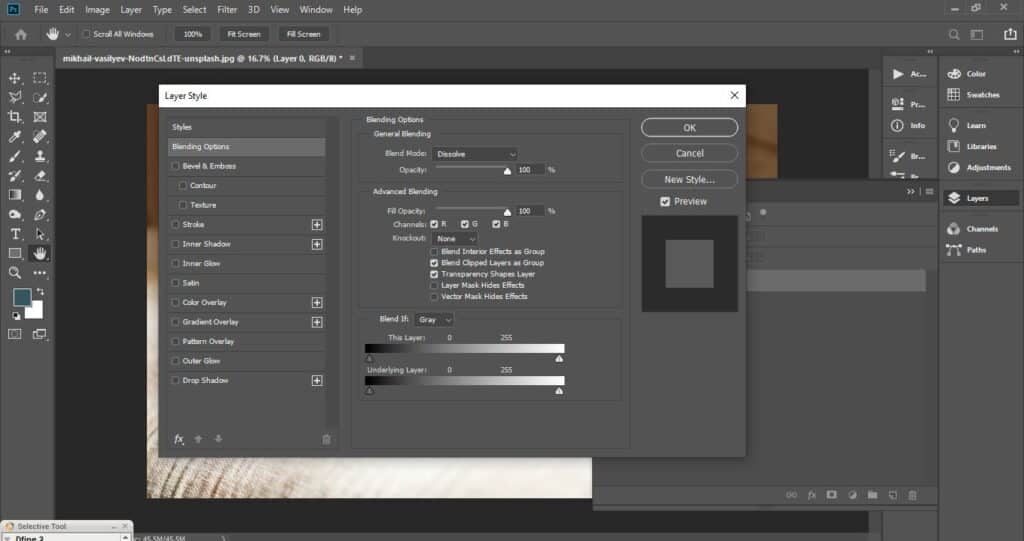
Dissolve
Similarly, dissolve also does not blend but only paints over the original pixels. When you reduce the Opacity, the pixels will be revealed, however, the color placement will be random and based on opacity.
As the name suggests, these modes first look at the color information in RGB channels and then create darker colors.
Darken
It compares the RGB channels of base and blend color, and keeps the darkest of the two, so there is no change if both are the same.
Multiply
This blending mode works by multiplying the base color by the blend color. Multiplying with black results in black and multiplying with white results in no change. Whereas, any other color will produce progressively darker colors.
Color Burn
In simple words, color burn increases the contrast between the base color and the blend color which results in a darker color.
Linear Burn
This mode darkens the base color so that blend color can be reflected from it. The darkening is done by decreasing the brightness of the base color.
Darker Color
This mode looks at the composite value of all RGB channels and then keeps the lower value. The only difference with Darken Mode is that it does not produce a blend just keeps the lower value.
Lighten Blending Modes:
These blending modes in Photoshop are the direct counters of the Darken modes. Just like Darken, these modes first look at all RGB channels and then do the following.
Lighten
It looks at all the channels and then simply selects the color with the lighter value thus resulting in a brighter color.
Screen
It simply multiplies the inverse of blend and base colors resulting in a lighter color.
Color Dodge
This mode decreases the contrast between the base color and the blend color so that the base color is brightened.
Linear Dodge (ADD)
It works in the same way as the Color Dodge blending mode. The only difference is that it increases the brightness of the base color to reflect on the blend color.
Lighter Color
In a similar fashion to the Lighten Mode, it compares base and blend color and then selects the brightest value.
These blending modes in Photoshop create a contrast between the base and blend color by using a mixture of lighten and darken modes.
Overlay
In this mode, Multiply and Screen modes are used but the base color is not replaced. Instead, an overlay mixes the base with a blend color and reflects it.
Soft Light
The result of this mode is like a diffused spotlight shining on the image. It can darken or even lighten the color based on the base color.
Hard Light
You can say that this mode makes the image appear like a harsh spotlight was shining on it. It multiplies or screens the colors which are useful for adding highlights and shadows to the image.
Vivid Light
Depending on the blend color, this mode can burn or dodge the colors. It works by increasing or decreasing the contrast.
Linear Light
It does the same work as the previous mode. However, the only difference is that instead of contrast, it increases and decreases the brightness of the color.
Pin Light
This mode replaces the color which is useful for adding special effects to an image. It does this based on the blend color.
Hard Mix
It adds RGB values of blend color to RGB values of base color which results in loss of detail and the resulting image only has black, white, or any of the primary colors.
Component Blending Modes:
These blending modes in Photoshop use the primary colors for the blend.
Hue
It uses the luminance and saturation of the base color and also hue of the blend color to produce a resulting color.
Saturation
Just like Hue, it also uses luminance and hue of base and saturation of blend color.
Color
It uses the luminance of the both base color and hue/saturation of the blend color.
Luminosity
These blending modes in Photoshop use the primary colors for the blend.
Apart from these blending modes in Photoshop, there are also some inversion and cancelation blending modes as well. These modes basically search for inversion in the base and blend layers to create a blend. Now that you understand these modes better, you will be able to make a better decision.
Keep practicing and learning new things.
If the “Blending Modes in Photoshop” article has helped you, then Like and Share it with your friends!